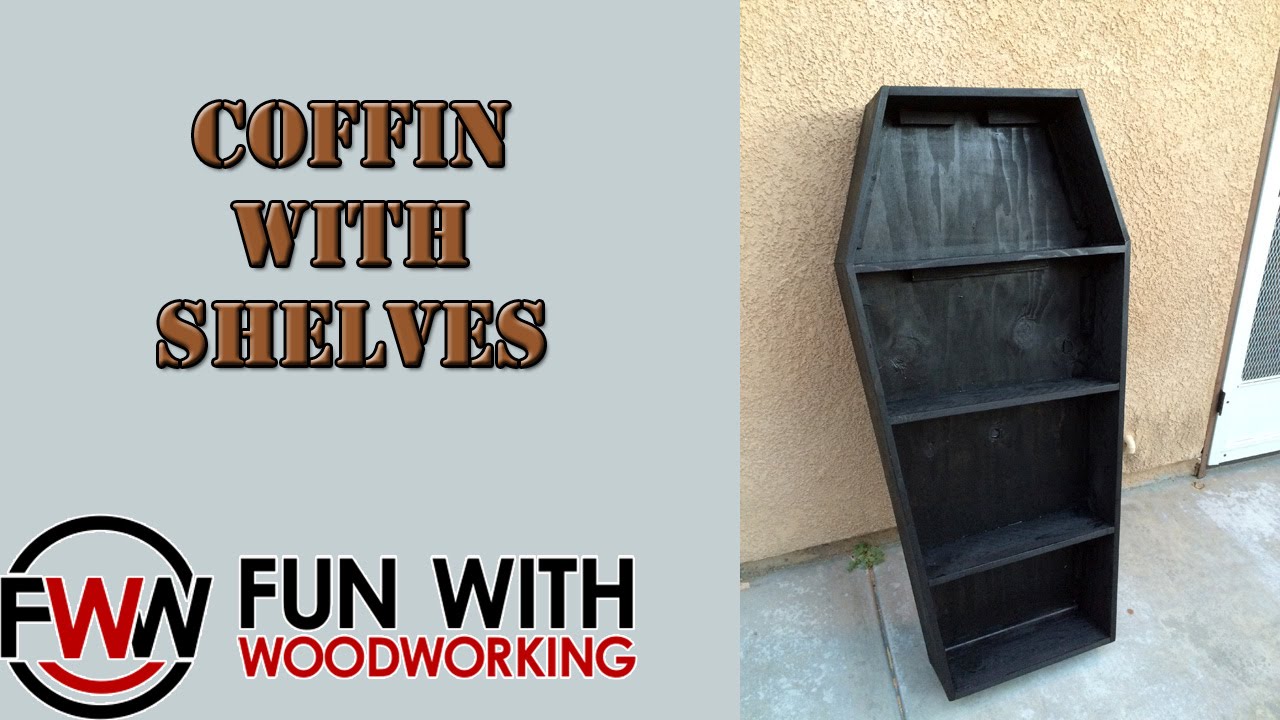
Have you ever wanted a bookshelf that stands out and sparks conversation? A coffin bookshelf is a unique way to showcase your favorite books while adding a bold touch to your space.
You don’t need to be a woodworking expert to create one, and with the right steps, you can build a piece that’s both functional and eye-catching. In this guide, you’ll discover easy-to-follow instructions that make the process simple and rewarding.
Ready to turn your bookshelf into a statement? Let’s get started.
Choosing Materials
Choosing the right materials is key to building a sturdy coffin bookshelf. Good materials ensure the shelf lasts long and looks great. Careful selection saves time and effort during building. Focus on wood type and tools needed for the project.
Selecting The Right Wood
Choose wood that is strong and easy to work with. Pine is soft and affordable, ideal for beginners. Oak is harder and more durable but costs more. Look for smooth, straight boards without knots or cracks. Proper wood thickness helps the shelf hold heavy books safely.
Gathering Tools And Supplies
Prepare all tools before starting the project. A saw, drill, screws, and sandpaper are essential. Use wood glue for extra strength in joints. A measuring tape and pencil help mark precise cuts. Safety gear like gloves and goggles protects you while working.

Credit: www.casketbuildersupply.com
Design And Measurements
Design and measurements are the first steps in building a coffin bookshelf. This stage helps you create a clear plan before cutting any wood. Careful design saves time and materials. It also ensures the bookshelf fits perfectly in your space.
Think about the overall shape and size. The coffin bookshelf has a unique, angled design. Each side must match for a balanced look. Accurate measurements keep the design neat and strong.
Planning The Bookshelf Size
Start by measuring the space where you want the bookshelf. Write down the height, width, and depth. Decide how many shelves you want. Think about the size of your books. Leave extra room for tall or thick books.
Sketch the coffin shape on paper. Mark the top and bottom widths, and the height. Consider the angle of the sides. This affects the overall look and shelf size. Keep the design simple for easy cutting and assembly.
Marking Cut Lines
Use a pencil and ruler to mark the wood. Follow your design sketch closely. Double-check all measurements before cutting. Mark each piece clearly with its purpose. This avoids confusion during assembly.
Measure twice, cut once. This rule helps prevent mistakes. Use a square tool to draw straight lines. Mark the angled sides carefully for the coffin shape. Clear cut lines make the building process smooth.
Cutting The Wood
Cutting the wood is a key step in building your coffin bookshelf. Accurate cuts ensure your pieces fit well. This makes assembly easier and the final product sturdy. Take your time and prepare carefully before cutting. Safety is important too, so follow guidelines closely.
Using A Saw Safely
Always wear safety glasses to protect your eyes. Keep your hands away from the blade. Use clamps to hold the wood steady. Choose the right saw for each cut. Take slow, steady strokes for clean edges. Never rush, and stay focused on the task.
Preparing Pieces For Assembly
After cutting, check each piece for smooth edges. Sand rough spots to avoid splinters. Label each piece to keep track of parts. Arrange pieces in order of assembly. This step helps avoid confusion later. Proper preparation speeds up building and improves results.
Credit: www.youtube.com
Assembling The Frame
Building the frame is the first big step in creating a coffin bookshelf. This step sets the shape and strength for the entire piece. Careful assembly will make sure your bookshelf stays sturdy and looks great.
Joining The Sides And Bottom
Start by placing the side panels upright. Align the bottom panel between them. Make sure the edges match perfectly. The bottom panel supports the weight of books. Use clamps to hold the pieces tight. Check that everything is square before moving on.
Securing With Screws And Glue
Apply wood glue along the edges where the panels meet. Press the pieces firmly together. Use screws to lock the panels in place. Pre-drill holes to avoid splitting the wood. Screw in slowly and evenly. Glue and screws together create a strong bond. Let the glue dry fully before adding shelves or finishing.
Adding Shelves
Adding shelves to your coffin bookshelf is an important step. Shelves hold your books and keep them organized. They also add to the look of your project. Careful placement and secure attachment make sure your shelves last long and work well.
Measuring Shelf Placement
Measure the inside height of your coffin box first. Decide how many shelves you want. Divide the height by the number of shelves plus one. This gives even space between shelves. Mark each spot clearly with a pencil. Use a level to keep marks straight. Double-check measurements before drilling or nailing.
Attaching Shelves Firmly
Cut shelves to fit the width of the coffin box. Sand edges to avoid splinters. Use wood glue on shelf ends for extra strength. Screw or nail shelves into the side walls at marked spots. Make sure shelves are level and flush with sides. Check each shelf’s firmness by pressing down gently. Tighten screws or add support brackets if needed.
Sanding And Finishing
Sanding and finishing are key steps in building your coffin bookshelf. They make the wood smooth and protect it from damage. These steps also improve the look of your project. Taking time to do them well gives your bookshelf a clean, polished finish.
Smoothing Edges And Surfaces
Start by sanding all edges and surfaces with medium-grit sandpaper. This removes rough spots and splinters. Next, use fine-grit sandpaper to create a smooth, even surface. Sand in the direction of the wood grain to avoid scratches. Wipe away dust with a damp cloth before moving to the next step.
Applying Paint Or Stain
Choose paint or stain based on your desired look. Apply a thin, even coat with a brush or cloth. Let it dry fully before applying a second coat if needed. Stain highlights the wood grain, while paint covers it for a solid color. Finish with a clear sealant to protect your bookshelf from wear and tear.
Final Touches
After assembling the coffin bookshelf, it’s time for the final touches. These steps make your project stronger and more attractive. Small details give your bookshelf a complete, polished look. Take your time to do these carefully.
Installing Back Panel
The back panel gives stability to the bookshelf. Cut a piece of thin plywood to fit the back perfectly. Attach it using small nails or screws along the edges. Make sure the panel lies flat and does not bow out. This will keep your shelves steady and square.
Check that the back panel covers all gaps at the rear. It also protects your books from dust and damage. Paint or stain the panel before attaching if you want a finished look inside the shelf.
Adding Decorative Elements
Decorative touches add character to your coffin bookshelf. Use trim pieces or molding around the edges for a classic style. You can also add metal corner brackets for a rustic or industrial feel. These small additions enhance the overall design.
Consider painting the coffin bookshelf in a dark or bold color for drama. Stencils or decals can create interesting patterns on the sides or shelves. Finish with a clear protective coat to keep decorations safe.
Maintenance Tips
Taking care of your coffin bookshelf keeps it looking great for years. Regular maintenance protects the wood and helps avoid costly repairs. Simple habits make a big difference in preserving the shelf’s beauty and strength.
Cleaning And Care
Dust your coffin bookshelf often. Use a soft, dry cloth to remove dirt and dust. Avoid wet or harsh cleaning products that can damage the wood. For sticky spots, slightly dampen the cloth with water and wipe gently. Dry the surface immediately after cleaning. Polish the wood with a mild furniture polish every few months to keep it shiny and healthy.
Preventing Damage
Keep the bookshelf away from direct sunlight to prevent fading. Avoid placing it near heat sources like radiators or fireplaces. Use coasters or mats under heavy or sharp objects to stop scratches. Do not overload the shelves. Spread books and items evenly to balance the weight. Check for loose screws or joints regularly and tighten them to maintain stability.
Credit: www.reddit.com
Frequently Asked Questions
What Materials Are Needed To Build A Coffin Bookshelf?
You need plywood, wood screws, wood glue, sandpaper, paint or stain, and hinges. These materials ensure durability and a polished finish for your coffin bookshelf.
How Long Does It Take To Build A Coffin Bookshelf?
Building a coffin bookshelf typically takes 4 to 6 hours. This includes cutting, assembling, sanding, and finishing the wood pieces carefully.
Can Beginners Build A Coffin Bookshelf Easily?
Yes, beginners can build a coffin bookshelf with basic woodworking skills. Following clear instructions and safety tips helps achieve great results.
What Tools Are Required For Making A Coffin Bookshelf?
Essential tools include a saw, drill, screwdriver, measuring tape, clamps, and a sander. These tools help create precise cuts and secure assembly.
Conclusion
Building a coffin bookshelf is a fun and rewarding project. It adds style and storage to any room. Follow each step carefully for best results. Use the right tools and materials for safety. Take your time to make sure everything fits well.
Enjoy the process of creating something unique. Your new bookshelf will hold books and spark conversations. Try this project to improve your woodworking skills. Creativity and patience make all the difference. Start building and see your idea come to life!