Are you looking to add a stylish and modern touch to your home? Building a console table using glass is a fantastic way to create a sleek, eye-catching piece that fits perfectly in any space.
Imagine having a table that not only looks elegant but also reflects your personal style and craftsmanship. In this guide, you’ll discover simple steps and expert tips to build your own glass console table, even if you’ve never worked with glass before.
Keep reading, and you’ll soon have the confidence and know-how to transform your space with a beautiful, custom-made table.

Credit: www.walmart.com
Choosing Materials
Choosing the right materials is a key step in building a beautiful console table with glass. The materials affect the table’s look, strength, and durability. Good choices help create a sturdy and stylish piece. Focus on glass type, frame material, and tools needed to complete the project.
Selecting The Right Glass
Tempered glass is the safest and strongest option for a console table. It resists cracks and breaks into small pieces if shattered. Thickness matters too. A 1/4 inch to 1/2 inch thick glass offers solid support and looks elegant. Clear glass shows the frame and room decor well. Frosted or tinted glass adds style but may hide the frame.
Picking The Frame Material
Wood frames give a warm and classic touch to your console table. Choose hardwood like oak or maple for strength. Metal frames offer a modern and sleek look. Steel or iron frames provide durability and can carry heavy glass. Consider the room’s style and the frame’s weight capacity when picking material.
Tools You Will Need
Gather the right tools before starting your build. A drill helps create holes in the frame. Screws and brackets hold parts firmly. Sandpaper smooths rough edges on wood. Clamps keep pieces steady during assembly. Use a screwdriver to tighten fasteners. A level ensures the table stands straight. Safety glasses protect your eyes while cutting or drilling.
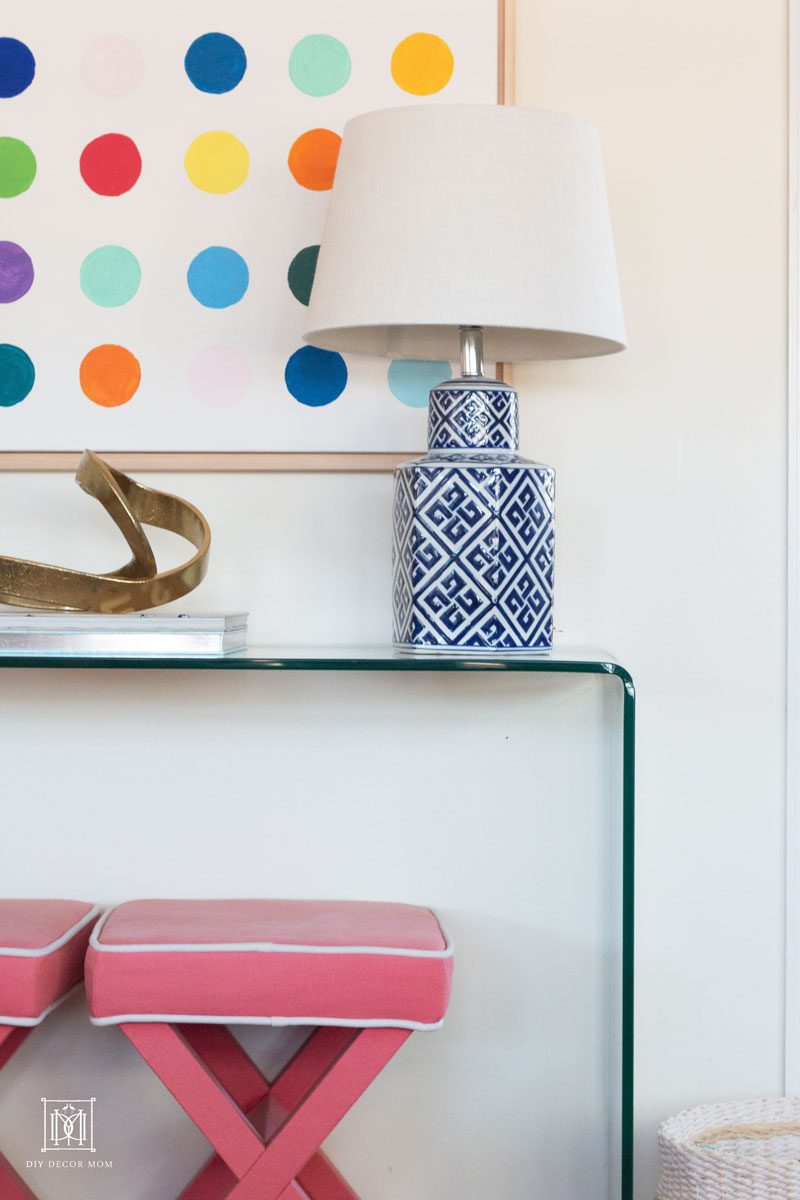
Credit: www.diydecormom.com
Design Planning
Design planning is the first step in building a console table with glass. Good planning helps you create a table that fits your space and looks great. It also keeps the building process smooth and safe.
Start with clear ideas about size, style, and materials. This stage saves time and avoids mistakes later.
Measuring Your Space
Measure the area where you want to place the console table. Note the width, height, and depth available. Check for any obstacles like doors or vents. Accurate measurements help you build a table that fits perfectly.
Sketching Your Table Design
Draw a simple sketch of your table design on paper. Include the glass top, legs, and any shelves. Mark the measurements clearly. This sketch guides you during cutting and assembling. It also helps visualize the final look.
Safety Considerations
Glass can break and cause injury. Choose tempered or safety glass for the top. Wear gloves and goggles while working. Keep your workspace clean and organized. Taking safety steps protects you and your project.
Preparing The Glass
Preparing the glass is a key step in building a console table. It ensures the glass fits perfectly and looks smooth. Proper preparation also keeps the glass safe to handle and install. This section covers cutting, smoothing, and cleaning the glass for your project.
Cutting Glass To Size
Measure the space where the glass will sit carefully. Use a glass cutter with a sharp wheel for straight lines. Score the glass firmly but gently along the measured marks. Snap the glass along the score line using running pliers. Wear safety gloves and goggles for protection.
Smoothing Edges
Edges of cut glass can be sharp and dangerous. Use a sanding block or diamond pad to smooth the edges. Move the sanding tool in one direction evenly along the edge. Check frequently to avoid over-sanding. Smooth edges prevent cuts and give a polished look.
Cleaning Glass Surfaces
Clean glass before assembly to remove dust and fingerprints. Use a soft cloth and glass cleaner or a mix of vinegar and water. Wipe gently in a circular motion for a streak-free finish. Clean glass enhances the beauty of your console table.
Constructing The Frame
Constructing the frame is a key step in building a glass console table. It gives the table strength and shape. The frame holds the glass top safely. A strong frame keeps the table steady and lasting. This section covers cutting, assembling, and securing the frame pieces.
Cutting Frame Pieces
Start by measuring the wood or metal for the frame. Use a tape measure and mark each piece clearly. Cut the pieces carefully with a saw suitable for your material. Make sure cuts are straight and smooth. Accurate cuts help the frame fit together well.
Assembling The Frame
Lay out all the cut pieces on a flat surface. Arrange them in the shape of the table frame. Use clamps to hold pieces temporarily in place. Check all corners to ensure they form right angles. Adjust the pieces before fixing them permanently.
Securing Frame Joints
Apply wood glue or metal adhesive at each joint. Join the pieces firmly and clamp them until dry. For extra strength, use screws or nails where needed. Drill pilot holes first to avoid splitting the wood. Tight joints keep the frame solid and safe for the glass top.
Attaching The Glass Top
Attaching the glass top is a key step in building a console table. It gives the table a sleek and modern look. The glass must be secured carefully to avoid damage and ensure safety. Follow simple steps to position and fix the glass properly.
Positioning The Glass
Place the glass top gently on the table frame. Check the alignment with the edges of the base. The glass should sit evenly without hanging over the sides. Move it slightly until it fits perfectly centered. Use a soft cloth under the glass to avoid scratches.
Using Adhesives And Supports
Choose a clear adhesive made for glass and wood or metal. Apply small dots or strips of glue on the frame where the glass will rest. Avoid using too much glue to prevent overflow. Add rubber bumpers or silicone pads under the glass for extra support. These prevent slipping and protect the glass bottom.
Ensuring Stability
Press the glass top lightly onto the adhesive spots. Let the glue dry according to the product instructions. Check the table for any wobbling by gently shaking it. Add more supports if needed to keep the glass steady. A stable glass top keeps the table safe to use.
Finishing Touches
Finishing touches give your console table a polished and professional look. These steps protect your work and improve its style. Small details make a big difference in the final result.
Adding Protective Pads
Place protective pads under the glass top. These pads stop the glass from scratching the frame. They also keep the glass steady and safe from slipping. Use soft rubber or felt pads for best results. Attach them carefully to avoid any movement.
Painting Or Staining The Frame
Choose paint or stain that matches your room’s style. Painting adds a fresh, modern look. Staining brings out the wood’s natural beauty. Apply thin coats for an even finish. Let each coat dry fully before the next. This step protects the frame from moisture and wear.
Final Inspection
Check the table for any rough edges or loose parts. Make sure the glass is clean and free of fingerprints. Test the table’s stability by gently pressing on it. Tighten screws if needed. This final check ensures your console table is ready for use.
Maintenance Tips
Maintaining a glass console table is simple but important. Proper care keeps it clear and shiny. It also protects the glass and wood parts from damage. Following a few easy steps helps your table look new for years.
Cleaning Glass Safely
Use a soft cloth or microfiber towel for cleaning. Avoid rough materials that can scratch the glass surface. Use a gentle glass cleaner or mix water with a small amount of dish soap. Spray the cleaner on the cloth, not directly on the glass. Wipe the glass gently in circular motions. Dry the glass with a clean, dry cloth to avoid streaks.
Protecting The Table
Place coasters under drinks to stop water rings. Use felt pads under decorative items to avoid scratches. Keep the table away from direct sunlight to prevent discoloration. Avoid placing hot items directly on the glass or wood. Regularly check and tighten screws to keep the table stable.
Repairing Minor Damages
Small scratches on glass can be fixed with a glass polishing kit. For wood scratches, use a matching wood marker or wax stick. Clean the damaged area before applying any repair product. If a glass chip appears, cover it with clear nail polish to prevent spreading. Always handle repairs gently to avoid further damage.

Credit: www.walmart.com
Frequently Asked Questions
What Materials Do I Need To Build A Glass Console Table?
You need tempered glass, wood or metal for the frame, screws, brackets, and adhesive. Tools include a drill, measuring tape, and screwdriver. Safety gear like gloves and goggles is also essential.
How Do I Safely Handle And Cut Glass For The Table?
Always wear protective gloves and goggles when handling glass. Use a glass cutter for precise cuts. Score the glass gently, then snap it along the scored line. Work on a flat surface to avoid breakage.
What Type Of Glass Is Best For A Console Table?
Tempered glass is best because it’s strong and resistant to breakage. It’s safer since it shatters into small, blunt pieces. Thickness should be at least 1/4 inch for durability and stability.
How Can I Securely Attach The Glass To The Table Frame?
Use strong adhesive pads or silicone glue designed for glass. Secure the glass with metal brackets or clips for extra stability. Ensure the frame is level before attaching the glass top.
Conclusion
Building a glass console table is a simple, rewarding project. You can add style and light to any room. Use the right tools and follow safety steps carefully. Each part fits together to make a strong table. Your new table will hold items and impress guests.
Try customizing it with your favorite colors or designs. Enjoy the process and the final product. This project shows how easy DIY furniture can be. Start building and create a unique piece today.