Are you looking to add both style and storage to your space? Building a console table with drawers is a smart way to do just that.
Imagine having a beautiful piece of furniture that fits perfectly in your hallway, living room, or entryway—while giving you a place to keep your essentials organized and within reach. In this guide, you’ll discover simple steps to create your own custom console table, even if you’ve never built furniture before.
By the end, you’ll have the confidence and know-how to craft a piece that’s both practical and eye-catching. Ready to transform your space with your own hands? Let’s get started!

Credit: www.youtube.com
Choosing Materials
Choosing the right materials is key to building a sturdy console table with drawers. The materials affect the table’s strength, look, and lifespan. Careful selection ensures the table fits your style and needs. Two main parts need focus: the wood and the drawer hardware.
Selecting Wood Types
Wood choice impacts the table’s durability and appearance. Hardwoods like oak, maple, and cherry offer strong support and rich colors. Softwoods such as pine are easier to work with and cost less. Consider the wood grain and finish to match your room’s style. Choose wood that resists wear if the table will hold heavy items. Proper wood selection helps avoid warping and cracking over time.
Picking Drawer Hardware
Drawer hardware includes handles, knobs, and slides. Quality hardware makes drawers open smoothly and last longer. Metal hardware suits a modern or industrial look. Wood knobs can match the table’s style for a classic feel. Soft-close drawer slides prevent slamming and protect the wood. Pick hardware that fits your table size and drawer weight for best results.
Tools Needed
Building a console table with drawers requires specific tools. Having the right tools makes the project easier and more accurate. Prepare all tools before starting your work. This saves time and avoids frustration.
Basic Tools
Start with basic tools for cutting, measuring, and assembling wood. A tape measure helps you get exact dimensions. Use a pencil to mark your cuts clearly. A handsaw or circular saw is needed to cut wood pieces.
A hammer helps to drive nails and assemble parts. Screwdrivers, both flathead and Phillips, are important for screws. Sandpaper smooths the wood surfaces before finishing. Clamps hold pieces firmly during gluing or screwing.
Specialized Equipment
Some parts need more precise tools. A power drill speeds up screw driving and drilling holes. A router shapes edges and creates grooves for drawer parts. A table saw allows straight, clean cuts on larger wood pieces.
A jigsaw helps to cut curves or shapes in wood. Drawer slides require a drill with small drill bits for exact holes. Using these tools improves the quality and fit of your table drawers.
Planning The Design
Planning the design is the first step in building a console table with drawers. It helps you avoid mistakes and saves time. Good planning leads to a strong, useful table that fits your space well.
Focus on details like size, style, and drawer placement. Think about how you will use the table. This guides your design choices and makes the project easier.
Measuring Space
Start by measuring the area where the table will go. Measure the width, depth, and height carefully. Write down these numbers to use later. Leave some space around the table for walking. Think about nearby furniture and doors. This prevents the table from feeling cramped.
Sketching Dimensions
Draw a simple sketch of your table on paper. Use the space measurements to set the size. Mark the table height, width, and depth on the sketch. Add the position and size of drawers. Keep the design balanced and practical. The sketch helps you see the final look clearly. Adjust the drawing until you like it. This step saves problems during building.
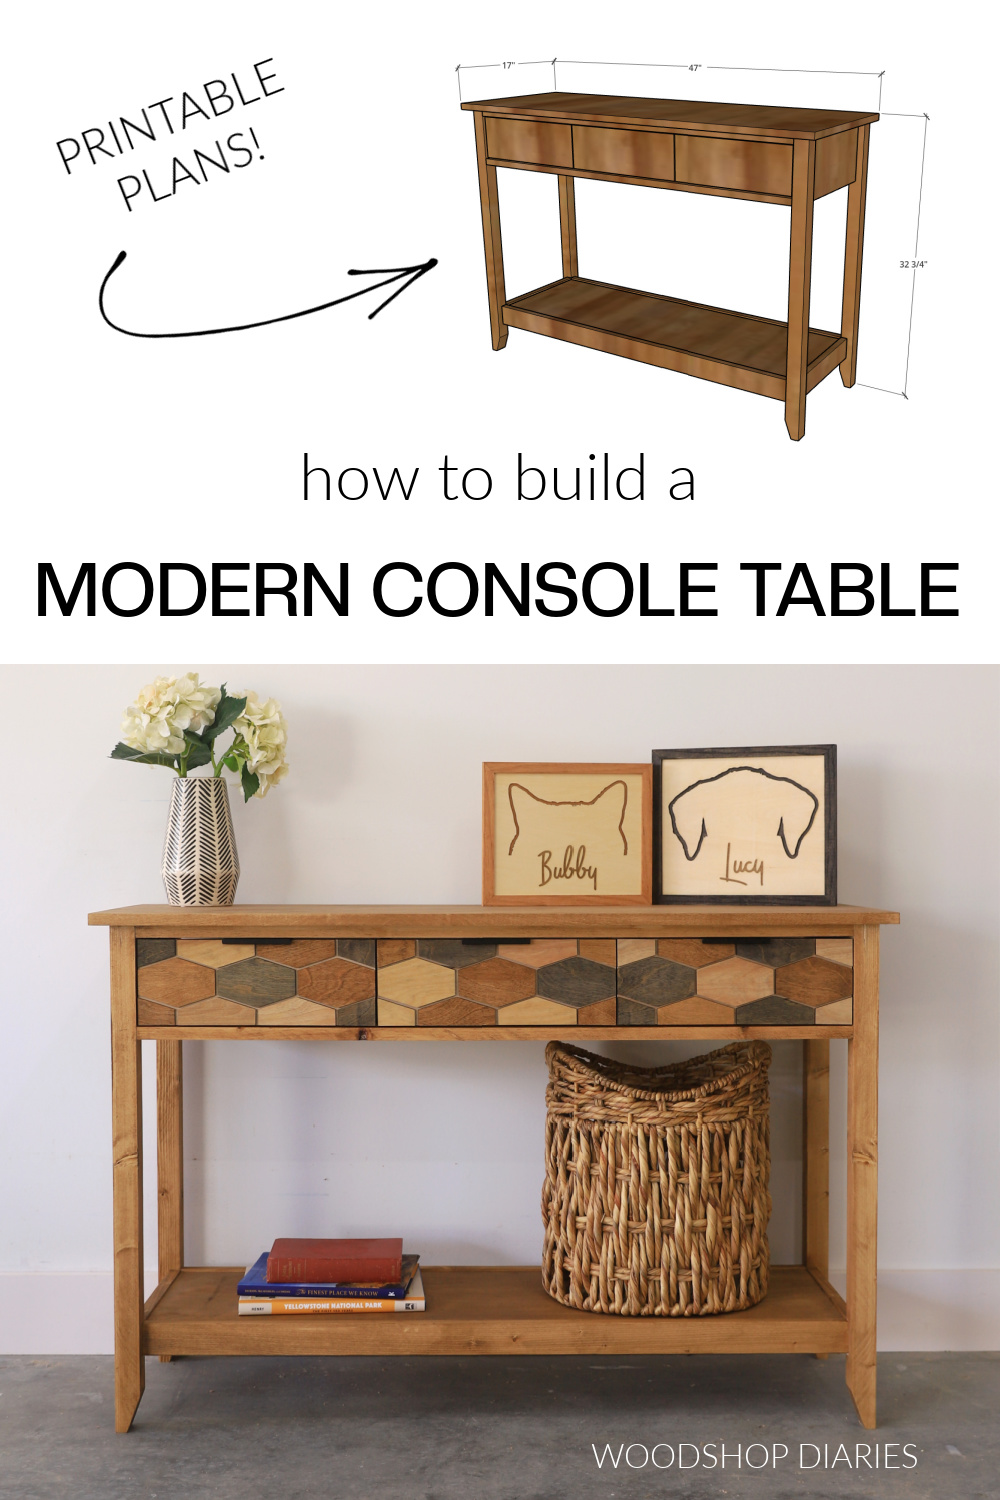
Credit: learn.kregtool.com
Cutting The Pieces
Cutting the pieces is the first step to build your console table with drawers. This step shapes all parts needed for the table. Accurate cuts make assembly easier and the final piece stronger.
Take your time to measure twice and cut once. Use sharp tools and follow safety rules carefully. Organize your workspace to keep all pieces in order.
Cutting Table Frame
Start by cutting the main parts of the table frame. These include the top, legs, and side supports. Measure each piece carefully to match your design size.
Use a saw to make straight, clean cuts. Sand the edges to remove splinters and rough spots. Check each piece for smoothness and exact size before moving on.
Cutting Drawer Parts
Drawers require precise cuts for smooth sliding and good fit. Cut the drawer sides, front, back, and bottom panels. Make sure all pieces match the dimensions planned.
Label each part to avoid confusion during assembly. Sand edges gently to help drawers slide easily. Accurate cutting here saves time and frustration later.
Assembling The Frame
Assembling the frame is a key step in building a console table with drawers. It creates the basic shape and supports the entire structure. Taking care to assemble it properly ensures a strong and stable table. Follow clear steps to join the parts securely. Use the right tools and materials for a smooth process.
Joining Legs To Frame
Start by attaching the legs to the main frame. Use wood glue on the contact points. Then, secure the legs with screws for extra strength. Make sure the legs are straight and aligned. Check that all legs touch the ground evenly. This keeps the table steady and balanced.
Securing Support Beams
Next, add the support beams between the legs. These beams keep the frame rigid and prevent wobbling. Attach them using screws and wood glue. Position the beams at equal distances for even support. Double-check all connections for tightness. A solid frame will hold the drawers and tabletop safely.
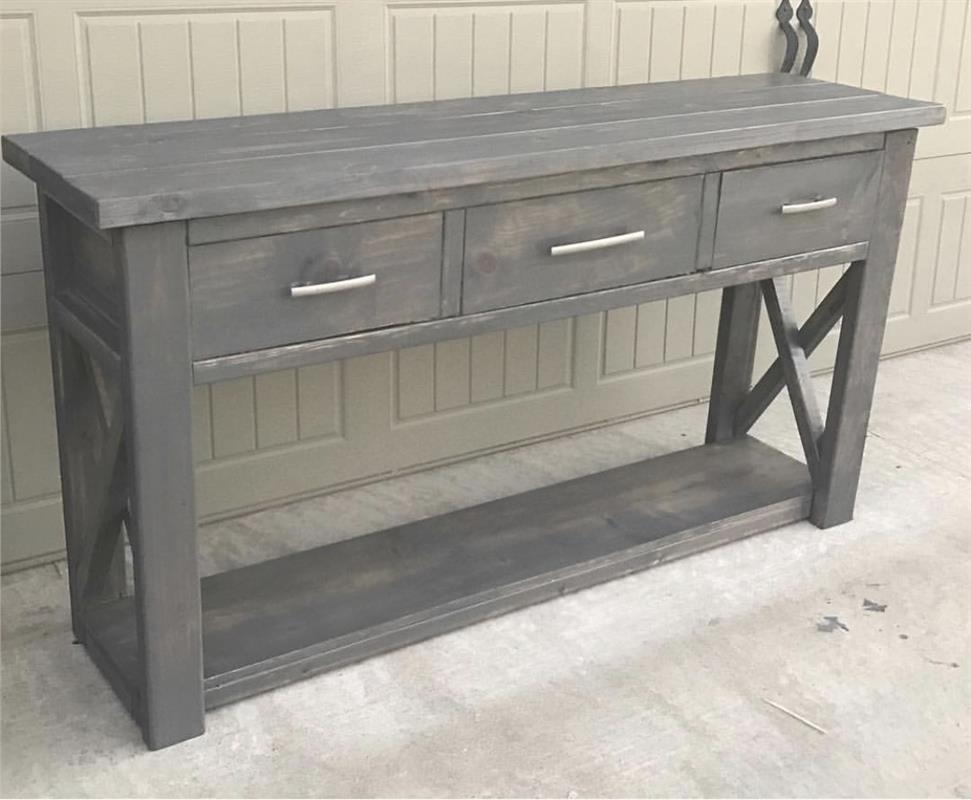
Credit: www.woodshopdiaries.com
Building Drawers
Building drawers is an important step in creating your console table. Drawers add storage space and make the table more useful. Careful work ensures drawers fit well and slide smoothly. This section guides you through making strong and neat drawers for your project.
Constructing Drawer Boxes
Start by cutting the pieces for your drawer box. You need four pieces: two sides, a front, and a back. Use wood that is smooth and straight. Join the pieces with strong glue and nails or screws. Make sure the corners form perfect right angles. Check the box for squareness before the glue dries. A square box helps drawers slide easily later.
Adding Drawer Bottoms
Next, add the drawer bottom. Cut a flat piece to fit inside the box. Leave a small gap around the edges for wood expansion. Slide the bottom into grooves or nail it under the box edges. Make sure it sits flat and does not bow. A sturdy bottom holds your items safely and keeps the drawer strong.
Installing Drawer Slides
The final assembly is the last step in building your console table with drawers. This part brings all pieces together into a complete, usable furniture item. Careful attention during this stage ensures everything fits and works well.
Take your time. Check each drawer and the table frame before securing anything. This prevents mistakes and ensures smooth operation.
Inserting Drawers
Start by sliding each drawer into its slot on the console table. Align the drawer with the rails or grooves carefully. Push the drawer straight in without forcing it. It should move smoothly without sticking.
Test each drawer by opening and closing it several times. Make sure the drawers fit well and do not wobble. Adjust the rails or guides if needed. Proper fitting keeps the drawers functional and neat.
Attaching Handles Or Knobs
Choose handles or knobs that match your table’s style. Hold each handle or knob against the drawer front. Mark the spots for screws with a pencil. Drill small pilot holes to avoid splitting the wood.
Use screws to attach the handles or knobs firmly. Tighten each screw just enough to hold the handle steady. Avoid over-tightening, which can damage the drawer surface. Check all handles for even placement and comfort in use.
Frequently Asked Questions
What Tools Are Needed To Build A Console Table With Drawers?
You need basic woodworking tools like a saw, drill, screwdriver, measuring tape, and clamps. Sandpaper and wood glue are essential for smooth finishes and strong joints. Drawer slides and screws complete the hardware requirements.
How Do I Choose Wood For A Console Table?
Select hardwoods like oak, maple, or walnut for durability and aesthetics. Softwoods like pine work for budget projects but may dent easily. Consider wood grain, finish compatibility, and the table’s weight capacity.
What Is The Best Drawer Slide For Console Tables?
Ball-bearing drawer slides offer smooth, quiet operation and durability. They support heavy loads well and resist wear over time. Choose full-extension slides for easy access to the entire drawer space.
How Long Does It Take To Build A Console Table With Drawers?
Building a console table typically takes 1 to 3 days depending on skill level. Time varies with design complexity, drying times for glue or finish, and hardware installation. Planning and preparation speed up the process.
Conclusion
Building a console table with drawers adds style and storage to any room. You can customize the size, shape, and finish to fit your space. Follow each step carefully for the best results. Take your time sanding and assembling for a smooth finish.
This project boosts your confidence in woodworking. Enjoy your new, handy piece of furniture every day. Try different designs next time to keep improving your skills. Simple tools and patience make great results possible. Start your project today and see how rewarding it feels.