Are you ready to transform your living space with a unique piece of furniture that you built yourself? Building a pedestal console table is easier than you might think, and it can add a touch of style and personality to your home.
Imagine having a beautiful table crafted exactly to your taste, perfect for displaying your favorite items or welcoming guests in your hallway. In this guide, you’ll discover simple steps and expert tips that will make the process smooth and enjoyable.
Keep reading, and by the end, you’ll have the confidence and know-how to create your own stunning pedestal console table.
Choosing Materials
Designing your pedestal console table is the first step to creating a unique piece. This phase helps you plan size, shape, and style. Clear ideas here make building easier and more fun.
Focus on how the table will fit your space and meet your needs. Think about its height, width, and depth. These details affect both function and look.
Deciding On Dimensions
Start by measuring the wall or area where the table will go. Choose a height that matches other furniture. A common height is about 30 to 36 inches.
Set the width based on available space and what you want to place on the table. The depth should be enough to hold items but not too wide to block walkways. Typical depth ranges from 12 to 18 inches.
Sketching The Layout
Draw a simple sketch of your table design. Include the top surface and the pedestal base. This helps visualize the final product.
Mark the dimensions clearly on your sketch. Show the height, width, and depth. Use the sketch to plan how to join parts and where supports will go.
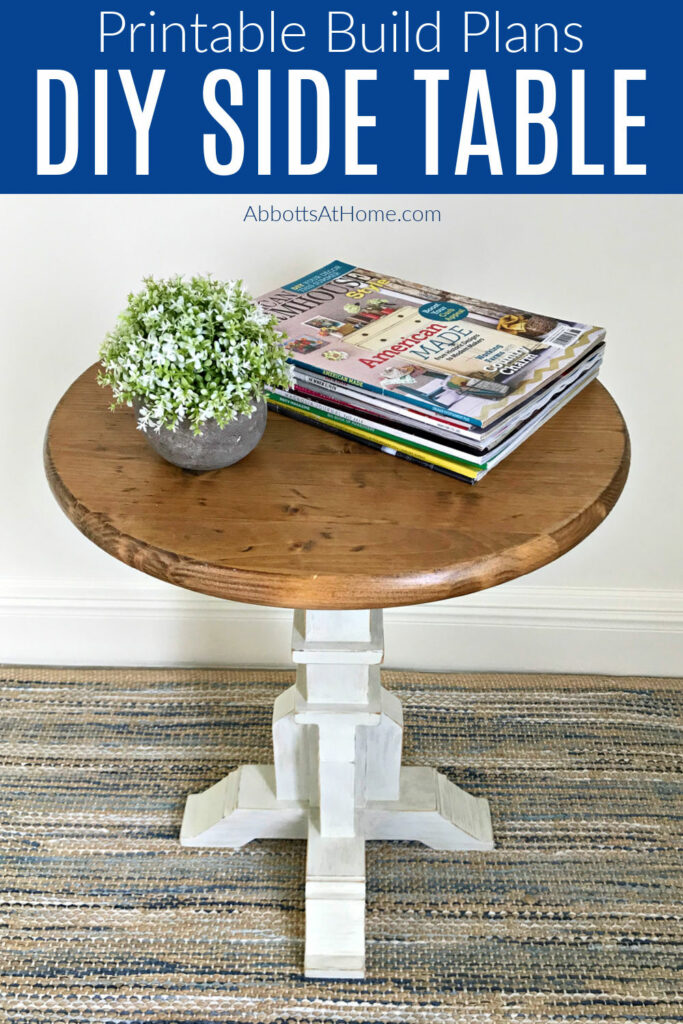
Credit: www.abbottsathome.com
Designing Your Table
Preparing the wood is the first important step to build a pedestal console table. This stage sets the foundation for a strong, beautiful table. Proper preparation ensures all pieces fit well and the final product looks neat.
Good preparation helps avoid mistakes during assembly. It saves time and materials. Focus on measuring and cutting the wood carefully. These tasks need attention and patience.
Measuring And Marking
Measure each piece of wood precisely using a tape measure. Double-check all measurements before marking. Use a pencil to mark the cut lines clearly. Mark both sides of the wood for accuracy. Take your time to ensure correct dimensions. Accurate marking helps pieces fit together perfectly.
Cutting Pieces Accurately
Use a saw suitable for your wood type. Follow the marked lines closely for straight cuts. Hold the wood firmly to avoid slipping. Cut slowly and steadily to prevent splintering. Check each piece after cutting for smooth edges. Sand rough edges if needed before assembly.
Preparing The Wood
Assembling the pedestal base is a key step in building your console table. This part supports the entire structure. A strong, well-built base ensures stability and durability. Follow the steps carefully to create a solid foundation.
Joining The Legs
Start by aligning the legs in pairs. Use wood glue on the edges for extra hold. Clamp the legs together tightly. Insert screws through pre-drilled holes to secure the connection. Check if the legs stand straight. Adjust if needed before the glue dries.
Securing The Support Frame
Attach the support frame to the joined legs. Use screws and wood glue for a firm bond. Make sure the frame fits snugly between the legs. Use a level to keep the frame even. Tighten all screws to avoid wobbling. This step strengthens the base for your console table.
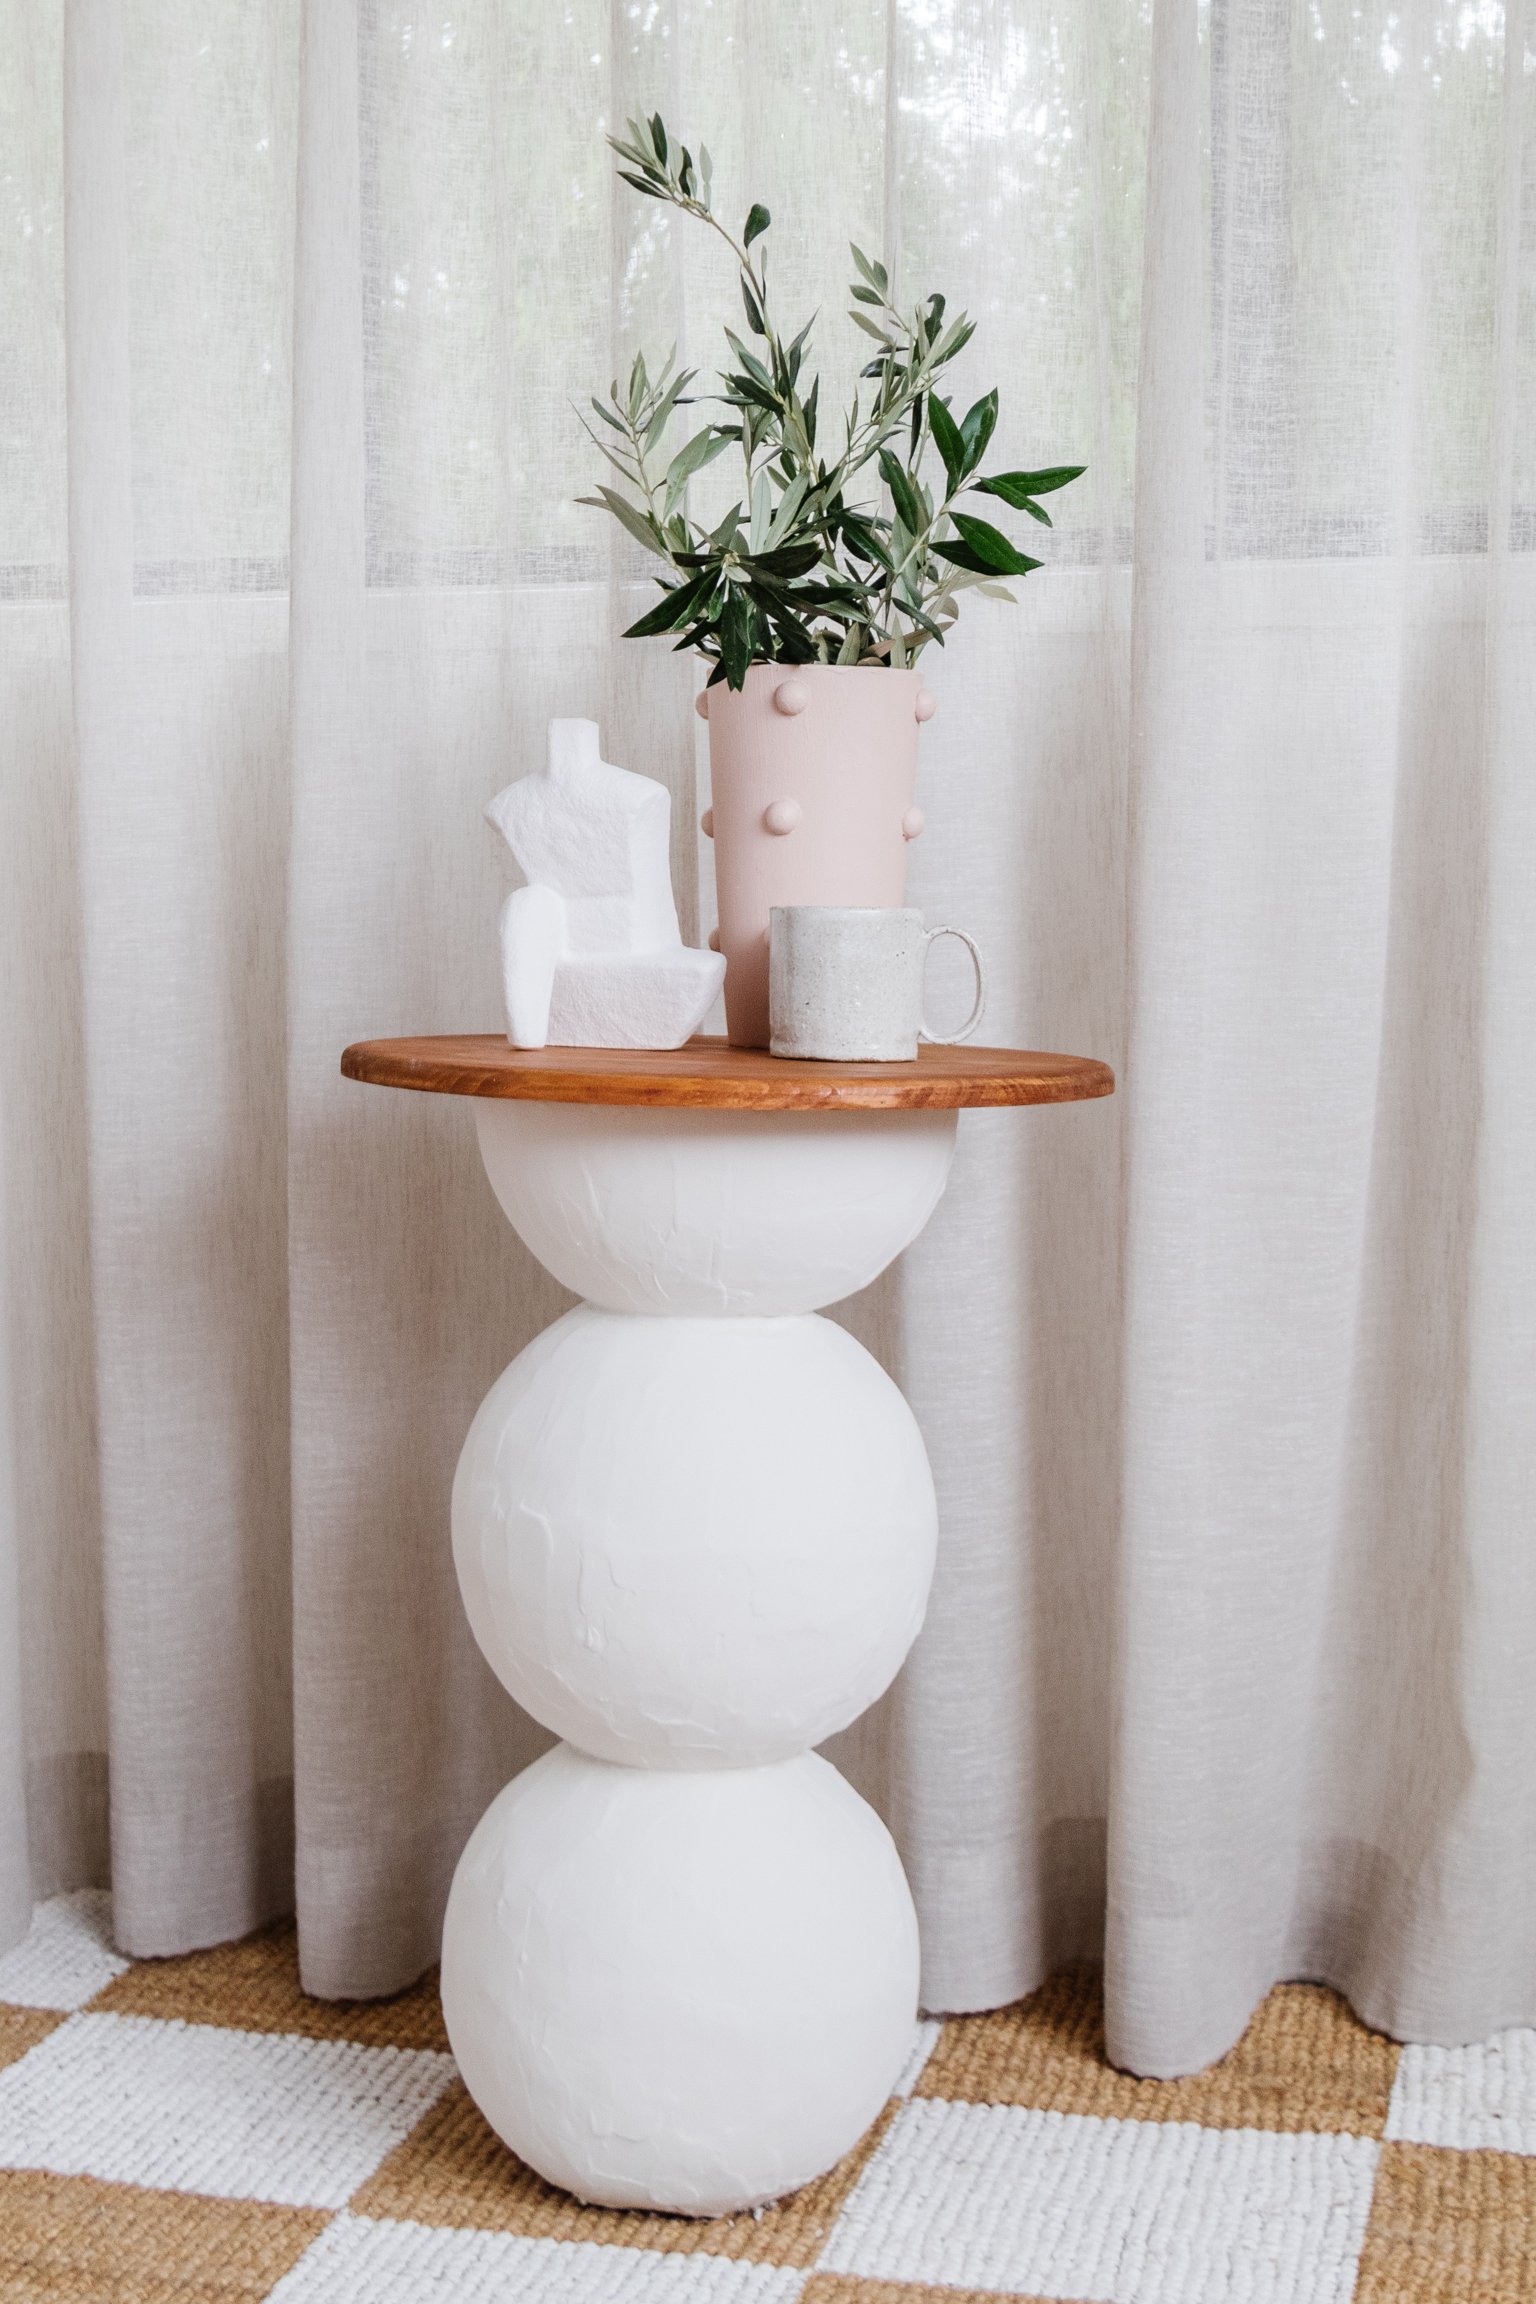
Credit: www.smorhome.com
Assembling The Pedestal Base
Attaching the top to the base is an important step in building a pedestal console table. This step makes sure your table is stable and looks great. Proper attachment prevents wobbling and keeps the table strong for daily use.
Positioning The Tabletop
Place the tabletop upside down on a soft surface. This prevents scratches during assembly. Center the base on the bottom of the tabletop. Check that all edges are even on all sides. Adjust the base until it fits perfectly. Use clamps to hold the base in place. This keeps the base steady while you attach it.
Fastening With Screws
Choose screws that are the right length for your wood. Drill pilot holes through the base into the tabletop. Pilot holes stop the wood from splitting. Insert screws into the pilot holes with a screwdriver. Tighten the screws firmly but do not over-tighten. Over-tightening can damage the wood. Check the table for stability and adjust screws if needed.
Constructing The Console Top
Finishing touches make your pedestal console table look complete and polished. These final steps protect the wood and enhance its beauty. A good finish brings out the natural grain and color. It also guards against scratches and spills. Take your time to get these steps right. The result will be a table you can enjoy for years.
Applying Stain Or Paint
Choose a stain or paint color that fits your room style. Use a brush or cloth to apply the stain evenly. Work in the direction of the wood grain for best results. Let the stain dry completely before adding more coats. For paint, apply thin, even layers. Allow each coat to dry fully. Light sanding between coats helps a smooth finish. Avoid thick layers that can drip or peel.
Adding Protective Coating
Protective coating seals the wood and finish underneath. Use clear polyurethane or varnish for strong protection. Apply with a clean brush in thin, even strokes. Let each coat dry before applying the next. Two or three coats usually work well. Sand lightly between coats to remove bumps. This step keeps your table safe from water and wear. It also gives a nice shine to the surface.
Attaching The Top To The Base
Maintaining your pedestal console table keeps it looking fresh and new. Proper care extends its life and preserves its beauty. Follow simple steps to protect your table from wear and tear.
Cleaning And Care
Dust your table regularly using a soft cloth. Avoid harsh cleaners that can damage the finish. Use a mild soap solution for sticky spots. Dry the surface immediately to prevent water marks. Polish wooden tables occasionally with a suitable wood polish. This keeps the wood nourished and shiny. For glass tops, use a glass cleaner and a lint-free cloth. Clean spills right away to avoid stains.
Preventing Damage
Place coasters under drinks to stop rings on the surface. Use felt pads under decorative items to prevent scratches. Avoid placing hot objects directly on the table. Use a table runner or mat for extra protection. Keep the table away from direct sunlight to stop fading. Check and tighten screws regularly to keep the table stable. Lift the table when moving it to avoid stress on joints.

Credit: www.remodelaholic.com
Frequently Asked Questions
What Materials Are Needed To Build A Pedestal Console Table?
You need wood panels, screws, wood glue, sandpaper, paint or stain, and a drill. Quality materials ensure durability and a polished finish.
How Long Does It Take To Build A Pedestal Console Table?
Building a pedestal console table typically takes 4 to 6 hours. Time depends on skill level and drying time for paint or stain.
What Tools Are Essential For Building This Table?
Essential tools include a drill, saw, measuring tape, screwdriver, clamps, and sander. These tools help ensure accuracy and a smooth build process.
Can I Customize The Size Of My Pedestal Console Table?
Yes, you can adjust dimensions to fit your space. Measure your area before cutting wood for a perfect fit.
Conclusion
Building a pedestal console table is a rewarding project anyone can do. Start with the right materials and tools. Follow each step carefully to create a sturdy table. Take your time to measure and assemble parts correctly. Painting or staining adds the perfect finish.
This table can fit any room and style. Enjoy the satisfaction of making furniture yourself. Try this project to add a unique piece to your home. Simple, practical, and fun to build.