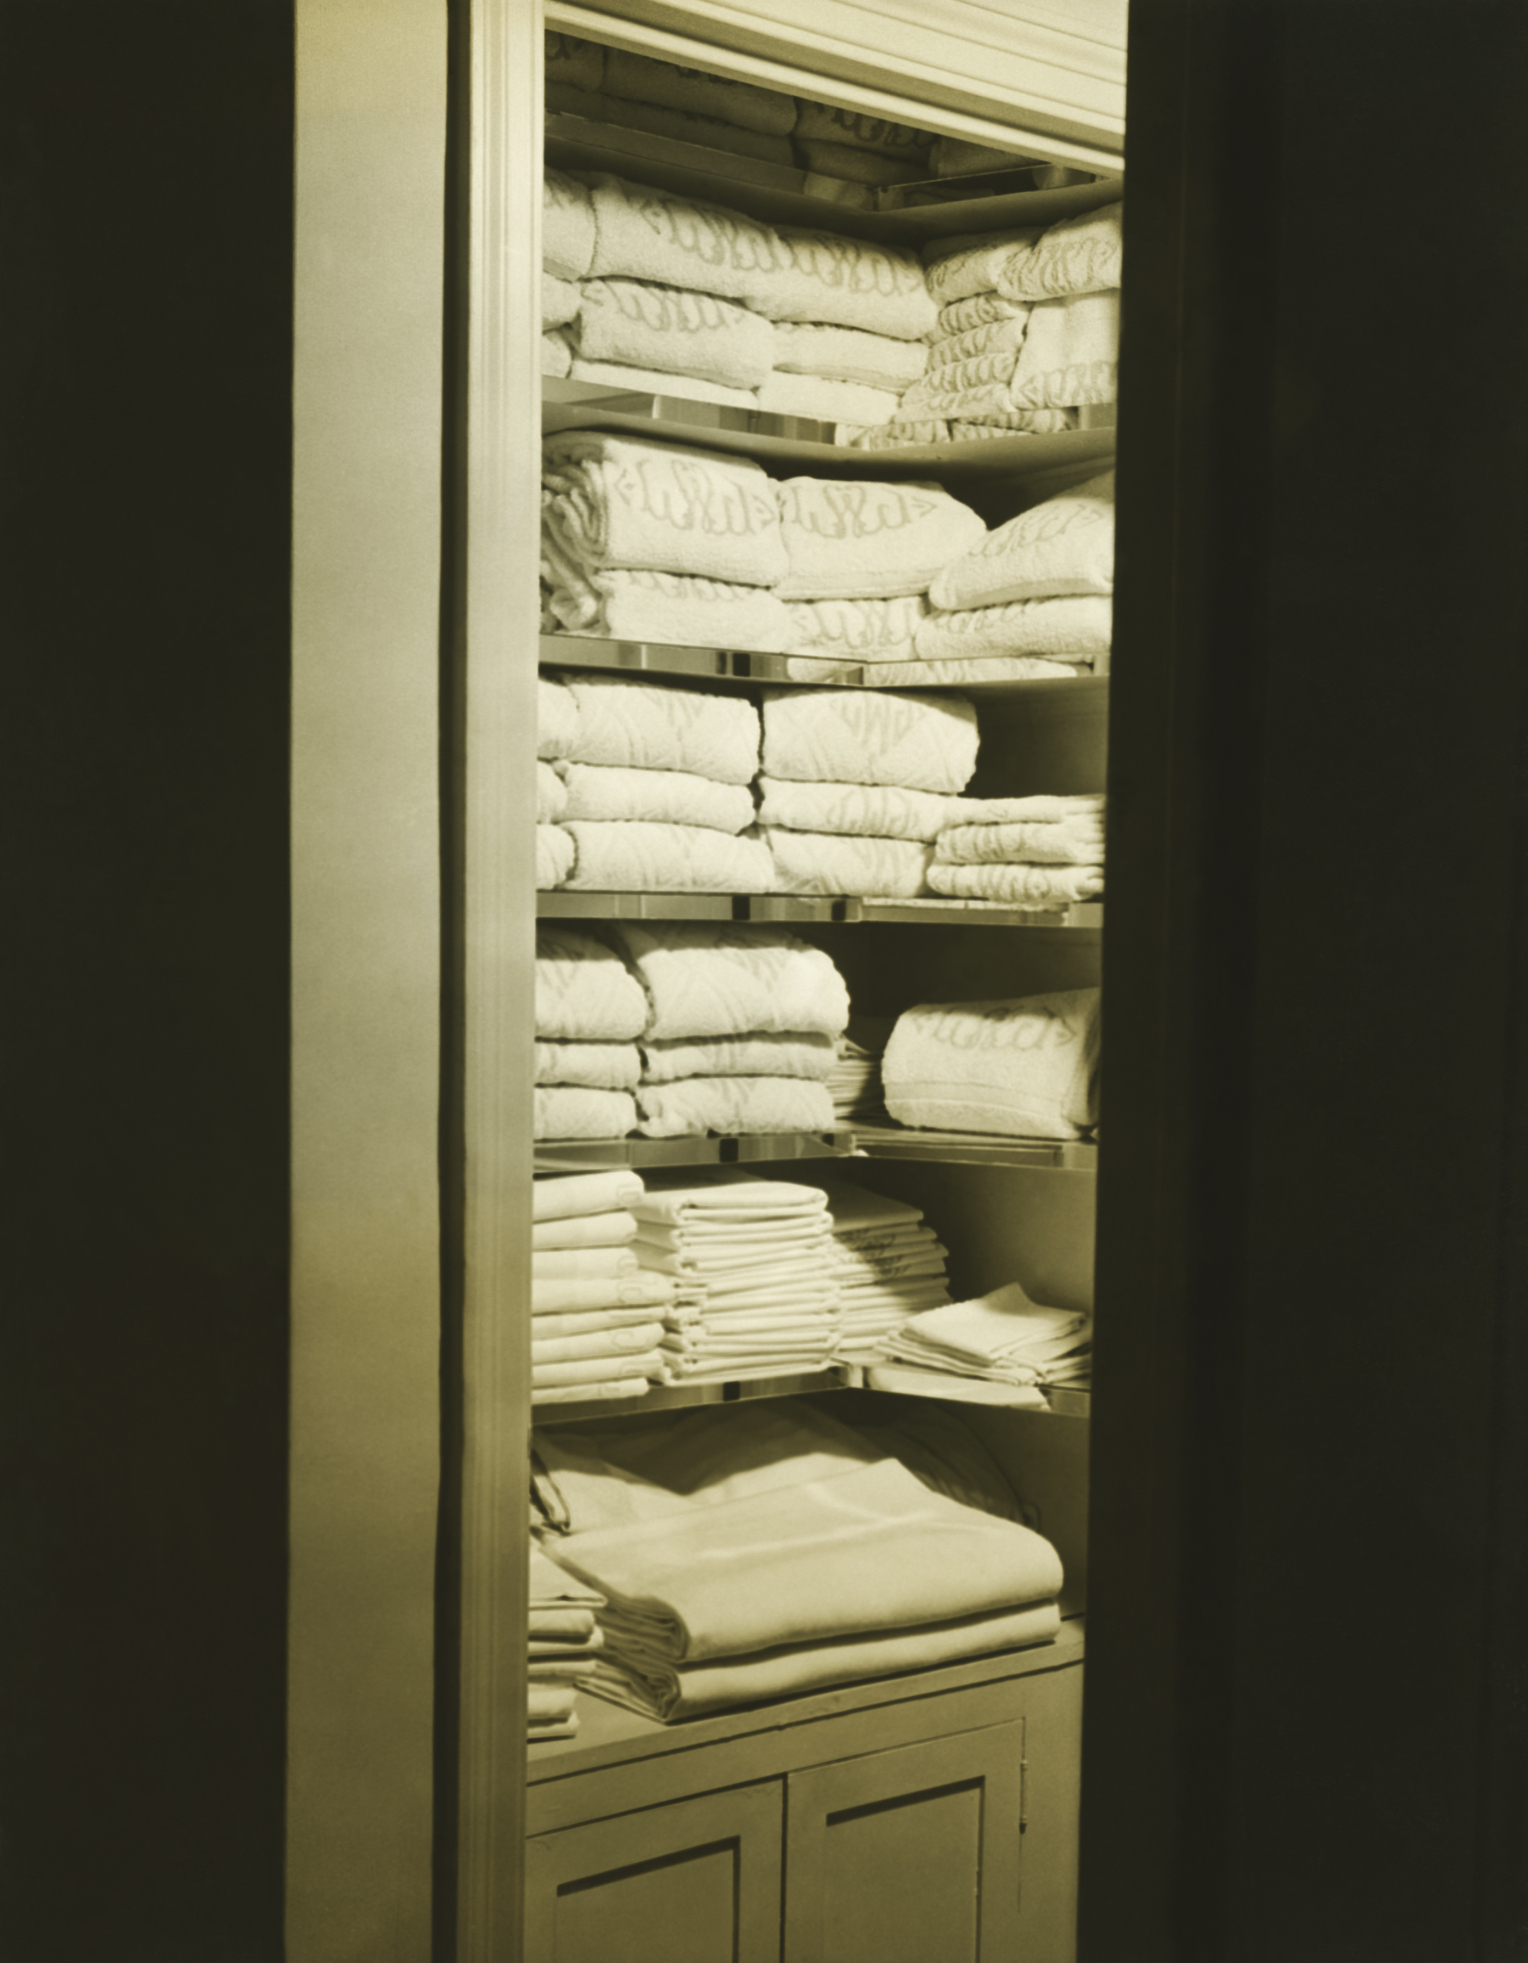
Are you tired of cluttered towels and linens spilling over your shelves? Imagine having a sleek, hidden space that keeps everything neat and easy to reach.
Building a recessed linen cabinet can transform your bathroom or hallway into a tidy, organized haven without taking up extra room. In this guide, you’ll discover simple steps to create your own built-in storage that looks professional and saves space.
Ready to turn your messy linen pile into a stylish, functional feature? Let’s get started!
Planning Your Linen Cabinet
Planning your recessed linen cabinet is the first step to a successful build. Careful preparation helps avoid mistakes and saves time. You need to know the exact space available, the style of cabinet you want, and the materials required. This section guides you through these important points.
Measuring The Space
Start by measuring the wall where the cabinet will go. Measure the height, width, and depth carefully. Use a level to ensure your measurements are straight. Note any obstacles like pipes or electrical wires inside the wall. Accurate measurements help the cabinet fit perfectly in the space.
Choosing The Cabinet Design
Pick a design that matches your room’s style and storage needs. Decide on open shelves or doors to hide the contents. Think about the number of shelves and their spacing. Simple designs are easier to build and maintain. Choose a style that fits well with your home décor.
Selecting Materials And Tools
Choose sturdy materials like plywood or MDF for durability. Select a finish that resists moisture and looks good. Make a list of tools such as a saw, drill, screws, and sandpaper. Having the right tools and materials ready saves time during construction.
Preparing The Installation Area
Preparing the installation area is the first key step in building a recessed linen cabinet. This stage sets the foundation for a smooth and safe installation. Proper preparation helps avoid mistakes and ensures the cabinet fits perfectly into the wall.
Clearing The Wall Space
Start by removing any furniture or decorations near the wall. Clear the area to give yourself enough room to work. Take down any pictures, shelves, or hooks on the wall. Clean the wall surface to see any damages or obstacles clearly. A clear space makes measuring and cutting easier.
Locating Studs And Utilities
Use a stud finder to locate the wall studs behind the drywall. Mark the studs with a pencil. Avoid cutting into these areas unless the cabinet design requires it. Also, check for electrical wires and plumbing pipes. Use a wire detector or consult a professional if unsure. Avoiding utilities is crucial for safety and preventing damage.
Marking The Cabinet Placement
Measure the cabinet dimensions carefully. Decide the exact spot where the cabinet will fit best. Use a level to draw straight horizontal and vertical lines on the wall. Mark the outline of the cabinet on the wall with a pencil. Double-check these marks before cutting to ensure accuracy.
Framing The Recessed Niche
Framing the recessed niche is a key step in building a recessed linen cabinet. It creates the space where the cabinet will fit neatly into the wall. This step requires careful measuring and cutting. You need a strong frame to hold the cabinet securely. Follow each part closely to make a solid frame.
Cutting The Drywall
Start by marking the area on the drywall where the cabinet will go. Use a pencil and a level to draw straight lines. Cut along these lines with a drywall saw. Cut slowly to avoid damaging pipes or wires behind the wall. Remove the drywall piece carefully. This opens the wall space for the cabinet.
Building The Frame Structure
Next, build the frame inside the wall opening. Use 2×4 lumber for strong support. Cut the wood to fit the height and width of the niche. Nail or screw the pieces together to form a rectangle. Add extra horizontal supports in the frame for stability. The frame should fit tightly inside the wall cavity.
Securing The Frame To The Wall
Place the frame inside the wall opening. Check it fits well and is level. Secure the frame to the existing wall studs with screws. Make sure it is flush with the drywall surface. Tighten all screws to prevent movement. This step ensures the cabinet will stay firmly in place.

Credit: www.youtube.com
Constructing The Cabinet Box
Constructing the cabinet box is the main step in building your recessed linen cabinet. This part forms the frame that holds everything together. A strong, well-built box ensures your cabinet lasts a long time and fits perfectly into the wall.
Start with careful measuring and cutting. Precise work now saves trouble later. The box must be sturdy but also fit neatly in the space.
Cutting And Assembling Panels
Cut the panels using quality plywood or MDF for smooth edges. Measure twice, cut once to avoid mistakes. Use a saw with a fine blade for clean cuts.
Assemble the panels by joining the sides, bottom, and top. Use wood glue and screws for strong connections. Keep corners square for a perfect box shape.
Installing Shelves
Decide the shelf placement based on your storage needs. Mark shelf positions inside the box carefully. Attach shelf supports or cleats with screws and glue for extra strength.
Place shelves on the supports and check for level. Adjust if needed to keep shelves straight. Secure shelves firmly to avoid sagging over time.
Sanding And Preparing Surfaces
Sand all surfaces smoothly to remove rough spots and splinters. Use medium then fine-grit sandpaper for a clean finish. Sand inside edges and corners carefully.
Wipe the surfaces with a damp cloth to clear dust. Proper sanding helps paint or stain stick better. This step improves the cabinet’s look and durability.
Installing The Cabinet
Installing the recessed linen cabinet is a key step in the project. It needs careful handling to fit perfectly into the wall niche. This section guides you through fitting, securing, and leveling the cabinet for a clean finish.
Fitting The Cabinet Into The Niche
Begin by sliding the cabinet gently into the wall niche. Check that it fits snugly without forcing it. The cabinet should sit flush with the wall surface. Adjust the cabinet position until it rests evenly on all sides. Clear any debris or obstacles inside the niche before inserting the cabinet.
Securing Cabinet To Frame
Use screws to attach the cabinet securely to the wall frame. Find the studs behind the drywall to fasten the cabinet safely. Pre-drill holes in the cabinet sides to prevent wood splitting. Drive screws through the cabinet sides into the studs. Tighten the screws evenly to hold the cabinet firmly in place.
Checking For Level And Alignment
Use a spirit level to check the cabinet’s horizontal and vertical alignment. Adjust the cabinet by adding shims behind the frame if needed. Ensure the top and sides line up with the wall edges. Double-check all corners are square and the cabinet does not tilt. Proper leveling ensures doors open smoothly and the cabinet looks professional.
Credit: www.ehow.com
Finishing Touches
Finishing touches bring your recessed linen cabinet to life. These small details make a big difference. They add style, protection, and function to the cabinet. Focus on doors, hardware, paint, and sealing to complete your project.
Adding Doors And Hardware
Choose doors that fit your cabinet size well. Hinged or sliding doors work best. Attach them carefully to avoid gaps. Pick hardware that matches your room’s style. Handles and knobs should feel sturdy and easy to use. Secure all pieces tightly for long-lasting use.
Painting Or Staining
Pick a paint or stain color that fits your decor. Use smooth, even strokes for a clean finish. Let each coat dry fully before adding another. Staining highlights wood grain and adds warmth. Paint hides imperfections and offers more color options. Both protect the cabinet from wear.
Sealing And Protecting Surfaces
Seal the cabinet with a clear coat for durability. Use polyurethane or varnish for strong protection. Apply thin layers to avoid drips or bubbles. This step guards against moisture and scratches. It keeps your cabinet looking fresh for years.
Maintenance Tips
Keeping your recessed linen cabinet in good shape saves time and money. Regular care stops small problems from growing. Follow these tips to keep the cabinet looking fresh and working well.
Cleaning And Care
Dust the cabinet shelves often. Use a soft cloth to avoid scratches. Clean spills right away to prevent stains. Mild soap and water work well for cleaning. Avoid harsh chemicals that can damage the finish. Dry the surfaces with a clean cloth after cleaning.
Inspecting For Damage
Check the cabinet for cracks or chips regularly. Look at the hinges and handles for looseness. Watch for signs of water damage or mold. Early detection helps avoid bigger repairs. Use a flashlight to see inside dark corners.
Making Repairs
Tighten loose screws with a screwdriver. Fill small cracks with wood filler. Sand the area smooth after the filler dries. Replace broken hinges or handles quickly. Paint or stain touched-up areas to match the cabinet. Fixing issues fast keeps the cabinet strong and neat.
Credit: thediyplaybook.com
Frequently Asked Questions
What Tools Are Needed To Build A Recessed Linen Cabinet?
You need a stud finder, saw, drill, level, measuring tape, screws, and wood materials. These tools ensure accurate cutting and secure assembly.
How Do You Measure Space For A Recessed Linen Cabinet?
Measure the wall cavity depth, width, and height. Ensure the cabinet fits flush within the wall without protruding.
What Materials Are Best For A Recessed Linen Cabinet?
Use plywood or MDF for durability and smooth finishes. Choose moisture-resistant materials if near bathrooms.
How Long Does It Take To Build A Recessed Linen Cabinet?
It usually takes 4 to 6 hours for a basic cabinet. Time varies by skill level and cabinet complexity.
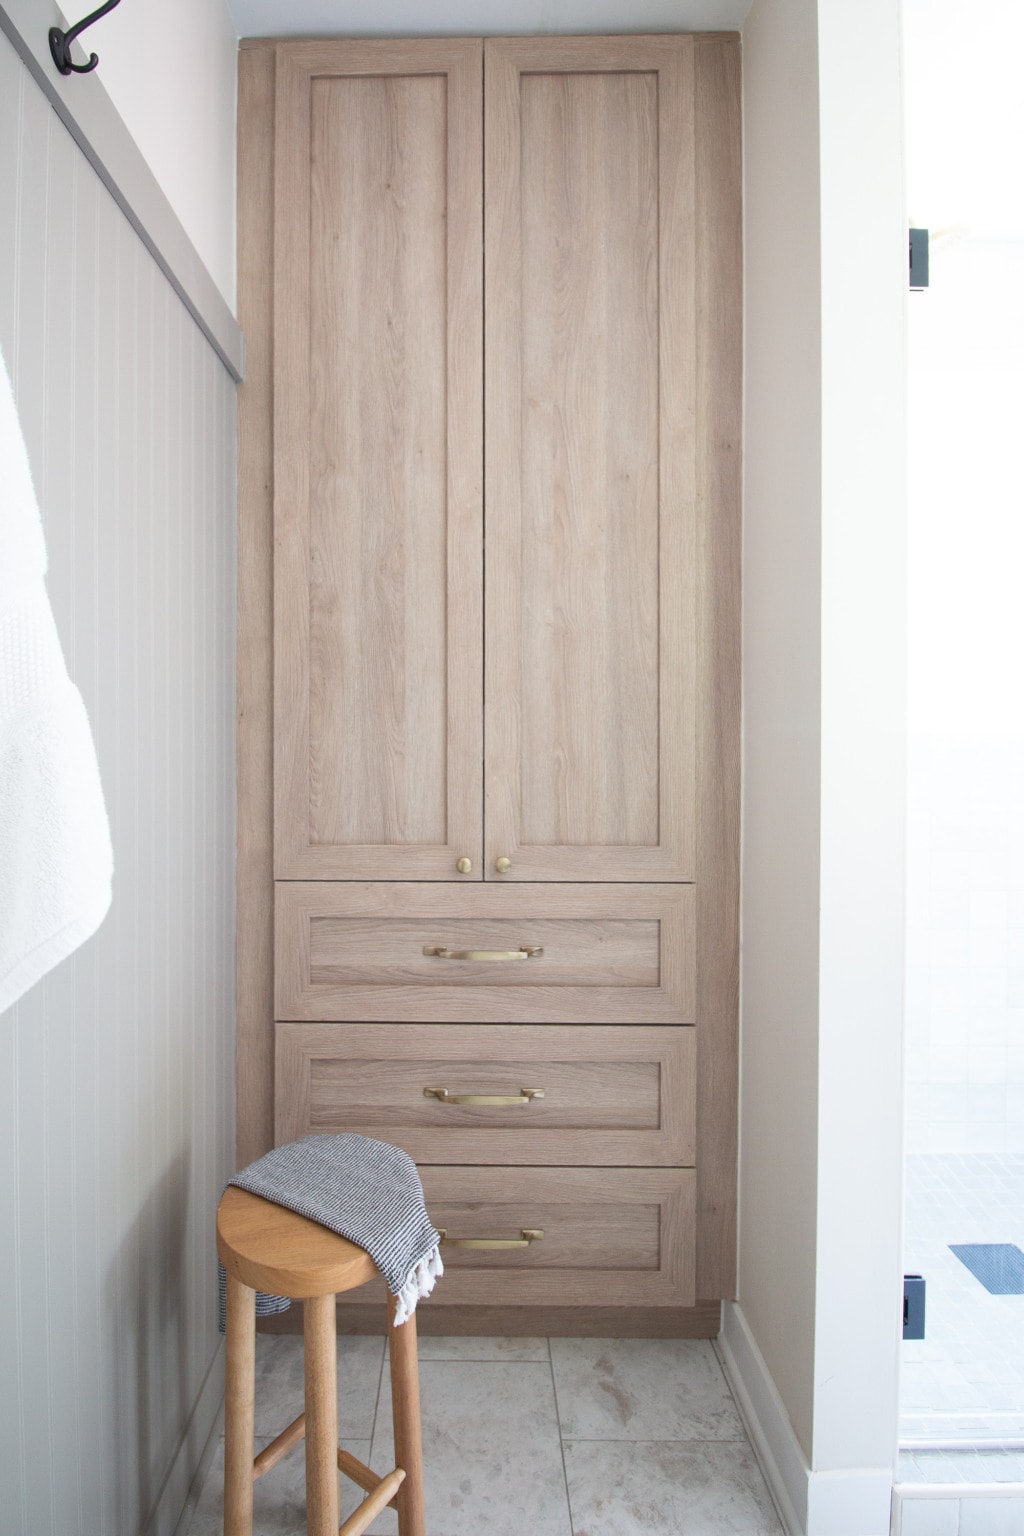
Conclusion
Building a recessed linen cabinet adds storage and style to any room. It saves space and keeps linens neat and easy to find. With basic tools and clear steps, anyone can create this useful feature. Take your time and measure carefully for the best fit.
Enjoy the satisfaction of making your home more organized and beautiful. This project improves both function and look without needing much experience. A simple addition that makes a big difference.
