Are you looking to add a warm, charming touch to your home? Building a rustic bookshelf might be just what you need.
Imagine a sturdy, beautiful piece that holds your favorite books and adds character to any room. You don’t need to be a woodworking expert to create it. In this guide, you’ll discover simple steps to build your own rustic bookshelf, using easy techniques and affordable materials.
Ready to transform your space and show off your style? Keep reading, and let’s get started!
Choosing The Right Wood
Choosing the right wood is the first step to build a rustic bookshelf. Wood affects the look, strength, and feel of your project. Picking wood that fits your style and needs makes your bookshelf last longer. This part explains the types of wood and how to find good, eco-friendly materials.
Types Of Rustic Wood
Rustic wood has natural beauty with knots and grain patterns. Pine is soft and easy to work with. Cedar smells good and resists bugs. Oak is strong and has a classic look. Reclaimed wood offers a weathered, unique appearance. Each type gives a different style and strength to your shelf.
Sourcing Sustainable Materials
Choosing sustainable wood helps protect forests and nature. Look for wood certified by groups like FSC. Reclaimed wood saves trees and adds charm. Local sawmills and lumberyards often have eco-friendly options. Use wood scraps for small parts to reduce waste. Sustainable materials make your project kind to the planet.
Gathering Tools And Supplies
Gathering the right tools and supplies is the first step to build a rustic bookshelf. Having everything ready makes the project smooth and fun. This section lists the must-have tools and some optional decorative items to give your bookshelf a unique look.
Essential Tools List
- Measuring tape for accurate dimensions
- Pencil to mark cutting lines
- Hand saw or power saw for cutting wood
- Drill with bits for making holes
- Screwdriver for fastening screws
- Sandpaper or electric sander for smooth edges
- Clamps to hold pieces together
- Wood screws or nails for assembly
- Wood glue for extra strength
- Level to ensure shelves are straight
Optional Decorative Elements
- Wood stain to enhance the natural grain
- Paint for a splash of color
- Metal brackets for rustic charm
- Decorative knobs or handles
- Distressing tools for aged look
- Clear sealant to protect the finish
Designing Your Bookshelf
Designing your rustic bookshelf sets the foundation for a project you will enjoy. It shapes how the shelf looks and fits in your space. Thoughtful design ensures a sturdy, beautiful bookshelf that lasts.
Focus on style and size. Consider the room and what you want to store. A well-designed bookshelf balances form and function perfectly.
Simple Rustic Styles
Rustic style means natural, rough, and cozy. Use wood with visible grain and knots. Keep the design clean with straight lines. Avoid too much decoration. Simple styles bring warmth and charm to any room.
Choose finishes that show the wood’s natural beauty. Light stains or matte varnishes work well. These keep the look soft and natural, not shiny or new.
Customizing Dimensions
Measure your space carefully before building. Think about height, width, and depth. Custom dimensions help the shelf fit perfectly in your room.
Consider the size of your books and items. Make shelves tall enough for large books. Add space for decorations or plants. Tailor the size to your needs for the best results.
Cutting And Preparing Wood
Cutting and preparing wood is the first step to building a rustic bookshelf. It sets the foundation for a strong and beautiful piece. Accurate cutting and smooth surfaces help the wood fit perfectly and look great.
Taking time here saves effort later. Measuring carefully and sanding well makes the project easier and the bookshelf sturdy.
Measuring Accurately
Measure the wood pieces with a tape measure. Mark the lengths clearly using a pencil. Double-check each measurement before cutting. Precise measuring ensures all parts fit together well. Avoid guessing to prevent mistakes and wasted wood.
Sanding For Smoothness
Sand each wood piece to remove rough edges and splinters. Use medium-grit sandpaper first, then fine-grit for a smooth finish. Sand along the wood grain for best results. Smooth surfaces help paint or stain stick better. Handle the wood carefully to keep it clean and ready for assembly.
Assembling The Frame
Assembling the frame is the first step in building a rustic bookshelf. This part sets the foundation. A strong frame holds the shelves and books safely. Take your time to make it sturdy and straight.
Joining Techniques
Start by cutting the wood pieces to the right size. Use wood glue on the edges for a strong bond. Nail or screw the pieces together to keep them tight. Pocket holes or dowels work well for hidden joints. Check each joint fits snugly before fastening. Avoid loose connections that can weaken the frame.
Ensuring Stability
Keep the frame square using a carpenter’s square tool. Measure diagonals; they should be equal. Add corner braces if needed for extra strength. Sand rough edges to avoid splinters. Let glue dry fully before moving to the next step. A stable frame prevents wobbling and keeps your bookshelf safe.
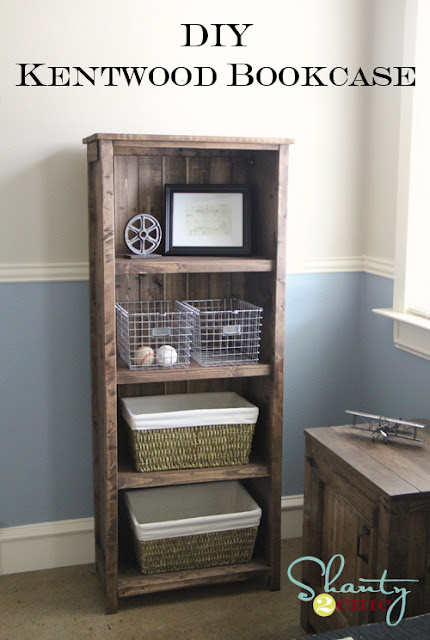
Credit: www.ana-white.com
Adding Shelves And Supports
Adding shelves and supports is a key step in building a rustic bookshelf. Shelves hold your books and decor items. Supports keep the shelves steady and strong. Proper placement and secure fixing make sure the bookshelf lasts long and looks great.
Spacing Shelves Correctly
Think about the size of your books and items before spacing shelves. Space shelves evenly or adjust for taller books and decorations. Leave enough room to easily place and remove items. Measure carefully to keep shelves level and balanced. Good spacing makes your bookshelf both useful and attractive.
Securing Shelf Brackets
Use strong brackets to support the shelves well. Attach brackets firmly to the bookshelf frame with screws. Check that brackets are level before tightening screws completely. Secure brackets prevent shelves from sagging or falling. Choose brackets that match the rustic style for a nice look.
Applying Rustic Finishes
Applying rustic finishes gives your bookshelf a warm, natural look. It highlights the wood’s beauty and adds a vintage feel. This step transforms plain wood into a charming piece. Follow simple techniques to achieve a perfect rustic finish.
Staining Tips
Choose a stain that matches your rustic style. Darker stains work well for a rich, aged look. Use a cloth or brush to apply the stain evenly. Wipe off extra stain quickly to avoid blotches. Let the wood dry completely before the next step. Test stain on a scrap piece first to check color.
Distressing For Character
Distressing adds texture and signs of wear to the wood. Use tools like sandpaper, hammers, or chains to create dents and scratches. Focus on edges and corners for a natural worn effect. Sand lightly after distressing to smooth rough spots. This step makes your bookshelf look old and full of stories.
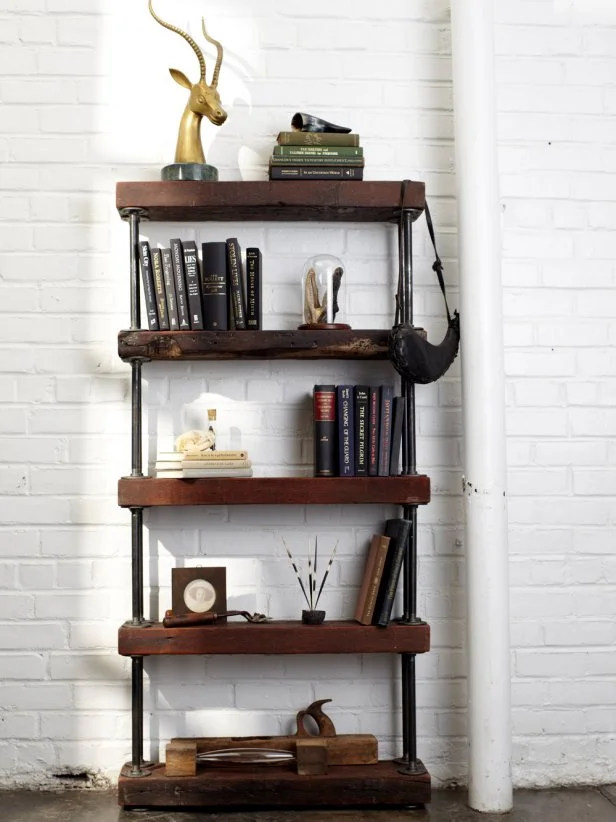
Credit: www.hgtv.com
Final Touches
Final touches bring your rustic bookshelf to life. These last steps give it character and function. Focus on details to complete your project.
Installing Hardware
Choose hardware that matches your rustic style. Metal brackets or simple knobs add charm. Use screws that fit well and hold tight. Attach handles or hooks to make the shelf useful. Check that everything is secure and straight. Proper hardware helps your shelf last longer and look better.
Decorating Your Bookshelf
Arrange books and items with care. Mix old and new pieces for a cozy feel. Add small plants or candles for warmth. Use baskets or boxes to keep things neat. Leave some space to avoid clutter. Decorations highlight the beauty of your rustic shelf.
Maintaining Your Rustic Bookshelf
Maintaining your rustic bookshelf keeps it strong and beautiful for years. Wood needs care to stay in good shape. Dust, moisture, and daily use can wear down the wood. Regular upkeep helps preserve its charm and function.
Follow simple steps to clean and fix your bookshelf. These tips save you time and protect your investment. A well-maintained bookshelf looks great and lasts longer.
Cleaning Tips
Dust your bookshelf often with a soft, dry cloth. Avoid wet rags that can damage the wood. Use a gentle wood cleaner for tough spots. Wipe in the direction of the wood grain. Keep the shelf away from direct sunlight and damp areas. This prevents fading and warping.
Repairing Wear And Tear
Check your bookshelf regularly for scratches and dents. Small scratches can be fixed with a wood repair marker. Fill deeper dents with wood filler and sand lightly. Tighten loose screws or nails to keep it sturdy. Replace damaged boards to avoid bigger problems. Proper repairs extend the life of your bookshelf.
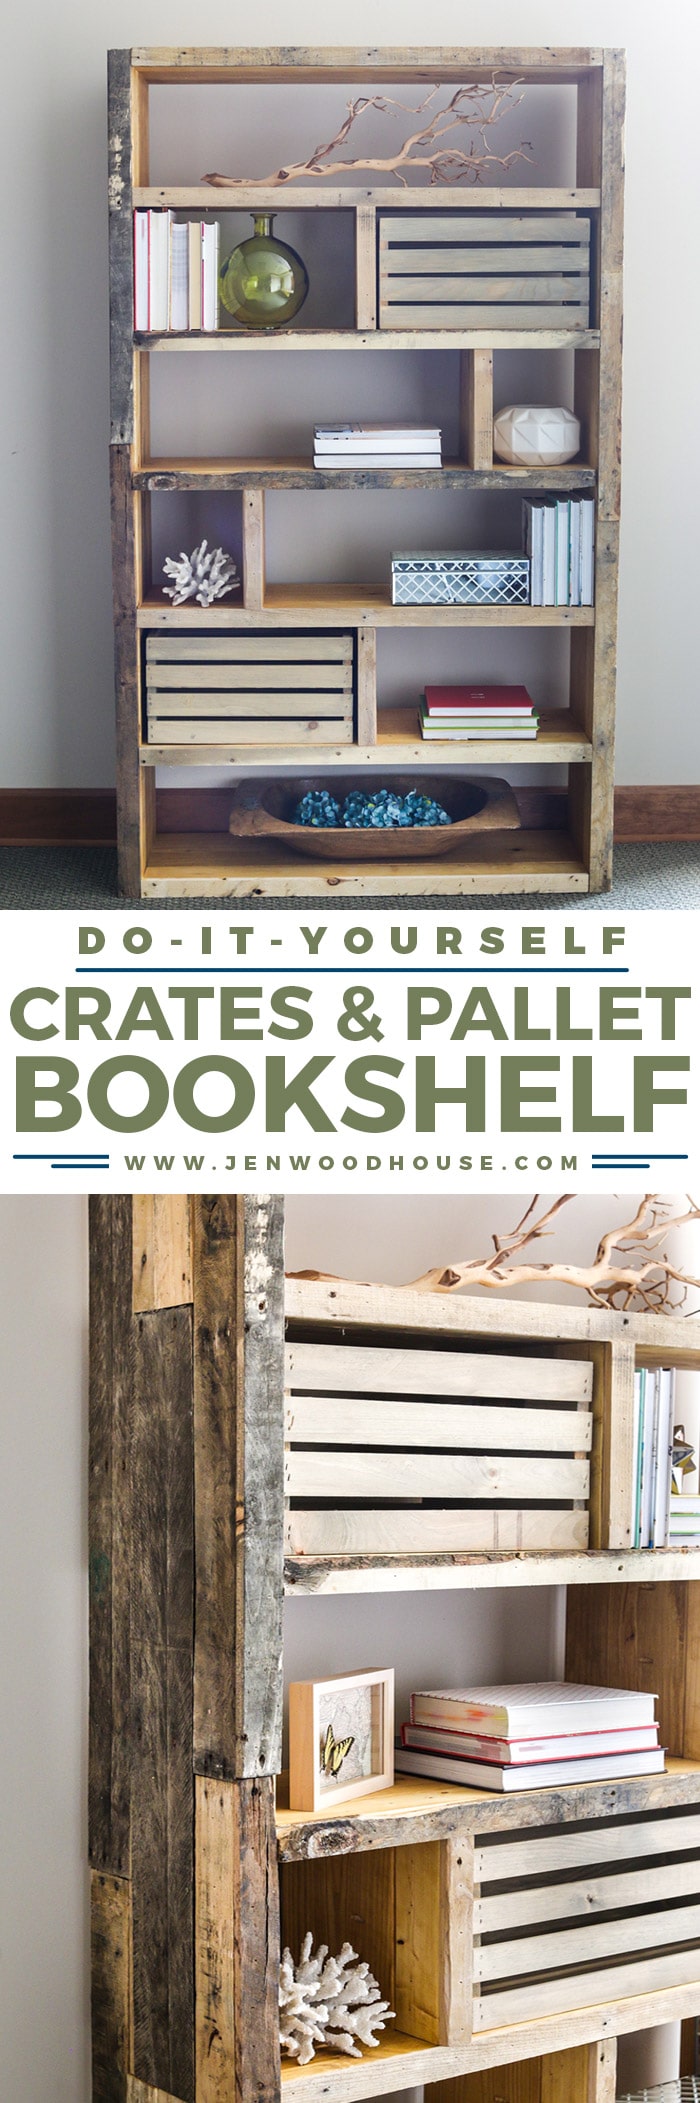
Credit: jenwoodhouse.com
Frequently Asked Questions
What Materials Do I Need To Build A Rustic Bookshelf?
To build a rustic bookshelf, gather wood planks, screws, sandpaper, wood stain, brushes, and a drill. Choose reclaimed or distressed wood for authenticity. These materials help create a sturdy, charming, and natural-looking bookshelf that fits rustic decor perfectly.
How Long Does It Take To Build A Rustic Bookshelf?
Building a rustic bookshelf typically takes 4 to 6 hours. This includes measuring, cutting, assembling, sanding, and staining. Time may vary based on skill level and design complexity. Planning ahead ensures a smooth, enjoyable building process with satisfying results.
Can I Customize The Size Of My Rustic Bookshelf?
Yes, you can customize your bookshelf’s size easily. Adjust the length, width, and height of wood pieces to fit your space. Custom sizing allows your bookshelf to perfectly suit your room while maintaining the rustic aesthetic and structural stability.
What Is The Best Wood For A Rustic Bookshelf?
Reclaimed wood, pine, cedar, or oak are ideal for rustic bookshelves. These woods have natural textures and grains that enhance rustic charm. They are durable, easy to work with, and take stain well, ensuring your bookshelf looks authentic and lasts long.
Conclusion
Building a rustic bookshelf is simple and fun. Choose the right wood and tools first. Follow steps carefully and take your time. Sand and finish the wood to make it smooth. Adding shelves lets you store books and decorations. This project brings charm and warmth to any room.
Enjoy your new, handcrafted piece every day. Try making more furniture as your skills grow. A rustic bookshelf adds both style and function. Keep practicing, and your work will improve fast.