Are you tired of cluttered entryways and searching for a simple way to organize your space? Imagine having a stylish storage bench that not only gives you a cozy spot to sit but also keeps your coats, hats, and shoes neatly arranged.
Building your own storage bench with a coat rack is easier than you think—and it’s a perfect project to add both function and charm to your home. You’ll discover step-by-step instructions that anyone can follow, no matter your skill level.
Ready to transform your space and make your daily routine smoother? Let’s get started!
Choosing Materials
Choosing the right materials is key to building a strong storage bench with a coat rack. Good materials make the bench last longer and look better. This section guides you through picking wood, tools, hardware, and finishes. These choices affect the bench’s style and durability.
Wood Types And Tools
Wood choice shapes the bench’s strength and style. Pine is soft, easy to cut, and budget-friendly. Oak is harder and lasts long. Cedar resists moisture and smells nice. Choose wood that fits your space and use.
Basic tools include a saw, drill, screwdriver, measuring tape, and sandpaper. These help cut, join, and smooth the wood. Sharp tools make work easier and safer. Prepare all tools before starting the project.
Hardware And Finishes
Hardware holds the bench parts firmly. Use screws, nails, and brackets for strong joints. Coat hooks or pegs should be sturdy to hold heavy coats. Pick hardware that matches the wood color or style.
Finishes protect the wood from dirt and damage. Paint or stain adds color and highlights the wood grain. Sealants prevent water and scratches. Choose a finish safe for indoor use and easy to clean.
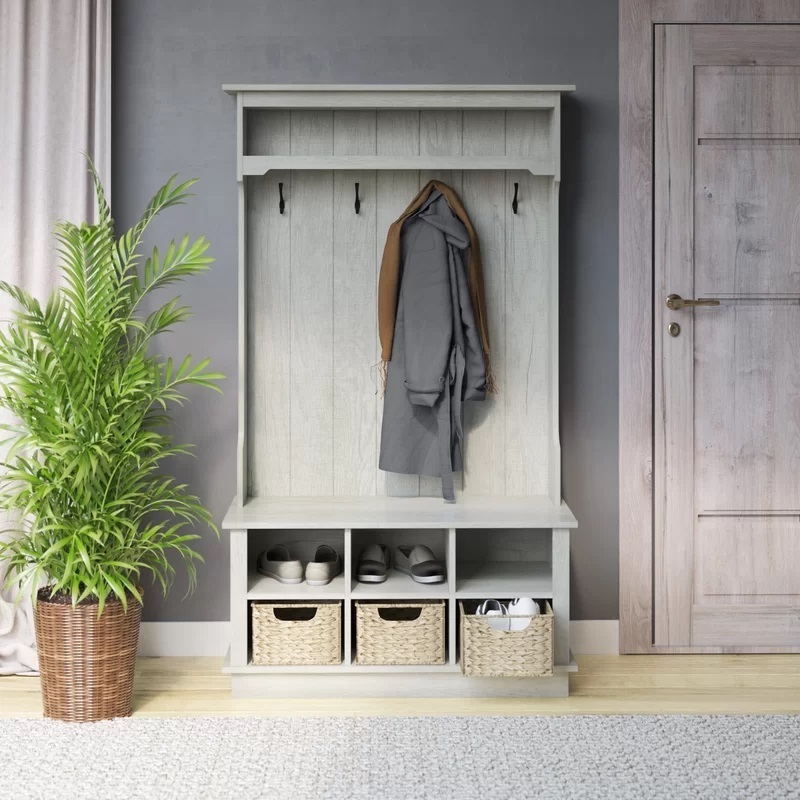
Credit: www.drfabregues.com
Designing Your Bench
Designing your storage bench with a coat rack is a key step before building. It helps you create a piece that fits your space and needs perfectly. Start by thinking about the size, style, and function you want. This process ensures your bench will be both useful and attractive.
Measuring Space
Measure the area where you want to place the bench. Note the width, height, and depth available. Keep in mind doors, windows, and walkways nearby. Accurate measurements prevent problems during and after building. Also, think about how much room you need to sit and store items comfortably.
Sketching The Layout
Draw a simple sketch of your bench design on paper. Include the coat rack on top and storage space below. Mark the dimensions based on your measurements. Sketching helps you visualize the final product clearly. It allows you to plan details like shelf size and hook placement. Change the design easily before starting to build.
Preparing The Wood
Preparing the wood is the first important step in building a storage bench with a coat rack. Good preparation ensures your project is strong and looks great. It helps the pieces fit perfectly and last a long time.
Start by choosing the right wood. Then, measure and cut the pieces to the correct size. After cutting, smooth all surfaces carefully. This makes the wood safe to touch and ready for finishing.
Cutting To Size
Measure each piece of wood carefully before cutting. Use a tape measure and mark the wood with a pencil. Cut the wood using a saw suited for your project. Keep the cuts straight for a clean fit. Double-check the sizes after cutting. Proper cutting saves time and prevents mistakes later.
Sanding And Smoothing
Sand each wood piece to remove rough spots and splinters. Use medium-grit sandpaper first, then fine-grit for a smooth finish. Sand along the grain of the wood, not against it. Smooth surfaces help paint or stain stick better. Take your time to avoid missing any areas. This step makes your bench safe and nice to touch.
Assembling The Bench Frame
Assembling the bench frame is a key step in building your storage bench with a coat rack. This process shapes the bench’s basic form and ensures it stands strong. Taking your time here will help the final product last longer and look better.
Joining The Pieces
Start by arranging all wooden parts on a flat surface. Match each piece to the bench plan to avoid confusion. Use wood glue on the edges that will connect. Press the parts together firmly. Clamp them to keep steady while drying. This step creates a solid frame base.
Securing The Structure
Next, reinforce joints with screws or nails. Pre-drill holes to prevent wood from splitting. Check that the frame stays square and level. Tighten screws slowly to avoid damage. Double-check all connections for tightness. A secure frame holds the bench shape well and supports weight safely.
Adding Storage Features
Adding storage features to your bench with a coat rack makes it very useful. You get a place to sit, hang coats, and keep items organized. This section shows how to add storage compartments and choose the best way to open them. Simple steps create a neat, practical piece for your home.
Building The Storage Compartment
Start by measuring the space under the bench seat. Use sturdy wood panels to build the box for storage. Cut pieces for the bottom, sides, and back. Attach them with screws or nails, making sure the box fits well inside the bench frame.
Sand the edges to avoid splinters. Paint or stain the wood to match your bench style. This storage box will hold shoes, bags, or other items you want to keep hidden but close.
Installing Hinges Or Drawers
Choose between hinges or drawers for easy access to storage. Hinges let the top seat open like a lid. Attach strong hinges to the back edge of the seat and the storage box. Test to make sure the seat opens smoothly and stays open safely.
Drawers slide out from the front of the bench. Add runners or wheels inside the storage box to guide the drawer. Fix the drawer front to match the bench look. Drawers help organize small items and keep the space tidy.
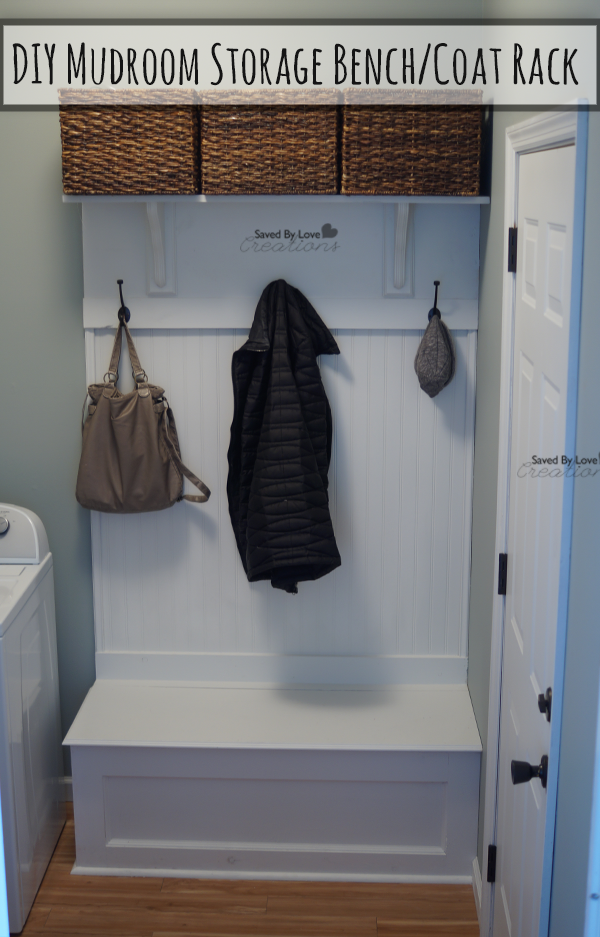
Credit: www.drfabregues.com
Attaching The Coat Rack
Attaching the coat rack to your storage bench is a key step. It makes your piece functional and stylish. This part needs careful planning and precise work. Follow simple steps to secure the rack safely and neatly.
Selecting Hooks
Choose hooks that match your room’s style. Metal hooks offer strength and durability. Wooden hooks add a warm, natural look. Pick hooks with rounded edges to protect coats and bags.
Think about how many hooks you need. Space them evenly for a balanced look. Hooks should hold heavy coats without bending.
Mounting The Rack
Find the right height for easy reach. Measure twice to avoid mistakes. Use a level to keep the rack straight.
Use screws and anchors for strong support. Drill pilot holes to prevent wood from splitting. Tighten screws firmly but don’t overdo it.
Check stability by gently pulling the rack. Adjust screws if it feels loose. A solid mount ensures safety and long use.
Finishing Touches
Finishing touches give your storage bench with coat rack a polished look. These final steps protect the wood and bring out its beauty. Taking time for finishing makes your project last longer. It also adds personality to your furniture piece.
Painting Or Staining
Choose paint or stain based on the style you want. Paint offers many colors for a bold or soft look. Stain shows the natural wood grain and adds warmth. Use a brush or cloth to apply evenly. Let each coat dry fully before adding another. Light sanding between coats helps smooth the surface.
Protective Coating
Apply a clear protective coat to shield the wood. Polyurethane or varnish works well for durability. This layer guards against scratches, water, and daily wear. Use a clean brush and apply thin, even coats. Allow drying time as directed on the product label. Multiple coats improve protection and shine.
:max_bytes(150000):strip_icc()/bitterrootdiy-155d115efc8547fb92d93bd3203cfa9c.jpg)
Credit: www.esseg.eu
Maintenance Tips
Maintaining your storage bench with coat rack helps it last longer and look better. Simple care keeps it clean and strong. Follow these easy tips to protect your bench and rack from wear and damage.
Cleaning Advice
Dust the bench and coat rack often. Use a soft cloth or duster to remove dirt. Wipe surfaces with a damp cloth and mild soap. Avoid harsh cleaners that can harm the finish. Dry the wood well after cleaning to prevent water damage. Clean metal parts with a soft cloth and a little oil to stop rust.
Repairing Scratches
Small scratches can be fixed quickly. Use a matching wood marker or crayon to cover light marks. For deeper scratches, apply wood filler and sand it smooth. Touch up with paint or stain that matches your bench. Polish the area to blend the repair. Regular checks help catch scratches early and keep the bench looking fresh.
Frequently Asked Questions
What Materials Are Needed To Build A Storage Bench With Coat Rack?
You need wood boards, screws, hinges, coat hooks, paint, sandpaper, and wood glue. Choose durable wood like pine or oak for strength and aesthetics. Tools like a drill, saw, and screwdriver are essential for assembly and finishing.
How Long Does It Take To Build A Storage Bench With Coat Rack?
Building a storage bench with a coat rack typically takes 4 to 6 hours. Time depends on skill level, design complexity, and drying time for paint or stain. Preparing materials and following step-by-step instructions can speed up the process.
Can I Customize The Size Of The Storage Bench?
Yes, you can customize the size to fit your space. Measure your available area before building. Adjust the bench’s length, height, and depth accordingly. Custom sizes ensure the bench fits perfectly and meets your storage needs.
Is It Necessary To Seal The Wood After Building?
Sealing the wood is highly recommended to protect against moisture and wear. Use a clear wood sealer or paint for durability. It helps preserve the bench’s finish and extends its lifespan, especially in entryways or humid environments.
Conclusion
Building a storage bench with a coat rack adds style and function to any space. It saves room by combining seating, storage, and hooks for coats. You can customize it to fit your needs and space size. Using basic tools and materials keeps the project simple and affordable.
This DIY project helps organize your home and welcomes guests warmly. Try it yourself and enjoy a neat, practical addition to your entryway or hallway. Easy steps lead to great results.

