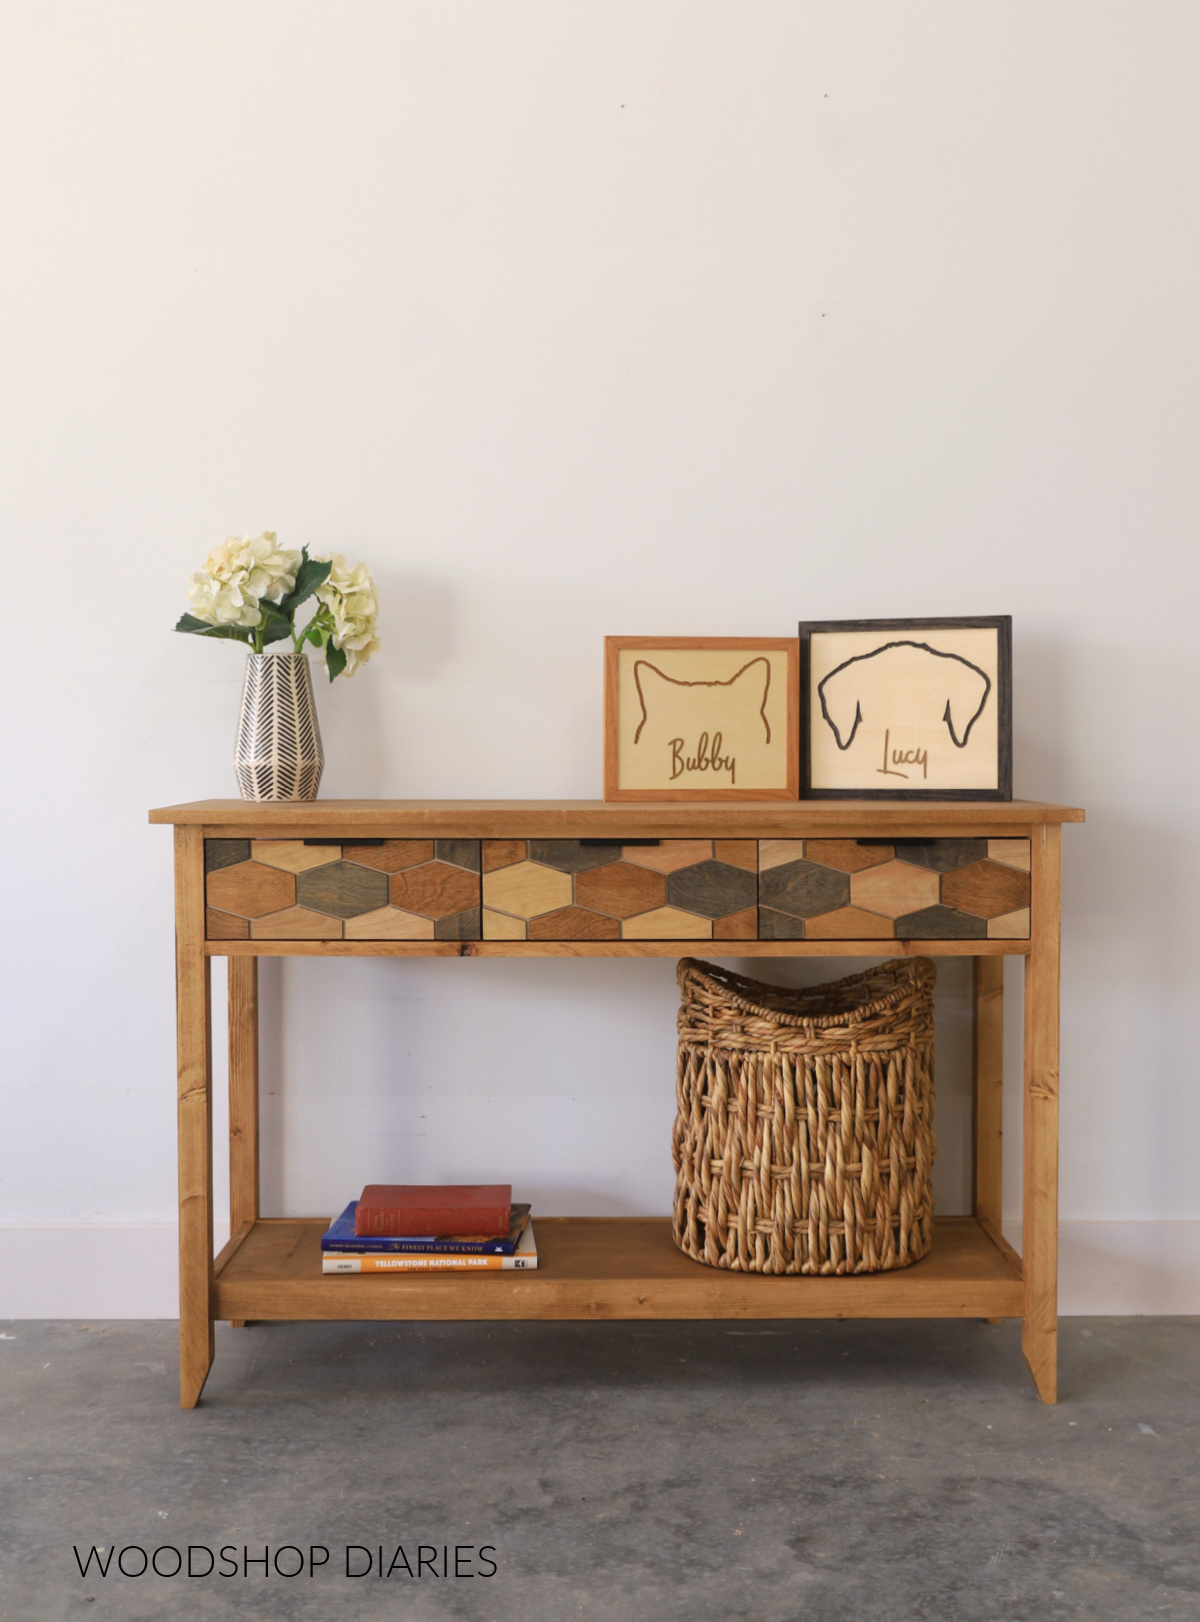
Are you looking to add a stylish and functional piece to your home? Building a console table with drawers might be the perfect project for you.
Imagine having a beautiful table that not only enhances your space but also offers hidden storage for your essentials. In this guide, you’ll discover simple steps and expert tips to create your own console table, even if you’re new to woodworking.
Ready to transform your living area and enjoy the satisfaction of a DIY success? Keep reading, and let’s get started!
Credit: www.woodshopdiaries.com
Materials And Tools Needed
Building a console table with drawers requires the right materials and tools. Gathering everything before starting will make the process smooth. Choose quality wood and have the essential tools ready. Also, include the necessary hardware for drawer function.
Choosing The Right Wood
Pick wood that is strong and easy to work with. Pine, oak, or maple are good choices. Pine is softer and cheaper. Oak and maple are harder and last longer. Consider the look and feel you want for your table. Make sure the wood is straight and free of cracks.
Essential Tools List
Have these tools ready to build your table:
- Measuring tape
- Hand saw or circular saw
- Drill and drill bits
- Screwdriver
- Hammer
- Clamps
- Sandpaper or electric sander
- Wood glue
- Square tool for angles
These tools help cut, join, and finish the wood accurately.
Additional Hardware
For the drawers, collect these items:
- Drawer slides or runners
- Screws and nails
- Drawer handles or knobs
- Wood filler for gaps
- Brackets for extra support
Choose hardware that fits the size and style of your table.

Credit: www.ana-white.com
Planning Your Console Table
Planning your console table is the first step to a successful build. Good planning saves time and avoids mistakes. It helps you visualize the final product clearly. Focus on key details like size, style, and function. A well-thought plan makes the building process smooth and enjoyable.
Design And Dimensions
Decide the style of your console table first. Choose a design that fits your room’s decor. Measure the space where you will place the table. Note the height, width, and depth carefully. Keep in mind the table must fit without crowding the room. Plan for enough legroom and clearance around the table.
Drawer Size And Placement
Think about how many drawers you want. Decide the size of each drawer based on what you will store. Drawers can be small for keys or large for files. Place drawers in a way that balances the table’s look. Avoid making drawers too close or too far apart. Proper spacing improves both style and function.
Sketching Your Layout
Draw a simple sketch of your console table. Include all parts like the tabletop, legs, and drawers. Use measurements to keep the sketch accurate. This helps see the overall look and proportion. Make changes on paper before cutting any wood. A clear sketch guides you through each building step.
Cutting The Wood Pieces
Building the frame of your console table is an important step. This part gives the table its shape and strength. Pay attention to each piece and fit them carefully. A strong frame means a durable table that lasts long.
Joining The Legs And Aprons
Start by attaching the legs to the aprons. Use wood glue on each joint for a tight hold. Then, secure them with screws or nails. Make sure the legs stand straight and the aprons fit snugly. Check all corners to keep them square.
Securing The Tabletop
Place the tabletop on the frame carefully. Align it so the edges are even. Attach the tabletop using screws from underneath. This method hides the screws and keeps the surface smooth. Tighten all screws to keep the tabletop stable.
Reinforcing The Structure
Add extra support to the frame by installing corner braces. These small pieces of wood or metal strengthen the joints. Fix them inside corners with screws. This step reduces wobbling and makes the table more solid. Test the frame’s stability before moving on.
Assembling The Table Frame
Building and installing drawers for your console table is a key step. It adds both style and function. A well-made drawer fits smoothly and holds your items safely.
This section guides you through making drawer boxes, attaching slides, and fitting drawers into the frame. Each step is clear and easy to follow. Let’s start with constructing the drawer boxes.
Constructing Drawer Boxes
Cut the wood pieces to size for the drawer sides, front, back, and bottom. Use quality plywood or solid wood for strength. Join the sides to the front and back using wood glue and nails or screws. Make sure corners are square for a neat fit. Attach the bottom panel by sliding it into grooves or by gluing it on. Sand the edges smooth to avoid splinters.
Attaching Drawer Slides
Choose the right drawer slides for your drawer size and weight. Metal ball-bearing slides work well for smooth movement. Attach one part of the slide to the drawer side. Use screws and a level to keep it straight. Attach the matching part inside the console table frame. Check alignment carefully to prevent sticking or gaps. Test the slides by sliding the drawer partway in and out.
Fitting Drawers Into Frame
Slide the drawer carefully into the frame along the installed slides. Check for smooth movement without catching or rubbing. Adjust the slides if the drawer is too tight or loose. Make sure the drawer front lines up evenly with the table’s front. Install stops or bumpers to keep the drawer from sliding out too far. Finally, attach drawer handles or knobs for easy use.
Building And Installing Drawers
Adding final touches to your console table with drawers brings your project to life. These steps enhance both the look and function of your table. Focus on small details that make a big difference.
Installing Drawer Handles
Choose handles that match your table’s style. Measure and mark holes carefully on each drawer front. Use a drill to create holes for the screws. Attach handles securely with screws. Check that all handles are straight and tight.
Optional Decorative Elements
Decorate your table with extra features if you want. Add trim or molding to edges for a classic look. Use stencils to paint simple patterns or designs. Attach small metal corner brackets for an industrial style. These details give your table personality.
Final Inspection And Adjustments
Open and close each drawer to check smoothness. Tighten any loose screws or fittings. Sand rough edges lightly for a smooth finish. Wipe the table clean to remove dust and debris. Make small fixes to ensure your table looks perfect.

Credit: www.youtube.com
Frequently Asked Questions
What Materials Do I Need To Build A Console Table With Drawers?
You need wood planks, drawer slides, screws, wood glue, sandpaper, paint or stain, and drawer handles. Choose quality materials for durability and finish.
How Do I Install Drawers In A Console Table?
Attach drawer slides to both the drawer and table frame. Ensure alignment for smooth movement. Secure slides with screws for stability.
What Tools Are Essential For Building A Console Table?
Basic tools include a saw, drill, screwdriver, measuring tape, clamp, and sander. These help cut, assemble, and finish the table accurately.
How Can I Customize The Console Table Design?
Change wood types, paint colors, or drawer sizes. Add decorative handles or trim to match your home décor style.
Conclusion
Building a console table with drawers is a fun and useful project. You can create furniture that fits your space perfectly. The steps are simple and easy to follow. With some patience, you will have a sturdy table to use every day.
This project also helps you learn new skills and save money. Try different designs and finishes to match your style. Enjoy the process and the final result. Your home will feel more organized and stylish with this table. Start building today and see the difference it makes.
