Are you ready to add a charming touch to your dollhouse? Building a dollhouse bunk bed is a fun and rewarding project that brings creativity right to your fingertips.
Imagine creating a cozy, space-saving bed that makes your dollhouse feel even more like a real home. Whether you’re a beginner or have some DIY experience, this guide will walk you through each simple step. Keep reading, and you’ll soon have a beautiful bunk bed that your dolls will love!
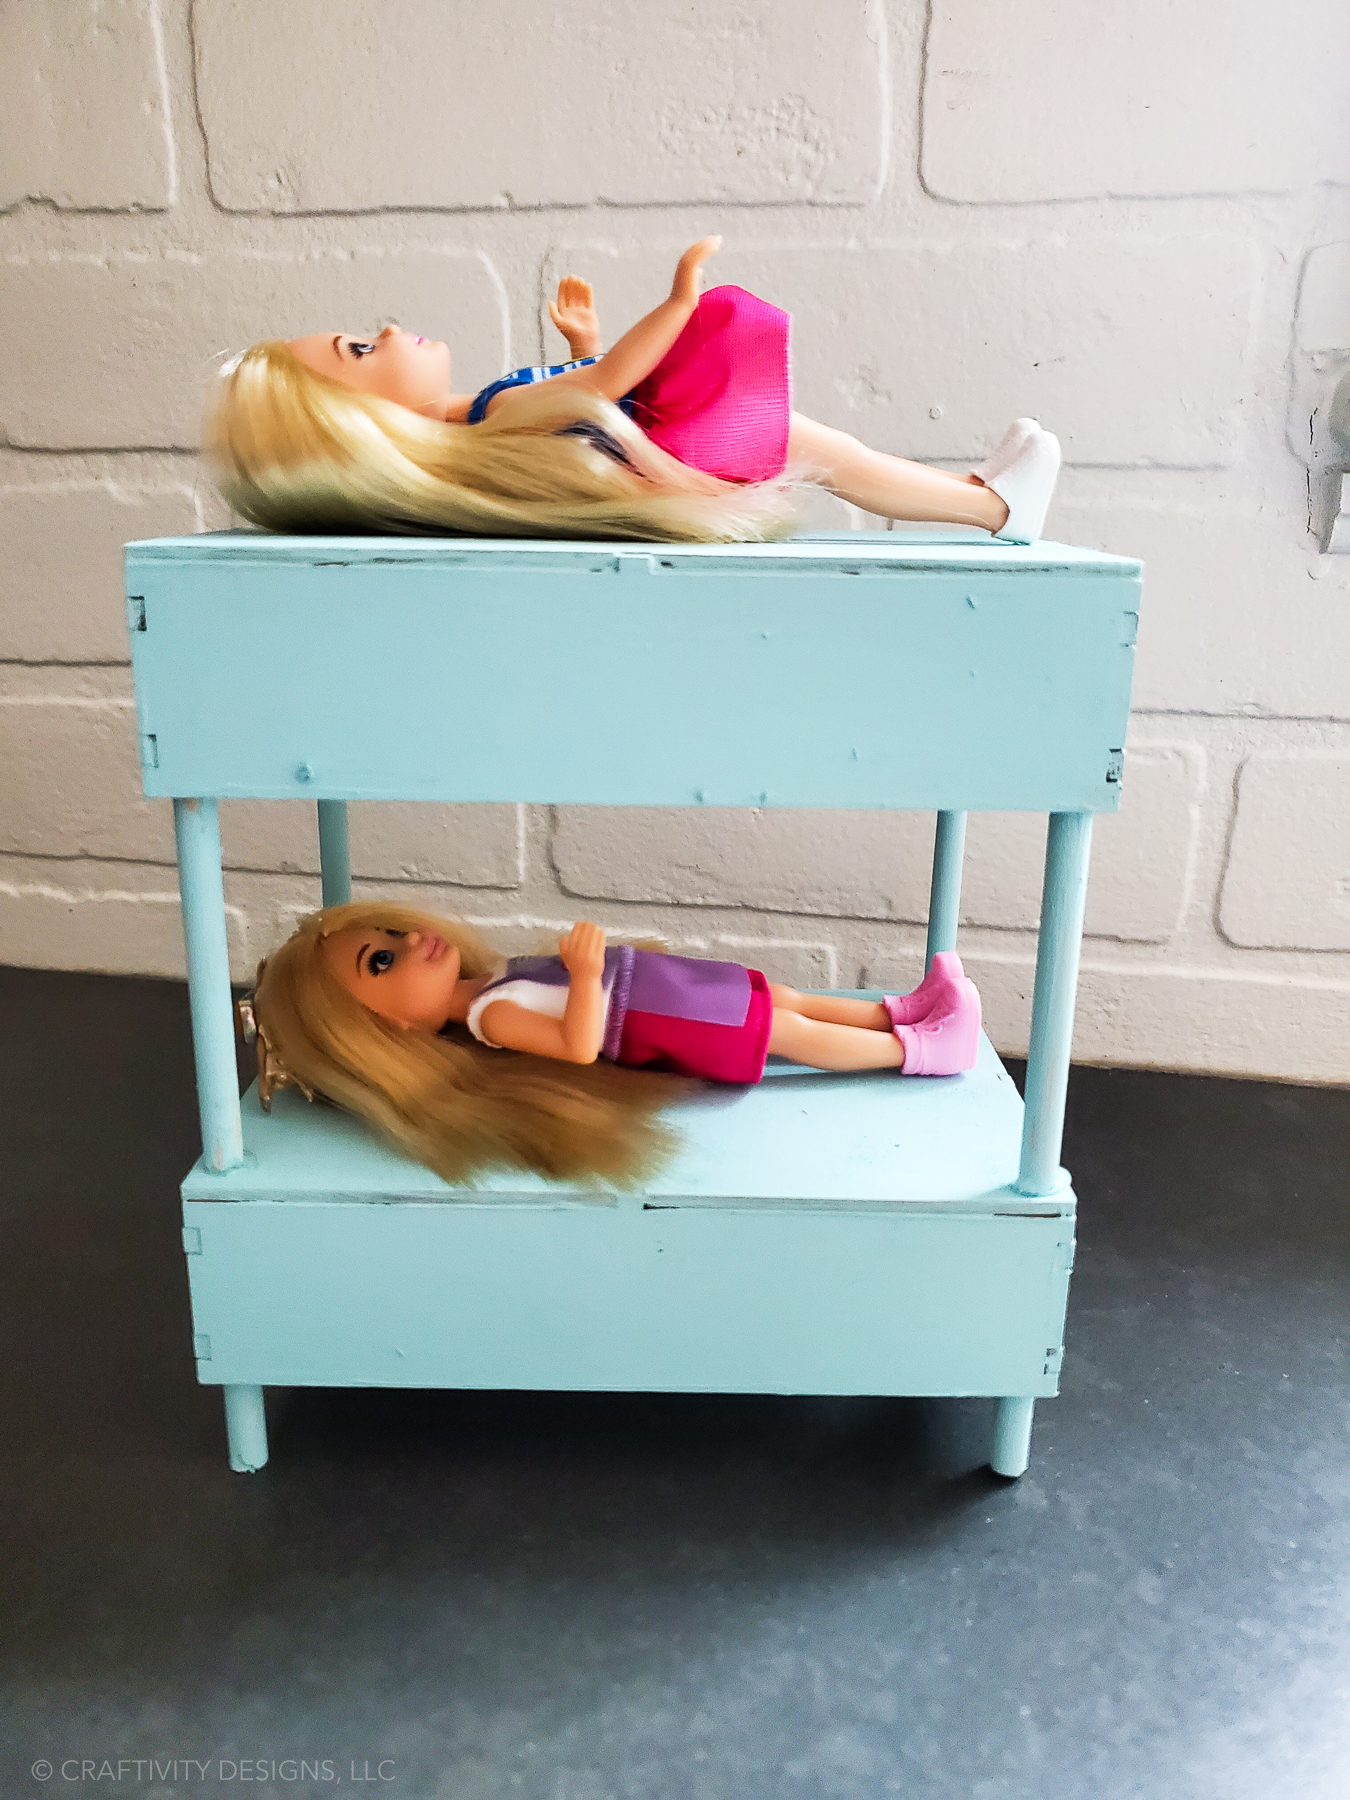
Credit: craftivitydesigns.com
Choosing Materials
Choosing the right materials is the first step in building a sturdy dollhouse bunk bed. The materials affect how strong and safe the bed will be. Good materials also make the project easier and more fun. Pick materials that are easy to work with and safe for children’s toys.
Best Wood Types
Pine is a popular choice for dollhouse furniture. It is soft, light, and easy to cut. Basswood is smooth and has no strong smell. It is perfect for painting and decorating. Birch plywood is strong and thin, ideal for small parts. Avoid woods with rough surfaces or splinters.
Essential Tools
Basic tools include a small saw, sandpaper, and wood glue. A ruler and pencil help with precise measurements. Use clamps to hold pieces while drying. Fine-grit sandpaper smooths edges and surfaces. A small drill can make holes for screws or dowels. Keep tools clean and sharp for best results.
Safety Tips
Wear safety glasses to protect your eyes. Work in a well-lit area with good ventilation. Keep fingers away from cutting tools. Use glue that is non-toxic and child-safe. Sand all wood edges to avoid splinters. Store tools out of reach of children when not in use.
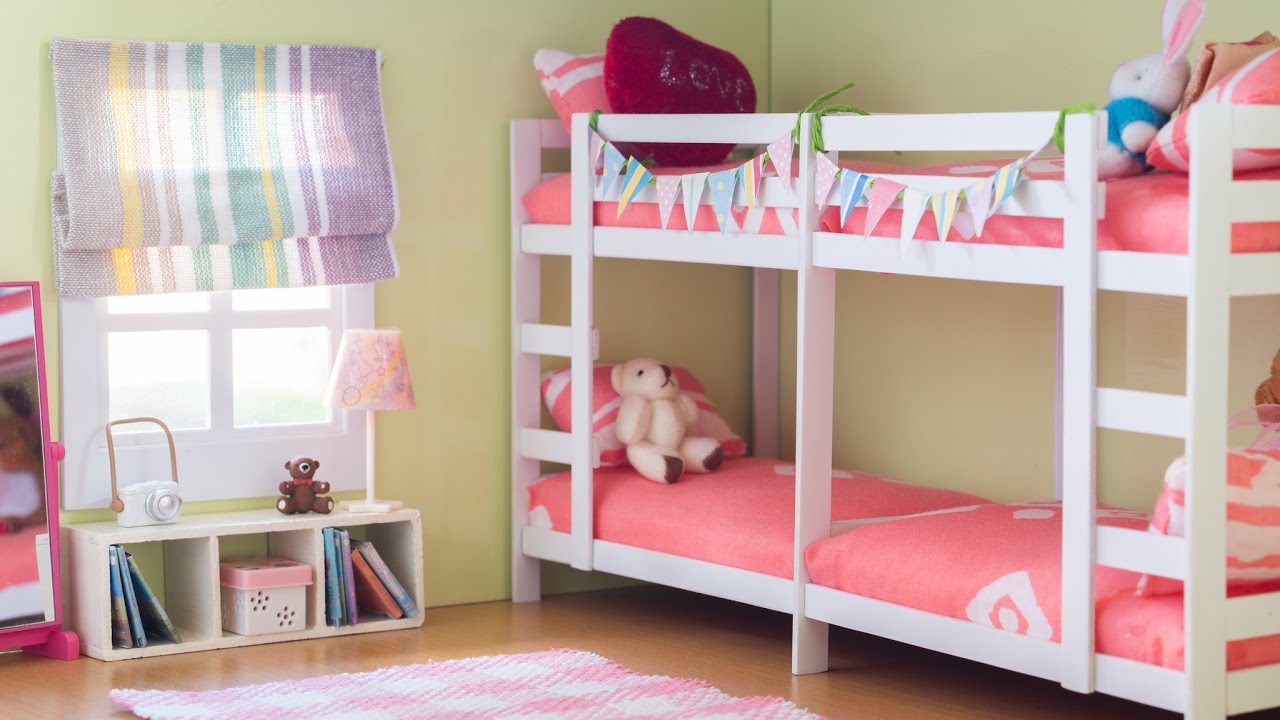
Credit: www.youtube.com
Planning Your Design
Planning your design is the first step in building a dollhouse bunk bed. A clear plan helps you avoid mistakes and saves time. You will know exactly what to build and how to fit it inside your dollhouse. This section guides you through measuring, sketching, and choosing styles.
Measuring Dollhouse Scale
Measure the dollhouse room where the bunk bed will go. Use a ruler or tape measure for accuracy. Check the scale of your dollhouse, such as 1:12 or 1:24. This scale tells you how big your bunk bed should be. Keep measurements simple and write them down clearly. Proper measuring ensures the bed fits well and looks right.
Sketching The Bunk Bed
Draw a rough sketch of your bunk bed on paper. Start with basic shapes like rectangles for the frame. Add details like ladders or guardrails. Sketching helps visualize the final product. It also shows if parts will fit together. Use your measurements to make the sketch to scale. You can adjust the design before cutting wood or materials.
Selecting Style And Features
Choose a style that matches your dollhouse theme. Simple designs work well for modern houses. Classic or rustic styles suit vintage dollhouses. Think about features like a ladder, guardrails, or storage space. Decide if the bunk bed will have a mattress or pillows. Pick colors and finishes that fit the room’s look. This step makes your bunk bed unique and charming.
Cutting And Shaping Pieces
Cutting and shaping pieces is a key step in building a dollhouse bunk bed. It sets the foundation for the whole project. Taking your time here saves you from future problems. Each piece must fit perfectly for the bed to look great and stay strong.
Precision and care help you create neat and sturdy parts. This part of the process needs focus and the right tools. Let’s break down the main tasks: measuring, cutting, and sanding.
Accurate Measurements
Measure each piece carefully before cutting. Use a ruler or tape measure for best results. Double-check all numbers. Mark your cutting lines clearly with a pencil. Small mistakes in size can cause big fitting problems later. Remember, measuring twice helps avoid errors.
Cutting Techniques
Choose the right saw for your material. A fine-toothed saw works best for small wood pieces. Cut slowly and follow the lines closely. Keep the blade steady to avoid rough edges. Use clamps to hold pieces steady while cutting. This keeps your hands safe and improves accuracy.
Sanding For Smooth Edges
Sanding smooths rough edges after cutting. Use fine-grit sandpaper for best results. Rub gently along the edges until they feel soft. This step prevents splinters and gives your bed a polished look. Clean off dust before assembling the pieces.
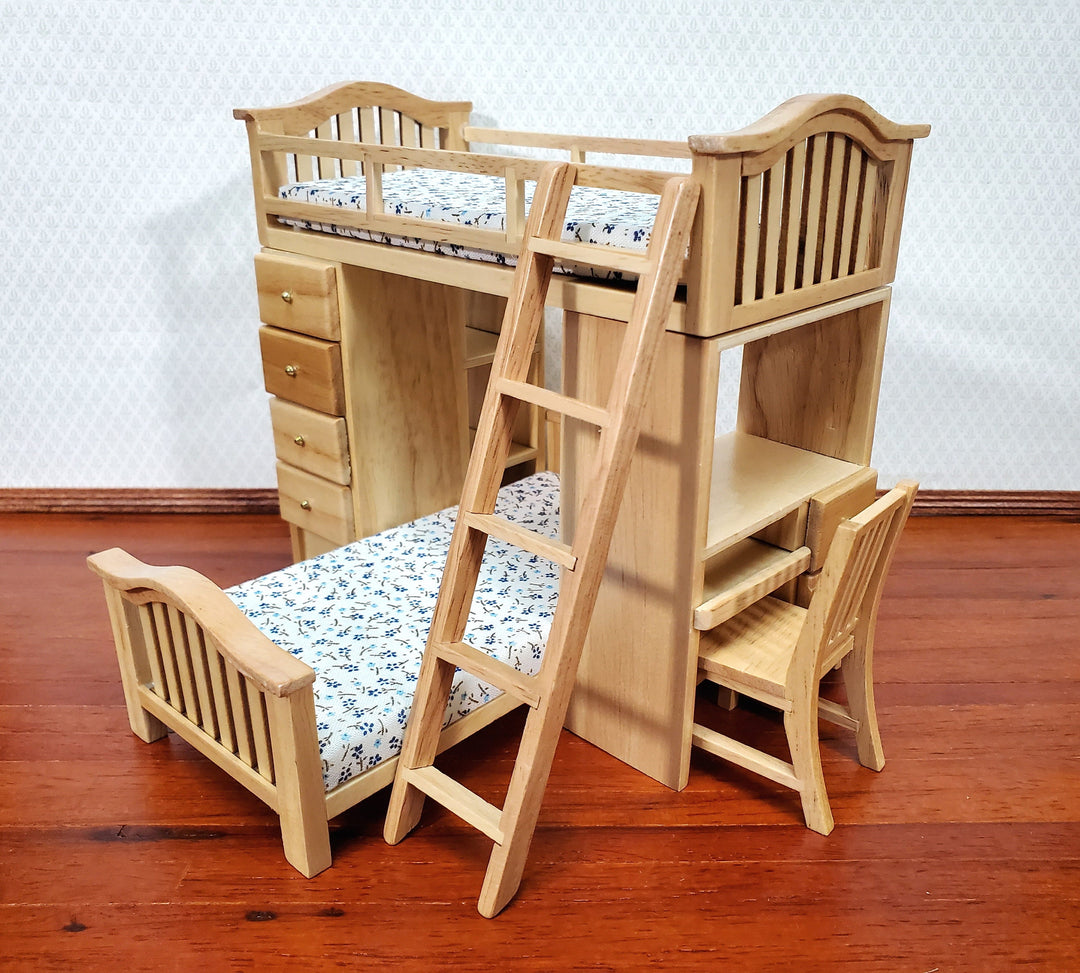
Credit: miniaturecrush.com
Assembling The Frame
Building the frame is the first big step in making your dollhouse bunk bed. A strong frame holds everything together and keeps the bed steady. This part needs careful work to make sure the bed is safe and looks nice.
Joining Side Rails
Start with the side rails. These long pieces form the sides of the bunk bed. Use wood glue on the ends to help hold them. Then, join the rails to the head and foot boards using small nails or screws. Check that everything lines up straight before fixing it in place.
Attaching Bed Slats
Next, add the bed slats. These are the thin pieces that support the mattress. Space them evenly across the frame. Attach each slat with small nails or screws. The slats must be strong enough to hold the mattress and dolls safely.
Securing Support Posts
Finally, secure the support posts. These vertical posts hold the upper bunk. Attach them firmly to the frame corners with screws. Make sure the posts stand straight and do not wobble. Tight support posts keep the bunk bed stable and safe for play.
Adding Details
Adding details to your dollhouse bunk bed brings it to life. These small touches make the bed look real and charming. Focus on painting, creating tiny accessories, and installing ladders and railings. These steps help complete the look and add function.
Painting And Finishing
Choose soft colors for a cozy feel. Use acrylic paint for smooth and even coats. Lightly sand the wood before painting for better grip. Paint all parts separately to avoid messy spots. Let each coat dry before adding the next. Finish with a clear sealant to protect the paint. This step keeps the bed looking fresh and lasts longer.
Crafting Miniature Accessories
Small pillows and blankets add warmth to the bed. Use fabric scraps to make tiny bedding. Cut and sew simple shapes for cushions. Add small buttons or beads for decoration. A mini teddy bear or book can add charm. These little items make the bed more inviting and fun.
Installing Ladder And Railings
The ladder gives access to the top bunk. Use thin wooden sticks or craft sticks to build it. Glue each step firmly to avoid wobbling. Railings protect the top bunk from falls. Cut thin strips of wood for railings. Attach them securely along the edge. Both ladder and railings add safety and style to the bunk bed.
Final Touches
Adding final touches to your dollhouse bunk bed makes it look complete and neat. These steps help secure the bed and give it a cozy feel. Small details can make a big difference. Take time to finish well for a great result.
Ensuring Stability
Check all joints and screws carefully. Tighten any loose parts to keep the bed strong. Use wood glue for extra hold on wooden pieces. Place the bunk bed on a flat surface. Test by gently pressing to see if it wobbles. Fix any weak points before moving on.
Decorating With Bedding
Choose small blankets and pillows that fit the bed size. Soft fabrics like felt or cotton work well. Cut pieces to match mattress size. Sew or glue edges for neatness. Layer bedding to create a cozy look. Add tiny details like miniature stuffed toys for charm.
Maintenance Tips
Dust the bunk bed regularly to keep it clean. Use a soft cloth to avoid scratches. Check screws and joints monthly. Replace or tighten any loose parts. Avoid placing the bed in damp areas. Store it safely when not in use to prevent damage.
Frequently Asked Questions
What Materials Are Needed To Build A Dollhouse Bunk Bed?
You need wood pieces, glue, small nails, sandpaper, and paint. Choose lightweight wood like balsa or pine for easy cutting and shaping. Safety is important, so use non-toxic paint and smooth all edges before assembly.
How Long Does It Take To Build A Dollhouse Bunk Bed?
Building typically takes 3 to 5 hours, depending on skill level. Allow extra time for drying paint and glue. Planning and precise measurements help reduce errors and speed up the process.
What Tools Are Required For This Dollhouse Project?
Basic tools include a small saw, hammer, paintbrush, ruler, and pencil. Sandpaper smooths edges, while clamps hold pieces during glue drying. A cutting mat and safety glasses are also recommended for safety and accuracy.
Can I Customize The Dollhouse Bunk Bed Design?
Yes, customization is easy by changing bed size, style, and paint colors. Add accessories like ladders or railings for realism. Personalizing your design makes the dollhouse unique and tailored to your preferences.
Conclusion
Building a dollhouse bunk bed can be a fun and simple project. You only need basic tools and some patience. Follow the steps carefully to get good results. Take your time to measure and cut pieces right. Painting or decorating makes the bed look special.
Kids will love the new addition to their dollhouse. It adds charm and saves space inside the house. Enjoy the process and be proud of your work. A small project can bring big joy. Keep trying new ideas for your dollhouse too.