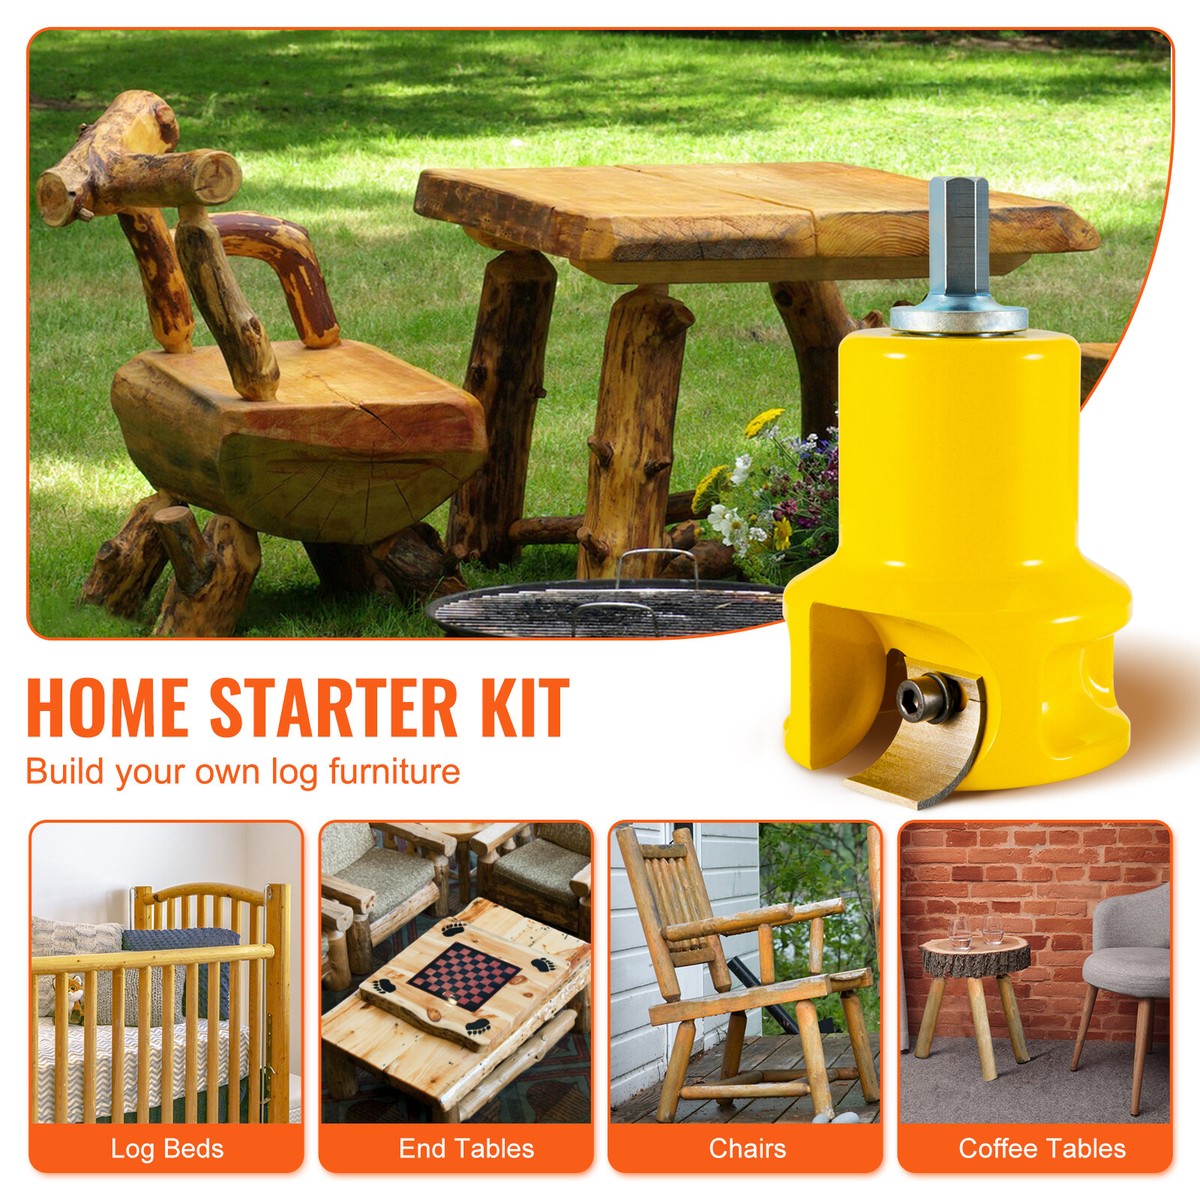
Are you ready to transform your outdoor space with furniture that’s both sturdy and full of natural charm? Building your own outdoor log furniture is easier than you might think, and it gives you something truly unique to enjoy.
Imagine sitting on a hand-crafted bench or relaxing in a log chair made by your own hands. In this guide, you’ll discover simple steps and insider tips to create beautiful, durable log furniture that lasts through every season. Keep reading, and you’ll learn how to bring rustic comfort right to your backyard.
Choosing The Right Logs
Choosing the right logs is the first step in building strong outdoor log furniture. The logs must be durable, well-shaped, and treated to last outside. This choice affects the furniture’s strength and how long it will stay beautiful.
Types Of Wood For Durability
Some woods resist weather better than others. Cedar, pine, and oak are popular choices for outdoor furniture. Cedar resists rot and insects naturally. Pine is easy to find and affordable. Oak is very strong but heavier. Choose wood that can handle rain, sun, and cold.
Selecting Logs By Size And Shape
Logs should be straight and free from large cracks. Thick logs hold weight better and last longer. Check for smooth bark or peel it off if rough. Logs with even thickness make building easier. Avoid logs with knots or bends that can weaken the structure.
Treating Logs For Outdoor Use
Logs need protection from moisture and bugs. Use sealants or wood preservatives before building. This stops water from soaking in and causing rot. Let the wood dry completely before applying treatments. Regular maintenance keeps the logs strong over time.
Gathering Tools And Materials
Building outdoor log furniture requires the right tools and materials. Preparing these items first saves time and effort. It also ensures the project goes smoothly. Gather everything before starting to avoid delays. Focus on quality tools and strong materials for lasting furniture.
Essential Hand And Power Tools
Start with basic hand tools like a saw, hammer, and measuring tape. A chisel helps shape the logs neatly. Power tools speed up work. A cordless drill makes drilling holes easier. A sander smooths rough surfaces quickly. Use a chainsaw for cutting large logs. These tools make building faster and cleaner.
Hardware And Fasteners Needed
Choose strong screws and nails made for outdoor use. Galvanized or stainless steel resists rust well. Large bolts add extra support for heavy parts. Use washers to keep fasteners tight. Wood glue helps join parts firmly. Select hardware that fits the log thickness. Proper fasteners keep the furniture sturdy and safe.
Safety Gear To Protect Yourself
Wear safety glasses to protect your eyes from flying wood chips. Gloves protect your hands from splinters and rough surfaces. Use ear protection when using loud power tools. A dust mask prevents breathing sawdust. Wear sturdy shoes to protect your feet. Safety gear keeps you safe and comfortable during work.
Preparing Logs For Construction
Preparing logs for construction is the first step to building strong outdoor log furniture. Proper preparation ensures the logs fit well and last long. It also makes the furniture look neat and safe to use.
Each log needs careful handling before assembly. This process includes cutting, smoothing, and marking the logs. These steps help create a clean and solid base for your project.
Cutting And Trimming Logs
Start by cutting the logs to the right length. Use a sharp saw to get clean cuts. Trim off any branches or rough spots. This makes the logs easier to work with and join together.
Make sure the ends are straight and even. Uneven cuts can cause instability in your furniture. Take your time to measure before cutting.
Sanding And Smoothing Surfaces
After cutting, sand the logs to remove rough areas. Use coarse sandpaper first, then finer grit for smoothness. Sanding prevents splinters and gives a nice finish.
Focus on edges and surfaces that will be touched often. Smooth logs look better and feel comfortable. Proper sanding also helps paint or stain stick well.
Marking Measurements And Joinery
Mark the logs clearly for where cuts and joints will go. Use a pencil and a measuring tape for accuracy. Marking helps avoid mistakes during assembly.
Plan the joinery carefully. Common methods include notches or dowels. Clear marks guide you while joining logs tightly and securely.
Basic Joinery Techniques
Building outdoor log furniture requires strong, reliable joints. Basic joinery techniques connect logs firmly. These methods ensure your furniture lasts long outdoors. Good joinery keeps the structure stable and safe.
Notching And Interlocking Logs
Notching means cutting a slot in a log. This slot fits another log’s shape. Interlocking logs fit tightly without gaps. This method holds logs firmly together. It creates a natural, rustic look. Notches prevent logs from slipping or moving.
Using Dowels And Screws
Dowels are small wooden pins. They fit into drilled holes in logs. Dowels add strength to joints. Screws hold logs tightly in place. Use screws made for outdoor use. They resist rust and weather damage. Combining dowels and screws makes joints stronger.
Creating Strong Joints
Strong joints need clean cuts and tight fits. Sand rough edges for better contact. Use clamps to hold logs while joining. Check alignment before drilling or screwing. Apply wood glue for extra hold. Seal joints with waterproof finish. This protects from rain and insects.
Building Common Furniture Pieces
Building common outdoor log furniture pieces offers a great start for any DIY enthusiast. These projects are simple, practical, and perfect for beginners. Each piece adds charm and function to outdoor spaces.
Using logs for furniture creates a natural, rustic look. It also provides sturdy, long-lasting items. Focus on basic shapes and strong joints for best results.
Constructing A Log Bench
Start with thick, straight logs for the bench seat. Cut two shorter logs for the legs. Sand all surfaces to remove rough spots. Attach legs securely using screws or wooden dowels. Add support beams under the seat for extra strength. Finish with outdoor sealant to protect from weather.
Making A Rustic Table
Choose four logs of equal length for the legs. Select wider logs or planks for the tabletop. Arrange the tabletop logs side by side. Secure them with cross beams underneath. Attach legs firmly to the table frame. Sand edges smooth to avoid splinters. Use wood stain or sealant for durability.
Crafting A Log Chair
Cut logs for the seat, backrest, and legs. Shape the backrest at a comfortable angle. Join pieces using strong joints or screws. Sand all parts carefully to prevent rough spots. Ensure the chair is stable and balanced. Apply a protective finish to withstand outdoor use.

Credit: www.woodcraft.com
Finishing Touches
Finishing touches bring your outdoor log furniture to life. They protect the wood and add style. These steps help your furniture last longer and look great. Focus on protection, comfort, and care to get the best results.
Applying Stains And Sealants
Stains bring out the wood’s natural beauty. Choose a stain that suits your outdoor space. Apply it evenly with a brush or cloth. Let the stain dry fully before the next step.
Sealants protect wood from water and sun damage. Use a clear sealant for a natural look. Apply two or three coats for strong protection. Allow each coat to dry well before applying the next.
Adding Cushions And Accessories
Cushions add comfort to your log furniture. Pick cushions with outdoor fabric for weather resistance. Use colors that match your outdoor style. Accessories like throw pillows or blankets add charm and warmth.
Secure cushions to prevent slipping. Store accessories indoors during bad weather. This keeps them clean and extends their life.
Maintaining Outdoor Log Furniture
Regular maintenance keeps your furniture in top shape. Clean surfaces with mild soap and water. Avoid harsh chemicals that can damage wood.
Check for cracks or loose joints every few months. Tighten screws and sand rough spots. Reapply stain and sealant every 1-2 years to protect wood.
Cover furniture during winter to avoid weather damage. Proper care ensures your furniture stays sturdy and beautiful.
Tips For Longevity And Care
Building outdoor log furniture is rewarding but requires proper care. This care ensures your furniture lasts many years. Simple steps help protect the wood and keep it looking good. Follow these tips to keep your furniture strong and beautiful outdoors.
Protecting Against Weather
Wood faces sun, rain, and cold outside. These can cause cracks and fading. Use a good wood sealant or varnish. Apply it yearly to block moisture and UV rays. Cover furniture with waterproof covers during rain. Place furniture in shaded areas to reduce sun damage.
Regular Cleaning And Repairs
Dirt and dust build up on wood surfaces. Clean furniture with mild soap and water regularly. Avoid harsh chemicals that harm the wood finish. Check for loose joints or cracks often. Tighten screws and fix small cracks early. This keeps the furniture safe and stable.
Storing Furniture During Harsh Seasons
Winter and heavy storms can damage wood furniture. Store pieces indoors or in a dry shed if possible. If storage is not possible, use thick covers and elevate furniture from the ground. Proper storage reduces wear and prevents mold or rot. Prepare furniture before cold seasons for longer life.

Credit: www.youtube.com
Credit: www.ebay.com
Frequently Asked Questions
What Materials Are Best For Outdoor Log Furniture?
Cedar, pine, and redwood are excellent for outdoor log furniture. They resist decay and insects. These woods offer natural durability and weather resistance, ensuring your furniture lasts longer outside.
How Do I Protect Log Furniture From Weather Damage?
Apply a high-quality outdoor sealant or wood preservative annually. This prevents moisture absorption and UV damage. Regular maintenance extends the life of your log furniture and keeps it looking fresh.
What Tools Are Needed To Build Outdoor Log Furniture?
Basic tools include a chainsaw, drill, sander, measuring tape, and clamps. These help cut, shape, and assemble logs accurately. Having the right tools ensures safer and more precise construction.
How Long Does It Take To Build Log Furniture?
Building simple log furniture usually takes a weekend or two. Complex projects may require several weeks. Time depends on skill level, design complexity, and drying or finishing times.
Conclusion
Building outdoor log furniture takes time and care. Choose good wood and use the right tools. Follow steps carefully for strong and lasting pieces. Enjoy the process as you create unique furniture. Your outdoor space will feel warm and natural.
This project brings both fun and pride. Try making your own log furniture soon. It adds charm and comfort to any yard. Keep practicing to improve your skills. Simple steps lead to great results.