Are you looking to add a unique touch to your home décor without spending a fortune? Building your own console table is easier than you think, and it gives you full control over the style and size to fit your space perfectly.
Imagine having a beautiful, custom piece that reflects your personality and craftsmanship. In this guide, you’ll discover simple steps to create a stunning console table from scratch—even if you’re new to woodworking. Keep reading, and by the end, you’ll be ready to build a table that turns heads and adds charm to any room.
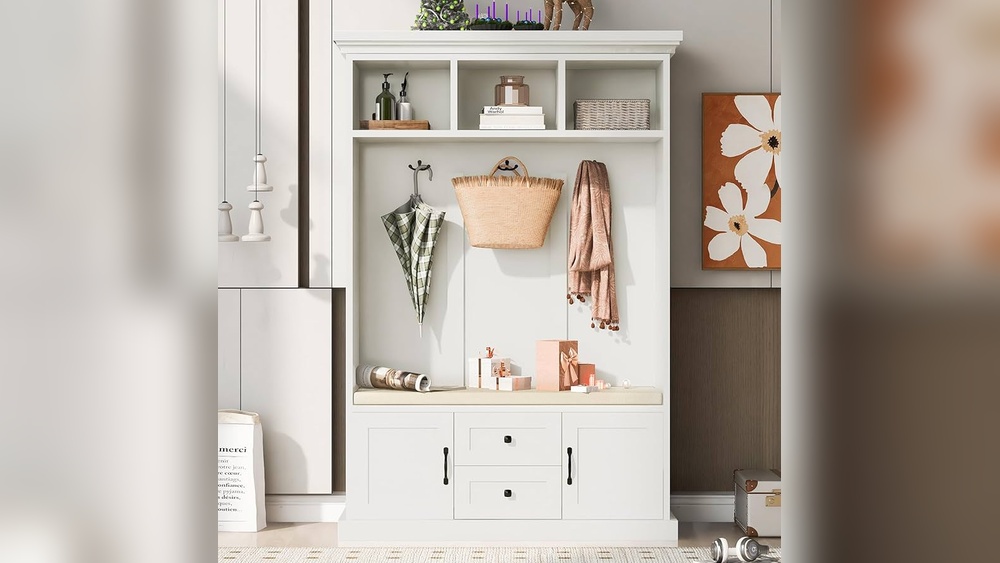
Credit: www.jennasuedesign.com
Choosing Materials
Choosing the right materials is key to building a strong and beautiful console table. The materials affect the table’s look, strength, and how long it lasts. Pick materials that suit your style and budget. Good materials also make the building process easier and more fun.
Types Of Wood
Wood is the most popular choice for console tables. Pine is soft and easy to cut. It is also cheaper. Oak is strong and has a nice grain pattern. It lasts a long time. Maple is hard and smooth. It takes paint and stain well. Cherry wood has a warm, reddish color. It darkens nicely over time. Choose wood that matches your room’s style and your skill level.
Tools And Supplies Needed
Basic tools make the project smooth and safe. You need a saw to cut wood pieces. A drill helps make holes for screws. Sandpaper smooths rough edges. Wood glue keeps pieces stuck together firmly. Clamps hold parts while the glue dries. Screws or nails add extra strength. Finish with paint, stain, or clear coat to protect the table and enhance its look.

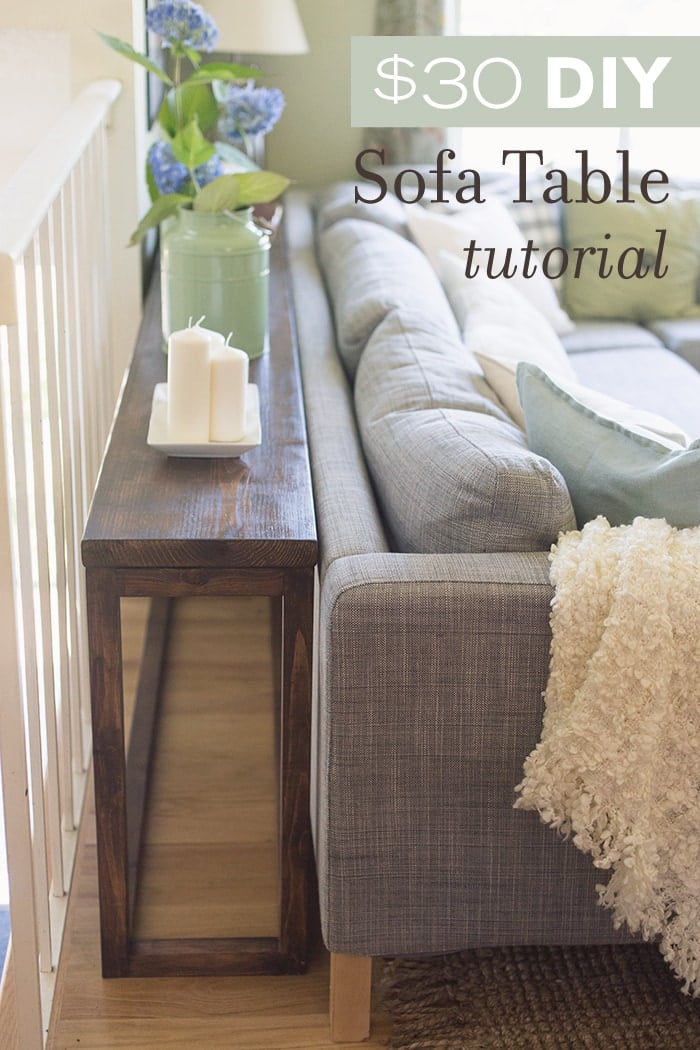
Credit: graceoaksdesigns.com
Designing Your Table
Designing your console table starts with clear planning. A good design fits your space and style. It also makes building easier and faster.
Think about how you want the table to look. Simple or detailed? Tall or short? The design guides every step of the project.
Measuring Space
Measure the wall or area where you will place the table. Write down the width, height, and depth available. Leave some extra room around it for comfort.
Consider nearby furniture and walkways. Make sure the table will not block paths or doors. Correct measurements avoid mistakes and wasted materials.
Sketching Your Plan
Draw a simple sketch of your table design. Use graph paper or a drawing app. Include dimensions and notes about materials.
Sketching helps you see the shape and size clearly. It also shows where legs, shelves, or drawers will go. A clear plan saves time during building.
Cutting The Wood
Cutting the wood is a key step in building your console table. It shapes the pieces that form your furniture. Accurate cuts ensure a strong and neat table. Taking time here prevents mistakes later. Prepare your space and tools before you start. Clear work area, sharp saws, and safety gear ready.
Safety Tips
Wear safety glasses to protect your eyes from wood dust. Use ear protection if your saw is loud. Keep fingers away from the blade at all times. Make sure your saw blade is sharp and clean. Work on a stable surface to avoid slips. Unplug power tools when changing blades or making adjustments. Follow the tool’s instructions carefully.
Measuring And Marking
Measure each piece twice before cutting. Use a tape measure and a pencil for marks. Draw clear, straight lines to guide your cuts. Mark the wood on the side that will not be visible. Use a square to ensure lines are straight and corners are right angles. Check all measurements again before cutting. Precision here helps your table fit together well.

Credit: www.youtube.com
Assembling The Frame
Assembling the frame is the first big step in building your console table. This part sets the shape and strength of the table. A strong frame means a sturdy table that lasts long. Take your time to fit the pieces right. Precision here makes the rest easier and better.
Joining Techniques
Choose the right method to join wood parts. Butt joints are simple but less strong. Use dowels or biscuits for better hold. Pocket holes offer a hidden, clean look. Each technique needs proper tools and care. Mark where pieces meet before attaching them. Dry fit all parts to check alignment.
Securing The Pieces
Clamp pieces tightly to avoid movement. Apply wood glue to the edges before joining. Wipe off extra glue quickly with a damp cloth. Use screws or nails for extra strength. Pre-drill holes to stop wood from splitting. Let glue dry fully for a strong bond. Check all corners stay square during drying.
Adding The Tabletop
Adding the tabletop is a key step in building your console table. It gives the piece its final look and function. This part needs care and attention for a strong, smooth surface.
Choose a flat, sturdy piece of wood for the tabletop. The size depends on your table frame and room space. Prepare the wood by cleaning off dust and debris before attaching.
Attaching The Surface
Place the tabletop on the table frame. Make sure it is centered and balanced. Use clamps to hold the wood in place firmly. Drill pilot holes to avoid splitting the wood. Screw the tabletop securely into the frame using wood screws. Check that all corners are even and the surface does not wobble.
Sanding For Smoothness
Use medium-grit sandpaper to smooth the tabletop surface. Sand along the wood grain for best results. Focus on edges and corners to remove splinters. Wipe away dust with a damp cloth. Follow up with fine-grit sandpaper for a soft finish. This step ensures the tabletop feels nice and looks polished.
Finishing Touches
Finishing touches bring your console table to life. They protect the wood and add beauty. Good finishing makes the table last longer. It also highlights the grain and style of the wood. This section covers staining, painting, and protective coatings. Each step improves the look and durability of your table.
Staining And Painting
Staining adds color while showing the wood grain. Choose a stain that matches your room’s decor. Apply the stain evenly with a brush or cloth. Wipe off excess stain quickly to avoid dark spots. Let the stain dry fully before moving to the next step.
Painting hides the wood grain but offers many color options. Use a primer first for better paint adhesion. Apply paint in thin, even coats. Allow each coat to dry before adding another. Sand lightly between coats for a smooth finish.
Protective Coatings
Protective coatings shield your table from scratches and spills. Polyurethane is a popular choice for its durability. It comes in glossy, satin, and matte finishes. Apply thin coats with a clean brush. Let each coat dry and sand lightly before the next.
Wax and oil finishes give a natural look but need more upkeep. They soak into the wood and enhance its texture. Reapply these finishes regularly to keep the wood safe. Choose a finish that fits your style and use.
Placing And Styling
Placing and styling your console table is key to making it a focal point in your home. The right spot enhances both function and beauty. Styling adds personality and charm, making the table more than just furniture. This section guides you through choosing where to place your table and how to decorate it tastefully.
Choosing The Right Spot
Pick a location that suits the table’s size and shape. Hallways, entryways, and living rooms work well. Make sure the spot does not block walking paths. Check for enough space around the table for ease of movement. Natural light nearby can highlight the table’s design. Avoid cramped corners or cluttered areas. A clear wall behind the table helps it stand out.
Decorating Your Table
Keep decoration simple and balanced. Use a mix of items like vases, lamps, and picture frames. Choose objects that match your room’s color and style. Add a small plant or flowers for freshness. Arrange items in groups, not all in a line. Leave some empty space to avoid clutter. Change decor seasonally for a fresh look. Let your console table tell a story with your style.
Frequently Asked Questions
What Materials Do I Need To Build A Console Table?
You need wood boards, screws, wood glue, sandpaper, paint or stain, and tools like a saw and drill. Quality materials ensure durability and a professional finish.
How Long Does It Take To Build A Console Table?
Building a console table usually takes 4 to 6 hours. This includes cutting, assembling, sanding, and finishing. Time depends on your experience and design complexity.
Can I Customize The Size Of My Console Table?
Yes, you can customize the size easily. Measure your space first, then adjust the wood board lengths accordingly. Custom sizing ensures a perfect fit for your room.
What Wood Type Is Best For Console Tables?
Hardwoods like oak, maple, or walnut are best. They are strong, durable, and look great. Softwoods like pine are affordable but less durable.
Conclusion
Building your own console table is a fun and useful project. You can choose the size and style that fits your space. Using simple tools and clear steps makes the process easier. Taking your time helps avoid mistakes and creates a sturdy table.
This project lets you add a personal touch to your home. Enjoy the pride that comes with making furniture yourself. Start with small steps and watch your skills grow. A handmade console table will brighten any room.