Are you tired of worrying about your outdoor furniture when bad weather hits? Heat shrinking your outdoor furniture cover can protect your investment from rain, snow, and dust, keeping it safe all year round.
But how do you do it right without damaging your furniture or wasting time? In this guide, you’ll learn simple, step-by-step tips that anyone can follow to heat shrink outdoor furniture effectively. Keep reading to discover how to make your furniture last longer and look great season after season.
Why Heat Shrink Outdoor Furniture
Heat shrinking outdoor furniture protects it from damage and dirt. It creates a tight cover that blocks rain, snow, and dust. This simple step saves time and money on repairs.
Choosing heat shrink keeps your furniture clean and ready to use anytime. It also helps keep the furniture’s shape and color over time.
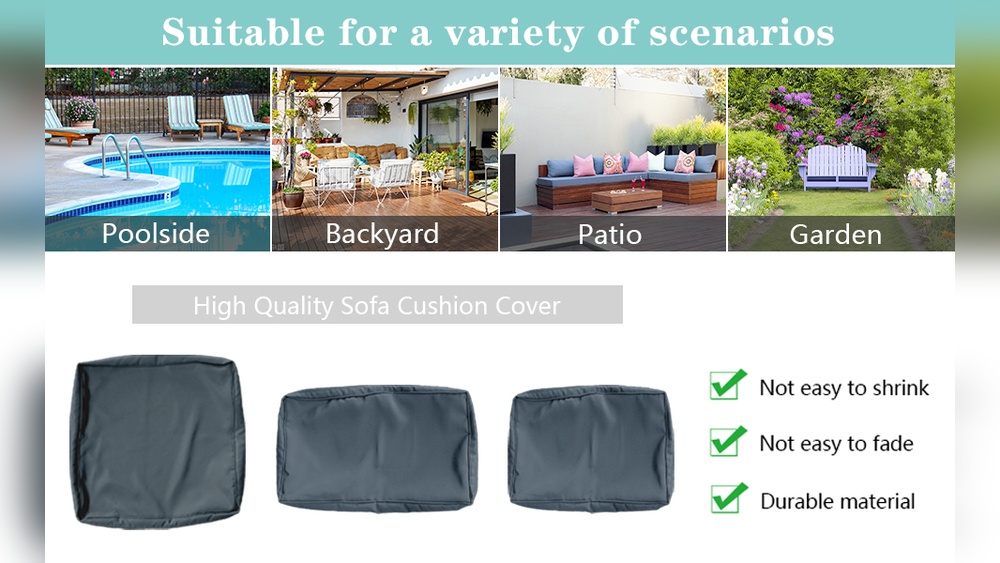
Benefits Of Heat Shrinking
Heat shrinking is easy to apply and remove. It fits snugly, stopping wind from lifting the cover. This method keeps your furniture looking new and neat all year.
Protection Against Weather
Outdoor furniture faces rain, snow, sun, and dust. Heat shrink acts as a shield, keeping moisture out. It prevents rust, mold, and fading caused by weather.
Extending Furniture Lifespan
Covering furniture with heat shrink reduces wear and tear. It stops dirt and animals from causing damage. This care helps your furniture last many seasons longer.

Credit: www.youtube.com
Materials Needed
Heating shrink wrap around outdoor furniture requires specific materials. These materials protect the furniture from weather and dirt. Using the right supplies makes the process easier and safer. Here is a list of needed materials to help you prepare.
Types Of Shrink Wrap
Shrink wrap comes in various types and thicknesses. Polyethylene shrink wrap is common for outdoor furniture. It is strong and resists tears. Look for UV-resistant wrap to protect against sun damage. Choose the size based on your furniture dimensions. Thicker wraps offer better insulation and durability.
Essential Tools
You need tools to apply shrink wrap correctly. A heat gun or propane torch is essential to shrink the wrap. Use scissors or a utility knife to cut the wrap. Rope or bungee cords help hold the wrap in place. A ladder may be necessary for large or tall pieces.
Safety Gear
Safety gear protects you during the heating process. Wear heat-resistant gloves to avoid burns. Safety glasses protect your eyes from sparks or debris. A dust mask helps when working with old furniture or dust. Always work in a well-ventilated area to avoid fumes.
Preparing Furniture
Preparing your outdoor furniture is the first step to heat shrinking it properly. This step helps protect the furniture from damage during the process. Taking time to prepare means better results and longer-lasting protection.
Cleaning And Drying
Remove all dirt and dust from the furniture surface. Use a soft brush or cloth with mild soap and water. Rinse thoroughly to avoid soap residue. Let the furniture dry completely under the sun or in a dry place. Moisture can cause problems during heat shrinking.
Disassembling Parts
Take apart removable pieces like legs, shelves, or cushions. Smaller parts are easier to wrap and protect. Disassembling also reduces stress on joints during shrinking. Keep screws and bolts safe in a labeled container for reassembly later.
Securing Cushions And Accessories
Remove cushions and store them separately in a dry area. Loose cushions can trap moisture and get damaged. For attached cushions, cover them with waterproof material. Secure loose accessories tightly to avoid shifting during heat shrinking.
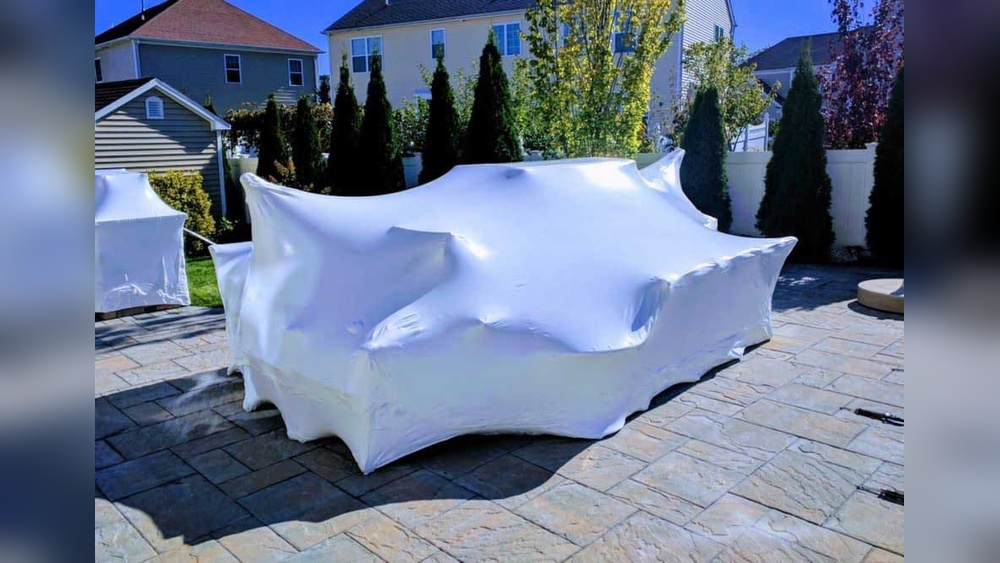
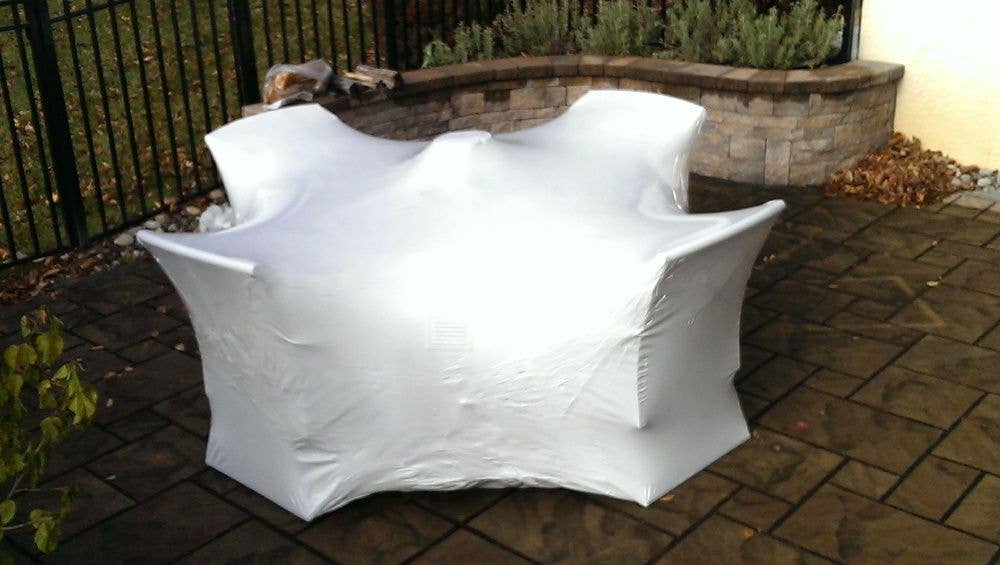
Step-by-step Wrapping Process
Wrapping outdoor furniture with heat shrink film protects it from rain, snow, and dust. Follow a clear step-by-step process to cover your furniture tightly and securely. A good wrap prevents damage and keeps your furniture clean all winter.
Positioning The Shrink Wrap
Start by spreading the shrink wrap over the furniture. Make sure it covers all sides completely. Leave some extra material at the bottom to allow for sealing. Smooth out any wrinkles or folds to get a tight fit. Use gloves to avoid tearing the wrap during this step.
Sealing And Taping
Use strong, weatherproof tape to seal the edges of the shrink wrap. Tape along all seams and corners to close gaps. Press the tape firmly to stick it well. This step prevents water or wind from getting inside. Check that no areas are left open or loose.
Using A Heat Gun Safely
Set the heat gun to a medium temperature. Keep it moving slowly and evenly over the shrink wrap surface. Hold the gun at least six inches away from the wrap. Heat causes the film to shrink and tighten around the furniture. Avoid staying too long in one spot to prevent melting or holes.
Common Mistakes To Avoid
Heating shrink wrap for outdoor furniture seems simple but many make basic errors. These mistakes can cause damage or waste materials. Knowing what to avoid helps protect your furniture and ensures a tight, secure wrap.
This section covers common errors during heat shrinking. Avoid these to get good results and save time and money.
Overheating Risks
Too much heat can melt or warp furniture parts. It can also create holes in the shrink wrap. Keep the heat source moving and do not stay too close. Use moderate heat and watch the material carefully.
Insufficient Wrapping
Wrapping too loosely leaves gaps where cold air can enter. It also lets water and dirt get inside. Use enough shrink wrap to cover the furniture fully. Make sure the wrap overlaps and seals tightly around edges.
Ignoring Ventilation
Trapping air and moisture inside the wrap leads to mold and rust. Include small vents or openings to let moisture escape. Check the furniture after wrapping to ensure it stays dry and fresh. Proper airflow prevents damage during storage.
Credit: mrshrinkwrap.com
Maintaining Wrapped Furniture
Maintaining wrapped outdoor furniture keeps it safe from weather damage. Proper care extends the life of the shrink wrap and the furniture underneath. Small problems can turn big without regular attention. Follow these tips to keep your furniture protected and ready for use.
Regular Inspections
Check the wrapped furniture every few weeks. Look for holes, tears, or loose areas in the shrink wrap. Pay special attention after storms or strong winds. Early detection helps prevent water or dirt from entering. Replace or tighten the wrap if you find any damage.
Repairing Tears
Small tears can grow quickly if not fixed. Use clear packing tape or special repair patches made for shrink wrap. Clean the area around the tear before applying tape. Press the tape firmly to seal the hole. For larger tears, consider rewrapping the affected section.
Safe Storage Tips
Store wrapped furniture in a dry, shaded place if possible. Avoid direct sunlight to prevent the wrap from becoming brittle. Keep furniture off the ground to avoid moisture buildup. Use pallets or blocks to elevate the pieces. Proper storage reduces wear and keeps the wrap intact longer.
Alternatives To Heat Shrinking
Heat shrinking is a popular method for protecting outdoor furniture. It keeps dirt, rain, and snow away. But some people want other options. Alternatives can be easier or less costly. They also offer different styles of protection. This section explores simple ways to keep furniture safe without heat shrinking.
Tarps And Covers
Tarps and covers are common choices for outdoor furniture. They come in many sizes and materials. Waterproof tarps block rain and snow effectively. Covers made for furniture fit snugly and protect from dust. Using ties or weights can keep tarps in place. They are easy to remove and reuse. Tarps work well for short or long-term protection.
Furniture Storage Solutions
Storing furniture indoors is a strong way to protect it. Garages, sheds, or basements keep furniture safe from weather. Some people use storage boxes or bins for smaller pieces. Storage solutions prevent damage from sun and moisture. This method also reduces cleaning time after winter. It requires space but provides excellent care for outdoor items.

Credit: fj-outdoors.com
Frequently Asked Questions
What Materials Are Needed To Heat Shrink Outdoor Furniture?
To heat shrink outdoor furniture, you need shrink wrap film, heat gun, gloves, and safety glasses. Use sturdy wrap for durability. These materials protect furniture from weather damage and debris during storage or transport.
How Do You Safely Heat Shrink Outdoor Furniture?
Ensure the area is well-ventilated and wear protective gloves and glasses. Keep the heat gun moving evenly to avoid burns or melting. Maintain a safe distance between the gun and wrap for best results.
Can Heat Shrink Wrapping Protect Furniture From Rain?
Yes, heat shrink wrapping creates a tight, waterproof seal that keeps rain and moisture out. This protects your outdoor furniture from rust, mold, and weather-related damage during off-season storage.
How Long Does Heat Shrink Wrapping Last On Outdoor Furniture?
Properly applied heat shrink wrapping can last several months. It depends on weather exposure and wrap quality. Regular inspection ensures it remains tight and intact to protect your furniture effectively.
Conclusion
Heating shrink outdoor furniture protects it from weather damage. It keeps your furniture clean and dry all year. Use the right tools and take your time. Proper wrapping ensures a tight, secure fit. This simple step saves money on repairs later.
Enjoy your outdoor space longer without worry. Small effort, big benefits. Try these tips next time you cover your furniture.