Are you looking to take apart your Ikea bookshelf without any hassle? Whether you’re moving, redecorating, or just need to store it away, knowing how to disassemble your Ikea bookshelf the right way can save you time and frustration.
In this guide, you’ll discover simple, clear steps that anyone can follow, even if you’re not a DIY expert. By the end, you’ll feel confident and ready to handle your bookshelf like a pro. Keep reading to learn the secrets to a smooth and safe disassembly process!

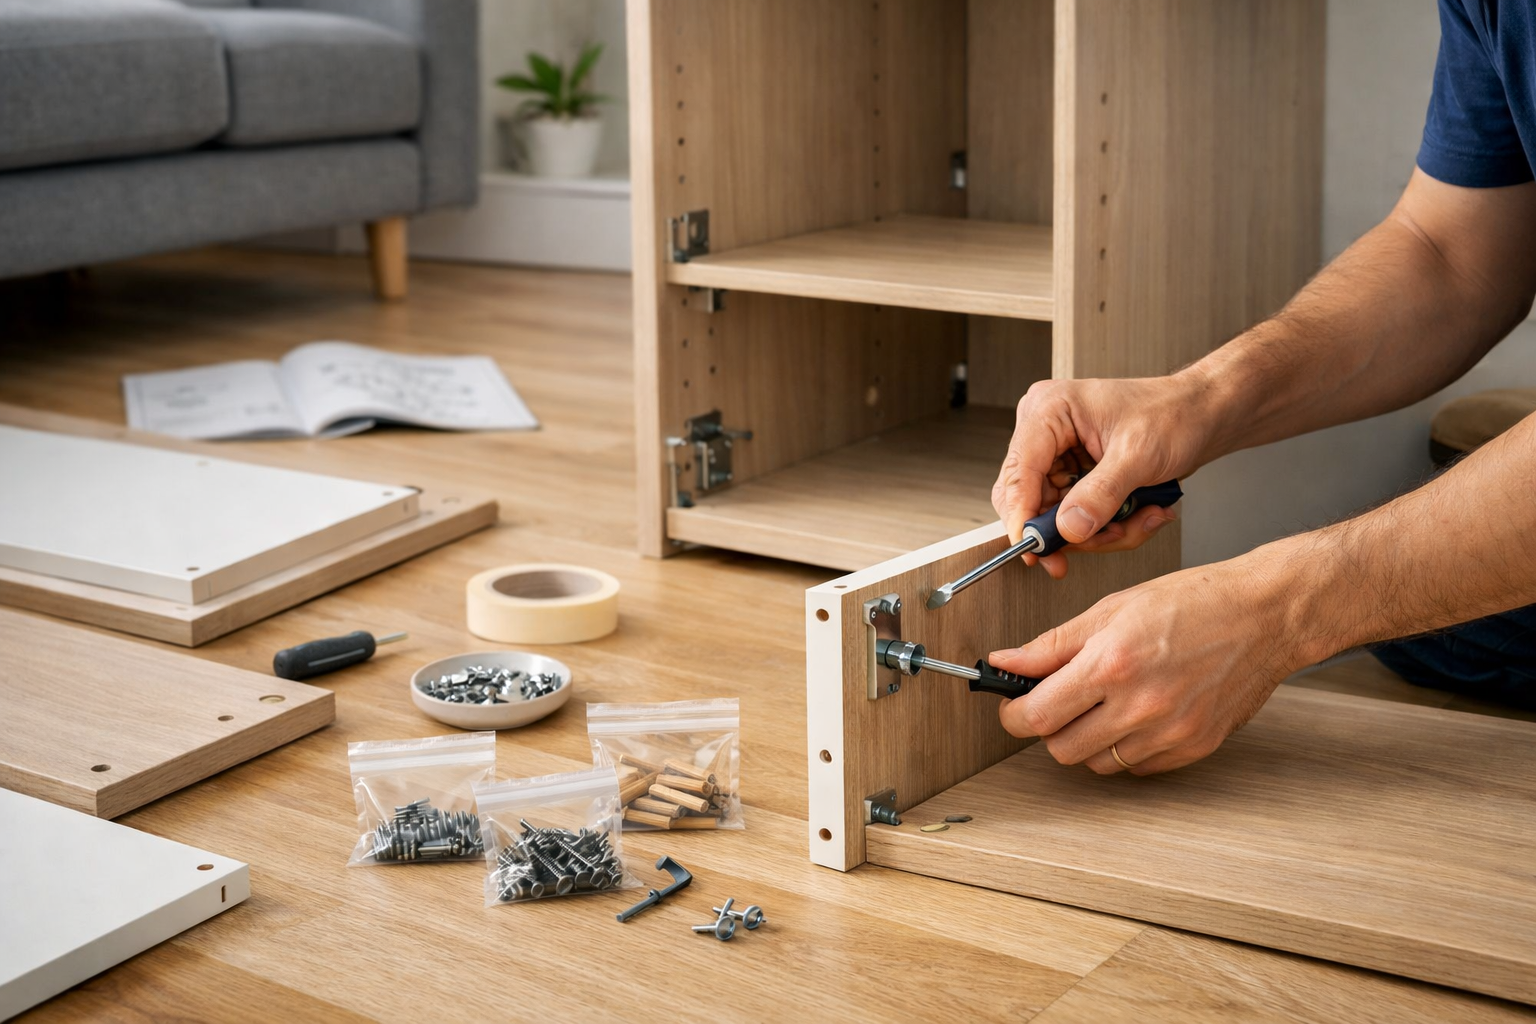
Credit: www.ikea.com
Tools Needed
Before starting to disassemble your Ikea bookshelf, gather the right tools. Using proper tools makes the process faster and safer. It also helps prevent damage to the parts. Below are the main tools needed for this task.
Screwdriver
A screwdriver is essential for removing screws from your bookshelf. Most Ikea furniture uses Phillips head screws, so a Phillips screwdriver works best. A flathead screwdriver can also help with prying parts gently apart.
Allen Key (hex Key)
Many Ikea shelves use Allen bolts. The Allen key fits into these bolts to turn them. You often find the right-sized Allen key in the original Ikea package. If not, a set of different sizes will help.
Rubber Mallet
A rubber mallet helps tap parts loose without causing damage. It is softer than a regular hammer, which prevents dents or scratches. Use it to gently separate joined pieces.
Pliers
Pliers help grip small parts and pull out nails or pins. They are useful for holding bolts steady while loosening screws. Needle-nose pliers work well for tight spaces.
Container For Small Parts
Keep screws, bolts, and small parts in a container. This prevents losing them during disassembly. A small box or bowl works fine.
Prepare The Bookshelf
Before you start disassembling your Ikea bookshelf, preparation is key. Taking a few simple steps will make the process easier and safer. You will avoid damage to the parts and keep your space tidy.
Preparation helps you stay organized. It also reduces the risk of losing small pieces. Follow these steps carefully to get ready for disassembly.
Clear The Shelves
Remove all books, decorations, and items from every shelf. Empty shelves let you work freely. It also prevents items from falling and breaking. Use a box or bag to keep everything safe and together.
Remove Accessories
Take off any extra parts like hooks, lights, or stickers. These accessories can get in the way or break during disassembly. Keep them in a separate place to avoid losing them. This step helps you focus on the main structure.
Remove Shelves
Removing the shelves is a key step in disassembling your Ikea bookshelf. This part is usually simple and quick. It helps make the whole structure lighter and easier to handle. Follow these steps carefully to avoid damage.
Clear The Shelves
Take everything off the shelves first. Empty shelves are lighter and safer to remove. Check all corners for small items. Don’t skip this step. It saves time later.
Locate The Shelf Supports
Look inside the bookshelf for small metal or plastic pegs. These pegs hold the shelves in place. Identify how many supports each shelf has. This helps you know where to press or pull.
Lift And Tilt The Shelves
Raise the shelf slightly to loosen it from the supports. Tilt the shelf up or down gently. This motion frees the shelf from its pegs. Avoid using force to prevent breakage.
Remove The Shelves Carefully
Pull the shelf out slowly once it is free. Use both hands to keep it balanced. Place the shelf on a soft surface to avoid scratches. Repeat this for all shelves in the bookshelf.

Credit: www.youtube.com
Unscrew Panels
Unscrewing panels is a key step in disassembling your Ikea bookshelf. It helps separate the parts carefully without damage. Take your time and work methodically. This ensures each panel comes off smoothly and safely.
Focus on removing all screws and dowels holding the panels in place. Keep track of them for easy reassembly. Using the right tools makes the process faster and prevents stripping screws.
Locate Screws And Dowels
Start by finding all screws on the bookshelf panels. Check edges, corners, and inside holes. Look for small wooden dowels as well. Dowels hold panels tightly but come out easily when unscrewed.
Use a flashlight for better visibility in dark spaces. Mark each screw and dowel location to avoid missing any. This helps prevent damage during disassembly.
Use Proper Screwdriver
Select the correct screwdriver for the screws on your bookshelf. Most Ikea furniture uses a Phillips or flathead screwdriver. Using the wrong tool can strip the screw head.
Turn screws slowly and steadily to loosen them. Keep screws in a container to avoid losing them. A proper screwdriver makes unscrewing easier and safer.
Separate Side Panels
Separating the side panels is a key step in disassembling your Ikea bookshelf. It helps to make the process safer and easier. Removing these panels early prevents damage and keeps parts organized.
Side panels support the entire structure. Taking them apart carefully keeps the bookshelf stable until the last step.
Prepare Your Workspace
Clear a large area to lay the bookshelf flat. Use a soft surface to protect the panels from scratches. Keep tools like screwdrivers or Allen keys nearby.
Remove Screws And Dowels
Locate all screws holding the side panels. Use the correct screwdriver to avoid stripping. Gently pull out wooden dowels connecting the panels to shelves.
Gently Separate The Panels
Hold the bookshelf firmly while pulling the side panels away. Avoid forcing them to prevent cracks. Wiggle the panels slightly if stuck, then pull again.
Store Side Panels Safely
Lay the removed panels flat on your workspace. Keep screws and dowels in a small container. Label parts to make reassembly easier later.
Handle Back Panel
The back panel is a key part of your Ikea bookshelf. It keeps the shelves stable and strong. Removing it carefully helps you take apart the bookshelf easily. The panel is usually thin and fixed with nails or screws. Handle it with care to avoid damage. Follow simple steps to remove the back panel safely.
Gather Tools Needed
Prepare a flathead screwdriver or a hammer with a claw. These tools help to remove nails or screws holding the back panel. Having the right tools makes the job faster and safer.
Remove Nails Or Screws
Check the back panel for nails or screws. Use the screwdriver to unscrew or the hammer’s claw to pull out nails. Do this slowly to avoid breaking the panel or wood.
Lift The Back Panel Gently
Once nails or screws are out, lift the back panel carefully. Pull it away from the frame without bending or cracking it. A steady hand keeps the panel reusable for later.
Store The Back Panel Safely
Place the removed back panel in a safe spot. Keep it flat to prevent warping or damage. This ensures it stays in good shape for future use or moving.
Organize And Store Parts
Organizing and storing parts after disassembling an Ikea bookshelf saves time and effort. It helps keep all pieces safe and easy to find. Proper organization avoids losing small screws or important parts. This makes reassembly quicker and less stressful.
Label Screws And Pieces
Sort screws, bolts, and small parts by type and size. Use small bags or containers to keep them separate. Label each bag with a clear description, like “screws for top shelf.” Write labels with a marker or print them for clarity. This method prevents confusion and speeds up rebuilding.
Pack For Transport
Wrap larger panels in blankets or bubble wrap to avoid scratches. Stack flat pieces neatly to save space. Place labeled bags in a box or container with the boards. Secure everything with tape or straps to stop shifting. Proper packing protects parts during moving or storage.
Credit: getzhandyman.com
Common Mistakes To Avoid
Disassembling an Ikea bookshelf can be tricky without the right approach. Many people make common mistakes that slow down the process or damage the parts. Avoiding these errors helps the task go smoothly and keeps your bookshelf in good shape.
Pay attention to details and take your time. These simple tips will save you frustration and effort.
Not Keeping Track Of Screws And Parts
Many lose screws or small pieces during disassembly. This causes trouble when reassembling later. Use small containers or bags to store screws by type. Label them if possible. This keeps everything organized and easy to find.
Forgetting To Remove The Back Panel First
The back panel often holds the bookshelf together tightly. Trying to remove shelves without taking off the back first can damage the wood. Always start by unscrewing or pulling off the back panel gently.
Using The Wrong Tools
Using improper tools can strip screws or break parts. Ikea furniture usually requires a specific Allen key or screwdriver. Check your tool kit before starting. Use the right size and type of tool for each screw.
Applying Too Much Force
Forcing pieces apart can cause cracks or breaks. Ikea furniture fits tightly but should come apart smoothly. If something sticks, double-check for hidden screws or fasteners. Work slowly and carefully to avoid damage.
Ignoring Instructions Or Assembly Guides
Many skip reading the manual or online guides. This leads to confusion and errors. Follow the original instructions backward for safe disassembly. They often show the correct order to take things apart.
Frequently Asked Questions
How Do I Safely Disassemble An Ikea Bookshelf?
Start by removing all items and shelves. Use the right tools like a screwdriver or Allen key. Follow the original assembly steps in reverse. Keep screws and small parts organized in labeled bags for easy reassembly.
What Tools Are Needed To Disassemble Ikea Bookshelves?
You typically need a Phillips screwdriver, Allen key, and sometimes a hammer. Check your bookshelf’s assembly manual for specific tools. Having a small container to hold screws helps avoid losing parts during disassembly.
Can I Disassemble Ikea Bookshelves Without Damaging Them?
Yes, if you follow the correct steps and use proper tools. Work slowly and carefully to avoid stripping screws or cracking panels. Avoid forcing parts apart, which can cause damage.
How Long Does It Take To Disassemble An Ikea Bookshelf?
It usually takes 20 to 40 minutes depending on the bookshelf size. Smaller models disassemble faster, while larger ones need more time and patience. Organizing parts as you go speeds up the process.
Conclusion
Disassembling your Ikea bookshelf can be simple and safe. Take your time and follow each step carefully. Keep screws and small parts in a container to avoid losing them. Use the right tools for better control and less damage. Remember, patience helps prevent mistakes and frustration.
Now, you can move or store your bookshelf with ease. Enjoy your organized space!