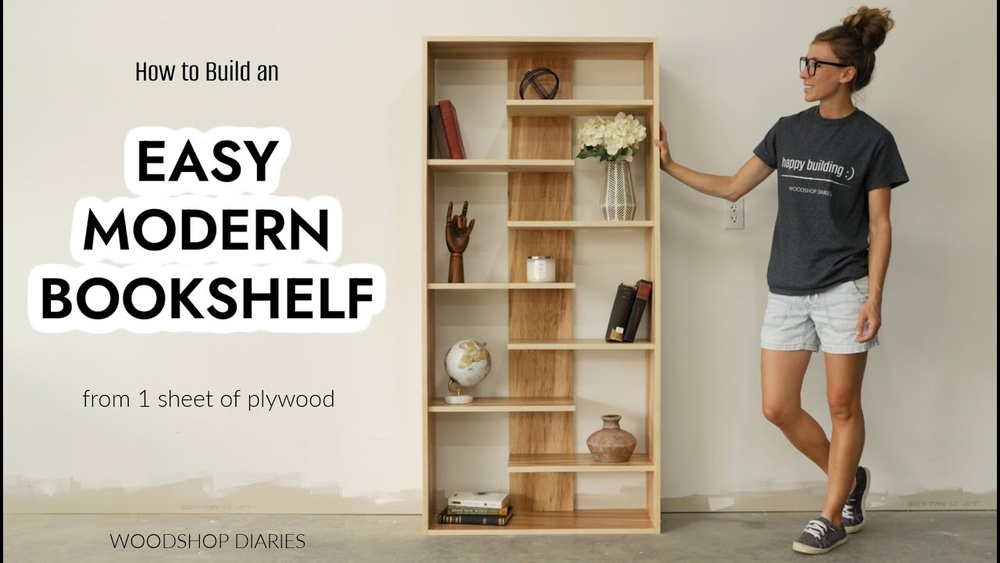
Are you looking to add a stylish and sturdy bookshelf to your space without spending a fortune? Making a bookshelf out of plywood is easier than you might think.
With just a few tools and simple steps, you can create a custom piece that fits perfectly in your room and holds all your favorite books. Imagine the satisfaction of building something useful with your own hands while giving your home a fresh, personal touch.
Keep reading, and you’ll discover how to turn plain plywood into a beautiful bookshelf that you’ll be proud to show off.

Credit: www.remodelista.com
Choosing The Right Plywood
Choosing the right plywood is key to building a strong and attractive bookshelf. The type and quality of plywood affect the shelf’s durability and look. Selecting plywood that fits your project needs saves time and money.
Types Of Plywood
There are several types of plywood for different uses. Hardwood plywood looks nice and is strong. Softwood plywood is lighter and cheaper but less durable. Baltic birch plywood is smooth and sturdy, good for shelves. Choose plywood with few knots and a smooth surface for best results.
Thickness And Size Options
Plywood comes in various thicknesses. Thicker plywood holds more weight and is more stable. Common thicknesses for bookshelves are 3/4 inch or 18 mm. Standard sheets are 4 feet by 8 feet, easy to cut to size. Pick plywood thick enough to hold your books without bending.
Where To Buy Quality Plywood
Buy plywood from local lumber yards or home improvement stores. Check the plywood for defects before buying. Online stores also sell quality plywood with delivery options. Compare prices and read reviews to ensure good quality. Quality plywood lasts longer and looks better on your bookshelf.
Credit: jaimecostiglio.com
Tools And Materials Needed
Building a bookshelf from plywood is a fun and useful project. Having the right tools and materials makes the job easier. This section lists what you need before you start. Prepare everything to work safely and smoothly.
Essential Tools List
- Measuring tape – for accurate cuts and measurements
- Circular saw or handsaw – to cut plywood sheets
- Drill with drill bits – for making holes and screwing
- Screwdriver – to drive screws securely
- Clamps – to hold pieces firmly during assembly
- Sandpaper or power sander – to smooth rough edges
- Carpenter’s square – to ensure right angles
Additional Supplies
- Plywood sheets – choose the right thickness (usually 3/4 inch)
- Wood screws – for joining parts together
- Wood glue – adds extra strength to joints
- Wood filler – fills holes or gaps before painting
- Paint or wood stain – to finish and protect your bookshelf
- Brushes or rollers – for applying paint or stain
Safety Gear
- Safety glasses – protect your eyes from dust and debris
- Ear protection – reduce noise from power tools
- Dust mask – avoid breathing in sawdust
- Work gloves – protect hands from splinters and cuts
- Closed-toe shoes – safeguard feet during construction
Planning Your Bookshelf Design
Planning your bookshelf design is the first step to a successful project. It helps you save time and materials. Careful planning ensures your bookshelf fits your space and needs perfectly. Consider the size, style, and number of shelves before cutting any wood.
Determining Dimensions
Start by measuring the space where the bookshelf will go. Note the height, width, and depth available. Think about the types of books or items you want to store. Taller books need taller shelves. Leave some extra space for easy access and air circulation. Write down all measurements clearly. This will guide your entire project.
Shelf Layout Ideas
Choose a shelf layout that suits your style and storage needs. Fixed shelves are strong and hold heavy books well. Adjustable shelves offer flexibility for different sized items. Open shelves create a light, airy look. Closed shelves with doors protect items from dust. Mix and match styles for a unique design. Sketch your ideas on paper to visualize them better.
Creating A Cutting Plan
Once dimensions and layout are set, plan your cuts on plywood sheets. Draw each piece on paper or use software. Arrange parts to use plywood efficiently and reduce waste. Label each piece with its size and purpose. Double-check measurements before cutting. A good cutting plan saves money and avoids mistakes. Keep your plan handy during cutting for easy reference.
Cutting The Plywood Pieces
Cutting the plywood pieces is the first real step in building your bookshelf. Precision matters here. Each cut affects how the bookshelf will fit together and stand strong. Planning and care help avoid mistakes and wasted wood.
Keep your workspace clear and your tools ready. Proper cutting sets the stage for a smooth build.
Measuring And Marking
Start by measuring the plywood with a tape measure. Mark the cut lines clearly using a pencil. Double-check all measurements before cutting. Use a straight edge or ruler for straight lines. This helps make clean, accurate cuts every time.
Safe Cutting Techniques
Wear safety glasses and a dust mask. Keep your fingers away from the saw blade. Use clamps to hold the plywood steady. Cut slowly and steadily to avoid splintering. Always follow the tool’s safety instructions.
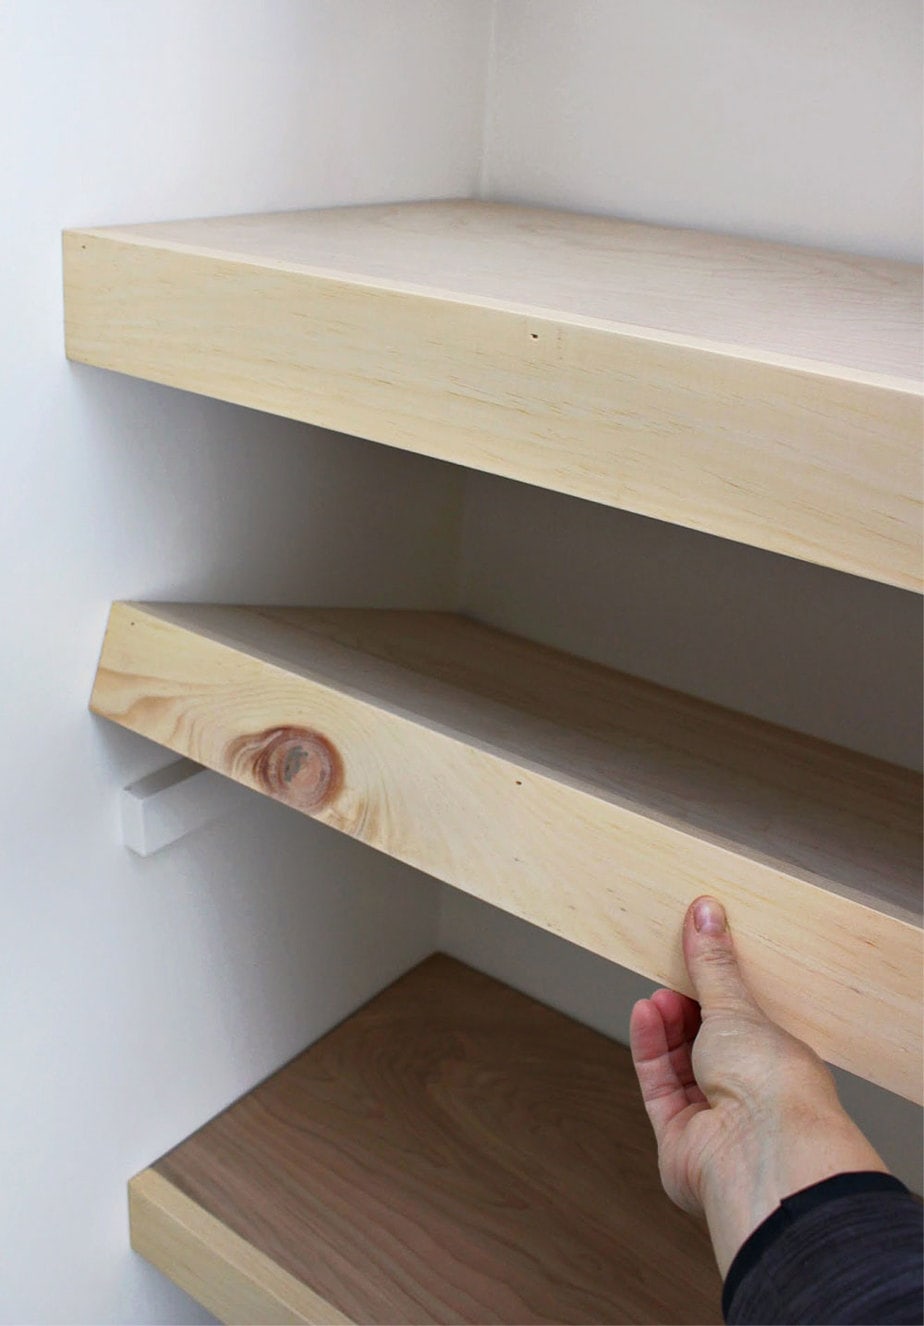
Sanding Edges
After cutting, the edges will be rough. Sand them with medium-grit sandpaper. Smooth edges prevent splinters and make the bookshelf look neat. Finish with fine-grit sandpaper for a clean finish. Wipe away dust before assembly.
Assembling The Bookshelf
Assembling your plywood bookshelf is an exciting step. It brings all the cut pieces together to form a sturdy frame. Careful assembly ensures the shelf holds your books safely. Follow clear steps to join the parts securely and create a stable structure.
Joining The Panels
Start by aligning the side panels with the shelves. Make sure edges fit tightly without gaps. Use clamps to hold panels in place. Check that all corners meet at right angles. This alignment helps the bookshelf stay strong and straight.
Using Screws And Wood Glue
Apply wood glue on the edges before joining panels. This adds strong bonding between the plywood pieces. Drill pilot holes to avoid splitting the wood. Insert screws into these holes to secure the panels. Tighten screws until the joint feels firm. The combination of glue and screws keeps the shelf sturdy for years.
Ensuring Stability
Check the assembled frame for wobbling or gaps. Tighten any loose screws. Add corner braces or brackets if needed. These supports increase the shelf’s strength and prevent shaking. Place the bookshelf on a flat surface to test balance. Stability is key for a safe and durable bookshelf.

Credit: www.papernstitchblog.com
Finishing Touches
Finishing touches make your plywood bookshelf look complete and strong. These steps help protect the wood and give it a clean, smooth look. Pay attention to small details for the best result.
Filling Gaps And Holes
Fill all cracks, gaps, and nail holes with wood filler. Use a putty knife to spread the filler evenly. Let it dry fully before sanding. Sand the surface smooth for a perfect finish.
Applying Paint Or Stain
Choose paint or stain based on your style. Use a brush or cloth to apply thin, even coats. Let each coat dry before adding the next. Paint gives a bright, solid color. Stain shows the wood grain and adds warmth.
Adding Protective Coating
Apply a clear protective coat to guard against scratches and water. Polyurethane or varnish works well. Use a clean brush and spread the coating in thin layers. Let it dry between coats for best protection. This step helps your bookshelf last longer.
Tips For Maintenance And Care
Maintaining your plywood bookshelf helps keep it strong and good-looking for years. Simple care steps stop damage and extend its life. Regular attention protects your wood and finish from wear and tear.
Follow easy tips to clean, avoid harm, and check your bookshelf regularly. These habits keep your furniture safe and fresh without much effort.
Cleaning Guidelines
Dust your bookshelf often using a soft cloth or duster. Avoid wet cloths that soak the wood. Use a dry or slightly damp cloth for sticky spots. Do not use harsh cleaners or chemicals. Mild soap with water works best for tough dirt. Dry the surface immediately to prevent water marks.
Preventing Damage
Keep your bookshelf away from direct sunlight to avoid fading. Do not place it near heaters or damp areas. Use coasters under plants or liquids to stop stains. Avoid overloading shelves to prevent warping or bending. Handle the bookshelf gently to avoid scratches and dents. Place felt pads under heavy items for extra protection.
Periodic Checks
Inspect your bookshelf every few months for signs of damage. Look for cracks, loose screws, or wobbling shelves. Tighten screws or nails as needed to keep stability. Sand down rough spots and reapply finish if the surface dulls. Early repairs save you time and money later. Keep your bookshelf safe and sturdy with regular care.
Frequently Asked Questions
What Tools Are Needed To Build A Plywood Bookshelf?
You will need a saw, drill, screws, measuring tape, sandpaper, and wood glue. These basic tools help you cut, assemble, and finish the bookshelf accurately and securely.
How Do I Choose The Right Plywood For A Bookshelf?
Select plywood that is at least 3/4 inch thick for strength. Opt for furniture-grade plywood with a smooth finish to ensure durability and a clean look.
Can I Customize The Size Of My Plywood Bookshelf?
Yes, you can customize the height, width, and depth to fit your space. Measure your area carefully and adjust plywood cuts accordingly for a perfect fit.
How Do I Finish A Plywood Bookshelf For Durability?
Apply a wood primer, then paint or stain the plywood. Finish with a clear sealant to protect against moisture and wear, extending the bookshelf’s lifespan.
Conclusion
Building a plywood bookshelf is simple and rewarding. You only need basic tools and some patience. Cut the pieces carefully and follow the steps clearly. Assemble the shelves tightly for strong support. Paint or finish it to match your style.
This project saves money and adds charm to your space. Enjoy your new bookshelf filled with your favorite books. Try making one yourself and see how easy it can be.