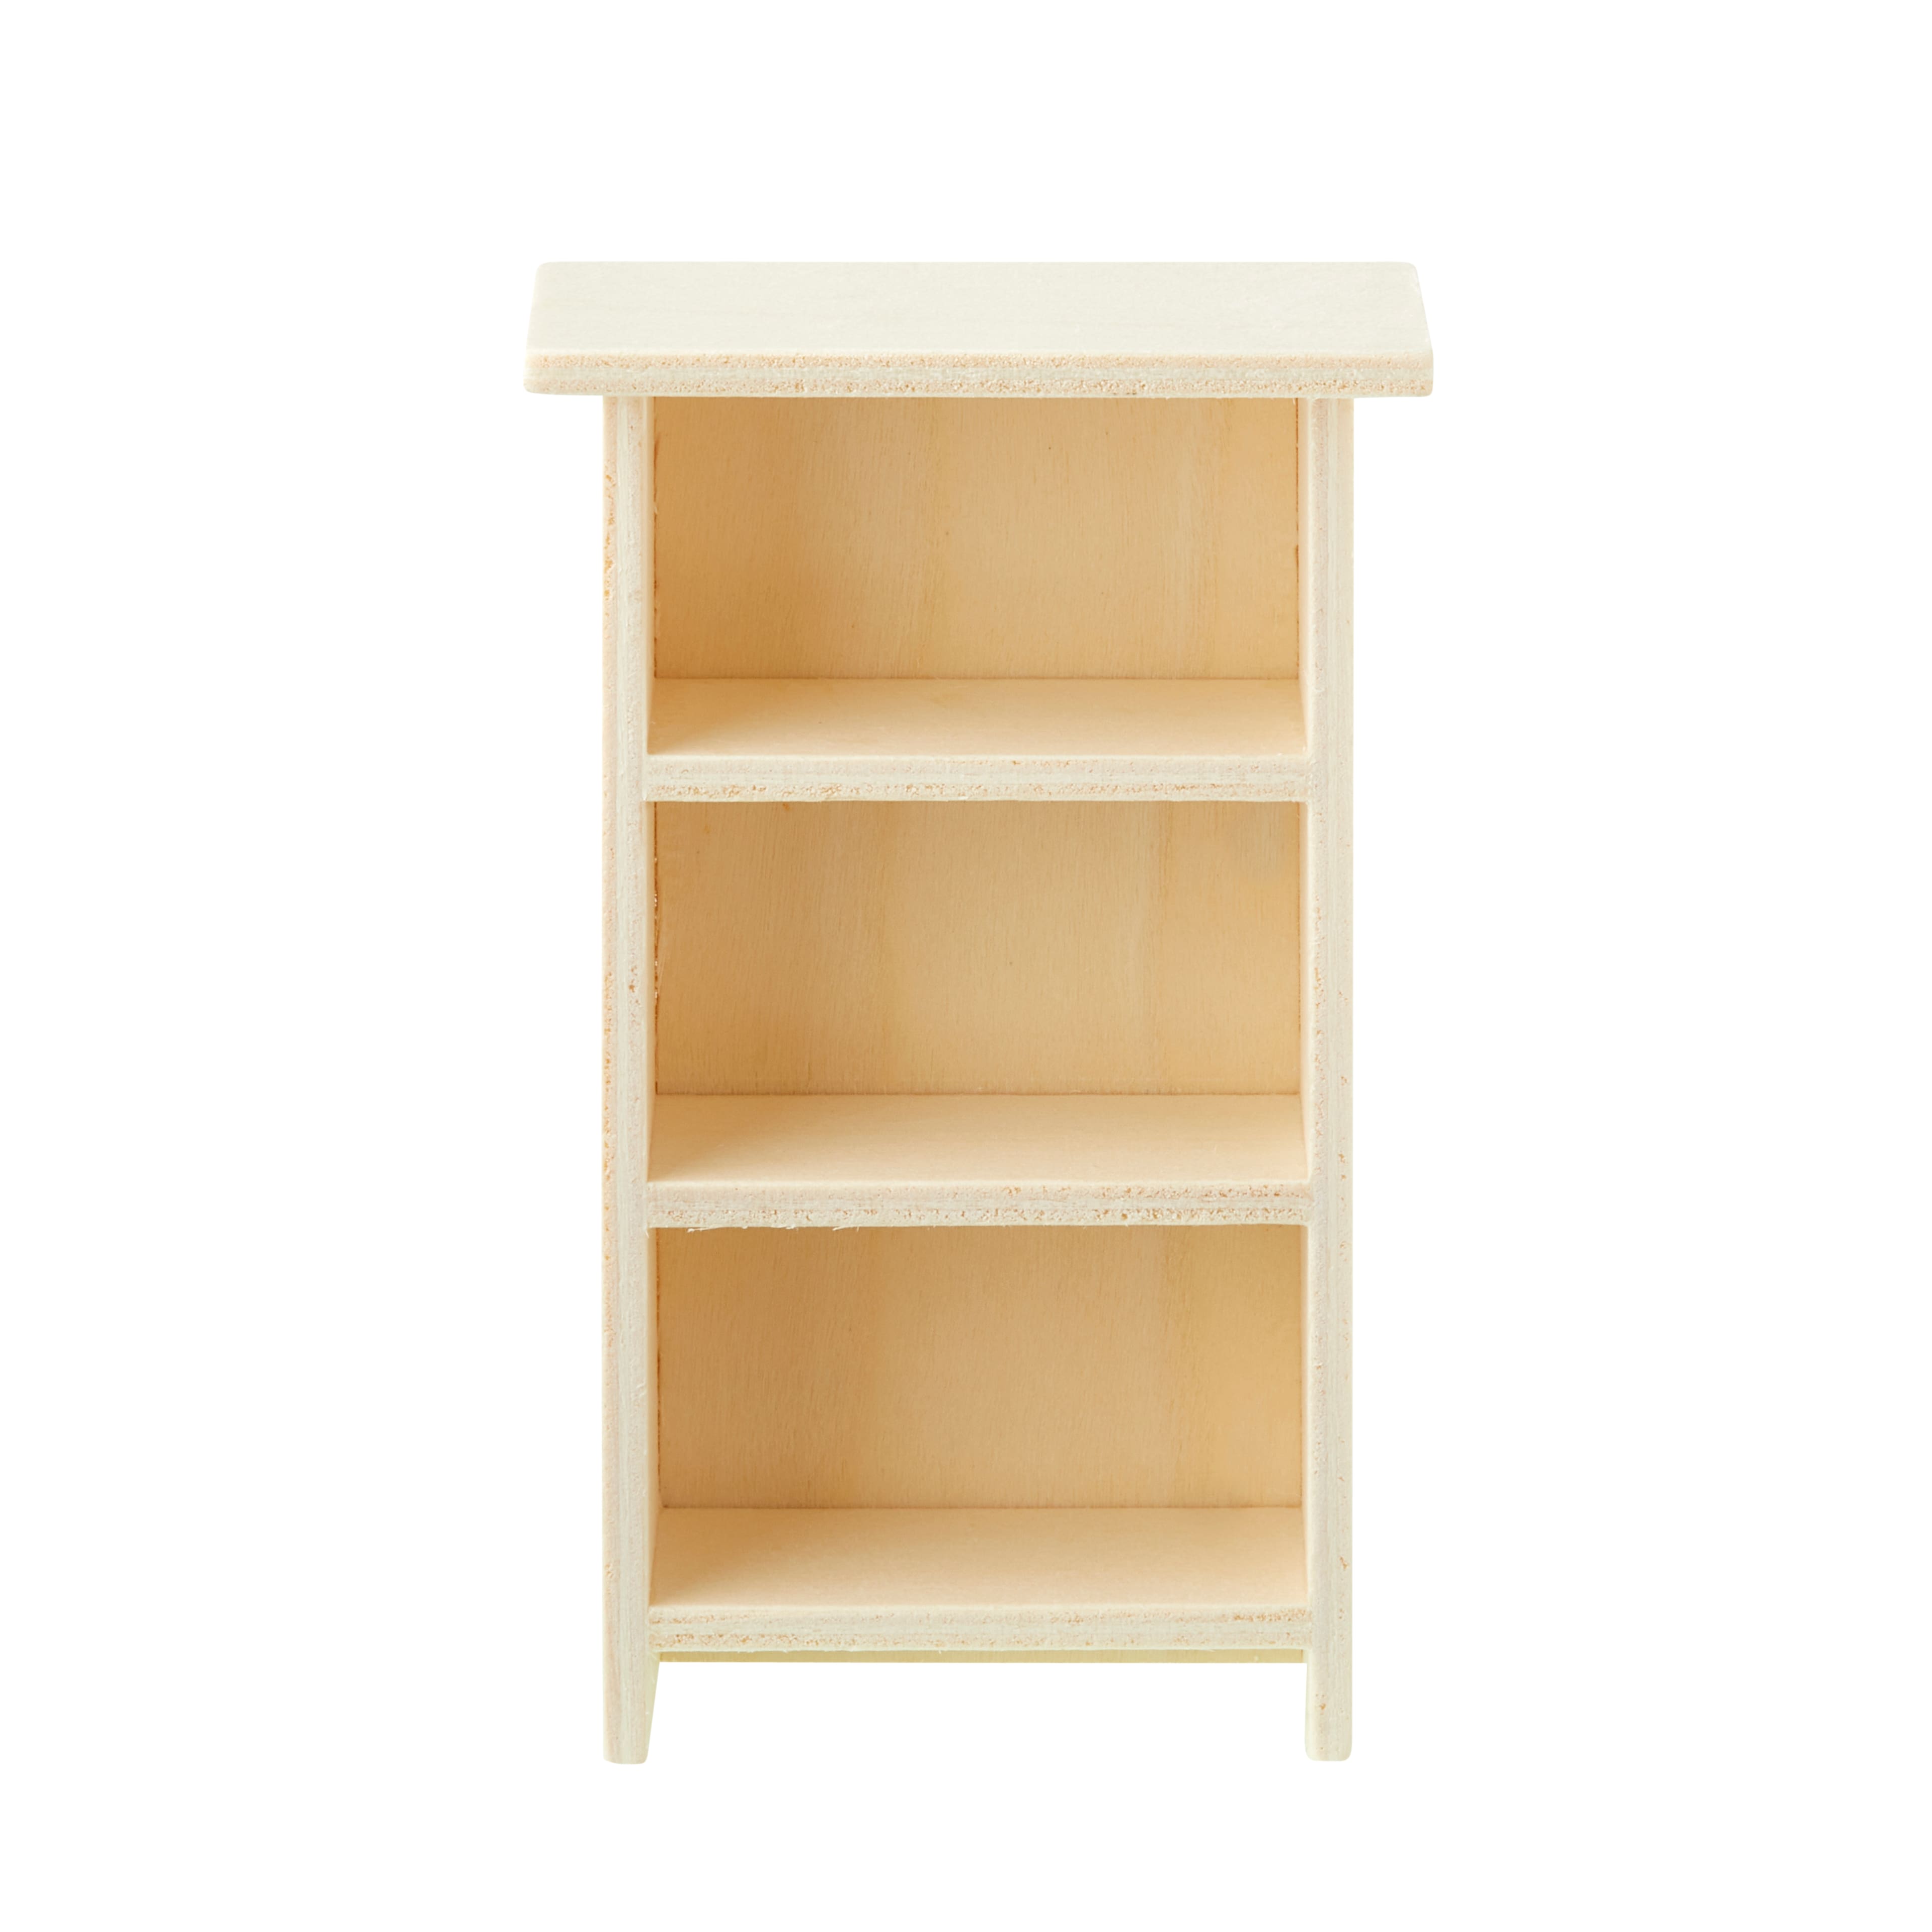
Are you looking for a simple, creative way to organize your favorite books and add a personal touch to your space? Making a mini bookshelf out of wood is easier than you might think, and it’s a fun project you can complete in just a few hours.
Imagine having a custom shelf that fits perfectly on your desk or nightstand, designed by you and built with your own hands. Keep reading, and you’ll discover step-by-step instructions, handy tips, and everything you need to create a beautiful, sturdy mini bookshelf that’s just right for your collection.
Ready to get started? Let’s dive in!
Choosing The Right Wood
Choosing the right wood is key for a sturdy mini bookshelf. It affects how long the shelf lasts and how it looks. Picking the best wood helps your project stay strong and beautiful over time. This guide will help you find the perfect wood for your mini bookshelf.
Types Of Wood For Bookshelves
Softwoods like pine are easy to cut and shape. They cost less and are good for light loads. Hardwoods like oak and maple are stronger and last longer. They give a rich, polished look. Plywood is also popular. It is made of layers and holds weight well.
Wood Quality And Durability
Check for wood with few knots or cracks. Smooth wood is easier to paint or stain. Durable wood resists warping and splitting. This keeps your bookshelf steady. Properly dried wood is less likely to shrink or swell.
Sourcing Affordable Wood
Local lumber yards often offer good prices and fresh stock. Reclaimed wood can add character and save money. Some hardware stores sell wood offcuts suitable for small projects. Compare prices and quality before buying. This helps you stay on budget without losing quality.
Gathering Tools And Materials
Starting a mini bookshelf project requires gathering the right tools and materials. Having everything ready makes the building process smooth and enjoyable. This section helps you prepare by listing what you need.
Essential Tools List
- Measuring tape – for accurate dimensions
- Pencil – to mark cutting lines
- Hand saw or power saw – to cut wood pieces
- Hammer – for nailing parts together
- Screwdriver – to tighten screws
- Drill – to make pilot holes
- Sandpaper – to smooth wood surfaces
- Clamps – to hold pieces while assembling
- Square ruler – to check right angles
Additional Supplies Needed
- Wood boards – choose a type that fits your style
- Wood screws or nails – to join parts securely
- Wood glue – for extra strength
- Wood finish or paint – to protect and decorate
- Brush or cloth – to apply finishes
Planning Your Mini Bookshelf
Planning your mini bookshelf is the first step to a successful project. It helps you know exactly what you want to build. Good planning saves time and materials. It also makes the work easier and more fun. Start by thinking about the space where you will place the bookshelf and the type of books you want to store.
Deciding On Size And Shape
Choose a size that fits your space well. Measure the area where the shelf will go. Think about the height, width, and depth that you need. Decide on the shape that looks best. It can be square, rectangular, or even a fun shape. Keep your needs and space in mind.
Sketching Your Design
Draw a simple sketch of your bookshelf. Use paper and pencil or a digital tool. Show the main parts like shelves and sides. Add details like the number of shelves. This helps you see the design clearly. You can change the sketch if needed before cutting wood.
Measuring And Marking
Measure the wood pieces carefully using a tape measure. Mark the exact cutting lines with a pencil. Double-check measurements to avoid mistakes. Use a ruler or square to make straight lines. Clear marks make cutting easier and more accurate. Take your time during this step.
Credit: canada.michaels.com
Cutting The Wood Pieces
Cutting the wood pieces is the first step in building your mini bookshelf. Precise cuts help the parts fit well. This step needs care and attention. Use the right tools and follow safety rules. A good cut makes the assembly easier and the shelf stronger.
Safe Cutting Techniques
Always wear safety glasses to protect your eyes. Use gloves to avoid splinters. Keep fingers away from the blade. Use clamps to hold the wood steady. Cut on a flat surface. Turn off power tools when not in use. Take your time and focus on each cut.
Cutting To Size
Measure twice before cutting once. Mark the wood clearly with a pencil. Use a ruler or tape measure for accuracy. Cut along the marked lines carefully. Start with longer pieces for the shelf sides. Cut smaller pieces for shelves and back panels. Smooth edges with sandpaper after cutting.
Assembling The Frame
Assembling the frame is the core step in building your mini bookshelf. It gives shape and strength to the whole project. You will connect the wooden pieces to form the outer structure. This frame holds the shelves and supports the books. Take time to make clean and tight joints. A strong frame means a sturdy bookshelf that lasts long.
Joining Methods
There are several ways to join wood pieces. The most common are butt joints, lap joints, and dado joints. Butt joints are simple and fast but less strong. Lap joints overlap wood for more strength. Dado joints fit shelves into grooves cut in the frame. Choose the method that fits your skill and tools. Each method affects how the shelves fit and hold weight.
Using Nails And Screws
Nails and screws keep the frame parts together. Nails are quick to use but can loosen over time. Screws hold wood more tightly and last longer. Pre-drill holes to avoid splitting the wood. Use a screwdriver or drill for screws. Make sure nails or screws are the right size for the wood thickness. Countersink screws for a smooth finish.
Ensuring Stability
Check the frame for square corners using a carpenter’s square. Adjust before the glue or fasteners dry. Add corner braces or wood glue for extra strength. Avoid wobbly or loose parts by tightening all fasteners. A stable frame keeps the bookshelf steady and safe. Test stability by gently shaking the frame before adding shelves.
Credit: www.makingmanzanita.com
Adding Shelves
Adding shelves is a key step in building your mini bookshelf. Shelves hold your books and keep them organized. Properly placing and securing shelves ensures your bookshelf is sturdy and functional.
This part is simple but needs care. Take your time to space and fix each shelf well for best results.
Spacing Shelves Correctly
Measure the height of your books before setting shelf spaces. Leave enough room for tall and short books. Even spaces look neat and help organize books better.
Mark spots on the side panels for each shelf. Use a ruler or tape measure for accuracy. Keep spacing consistent for a balanced look.
Securing Shelves In Place
Use wood glue for a strong hold between shelves and sides. Apply glue along the shelf edges before placing them in position.
Reinforce with small nails or screws for extra support. Drill pilot holes first to avoid wood splitting. Check shelves are level before fixing them fully.
Sanding And Finishing
Sanding and finishing are key steps in making a mini bookshelf out of wood. These steps give your project a neat look and protect the wood. Proper sanding removes rough spots and makes the surface smooth. Finishing adds color and shields the wood from damage. Follow these tips for the best results.
Sanding Tips For Smooth Edges
Start sanding with medium-grit sandpaper to shape rough edges. Move to fine-grit sandpaper for a smooth finish. Sand along the grain to avoid scratches. Use a sanding block or sponge for even pressure. Take your time to make edges safe and pleasant to touch. Wipe dust away with a dry cloth before finishing.
Applying Paint Or Stain
Choose paint or stain based on your style preference. Stain shows wood grain, while paint hides it completely. Apply thin coats with a brush or cloth. Let each coat dry fully before adding another. Avoid thick layers to prevent drips and uneven color. Test color on a scrap piece to check before applying.
Protective Coatings
Seal your mini bookshelf with a clear protective coat. Use polyurethane, varnish, or lacquer for durability. Apply thin, even coats with a clean brush. Allow drying time between layers. Protective coatings guard against scratches, moisture, and fading. This step extends the life of your wooden bookshelf.
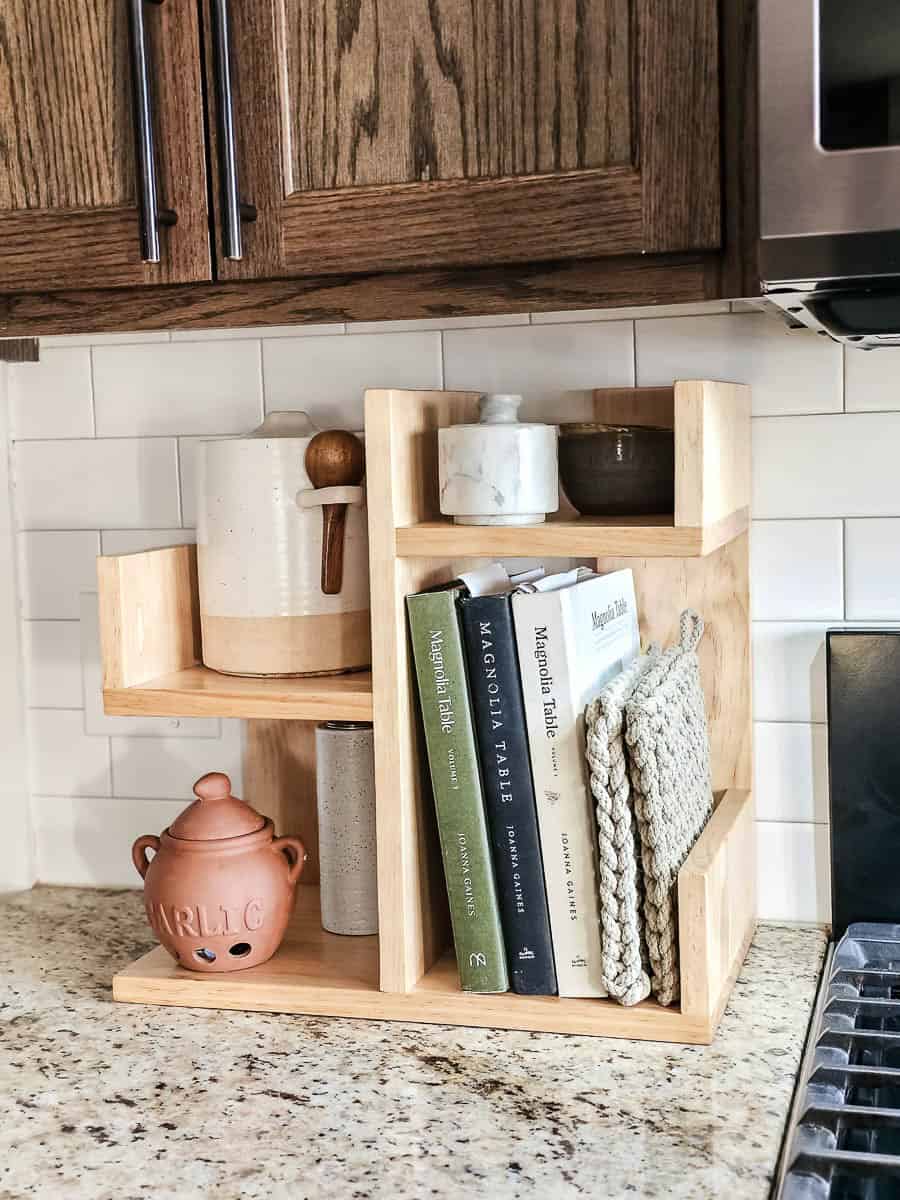
Final Touches And Decoration
After building your mini bookshelf, focus on the final touches. These small details make your shelf look complete and beautiful. Decorating adds personality and style. Organizing books neatly helps keep the shelf tidy and useful.
Adding Decorative Elements
Choose simple decorations that match your room’s style. Small plants, photo frames, or figurines work well. Use paint or stickers to add color. Sand the wood lightly before painting for a smooth finish. Avoid heavy decorations that can tip the shelf over. Keep the balance between function and style.
Organizing Your Bookshelf
Sort books by size, color, or theme. Place larger books on the bottom shelves for stability. Use bookends to keep books upright. Mix books with decorative items for a balanced look. Leave some empty space to avoid clutter. A neat arrangement makes finding books easier and faster.
Maintenance Tips
Maintaining your mini wooden bookshelf helps it last longer and look great. Regular care protects the wood and keeps it strong. Simple steps can prevent damage and keep dust away.
Cleaning Your Bookshelf
Dust your bookshelf often. Use a soft cloth or duster to avoid scratches. Wipe gently to remove dirt from corners and shelves. Avoid wet cloths that can harm the wood. For sticky spots, use a damp cloth and dry quickly.
Preventing Damage
Keep the bookshelf away from direct sunlight. Sunlight can fade and dry out the wood. Avoid placing the shelf near heaters or damp areas. Use coasters or mats under items to stop scratches. Tighten screws and joints regularly to keep it stable.

Credit: www.youtube.com
Frequently Asked Questions
What Materials Are Needed To Make A Mini Wooden Bookshelf?
You need wood planks, screws, wood glue, sandpaper, and paint or stain. Choose quality wood for durability. Basic tools like a saw, drill, and screwdriver are essential. These materials help create a sturdy and attractive mini bookshelf.
How Do I Measure Wood Pieces For A Mini Bookshelf?
Measure the width, height, and depth based on your desired bookshelf size. Use a tape measure for accuracy. Mark measurements clearly on wood before cutting. Correct measurements ensure proper fitting and a balanced structure.
Can I Customize The Design Of My Mini Bookshelf?
Yes, you can customize shelf size, shape, and finish. Add decorative elements or paint for a unique look. Customizing fits your space and style preferences. It also makes your bookshelf personalized and functional.
What Is The Best Wood Type For A Mini Bookshelf?
Pine, oak, and plywood are popular choices. Pine is affordable and easy to work with. Oak offers durability and a classic look. Plywood is lightweight and budget-friendly. Select wood based on strength and appearance.
Conclusion
Building a mini bookshelf from wood is a fun and useful project. It helps keep your books tidy and your space neat. You only need a few tools and some basic wood pieces. Taking your time and following steps carefully will give you good results.
This small shelf can fit almost anywhere in your home. Try making one to add a personal touch to your room. Crafting with wood feels rewarding and boosts creativity. Start today and enjoy a new place for your favorite books.