Are you looking for a simple way to organize your favorite books without spending a lot of money? Making a small bookshelf yourself is easier than you think.
Imagine having a unique, custom shelf that fits perfectly in your space and shows off your style. In this guide, you’ll discover step-by-step instructions to build your own small bookshelf, even if you’ve never done DIY projects before. Keep reading, and you’ll soon have a beautiful, functional shelf that you can be proud of.
Choosing The Right Materials
Choosing the right materials is the first step in making a small bookshelf. The materials affect the strength, look, and cost of the shelf. Picking good materials helps the shelf last longer and look great in your space.
Selecting Wood Types
Wood is the main material for a bookshelf. Softwoods like pine are easy to cut and affordable. They work well for light shelves. Hardwoods like oak or maple are stronger and last longer. They cost more but give a nice finish. Plywood is a good option for smooth surfaces and strength. Choose wood with few knots and cracks to avoid weak spots.
Gathering Tools And Supplies
Tools make the building process easier and safer. Essential tools include a saw, drill, screwdriver, and measuring tape. Sandpaper smooths rough edges. Wood glue and screws keep the shelf sturdy. Paint or varnish protects the wood and adds color. Prepare all tools before starting to save time and avoid frustration.
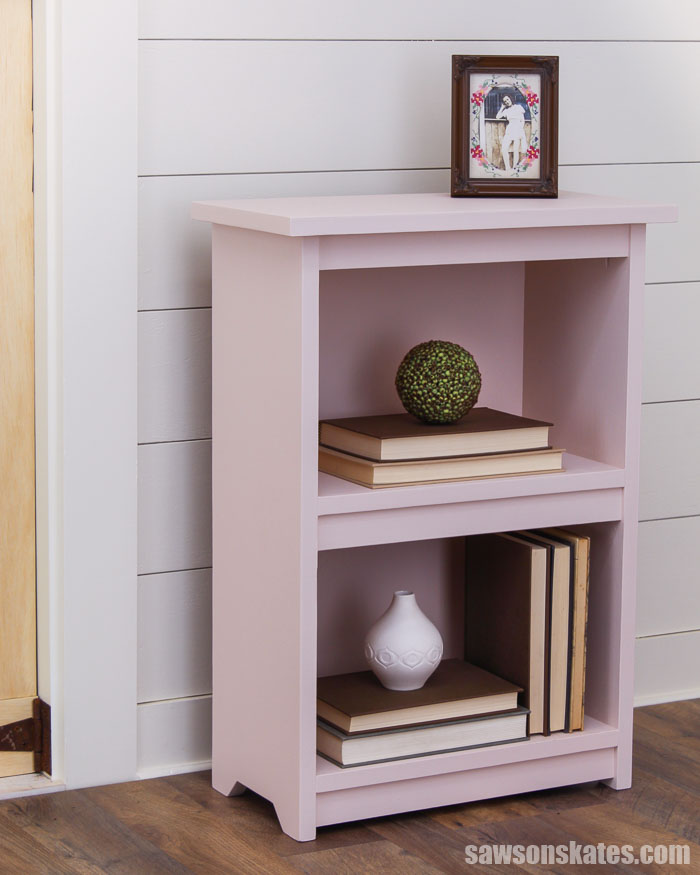
Credit: sawsonskates.com
Planning Your Bookshelf Design
Planning your bookshelf design is the first step to building a small bookshelf DIY. Careful planning helps you create a shelf that fits your space and needs perfectly. It saves time and materials by avoiding mistakes. You can also make sure the bookshelf looks good and holds your books safely.
Measuring And Sketching
Start by measuring the space where the bookshelf will go. Measure the width, height, and depth carefully. Write down these numbers. Next, sketch a rough drawing of the bookshelf on paper. Include shelves and support parts in your sketch. This helps you see how the bookshelf will look and fit. It also makes it easier to change the design before building.
Deciding On Dimensions
Choose the bookshelf’s height, width, and depth based on your space and needs. The height should allow easy reach to all shelves. The width depends on the wall or area available. The depth must be enough to hold your books without taking too much space. Think about the size of your books too. Adjust shelf height to fit tall or short books. Keep the design balanced and stable for safety.
Cutting The Wood Pieces
Cutting the wood pieces is an important step in building your small bookshelf. It shapes the parts that will hold your books. Precise cuts make the shelf strong and neat. Take your time to measure and cut carefully. Use the right tools for clean edges and safe work.
Marking Cut Lines
Start by measuring each piece of wood. Use a pencil to draw clear lines where you will cut. Check the lines twice to avoid mistakes. Straight lines help the pieces fit well. Use a ruler or a square to keep lines straight. Mark all pieces before cutting to save time.
Safe Cutting Techniques
Wear safety glasses to protect your eyes from sawdust. Use clamps to hold the wood steady. This stops the wood from moving while cutting. Cut slowly and follow the marked lines carefully. Keep your hands away from the blade. Use a push stick if needed to guide the wood. Take breaks if you feel tired to avoid accidents.
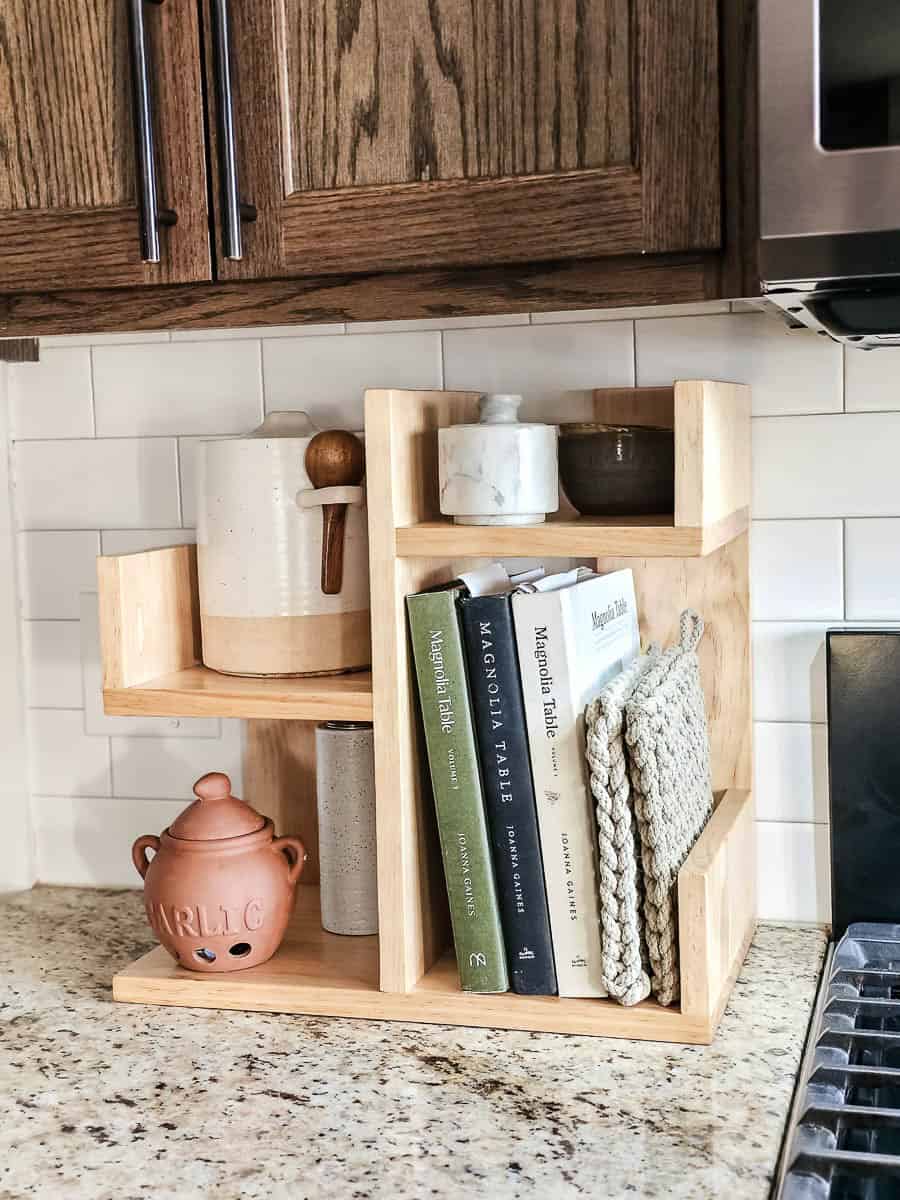
Credit: www.makingmanzanita.com
Assembling The Frame
Assembling the frame is an important step in building your small bookshelf. This part gives the structure strength and shape. Take your time to align all parts carefully. A well-built frame ensures your bookshelf will last long and hold weight.
Joining Side Panels
Start by placing the two side panels upright. Use wood glue along the edges that will join. Press the panels together firmly. Secure them with screws for extra strength. Make sure the panels are straight and even before tightening screws. Use a square tool to check the corners. This step forms the basic shape of the bookshelf.
Attaching Shelves
Mark where the shelves will go on the side panels. Use a level to keep shelves straight. Apply wood glue on the shelf edges. Fit each shelf between the side panels. Hold shelves in place and fasten with screws. Check each shelf for stability before moving on. Proper shelf attachment prevents sagging and adds support.
Sanding And Finishing
Sanding and finishing are key steps in making a small bookshelf DIY. They give the wood a smooth feel and a nice look. These steps also help protect the wood from damage and wear. Taking time to do this right can make your bookshelf last longer and look better.
Smoothing Surfaces
Start sanding with medium-grit sandpaper. This removes rough spots and splinters. Sand along the wood grain for the best result. Use light pressure to avoid dents. After that, use fine-grit sandpaper to smooth the surface more. Wipe dust off with a clean cloth. This prepares the wood for finishing.
Applying Paint Or Stain
Choose paint or stain based on your style. Paint covers the wood and adds color. Stain shows the wood grain and changes its tone. Apply paint or stain with a brush or cloth. Work in thin, even coats for a clean finish. Let each coat dry fully before adding another. Finish with a clear sealant for protection. This keeps your bookshelf safe from scratches and spills.
Adding Final Touches
Adding final touches to your small bookshelf DIY project makes it look complete and sturdy. These steps help improve the bookshelf’s strength and appearance. They also make sure it stays safe for daily use.
Installing Back Panel
The back panel gives your bookshelf extra support. Choose a thin plywood or hardboard sheet that fits the back. Cut it to size before attaching.
Use small nails or screws to fix the panel. Start at one corner and work your way around. Make sure the panel sits flat and tight. This stops the bookshelf from wobbling or twisting.
Securing To Wall
Securing the bookshelf to the wall prevents accidents. It keeps the shelf from tipping over, especially if you have children.
Find wall studs using a stud finder. Mark the spots where you will attach brackets or straps. Use screws that fit the wall type and brackets.
Attach one end of the bracket to the bookshelf and the other to the wall. Check the shelf is level before tightening all screws. This step adds safety and peace of mind.
Tips For Maintenance And Care
Keeping your small DIY bookshelf in good shape is important. Proper care helps it last longer and look nice. Simple habits can protect the wood and keep it clean. Follow these tips to maintain your bookshelf well.
Cleaning Recommendations
Dust your bookshelf often with a soft cloth. This stops dust buildup that can scratch the surface. Use a dry or slightly damp cloth only. Avoid harsh cleaners that can damage the wood finish. For sticky spots, use mild soap and water. Wipe gently and dry immediately. Clean shelves before placing books back to avoid dirt marks.
Preventing Damage
Keep your bookshelf away from direct sunlight to prevent fading. Avoid placing it near heaters or vents to stop warping. Use coasters or mats under plants or decorations. Don’t overload shelves with heavy items. Spread weight evenly to avoid bending. Handle with care when moving to avoid scratches or dents.
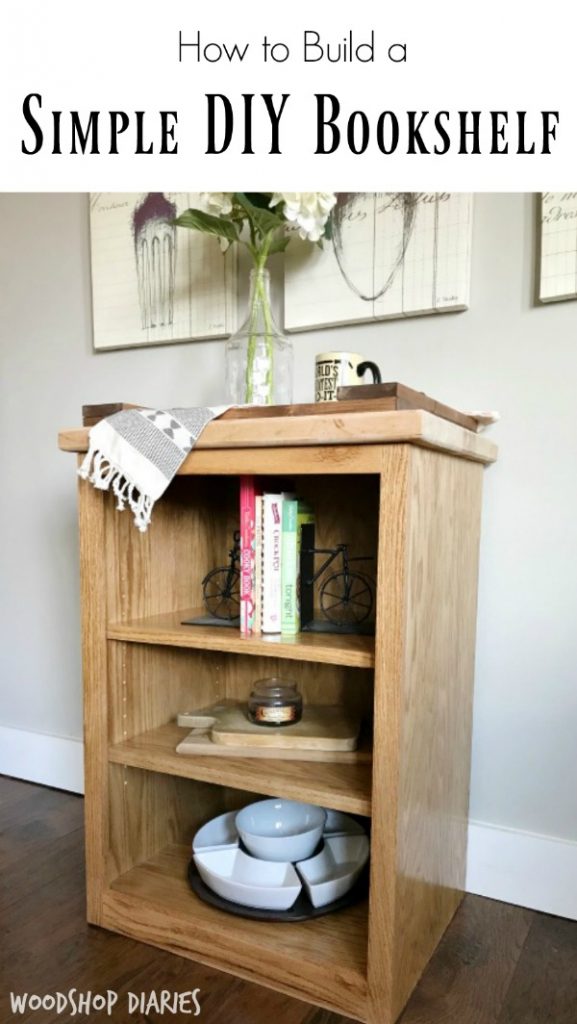
Credit: www.woodshopdiaries.com
Frequently Asked Questions
What Materials Do I Need For A Small Bookshelf Diy?
You need wood boards, screws, sandpaper, wood glue, paint or stain, and a drill. These basic materials ensure a sturdy and attractive bookshelf.
How Long Does It Take To Build A Small Bookshelf?
Building a small bookshelf usually takes 2 to 4 hours. Time varies based on skill level and design complexity.
Can I Customize The Size Of My Small Bookshelf?
Yes, you can adjust the bookshelf dimensions to fit your space. Customizing sizes ensures it fits perfectly in your room.
What Tools Are Essential For Making A Small Bookshelf?
Essential tools include a saw, drill, screwdriver, measuring tape, and level. These tools help achieve precise cuts and assembly.
Conclusion
Building a small bookshelf yourself saves money and adds charm. Choose wood and tools carefully for best results. Follow each step slowly to avoid mistakes. Enjoy the process of creating something useful and personal. Place your new shelf where it fits well and looks nice.
This simple project brings a sense of pride and joy. Try making more shelves to organize other spaces too. DIY projects like this make your home feel special and unique.
