Are you looking to add a unique touch to your home with a piece of furniture you made yourself? Building a wooden console table is easier than you might think, and it gives you a chance to create something both beautiful and functional.
Imagine having a stylish table that fits perfectly in your space, made exactly to your taste and needs. In this guide, you’ll discover simple steps to build your own wooden console table, even if you’re new to woodworking. Keep reading, and by the end, you’ll be ready to bring your vision to life with confidence and pride.
Materials And Tools Needed
Building a wooden console table is a fun and rewarding project. Having the right materials and tools makes the process smooth. This section covers what you need to start your work.
Choosing The Right Wood
Select wood that fits your style and budget. Pine is affordable and easy to work with. Oak and maple are harder but last longer. Make sure the wood is dry and straight. Avoid pieces with cracks or knots.
Essential Tools For The Project
A saw is necessary to cut the wood to size. A drill helps make holes for screws. Sandpaper smooths rough edges and surfaces. A screwdriver or power driver tightens screws. A tape measure ensures accurate cuts and fits.
Additional Supplies
You will need wood screws to hold the pieces together. Wood glue adds extra strength to joints. A pencil marks measurements on the wood. Clamps hold parts steady while glue dries. Finish with stain or paint to protect the wood.

Credit: www.shanty-2-chic.com
Planning Your Console Table
Planning your console table is the first step to a successful project. It helps you know what you want and what you need. Careful planning saves time and avoids mistakes. Start by thinking about the design, size, and cost. This way, you build a table that fits your space and style.
Design And Dimensions
Choose a design that matches your room and taste. Decide if you want a simple or detailed look. Measure the space where the table will go. Common console table height is 30 to 36 inches. Depth usually ranges from 12 to 18 inches. Width depends on available wall space. Write down these measurements for easy reference.
Drawing A Simple Sketch
Sketching helps you see the table before building it. Use plain paper and a pencil. Draw the front, side, and top views. Mark the measurements clearly on your sketch. This visual guide helps in cutting and assembling. It also shows if the table looks balanced.
Setting A Budget
Know how much money you want to spend. List all materials like wood, screws, and finish. Include tools if you need to buy or rent them. Keep some money aside for unexpected costs. Sticking to a budget keeps the project stress-free. It helps you choose the right materials without overspending.
Cutting The Wood Pieces
Cutting the wood pieces is the first step in building your wooden console table. This step shapes the parts you will join later. Accurate cuts ensure the table fits well and looks great.
Taking your time here saves effort during assembly. Focus on precision and safety to get the best results.
Measuring And Marking
Measure each piece of wood carefully. Use a tape measure and pencil for clear marks. Double-check every measurement. Mark the cut lines clearly on the wood. This helps avoid mistakes during cutting.
Safe Cutting Techniques
Wear safety goggles and gloves before cutting. Use clamps to hold the wood steady. Cut slowly and follow the marked lines. Keep your fingers away from the blade. Use a push stick for small pieces. Always cut on a stable surface.
Preparing Pieces For Assembly
After cutting, check each piece for rough edges. Sand the edges smooth with sandpaper. Remove any splinters or uneven spots. Label each piece to match your plan. Organize the pieces to make assembly easier.
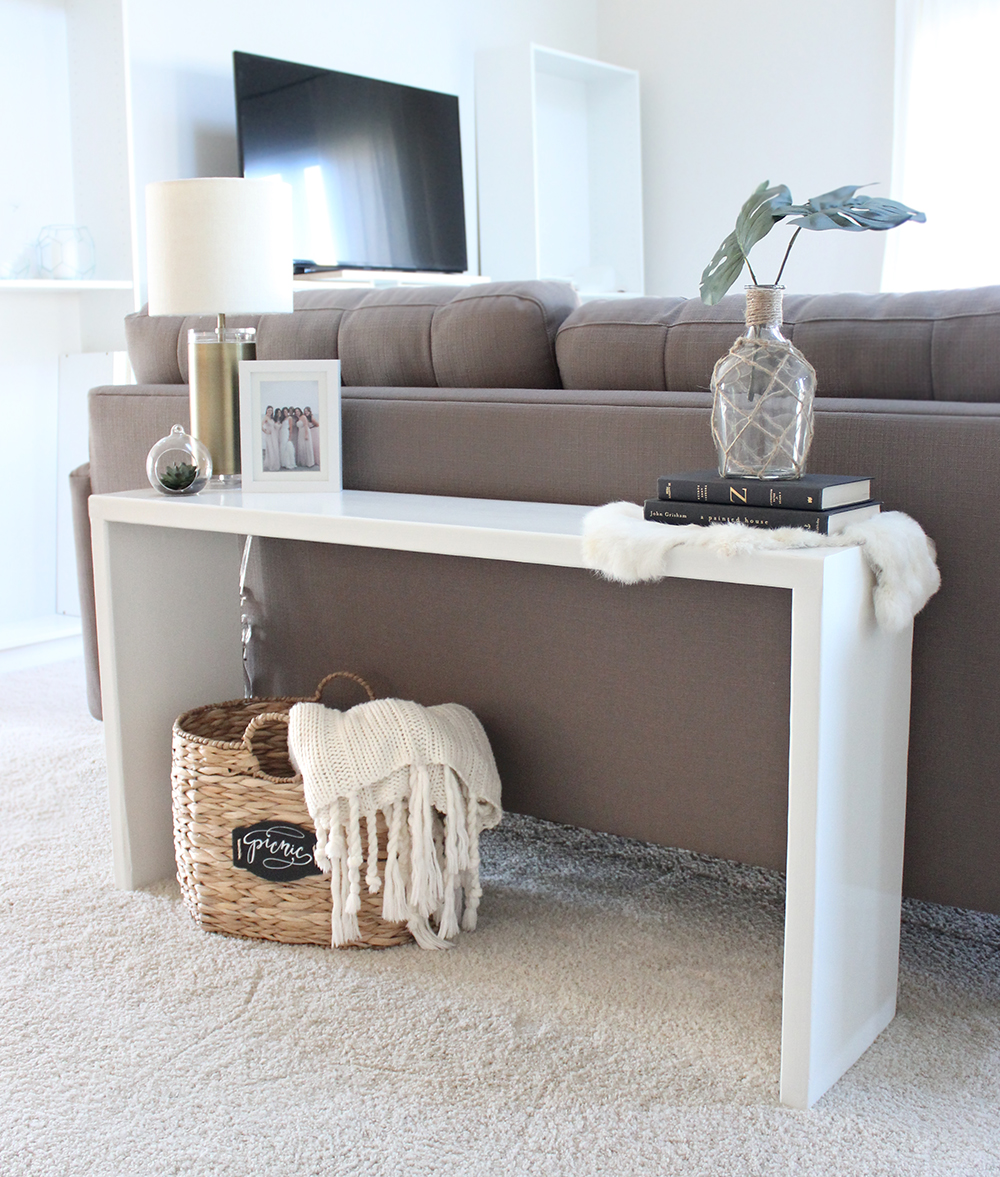
Credit: saffronavenue.com
Assembling The Frame
Assembling the frame is the first step to build your wooden console table. It creates the basic shape and support for the table. Take your time to join the parts carefully. A strong frame means a stable table that lasts.
Each part must fit well. The legs and aprons connect to form the main structure. Follow the instructions and measure twice before joining. This helps avoid mistakes and saves time.
Joining The Legs And Aprons
Start by placing the legs upright. Attach the aprons to the inside edges of the legs. The aprons are the horizontal pieces that connect the legs. Use clamps to hold the pieces together tightly. This keeps everything steady during assembly.
Make sure the apron edges line up with the legs perfectly. Use wood glue on the contact surfaces for a stronger hold. Press the pieces firmly to spread the glue evenly.
Securing With Screws And Glue
After gluing, drill pilot holes for the screws. Pilot holes prevent the wood from splitting. Insert screws to lock the aprons and legs together. Tighten the screws but avoid overdoing it. Too much force can crack the wood.
Use screws that are the correct length. They should not go through the wood completely. Check the screw heads sit flush or slightly below the surface. This makes sanding easier later on.
Checking For Squareness
Check if the frame is square before the glue dries. Use a carpenter’s square or measure diagonally. The two diagonal measurements should be equal. If not, adjust the frame by shifting legs or aprons slightly.
Squareness is key to a balanced and sturdy table. Take your time to get this right. Let the glue dry fully while keeping the frame clamped. This ensures the frame holds its shape.
Adding The Tabletop
Adding the tabletop is a key step in building a wooden console table. It gives the piece its main surface and completes its look. Careful work here ensures a strong and smooth table ready for use.
Attaching The Top To The Frame
Start by placing the tabletop on the frame. Align it so all edges match evenly. Use clamps to hold the tabletop in place. Drill pilot holes through the frame into the tabletop. This stops the wood from splitting. Secure the top with screws, tightening them gently. Check for any gaps between the frame and top. Adjust as needed to ensure a tight fit.
Ensuring Stability
Stability is crucial for a durable table. Add corner braces inside the frame if needed. These support the tabletop and prevent wobbling. Tighten all screws firmly but avoid overtightening. Test the table by pressing down on different spots. If it moves or creaks, check screws and braces again. A stable table lasts longer and feels solid.
Sanding The Surface
Sanding smooths the tabletop and prepares it for finishing. Start with medium-grit sandpaper to remove rough spots. Move in the direction of the wood grain. Finish with fine-grit sandpaper for a soft, even surface. Wipe away dust with a clean cloth. Smooth surfaces help paint or stain stick better. The result is a tabletop that looks professional and feels nice to touch.

Credit: farmhouseishblog.com
Frequently Asked Questions
What Materials Are Needed To Make A Wooden Console Table?
You need wood planks, screws, wood glue, sandpaper, wood stain or paint, and finishing sealant. Basic tools include a saw, drill, measuring tape, and clamps.
How Long Does It Take To Build A Wooden Console Table?
Building a wooden console table typically takes 4 to 6 hours. Time varies based on skill level and design complexity.
What Type Of Wood Is Best For A Console Table?
Hardwoods like oak, maple, or walnut are best. They offer durability and a beautiful finish for console tables.
How Do I Finish And Protect My Wooden Console Table?
Apply wood stain or paint, then seal with polyurethane or varnish. This protects wood and enhances its appearance.
Conclusion
Building a wooden console table is a rewarding project anyone can try. You only need basic tools and some patience. Step-by-step, you can create a sturdy and stylish piece for your home. Personalize it with your favorite wood finish or design.
This simple project improves your skills and adds charm to any room. Start today and enjoy the satisfaction of handmade furniture.