Are you looking for a smart way to divide your space without losing style or storage? A bookshelf room divider might be exactly what you need.
It not only separates your rooms but also adds a practical and eye-catching element to your home. Imagine having a spot to showcase your favorite books, plants, and décor while creating a cozy, organized area. In this guide, you’ll learn simple steps to make your own bookshelf room divider that fits your space perfectly.
Ready to transform your room and boost your home’s charm? Let’s dive in!

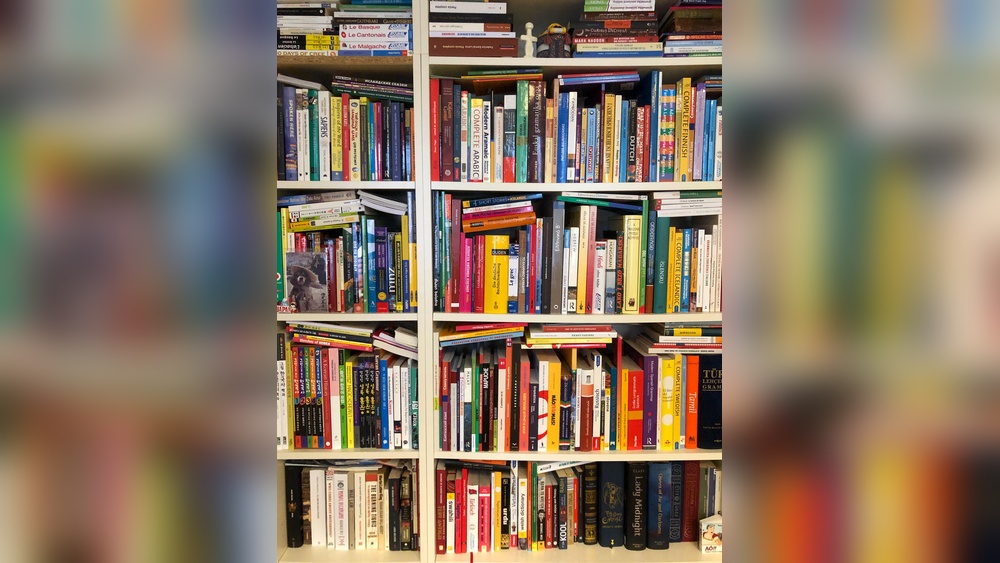
Credit: www.domino.com
Choosing The Right Bookshelf
Choosing the right bookshelf is key to making a good room divider. It defines the space and adds style. Picking the perfect size, material, and design helps create balance. The bookshelf should fit your room and your needs. Think about what you want to display and how open or closed you want the space.
Size And Dimensions
Measure the area where the bookshelf will stand. The height should not block too much light. The width must fit the space without crowding. Depth matters for stability and storage. A wider bookshelf holds more items but takes more room. Choose dimensions that suit your space and needs.
Style And Material Options
Bookshelves come in many styles. Wood offers a warm, classic look. Metal suits modern or industrial rooms. Particleboard is budget-friendly and light. Choose a style that matches your decor. Think about durability and how much weight it holds. The right material keeps the divider lasting long.
Open Vs Closed Shelves
Open shelves create an airy feel. They let light pass and show off items. Closed shelves hide clutter and add privacy. Glass doors keep dust off books and decor. Decide how much visibility you want. Both types can work well as dividers.
Planning Your Room Divider
Planning your bookshelf room divider is key to a smooth build. It saves time and helps avoid mistakes. Careful planning makes your room divider fit perfectly and look great.
Measuring Your Space
Start by measuring the area where the divider will go. Use a tape measure for accuracy. Note the width, height, and depth available. Write down these numbers clearly. Check for any obstacles like vents or sockets. These can affect the size and placement.
Determining Placement
Think about where the divider will divide the room best. Consider how people will move around it. Make sure it does not block doors or windows. Also, think about natural light and sight lines. The right spot makes the room feel balanced and open.
Safety Considerations
Safety is important for any room divider. Make sure the divider is stable and won’t tip over. Secure it to the floor or wall if needed. Avoid sharp edges or loose parts. Check the weight of books and shelves. Heavy loads need strong supports to prevent accidents.
Materials And Tools Needed
Building a bookshelf room divider needs the right materials and tools. This helps to make the project easier and the final product strong. Preparing these items before starting saves time and avoids interruptions.
Choosing quality materials ensures your bookshelf lasts longer. Tools help cut, join, and finish the wood properly. Some extra decorative items can also improve the look of your divider.
Basic Tools List
- Measuring tape – for accurate dimensions
- Power drill – to make holes and drive screws
- Screwdriver – manual or electric for screws
- Handsaw or circular saw – to cut wood pieces
- Hammer – for nails and small adjustments
- Level – to keep shelves straight
- Sandpaper or electric sander – to smooth edges
- Clamps – hold wood pieces while assembling
Recommended Materials
- Wood boards – plywood or solid wood, depending on budget
- Screws and nails – to fasten parts together
- Wood glue – adds extra strength to joints
- Wood finish or paint – protects and beautifies the wood
- Backing board (optional) – adds stability and style
Optional Decorative Elements
- Wood trim – for clean, finished edges
- Decorative knobs or handles – if adding doors
- LED strip lights – add soft lighting to shelves
- Wallpaper or fabric – to cover the back panel
- Plants or small art pieces – for styling shelves
Step-by-step Assembly
Building a bookshelf room divider is easier than it seems. Follow these clear steps to assemble your divider quickly and safely. Each step helps you create a sturdy and attractive piece.
Preparing The Bookshelf
Start by choosing a bookshelf that fits your space. Remove any shelves if needed to match your room size. Clean all parts to remove dust or dirt. Lay the bookshelf flat on a soft surface for assembly. Check that all screws and tools are ready before starting.
Securing The Divider
Stand the bookshelf upright in the desired spot. Use brackets to attach the bookshelf to the floor or ceiling. This prevents the divider from tipping over. Tighten all screws firmly for a strong hold. Double-check stability by gently shaking the bookshelf.
Adding Stability Features
Add rubber pads under the bookshelf legs to stop slipping. Use wall anchors if the divider touches a wall. Attach extra braces inside the shelves to support heavy items. These steps keep your divider safe and steady. Stability is key for a long-lasting room divider.
Customizing Your Divider
Customizing your bookshelf room divider makes it unique and fits your space perfectly. You can change its look and feel with simple touches. These changes help the divider match your style and room decor. Small details can make a big difference.
Painting And Finishing
Painting your divider adds color and personality. Choose shades that match your room’s palette. Use paint that protects wood from scratches and water. A smooth finish makes cleaning easier. Try matte or glossy finishes for different effects. Stains bring out the wood’s natural beauty too.
Incorporating Lighting
Lighting makes your divider stand out, especially at night. Use LED strips along shelves for soft, even light. Small lamps or fairy lights add charm and warmth. Light also helps highlight your favorite books or items. It creates a cozy atmosphere in your room.
Adding Plants And Decor
Plants bring life and color to your divider. Small pots fit well on shelves and add freshness. Use easy-care plants like succulents or ferns. Add decorative items such as candles, photo frames, or sculptures. These touches make your divider more inviting and personal.
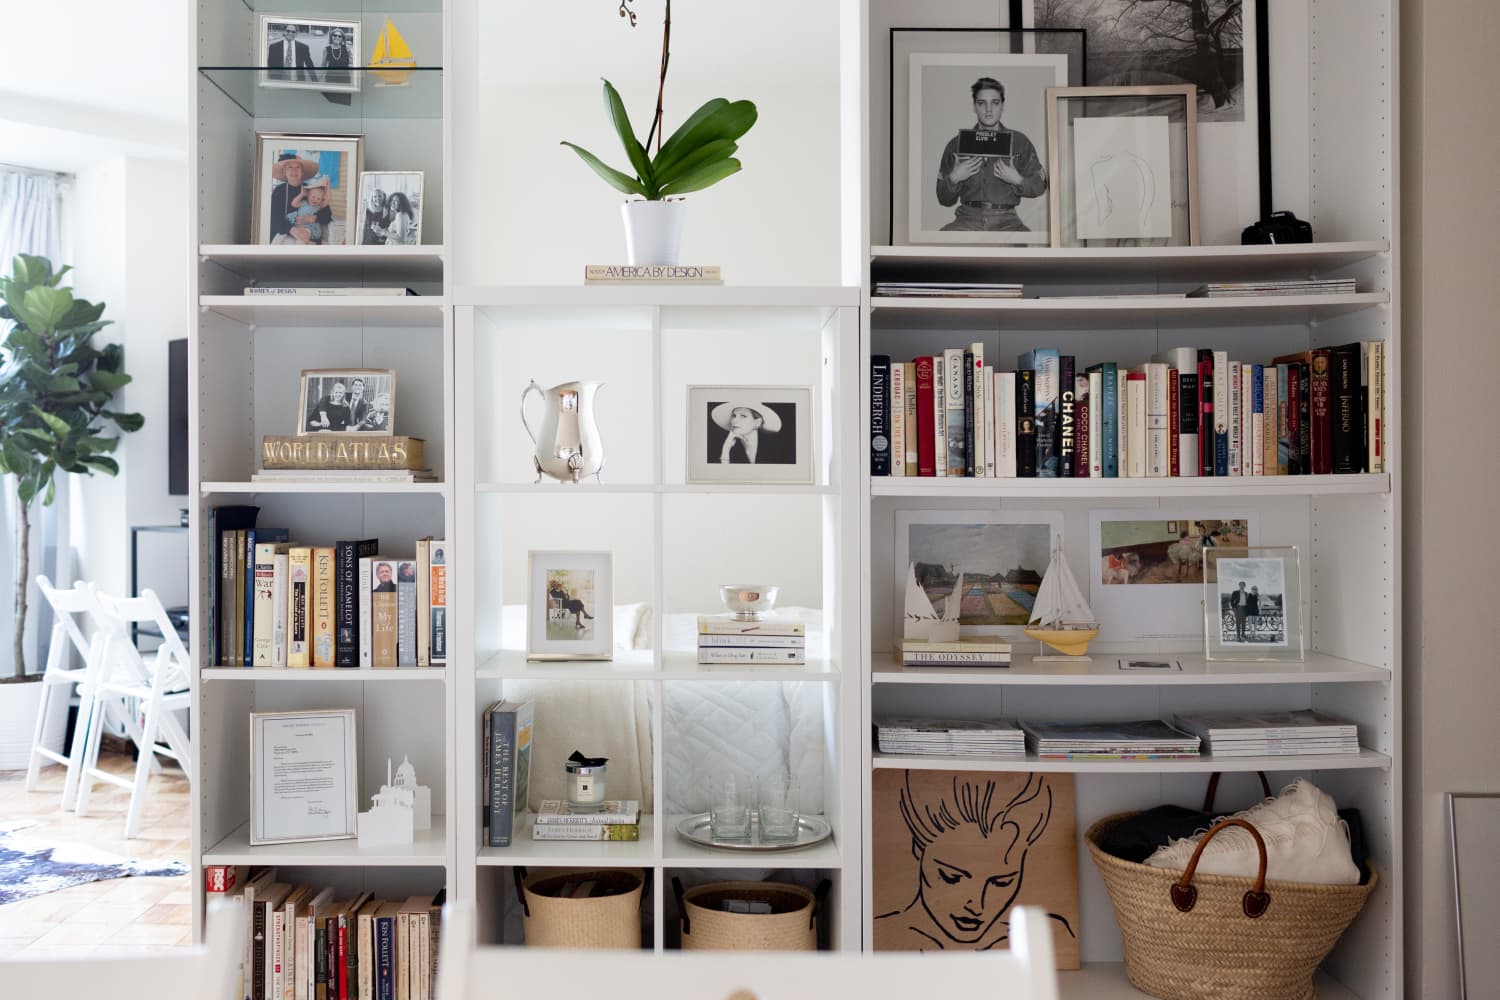
Credit: www.apartmenttherapy.com
Alternative Diy Ideas
Bookshelf room dividers do not have to be complicated or costly. Simple materials and smart ideas create effective dividers. These alternative DIY ideas offer creativity and functionality. They fit various budgets and spaces. Each option can be customized to your style and needs. Here are some easy and practical ways to build room dividers using everyday items.
Using Crates Or Pallets
Wooden crates or pallets make sturdy dividers. Stack crates to form shelves that hold books and decor. You can paint or stain them to match your room. Pallets can stand upright or be cut for custom shapes. Both materials are affordable and often free. They bring a rustic, cozy feel to any space.
Hanging Shelves As Dividers
Hanging shelves divide rooms without taking floor space. Attach shelves to the ceiling or wall with ropes or chains. This creates an open divider that still holds items. Choose lightweight materials for easy hanging. Hanging shelves add a modern touch and keep rooms bright.
Modular And Movable Options
Modular dividers offer flexibility and easy rearrangement. Use cubes or stackable boxes that you can move anytime. These dividers fit small spaces and change as needed. Some designs include wheels for smooth movement. Modular dividers combine storage and separation perfectly.
Maintaining Your Bookshelf Divider
Maintaining your bookshelf room divider keeps it looking fresh and lasting longer. It also helps your space stay neat and organized. A little care goes a long way in preserving its function and style.
Regular upkeep prevents damage and keeps the shelves sturdy. Simple cleaning and small fixes avoid costly repairs later. Updating the look can match changes in your room decor.
Regular Cleaning Tips
Dust the shelves every week using a soft cloth. Avoid wet cloths that can damage the wood or paint. Use a vacuum with a brush attachment for corners and crevices.
Clean spills immediately to prevent stains. A mild soap and water mix works well for tough spots. Dry the surface fully after cleaning to avoid moisture damage.
Preventing Wear And Tear
Place felt pads under heavy items to protect the shelves. Avoid overloading shelves to keep them from bending or breaking. Check screws and joints regularly and tighten them if needed.
Keep your divider away from direct sunlight to prevent fading. Avoid placing it near heat sources to stop warping. Use coasters or mats under plants and cups.
Updating Style Over Time
Change the paint color to refresh the look easily. Add decorative baskets or boxes to hide clutter and add style. Swap out handles or knobs on shelves for a new touch.
Rearrange books and decor items to create a new feel. Add small plants or artwork on the shelves for a lively look. These changes keep your divider interesting and unique.

Credit: www.reddit.com
Frequently Asked Questions
What Materials Do I Need For A Bookshelf Room Divider?
You need plywood or MDF boards, screws, wood glue, a drill, paint, and brackets. Choose sturdy materials for stability. Measuring tape and a saw are essential for cutting to size. Finishing touches like paint or varnish improve appearance and durability.
How Do I Ensure The Bookshelf Is Stable As A Divider?
Anchor the bookshelf to the floor or ceiling using brackets. Use thick, strong boards to prevent wobbling. Balance the weight of books evenly across shelves. Adding a back panel can enhance stability and prevent tipping.
Can I Customize The Size Of My Bookshelf Divider?
Yes, customize based on your room’s dimensions and needs. Measure the space carefully before cutting. Adjust shelf height and width to fit your books and decor. Customization makes the divider functional and visually appealing.
How Long Does It Take To Build A Bookshelf Room Divider?
It typically takes 4 to 6 hours for a DIY project. Time varies depending on skill level and complexity. Allow extra time for drying paint or finish. Planning and preparation can speed up the process.
Conclusion
Creating a bookshelf room divider adds style and function to any space. You can separate areas without building walls. Choose materials that suit your room and budget. Measure carefully to fit your space perfectly. Adding shelves gives you storage and display options.
This project is simple and fun to do yourself. Enjoy your new divider that keeps rooms open yet organized. Try it today and see how it changes your home!