Are you thinking about adding a bunk bed to your home but worried it might be too complicated or expensive? What if you could build one yourself, saving money and customizing it exactly the way you want?
Making a bunk bed at home is easier than you think, and it can transform your space instantly. In this guide, you’ll discover simple steps, clear instructions, and useful tips that make the whole process smooth and fun. Ready to create a cozy, space-saving bunk bed that your family will love?
Let’s get started!
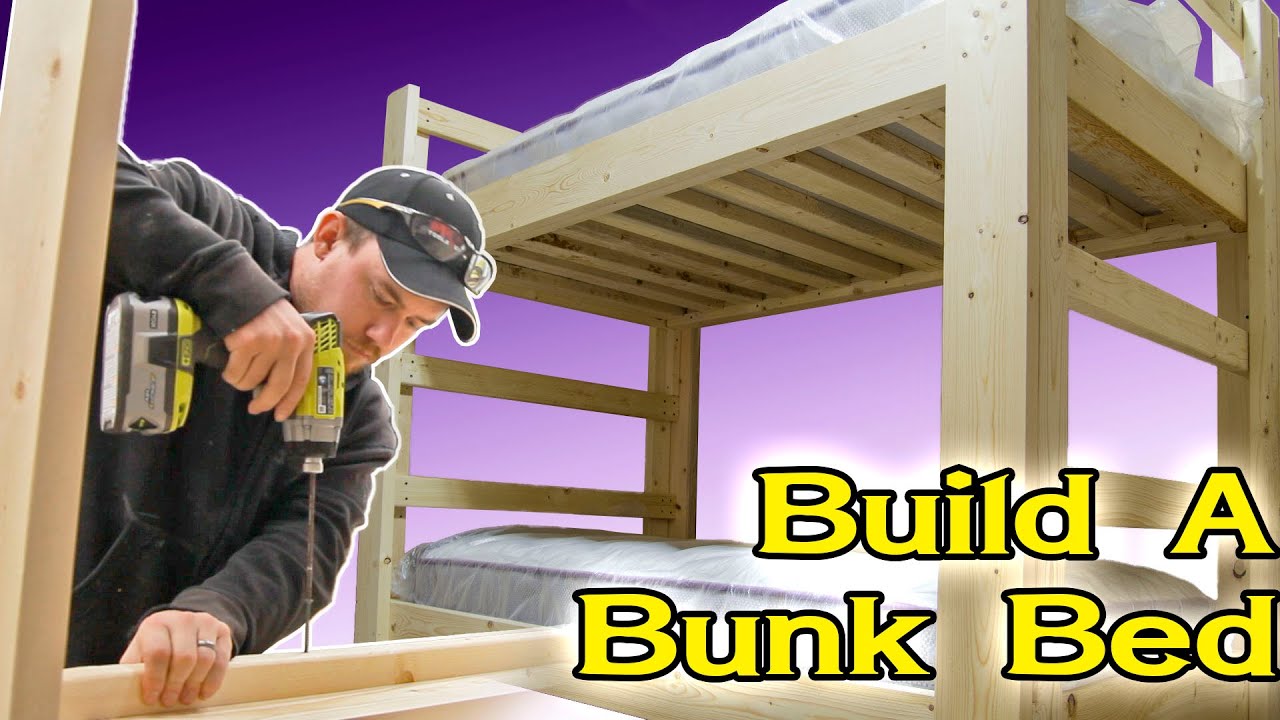
Credit: www.youtube.com
Choosing The Right Materials
Choosing the right materials is a key step in making a strong bunk bed. The materials affect the bed’s safety, look, and how long it lasts. Picking good wood and tools helps you build a bed that stays safe and sturdy for years.
Focus on durable materials that can hold weight well. Also, choose tools that make cutting and joining easier. Don’t forget safety gear to protect yourself during building. These choices make the project smoother and safer.
Selecting Wood Types
Choose wood that is strong and easy to work with. Pine is a popular choice because it is soft and affordable. Oak and maple are harder woods and last longer, but they cost more.
Avoid using wood with cracks or knots. These can weaken the bed frame. Make sure the wood is dry to prevent warping later. Smooth wood helps avoid splinters.
Essential Tools Needed
Get basic tools before you start. A saw is needed to cut wood pieces. A drill will help make holes for screws. Screwdrivers or a power driver are necessary for assembly.
Sandpaper smooths rough edges for safety. A tape measure ensures precise cuts and fitting. Clamps hold wood steady while you work. Having the right tools saves time and effort.
Safety Gear Checklist
Protect yourself with safety gear. Wear safety glasses to shield your eyes from dust and wood chips. Use ear protection if you work with loud power tools.
Gloves protect your hands from splinters and sharp edges. Wear a dust mask to avoid breathing in sawdust. Proper clothing helps avoid accidents during the build.
Planning Your Bunk Bed Design
Planning your bunk bed design is the first step to a successful build. It helps avoid mistakes and saves time. Good planning makes sure the bed fits well and is safe to use. Pay close attention to the space and size before you start.
Take your time with each step. Careful preparation leads to a sturdy and comfortable bunk bed that lasts.
Measuring Your Space
Start by measuring the room where the bunk bed will go. Measure the length, width, and height of the space. Check for doors, windows, and heaters that might get in the way. Write down all the numbers. Double-check your measurements to avoid errors.
Sketching The Layout
Draw a simple sketch of the room on paper. Mark the bunk bed’s position in the sketch. Show nearby furniture and walls. This helps you see how the bed fits and leaves enough walking space. Keep the sketch clear and easy to read.
Deciding Bed Dimensions
Choose the size of each bunk bed mattress. Common sizes are twin, full, or custom. Think about who will use the bed and their comfort. Make sure there is enough space between the top and bottom bunks. Plan enough headroom so sitting up is easy.
Cutting And Preparing Wood
Cutting and preparing wood is the first important step in making a bunk bed at home. This process needs care and accuracy to ensure strong and safe parts. Good preparation helps the wood fit perfectly during assembly. Take your time to follow each step carefully.
Marking Measurements
Start by measuring all the wood pieces you need. Use a tape measure for exact lengths. Mark each piece clearly with a pencil. Double-check your marks before cutting. Correct measurements prevent mistakes and wasted wood.
Cutting Techniques
Use a saw suitable for your wood type. A handsaw or circular saw works well. Cut slowly and follow your pencil lines. Keep your hands steady and use safety gear. Clean cuts make assembly easier and the bed stronger.
Sanding And Smoothing
After cutting, sand all wood edges and surfaces. Use medium grit sandpaper first, then finer grit for smoothness. Sanding removes splinters and rough patches. Smooth wood feels better and reduces injury risk.
Assembling The Frame
Assembling the frame is the key step in making a bunk bed at home. This step creates the strong base that holds the entire bed. Taking time to build the frame carefully ensures safety and durability. Follow the simple steps below to put the frame together properly.
Building The Bed Base
Start by cutting the main bed base pieces to size. Use sturdy wood like pine or oak for strength. Lay the pieces on a flat surface to check the fit. Join the corners with screws or wood glue. Make sure the base is square and even. This base will hold the mattress and must be strong.
Constructing Side Rails
Next, cut the side rails to match the length of the bed base. Attach these rails to the bed base using screws. The side rails stop the mattress from sliding off. Check that the rails are level and secure. Tighten all screws to avoid any movement. Side rails add safety and stability to the bed.
Attaching Support Slats
Support slats go across the bed base to hold the mattress. Cut several slats evenly to fit inside the frame. Space the slats about 2 to 3 inches apart. Screw each slat securely into the side rails. These slats spread the mattress weight evenly. They prevent the mattress from sagging or falling through.
Adding Safety Features
Adding safety features is important when building a bunk bed at home. Kids need a secure place to sleep. Safety stops accidents and gives peace of mind to parents. Pay close attention to these key parts to keep the bed safe and strong.
Installing Guardrails
Guardrails prevent falls from the top bunk. Use solid wood or metal rails that are at least five inches high. Attach the rails tightly to the bed frame. Check for gaps where a child might slip through. Strong guardrails help children feel safe while sleeping.
Securing The Ladder
The ladder must be steady and easy to climb. Fix it firmly to the bed frame. Use wide, flat steps to avoid slipping. Test the ladder by pulling and pushing gently. A secure ladder reduces the risk of falls when climbing up or down.
Checking Stability
Make sure the whole bed does not wobble. Tighten all screws and bolts properly. Place the bunk bed on a flat surface to prevent tipping. Shake the bed lightly to test its strength. A stable bunk bed is safe and long-lasting.
Finishing Touches
Finishing touches complete your bunk bed project. They bring out its beauty and make it ready for use. Small details make a big difference. Take time to perfect these steps. Your hard work deserves a great finish.
Painting And Staining
Choose paint or stain that suits your room style. Paint adds color and protects the wood. Stain shows the natural wood grain. Use light coats to avoid drips and runs. Let each coat dry fully before the next. Sand lightly between coats for a smooth finish.
Adding Mattresses
Select mattresses that fit the bunk bed size exactly. Measure the bed frame before buying. Choose firm but comfortable mattresses for safety. Use mattress covers to keep them clean. Secure mattresses to prevent slipping during sleep.
Decorating Ideas
Add personal touches to make the bunk bed fun. Use themed bedding or pillows for a cozy feel. Hang fairy lights or small shelves for books and toys. Stick wall decals or posters nearby for extra charm. Create a space kids love and enjoy every night.
Maintaining Your Bunk Bed
Maintaining your bunk bed keeps it safe and lasts longer. Regular care helps avoid accidents and damage. Simple tasks can keep the bed strong and clean for years.
Regular Inspections
Check your bunk bed every few weeks. Look for cracks in the wood or metal parts. See if any parts are loose or broken. Early fixes stop big problems later. Make sure the guardrails and ladder are secure.
Tightening Loose Screws
Loose screws make the bed unstable. Use a screwdriver to tighten all screws often. Check screws under the mattress and on the ladder. Tight screws keep the bed safe for kids. Don’t forget bolts and nuts too.
Cleaning Tips
Clean your bunk bed regularly to keep dust away. Use a soft cloth and mild soap. Avoid harsh chemicals that damage wood or paint. Wipe down every corner and surface. Clean mattress covers often to stay fresh.

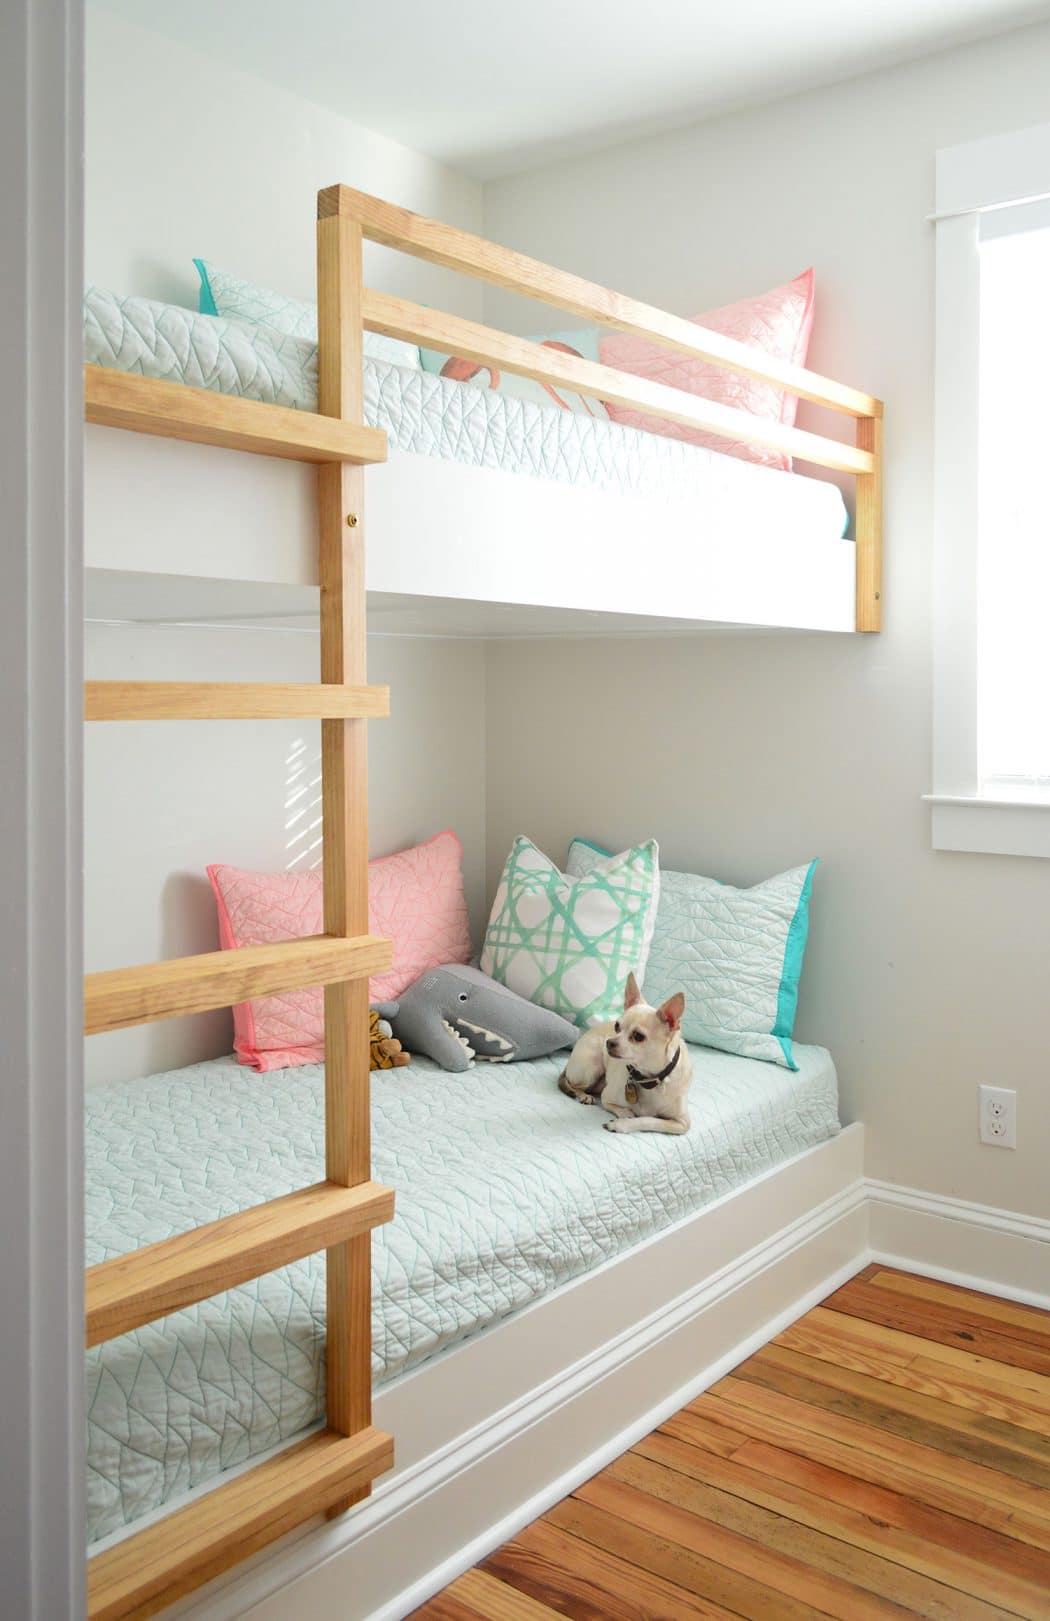
Credit: www.simplyhandmadestudios.com
Credit: www.younghouselove.com
Frequently Asked Questions
How Much Wood Do I Need To Make A Bunk Bed?
You need approximately 100-120 board feet of hardwood or softwood. This depends on your bunk bed design size and style. Always buy extra wood for mistakes and adjustments during construction.
What Tools Are Essential For Building A Bunk Bed?
Basic tools include a saw, drill, screwdriver, measuring tape, and clamps. A sander and level improve finish and accuracy. These tools help ensure safety and precise assembly.
How To Ensure Bunk Bed Safety At Home?
Use sturdy materials and strong joints. Secure guardrails on the upper bunk. Check weight limits and avoid sharp edges. Regularly inspect for loose parts or damage.
Can I Customize Bunk Beds For Small Spaces?
Yes, customize dimensions to fit your room. Consider vertical storage or foldable designs. Tailor the bed height and length to maximize space efficiency.
Conclusion
Building a bunk bed at home saves money and space. It takes some planning and careful work. Use strong materials to keep the bed safe. Follow each step with patience and care. The result is a sturdy bed that fits your needs.
Enjoy the pride of making something useful yourself. This project can bring fun and learning together. Start today and create a cozy spot for rest. Simple tools and clear instructions make it easier. A homemade bunk bed adds charm to any room.