Are you looking to add a stylish and sturdy bookshelf to your space without spending a fortune? Making a plywood bookshelf yourself is easier than you might think.
With just a few tools and simple steps, you can create a custom piece that fits your needs perfectly. Imagine having a bookshelf that not only holds your favorite books but also matches your room’s style exactly. Keep reading, and you’ll discover how to turn plain plywood into a beautiful, functional bookshelf you’ll be proud of.
Choosing The Right Plywood
Choosing the right plywood is key to building a strong bookshelf. The plywood you pick affects the shelf’s strength, look, and how long it lasts. Not all plywood works well for shelves. You need to find the best type that fits your needs. This guide helps you understand what to consider when buying plywood for your bookshelf project.
Types Of Plywood For Shelving
Different plywood types suit different uses. Hardwood plywood is strong and looks nice. It holds heavy books well. Softwood plywood is lighter and cheaper but not as strong. Baltic birch plywood is popular for shelves. It has many thin layers, making it very durable and smooth. Choose plywood that can hold weight without bending.
Thickness And Durability
Thickness matters for shelf strength. Thin plywood may bend under heavy books. A thickness of at least ¾ inch is good for most shelves. Thicker plywood is stronger and lasts longer. Also, check the plywood layers. More layers mean better durability. Strong plywood keeps your bookshelf steady and safe.
Finishing And Appearance
The look of plywood affects your bookshelf style. Smooth plywood with fewer knots looks clean and neat. You can paint or stain it easily. Some plywood has a nice wood grain that you can keep without paint. Sanding the plywood surface helps the finish stick better. Choose plywood that matches your room’s style and color.

Credit: www.remodelista.com
Tools And Materials Needed
Making a plywood bookshelf needs the right tools and materials. Using proper items makes the work easier and the shelf stronger. Prepare everything before starting. This saves time and avoids problems later.
Essential Tools List
You need a saw to cut plywood to size. A power drill helps make holes and insert screws. Sandpaper or a sander smooths rough edges. A measuring tape ensures accurate cuts. A carpenter’s square keeps corners straight. Clamps hold wood pieces together while you work. A pencil marks where to cut or drill.
Hardware And Fasteners
Choose wood screws that fit the plywood thickness. Use screws with a flat head for a clean finish. Wood glue adds extra strength to joints. Nails can help but screws hold better. Small brackets support heavy shelves. Pick the right size for your shelf design.
Safety Gear
Wear safety glasses to protect your eyes from dust and wood chips. Use ear protection when using loud tools. Gloves keep your hands safe from splinters. A dust mask stops you from breathing sawdust. Always work in a well-ventilated space.
Planning Your Bookshelf Design
Planning your bookshelf design is the first step in creating a sturdy and useful piece. It helps you avoid mistakes and ensures your bookshelf fits perfectly. A good plan saves time and materials. Focus on the space where the bookshelf will go and what you want to store on it.
Measuring Space And Dimensions
Start by measuring the space for your bookshelf. Use a tape measure to get the width, height, and depth. Write down these numbers. Check for any obstacles like power outlets or vents. Remember, the bookshelf should fit comfortably without blocking anything.
Deciding Shelf Number And Height
Think about how many shelves you need. Count your books or items you want to place. Decide the height of each shelf based on your tallest books or objects. Leave extra space for future additions. Make sure shelves are not too close or too far apart.
Sketching Your Design
Draw a simple sketch of your bookshelf on paper. Mark the overall dimensions and shelf positions. Use straight lines and clear labels. This sketch guides your cutting and assembling. Keep it handy during your project for quick reference.
Cutting The Plywood
Cutting the plywood is a key step in making a bookshelf. Precise cuts help the pieces fit well together. Take time to measure and cut carefully. This ensures a sturdy and neat bookshelf. Use the right tools and follow safety rules to avoid mistakes or injuries.
Marking Cut Lines
Start by measuring the plywood pieces you need. Use a pencil and a ruler to draw straight lines. Mark each line clearly on the wood surface. Double-check your measurements to avoid errors. Clear lines make cutting easier and more accurate.
Using A Circular Saw
Use a circular saw for clean, straight cuts. Set the saw blade depth to match plywood thickness. Hold the saw firmly and follow the marked lines slowly. Keep your hands away from the blade. Move the saw smoothly to avoid splintering the wood.
Sanding Edges Smooth
After cutting, the edges may feel rough. Use sandpaper or a sanding block to smooth them. Sand along the edges until they are even and safe to touch. Smooth edges give a better look and prevent splinters. This step improves the quality of your bookshelf.
Assembling The Bookshelf
Assembling the bookshelf is the step where your project starts to take shape. Careful assembly ensures the bookshelf is strong and long-lasting. Follow these steps to build a sturdy frame that holds your books well.
Joining Side Panels And Shelves
Begin by attaching the shelves to the side panels. Align the shelves evenly with the edges of the side panels. Use clamps to hold pieces steady. Check that each shelf fits snugly without gaps.
Make sure shelves are level and spaced as planned. Mark the spots where the shelves meet the sides. This helps keep everything accurate during assembly.
Securing With Screws And Glue
Apply wood glue along the edges of the shelves before joining. Glue adds strength and prevents wobbling. Insert screws through the side panels into the shelves. Use a drill to drive screws smoothly and avoid wood splitting.
Space screws evenly for solid support. Wipe off extra glue before it dries. Let the glue set for a few hours to ensure a strong bond.
Ensuring Stability And Squareness
Check the bookshelf’s squareness by measuring the diagonals. The diagonals should be equal in length. Use a carpenter’s square to verify right angles at corners. Adjust clamps or screws if needed.
Place the bookshelf on a flat surface. Press gently to see if it rocks. Tighten screws or add corner braces to improve stability. A stable bookshelf lasts longer and holds weight better.

Credit: www.reddit.com
Finishing Touches
Finishing touches give your plywood bookshelf a polished look. They protect the wood and make the shelf last longer. These final steps also add style and strength. Take time to complete each step carefully for the best results.
Applying Paint Or Stain
Choose paint or stain that fits your room’s style. Paint covers the wood fully and hides marks. Stain shows the wood’s natural grain and color. Use a brush or cloth to apply evenly. Let it dry completely before the next step.
Adding Protective Coating
Protective coating shields your shelf from scratches and water. Clear polyurethane is a popular choice. Apply thin coats with a brush for smooth coverage. Wait for each coat to dry before adding another. This step makes the shelf strong and easy to clean.
Installing Back Panel
The back panel keeps the shelf steady and prevents wobbling. Cut plywood to fit the back of your shelf. Attach it with nails or screws carefully. This panel adds support and a neat finish to your bookshelf.
Tips For Stylish Storage
Stylish storage makes your plywood bookshelf both useful and beautiful. Simple tricks help the shelf fit your room and needs. You can turn a plain shelf into a special piece. Smart use of space keeps things tidy and neat. Taking care of the bookshelf keeps it looking good for years.
Customizing With Decorative Elements
Add color with paint or stain to match your style. Use wallpaper or fabric on the back panel for a pop of design. Attach small hooks or knobs to hold keys or bags. Place small plants or art pieces to add life to the shelf. Choose handles or trim that suit your room’s look.
Maximizing Space Efficiency
Use baskets or boxes on shelves to group small items. Arrange books both vertically and horizontally for a dynamic look. Adjust shelf heights to fit tall and short items. Leave some space for new books or decorations. Stack items carefully to avoid clutter and save space.
Maintaining Your Bookshelf
Dust your shelf weekly to keep it clean and fresh. Check screws and joints to keep it strong and safe. Wipe spills immediately to prevent damage to the wood. Use furniture polish to protect the surface and shine. Repair small scratches with wood filler or markers.
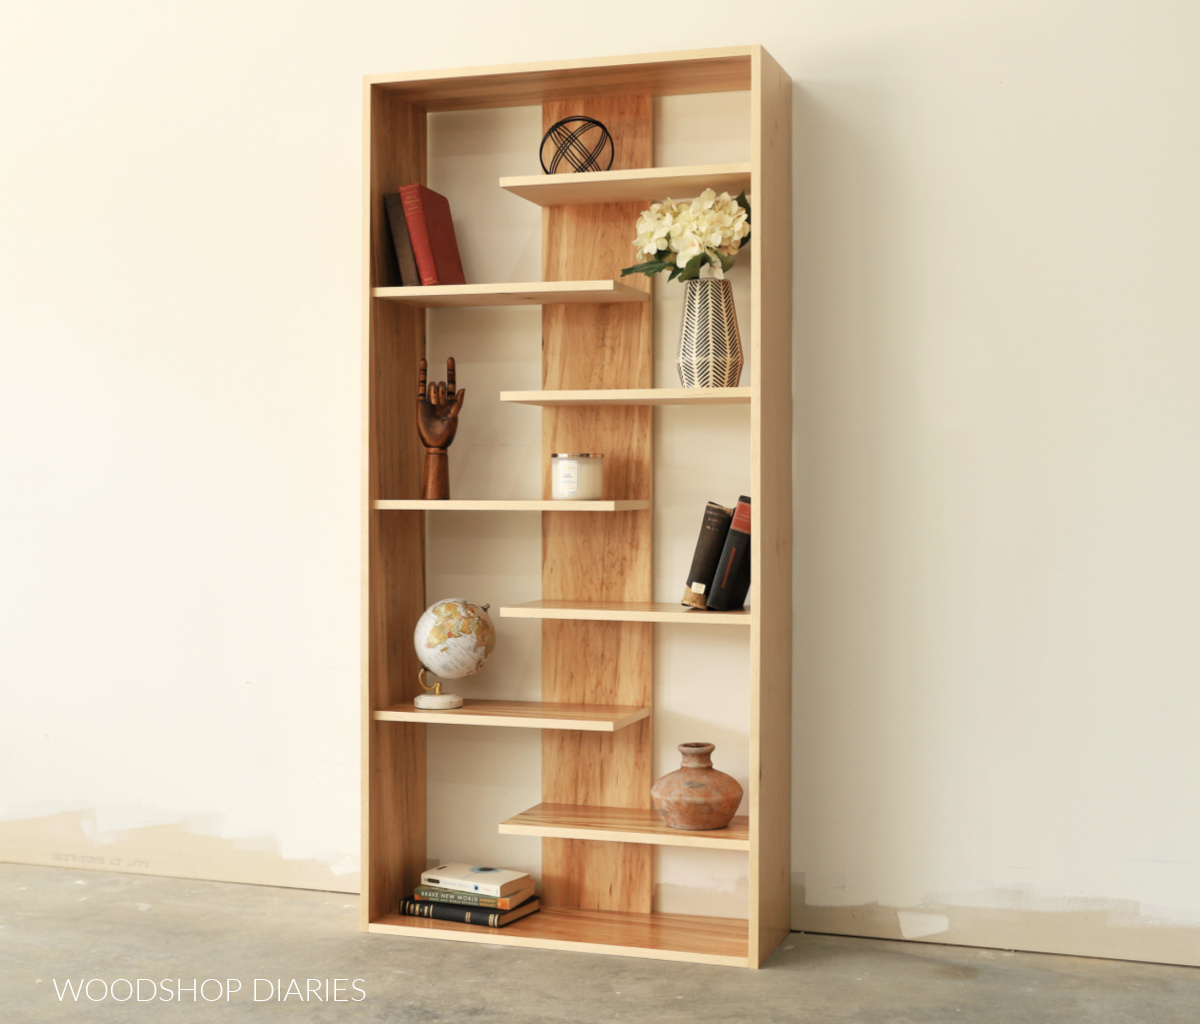
Credit: www.woodshopdiaries.com
Frequently Asked Questions
What Materials Are Needed To Make A Plywood Bookshelf?
You need plywood sheets, wood screws, wood glue, sandpaper, a saw, a drill, and paint or finish. Choose high-quality plywood for durability. These materials ensure a sturdy and attractive bookshelf.
How Do I Cut Plywood For A Bookshelf?
Measure and mark plywood according to your design. Use a circular saw or table saw for straight cuts. Always wear safety gear and cut slowly to avoid splintering. Smooth edges with sandpaper afterward.
What Is The Best Plywood Thickness For Bookshelves?
A thickness of ¾ inch (18mm) plywood is ideal. It provides strength to hold heavy books without bending. Thinner plywood may sag, while thicker plywood can be harder to work with.
How Can I Assemble A Plywood Bookshelf Securely?
Use wood glue along joints and reinforce with screws or nails. Pre-drill holes to prevent splitting. Clamp pieces while drying for a strong bond. This ensures your bookshelf is stable and durable.
Conclusion
Building a plywood bookshelf is simple and rewarding. You only need a few tools and some patience. Follow the steps carefully to create a sturdy shelf. Customize the size to fit your space perfectly. This project saves money and adds a personal touch to your home.
Enjoy the satisfaction of making something useful with your own hands. Start your plywood bookshelf today and see the difference it makes.