Are you ready to give your outdoor wood furniture a fresh, beautiful look that lasts? Painting outdoor wood furniture might seem tricky, but with the right steps, you can transform your pieces like a pro.
If you’ve been searching for easy-to-follow guidance, YouTube is packed with helpful videos showing exactly how to do it. You’ll discover simple tips and tricks to make your paint job smooth, durable, and stunning. Keep reading, and you’ll learn how to turn your worn-out furniture into eye-catching outdoor decor you’ll love showing off.
Choosing The Right Paint
Choosing the right paint is key for a lasting finish on outdoor wood furniture. The paint must protect wood from weather and sun. It should also stick well and look good. Picking the right paint type and color helps your furniture stay beautiful longer.
Types Of Outdoor Paint
Latex paint is popular for outdoor wood. It dries fast and cleans up easily with water. It resists cracking and fading. Oil-based paint is tough and durable. It offers strong protection but takes longer to dry. Chalk paint gives a matte finish and works well for a rustic look. Each type suits different styles and needs.
Color Selection Tips
Choose colors that match your outdoor space. Light colors reflect sunlight and keep wood cooler. Dark colors hide dirt but may fade faster. Consider your home’s exterior and garden colors. Test paint samples on a small wood area. See how colors look in daylight and shade.
Eco-friendly Options
Eco-friendly paints have low or no harmful chemicals. They are safer for your health and the environment. Water-based paints often have fewer toxins. Some brands offer natural pigments and biodegradable ingredients. Using eco-friendly paint reduces pollution and keeps outdoor air clean.
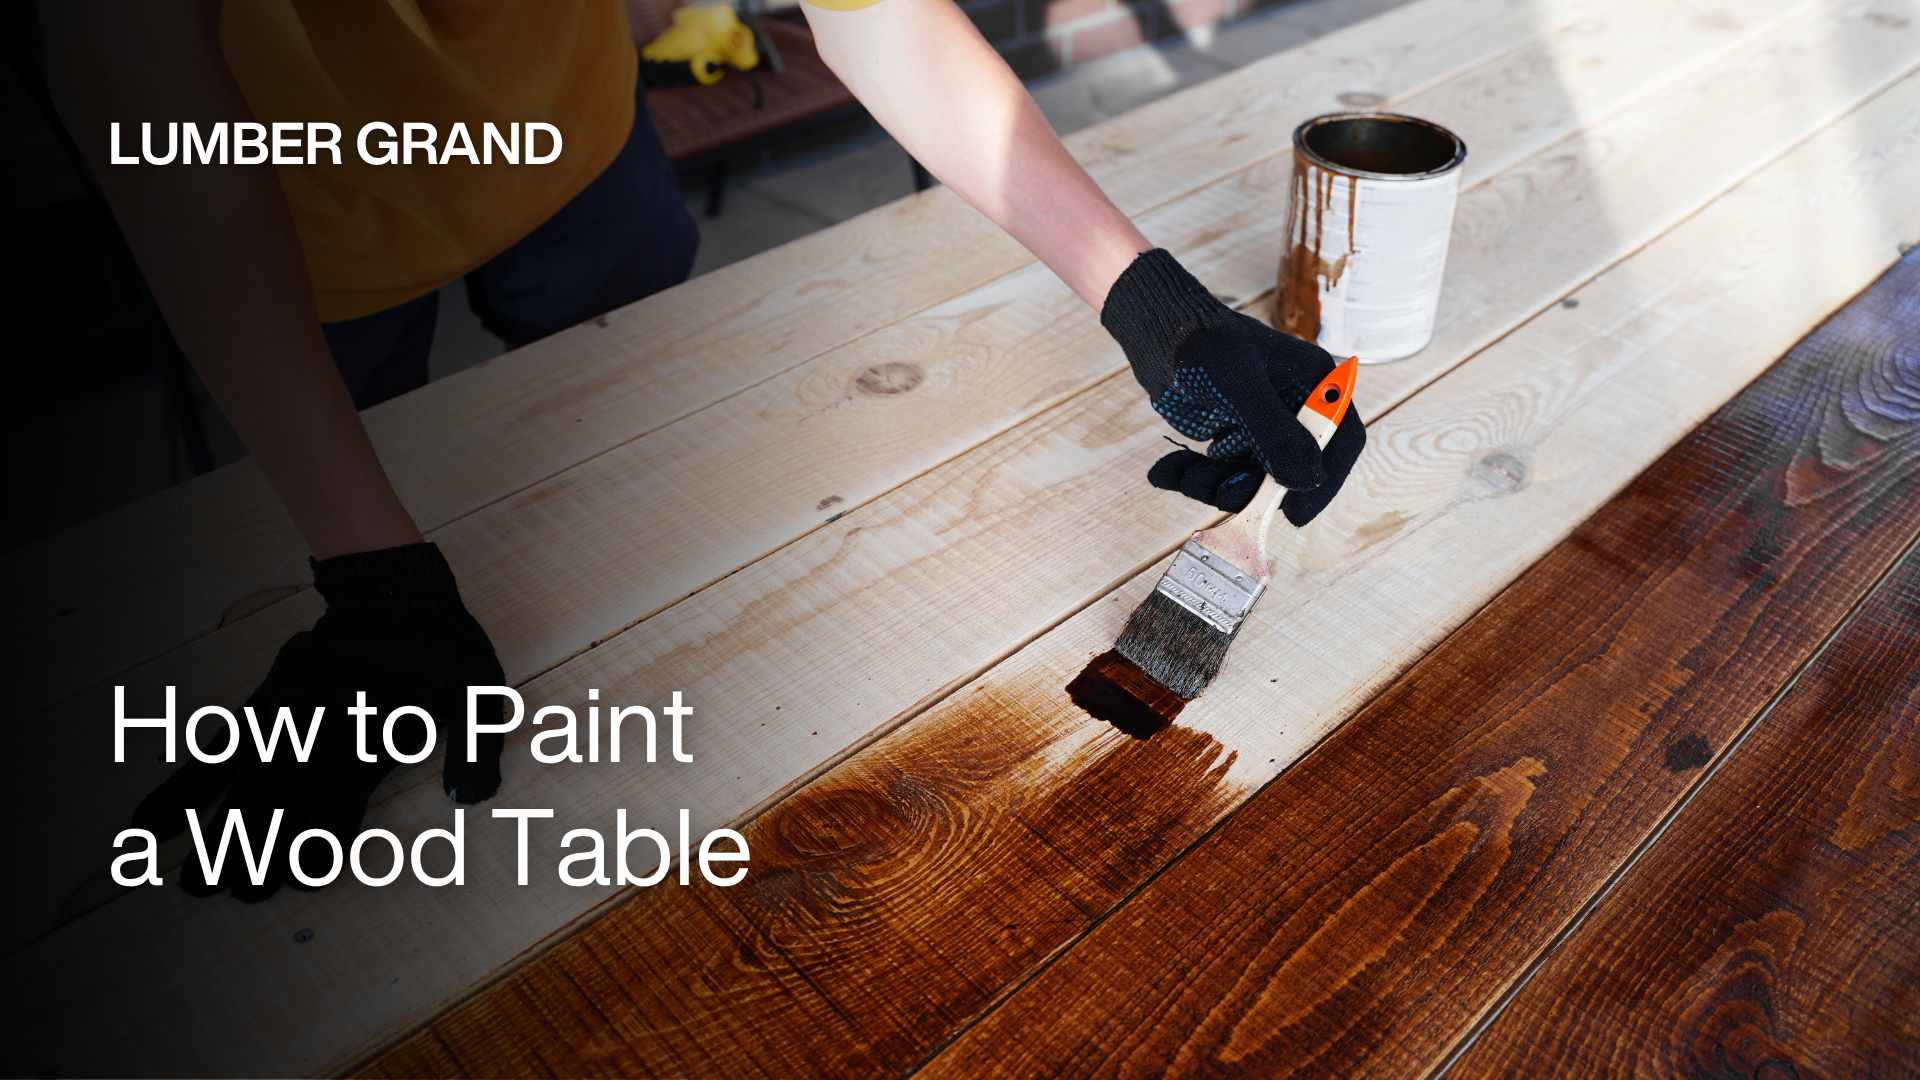
Credit: lumbergrand.com
Preparing The Wood Surface
Preparing the wood surface is the first step in painting outdoor wood furniture. This step helps the paint stick well and last longer. It also makes the furniture look smooth and fresh. Proper preparation avoids peeling and chipping paint.
Start by cleaning the wood. Dirt, dust, and old paint can stop the new paint from sticking. After cleaning, sanding the surface smooths out rough spots. Finally, repairing damages like cracks and holes makes the furniture strong and ready for paint.
Cleaning Techniques
Use a soft brush to remove loose dirt and dust. A mixture of water and mild soap works well to clean the surface. Scrub gently with a sponge or cloth. Rinse with clean water and let the wood dry completely. Avoid using harsh chemicals that can damage the wood.
Sanding Tips
Choose medium-grit sandpaper (around 120 grit) for best results. Sand along the grain of the wood, not against it. This method prevents scratches and keeps the surface smooth. After sanding, wipe away dust with a damp cloth. Make sure the wood is dry before painting.
Repairing Damages
Fill cracks and holes with wood filler. Use a putty knife to press the filler into the gaps. Let it dry according to the instructions on the package. Sand the filled areas smooth once dry. Check for loose nails or screws and tighten them before painting.
Gathering Necessary Tools
Preparing to paint outdoor wood furniture starts with gathering the right tools. Having the correct supplies makes the job easier and the results better. A few key items will help you paint smoothly and protect your surroundings.
Brushes And Rollers
Choose brushes made for outdoor paint. These hold paint well and spread it evenly. Use a wide brush for large areas and a small one for corners. Rollers can cover flat surfaces quickly. Pick a roller with a medium nap for rough wood.
Protective Gear
Wear gloves to keep paint off your skin. Safety glasses stop paint splashes from reaching your eyes. A mask protects your lungs from fumes and dust. Old clothes or a painting apron prevent stains on your clothes.
Other Helpful Supplies
Sandpaper smooths rough wood before painting. Painter’s tape helps create clean edges. Drop cloths protect the ground and nearby objects. A paint tray holds your paint for easy access. Clean rags help wipe spills or mistakes fast.
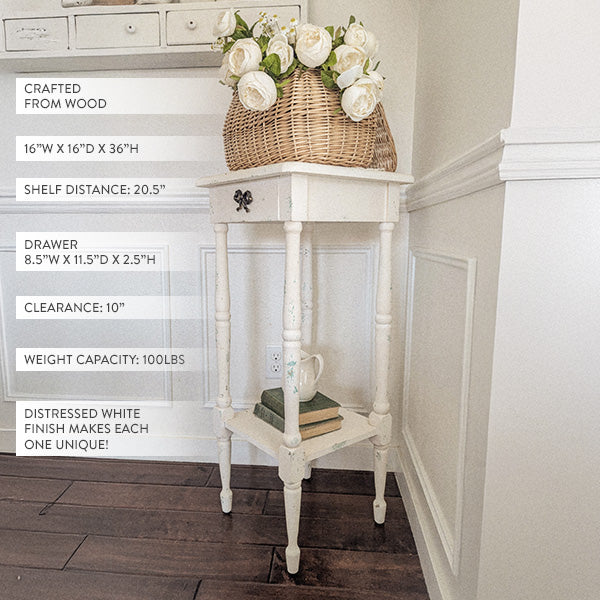
Credit: www.decorsteals.com
Step-by-step Painting Process
Painting outdoor wood furniture can refresh your space and protect your pieces from weather damage. Following a clear, step-by-step process helps achieve smooth, lasting results. Each step builds on the last, ensuring your furniture looks great and lasts longer.
Priming The Furniture
Start by cleaning the wood surface thoroughly. Remove dirt, dust, and old paint flakes. Use a good quality primer made for outdoor wood. Apply the primer evenly with a brush or roller. This layer helps paint stick better and prevents peeling. Let the primer dry completely before moving on.
Applying The First Coat
Choose outdoor paint suitable for wood furniture. Stir the paint well before use. Apply the first coat in thin, even strokes. Cover all surfaces, including corners and edges. Avoid thick layers to prevent drips and uneven drying. Allow this coat to dry fully before the next step.
Adding Additional Coats
Apply at least one or two more coats for a durable finish. Each layer adds color depth and protection. Lightly sand between coats with fine-grit sandpaper. This helps the paint stick better. Clean off dust before applying the next coat. Let each coat dry completely to avoid tackiness.
Drying And Curing Time
After the final coat, let the furniture dry in a shaded area. Drying time varies but usually takes 24 hours or more. Curing time can take up to a week for full hardness. Avoid heavy use during this period. Proper curing ensures your paint job lasts through outdoor conditions.
Finishing Touches
Finishing touches give your outdoor wood furniture a polished, durable look. These last steps protect your work from weather and wear. They also add style and help the paint last longer. Take time to do these carefully. Your furniture will look great for years.
Sealing For Protection
Sealing is key to protect wood from rain and sun. Use a clear outdoor sealer or varnish. Apply it evenly with a brush. Let each coat dry fully before adding another. Two or three coats work best. This stops paint from peeling or fading. Choose a sealer that resists UV rays and moisture.
Decorative Techniques
Decorative touches make your furniture unique. Try stenciling simple shapes or patterns. Use contrasting paint colors for a fresh look. You can add stripes or dots with a small brush. Light sanding between coats helps smooth the surface. These small details bring charm and style.
Maintaining The Finish
Keep your furniture looking new with regular care. Clean dirt and dust with a soft cloth. Avoid harsh chemicals that can damage paint. Check for chips or cracks and touch them up fast. Cover furniture during bad weather to protect it. This simple care helps paint last longer.

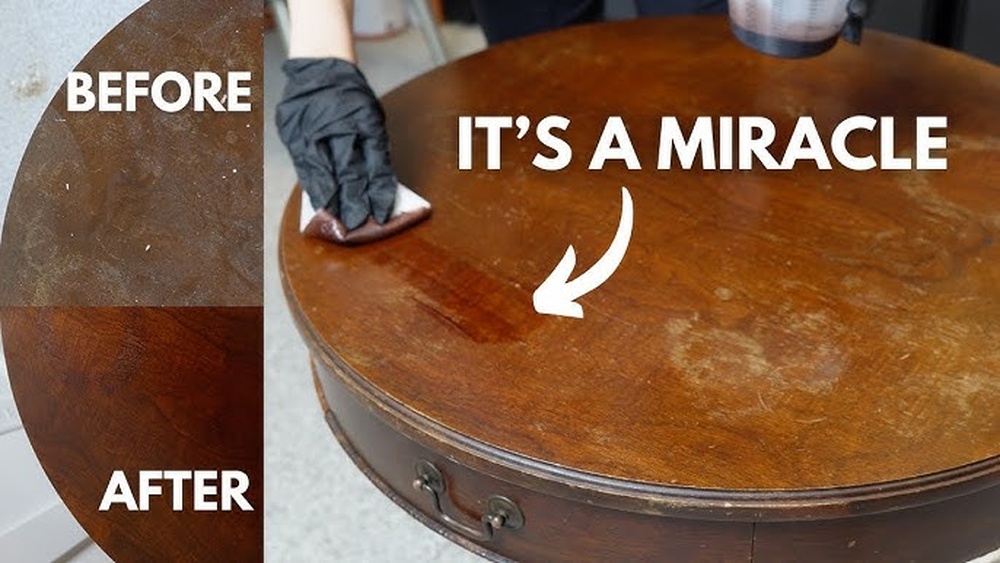
Credit: www.youtube.com
Common Mistakes To Avoid
Painting outdoor wood furniture can refresh your space beautifully. Avoiding common mistakes helps your work last longer and look better. Many beginners rush or skip steps, causing problems later. Knowing what to avoid saves time and effort.
Skipping Preparation
Preparation is the key to smooth paint and long-lasting finish. Cleaning dirt, dust, and old paint is necessary. Sanding rough spots helps paint stick well. Skipping these steps can cause peeling and uneven color. Always prepare your furniture before painting.
Using The Wrong Paint
Outdoor wood needs special paint that resists weather and sun. Using indoor paint leads to cracking and fading. Choose paint labeled for outdoor use and wood surfaces. This paint protects wood and keeps color bright longer. Check product details carefully before buying.
Ignoring Weather Conditions
Weather affects how paint dries and sticks. Painting in rain or high humidity can ruin your work. Strong sunlight might dry paint too fast, causing cracks. Pick a dry day with mild temperature for best results. Watch weather forecasts before starting your project.
Tips For Filming Your Painting Process
Filming your painting process helps others learn and enjoy your work. Clear videos show each step well. Good filming makes your content more fun and easier to follow. Use simple tools and smart tips to create better videos.
Focus on steady shots, bright light, and easy editing. These tips help you share your painting story clearly and attract more viewers.
Camera Setup
Place your camera on a stable surface or tripod. Avoid shaky or moving shots. Use a smartphone or a small camera with good video quality. Keep the camera close enough to see details. Make sure the whole furniture piece fits in the frame. Check the focus before you start filming.
Lighting And Angles
Natural light works best for outdoor painting videos. Film during the day in a shaded area to avoid harsh shadows. Use extra lamps if needed to brighten dark spots. Shoot from different angles to show all sides of the furniture. A front view and close-up shots help viewers understand your work.
Editing Basics
Trim long or boring parts to keep the video short. Add simple text to explain important steps. Use slow motion for tricky painting moves. Keep background music low and soft, or turn it off. Save your video in a common format for easy sharing.
Frequently Asked Questions
How Do I Prepare Wood Furniture For Outdoor Painting?
Clean the surface thoroughly and sand it to remove old paint and rough spots. Use a wood primer to protect against moisture and ensure paint adhesion.
What Type Of Paint Is Best For Outdoor Wood Furniture?
Use exterior-grade acrylic latex paint. It is durable, weather-resistant, and provides long-lasting protection for outdoor wood surfaces.
How Many Coats Of Paint Are Needed For Outdoor Furniture?
Apply two to three thin coats for even coverage. Allow each coat to dry completely before applying the next one.
Can I Use Spray Paint For Outdoor Wood Furniture?
Yes, spray paint is suitable and offers smooth coverage. Choose spray paint designed for outdoor use and apply in a well-ventilated area.
Conclusion
Painting outdoor wood furniture can refresh your space quickly. Choose the right paint and prepare wood carefully. Apply paint evenly for smooth, lasting results. Let each coat dry fully before the next. Small steps make a big difference in appearance and durability.
Enjoy your newly painted furniture for many seasons. Simple techniques bring great satisfaction and charm outdoors. Keep your tools clean to use them again easily. Try this project to add color and life to your yard.


