Are you looking to give your outdoor furniture a fresh, new look without spending a fortune? Painting over your existing paint can be the perfect solution.
But it’s not as simple as grabbing a brush and slapping on a new color. If you want your furniture to look great and last through the seasons, you need to do it the right way. You’ll discover easy, step-by-step tips to transform your outdoor pieces quickly and effectively.
By the end, you’ll feel confident to tackle the project yourself and enjoy beautiful, refreshed furniture that stands out in your yard. Keep reading to learn how to paint over existing paint like a pro!

Credit: www.youtube.com
Choosing The Right Paint
Choosing the right paint is key to a successful outdoor furniture makeover. The paint protects your furniture from weather and wear. It also gives your pieces a fresh, new look. Picking the correct paint ensures long-lasting results and easy maintenance. Understanding paint types and matching them to your furniture material helps you get the best finish.
Types Of Outdoor Paint
Outdoor paints come in several types. Acrylic latex paint is popular. It dries fast and resists fading. Oil-based paint offers strong adhesion and durability. It works well on metal and wood. Chalk paint gives a matte, vintage look. It needs a sealant for protection. Spray paint is quick and smooth. Choose paint made for outdoor use only. These paints handle rain, sun, and cold better.
Matching Paint With Furniture Material
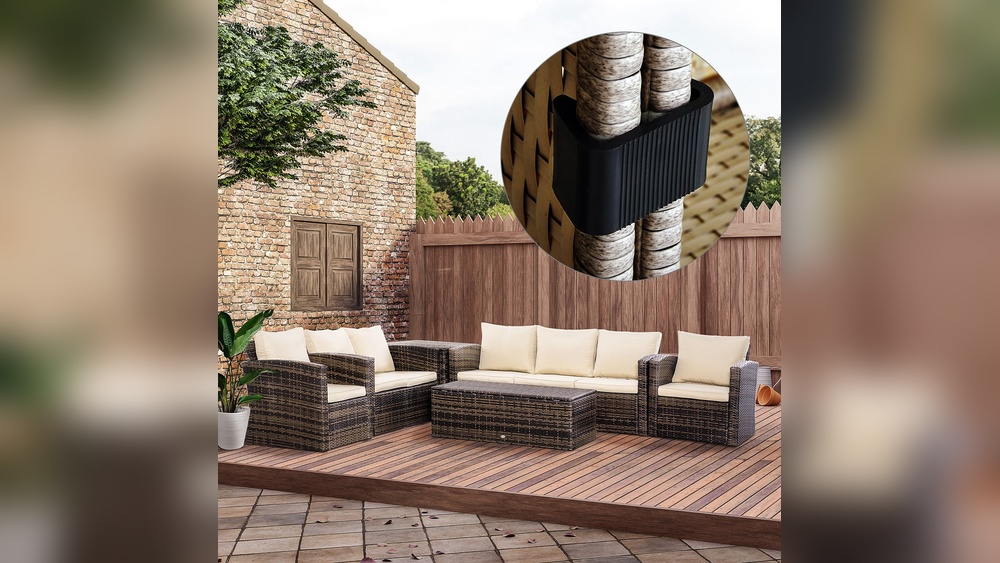
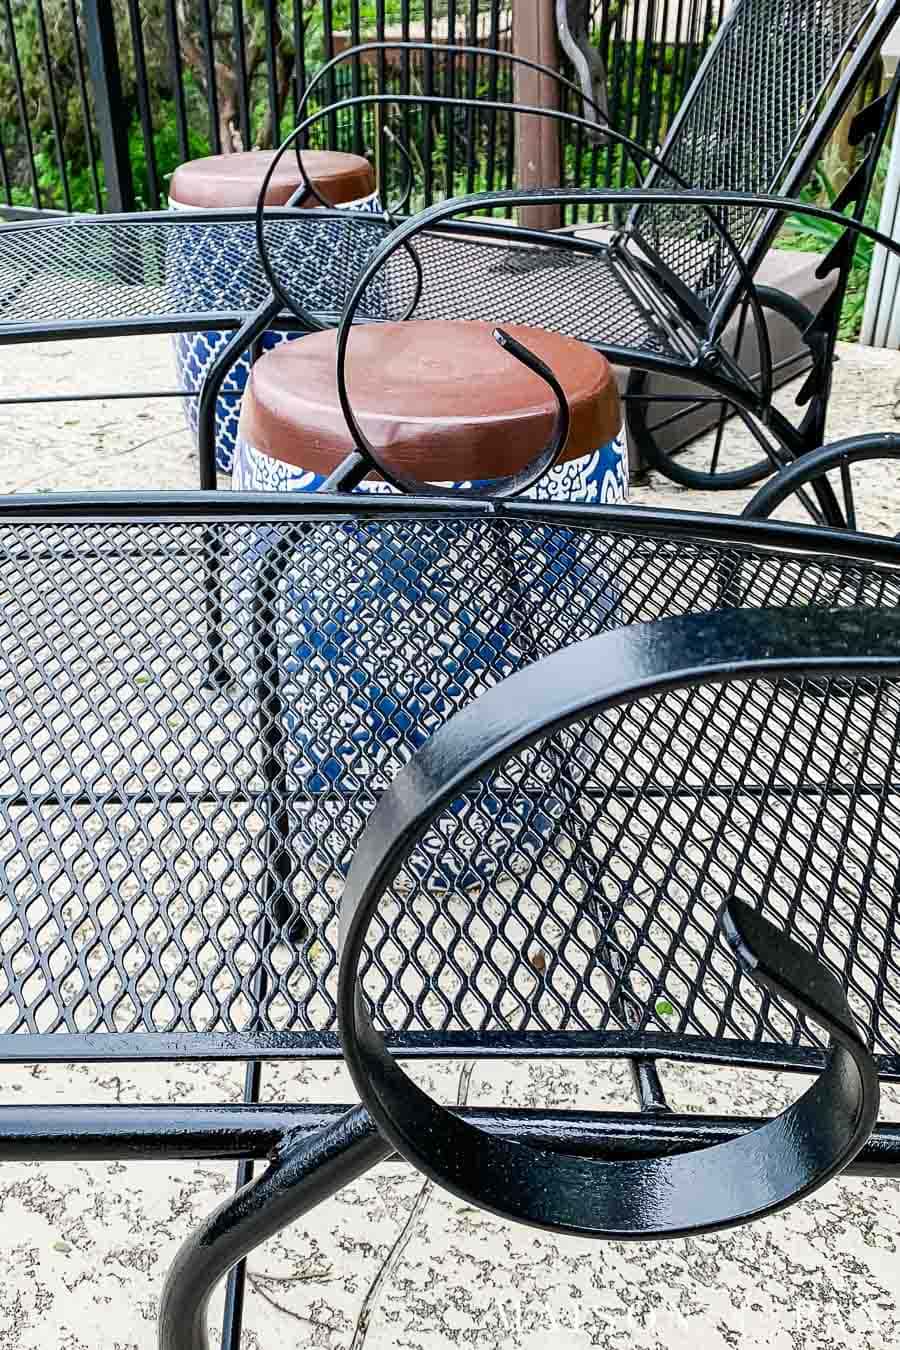
Different materials need different paints. Wood furniture benefits from acrylic latex or oil-based paint. Metal furniture needs rust-resistant paint. Use oil-based or spray paints designed for metal. Plastic furniture requires special paint made for plastic surfaces. Follow paint labels for best results. Proper paint choice prevents peeling and cracking. It also keeps your furniture looking great longer.
Credit: www.maisondepax.com
Preparing The Furniture
Preparing your outdoor furniture before painting ensures the new paint sticks well. This step helps the paint last longer and look better. Take time to prepare the surface properly. It makes a big difference in the final result.
Cleaning The Surface
Start by removing dirt, dust, and grime. Use soap and water with a soft brush. Rinse the furniture well and let it dry completely. A clean surface allows paint to stick firmly. Avoid painting on wet or dusty furniture.
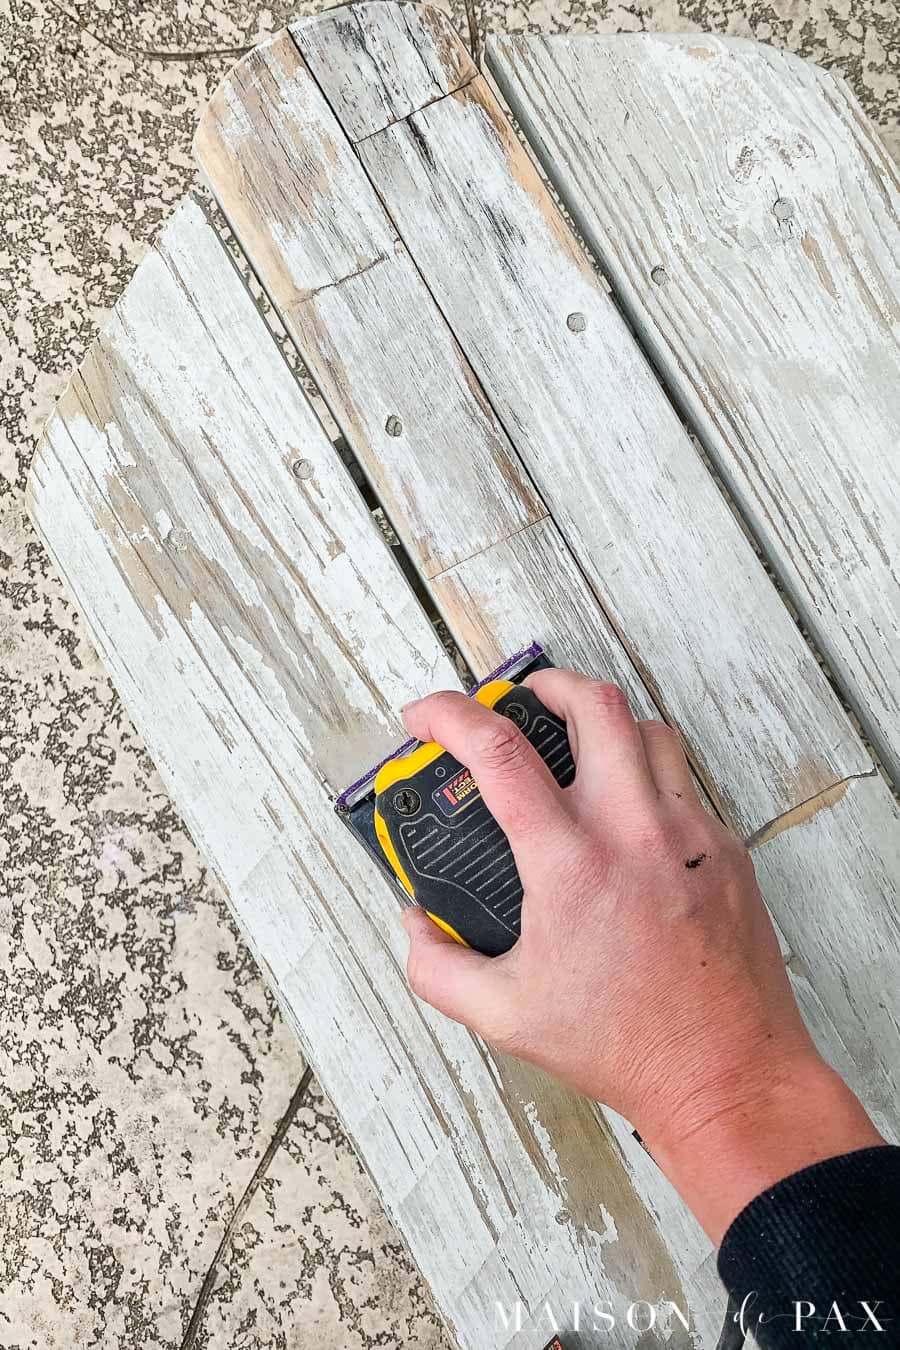
Sanding For Better Adhesion
Lightly sand the furniture with fine-grit sandpaper. Sanding roughens the surface for better paint grip. Focus on glossy or shiny areas. Wipe off sanding dust with a damp cloth. This step helps prevent peeling or chipping.
Repairing Damages
Check for cracks, holes, or loose parts. Fill small holes with wood filler or putty. Let the filler dry and sand smooth. Tighten screws and fix loose joints. Repairing damages creates a smooth surface for painting.
Priming The Surface
Priming the surface is a key step before painting outdoor furniture. It helps the new paint stick better and last longer. Priming also protects the furniture from weather damage. Skipping this step can cause peeling or fading quickly. Take time to prepare the surface well. This makes your paint job smooth and strong.
Selecting A Suitable Primer
Choose a primer made for outdoor use. It should resist moisture and sunlight. Oil-based primers work well on wood and metal. They block stains and rust. Water-based primers dry faster and clean easily. Pick one that matches your paint type. Check the label for outdoor furniture use. A good primer improves paint adhesion and durability.
Applying Primer Correctly
Start with a clean, dry surface. Remove old paint flakes and dirt. Use a brush or roller for even coverage. Apply primer in thin, smooth coats. Avoid thick layers that can drip or peel. Let the primer dry fully before painting. Follow the drying time on the product label. Proper application ensures a strong base for your paint.
Credit: www.maisondepax.com
Painting Techniques
Painting outdoor furniture requires careful techniques to get smooth, lasting results. The right tools and method help the paint stick well and look neat. Follow simple steps to make your furniture look fresh and protected.
Choosing Brushes And Rollers
Select brushes with soft, synthetic bristles for smooth surfaces. They hold paint well and avoid streaks. Use small rollers for flat parts. Rollers cover large areas quickly and evenly. Choose the right size for your furniture shape.
Applying Paint Evenly
Start with thin layers of paint. Spread paint in one direction to avoid clumps. Use gentle strokes and keep a wet edge. This stops marks from drying unevenly. Avoid heavy paint loads on brushes or rollers.
Multiple Coats And Drying Time
Apply two or three thin coats for full coverage. Let each coat dry completely before the next. Drying time depends on weather and paint type. Proper drying prevents peeling and ensures durability. Patience improves the final look and strength.
Protecting The Finish
Protecting the finish on your outdoor furniture is key after painting. The paint needs a strong shield to stay bright and safe from weather. Without this protection, the paint can peel, fade, or crack quickly. A proper finish keeps your furniture looking fresh and lasts for years.
Using Sealants And Topcoats
Sealants and topcoats form a tough layer over the paint. They guard against rain, sun, and dirt. Choose a sealant made for outdoor use. Apply it evenly with a brush or spray. Let it dry completely before using the furniture. This step strengthens the paint and stops damage.
Maintenance Tips For Longevity
Clean the furniture regularly with mild soap and water. Avoid harsh cleaners that can wear the finish. Cover furniture during heavy rain or snow. Store it indoors in winter if possible. Check for chips or cracks in the paint. Touch up these spots to keep the surface sealed.
Common Mistakes To Avoid
Painting over old outdoor furniture seems easy. Many people rush and make mistakes that ruin the finish. Avoiding these errors helps your project last longer and look better.
Some common mistakes cause paint to peel, chip, or fade quickly. Others make the surface uneven or sticky. Knowing these pitfalls saves time and money.
Skipping Surface Cleaning
Dirty or dusty furniture prevents paint from sticking. Always wash the furniture with soap and water. Let it dry completely before painting. Skipping cleaning leads to peeling paint and rough texture.
Ignoring Old Paint Condition
Not checking old paint can cause problems. Flaking or cracked paint must be removed first. Sand or scrape off loose paint. Painting over bad paint makes your new coat peel fast.
Using Wrong Paint Type
Outdoor furniture needs special paint. Regular indoor paint does not hold up well outside. Use paint labeled for outdoor use. It resists weather, sun, and moisture better.
Applying Thick Paint Layers
Thick paint takes longer to dry. It can drip or crack as it dries. Apply thin, even coats instead. Multiple light layers give a smooth, strong finish.
Painting In Bad Weather
Paint does not dry well in rain or high humidity. Too much sun can dry paint too fast. Paint on calm, dry days with mild temperature. This helps paint cure properly.
Creative Ideas For Outdoor Furniture
Creative ideas can make old outdoor furniture look fresh and exciting. Painting over existing paint allows you to change the style easily. Simple changes can bring new life to your garden or patio. Use colors and patterns to reflect your personality. Experiment with different designs to create a unique space.
Color Combinations
Choosing the right colors can change the entire look of your furniture. Use bright colors for a cheerful vibe. Soft pastels bring a calm and relaxing feel. Pair contrasting colors to make details stand out. Classic combinations like navy and white give a timeless look. Test small areas first to see how colors work together.
Stencils And Patterns
Stencils add fun shapes and patterns to plain surfaces. Use geometric shapes for a modern style. Floral patterns create a natural, cozy feeling. Stripes or dots can make the furniture playful. Layer stencils for a textured effect. Patterns help hide small flaws or scratches on old paint.
Frequently Asked Questions
How Do I Prepare Outdoor Furniture For Repainting?
Clean the furniture thoroughly to remove dirt and grime. Sand the surface lightly to ensure paint adhesion. Repair any damages and remove loose paint. Use a primer suitable for outdoor use before painting for lasting results.
What Type Of Paint Is Best For Outdoor Furniture?
Choose exterior-grade paint designed for outdoor use. Acrylic latex paint is durable, weather-resistant, and easy to clean. Avoid interior paints as they lack protection against elements. Use paint compatible with the furniture material for the best finish.
Can I Paint Over Old Outdoor Paint Without Stripping?
Yes, if the old paint is in good condition and not peeling. Clean and sand the surface lightly to promote adhesion. Apply a suitable primer before painting. This saves time and effort while ensuring a smooth finish.
How Long Should Paint Dry Before Using Furniture?
Allow the paint to dry for at least 24 hours before use. Drying time may vary based on weather and paint type. Ensure the paint is fully cured to prevent damage and peeling.
Conclusion
Painting over old outdoor furniture is a simple way to refresh it. Clean the surface well and sand it smooth first. Use the right paint for outdoor use. Apply thin, even coats for best results. Let each layer dry before adding the next.
This process protects your furniture and makes it look new. Enjoy your refreshed outdoor space with bright, fresh furniture. Small steps can make a big difference in your garden or patio. Try it yourself and see the change!