Are you tired of looking at your stained outdoor furniture and wishing it looked fresh and new again? Painting over those stubborn stains might seem tricky, but it’s easier than you think.
With the right steps, you can transform your worn-out furniture into a beautiful centerpiece for your patio or garden. Keep reading, and you’ll discover simple tips that save you time, money, and frustration—so your outdoor space feels inviting all season long.
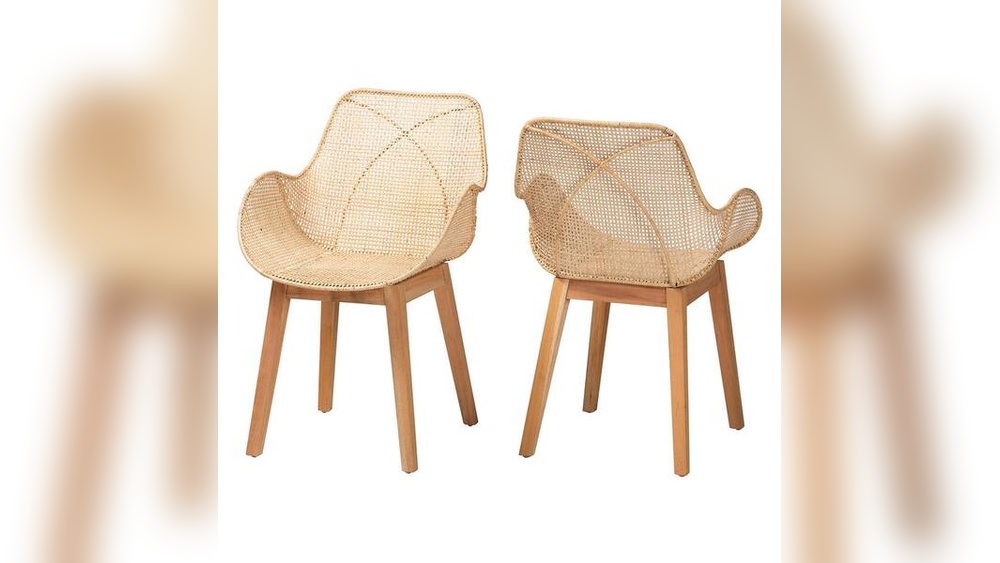
Choosing The Right Paint
Choosing the right paint is key to a successful outdoor furniture makeover. The paint must stick well to stained wood and protect it from the weather. Picking the correct type and finish helps your furniture look good longer. It also makes the painting process easier and cleaner.
Types Of Outdoor Paint
Latex paint is popular for outdoor furniture. It dries quickly and cleans up with water. It resists cracking and peeling. Oil-based paint offers strong protection but takes longer to dry. It works well on wood but needs special cleaners. Chalk paint gives a matte, vintage look. It requires a sealant to protect against weather.
Paint Finishes For Furniture
Glossy finishes reflect light and are easy to clean. They show scratches more than other finishes. Satin finishes have a soft shine and hide imperfections well. Matte finishes have no shine and give a natural look. Satin is a good balance for outdoor furniture.
Weather-resistant Options
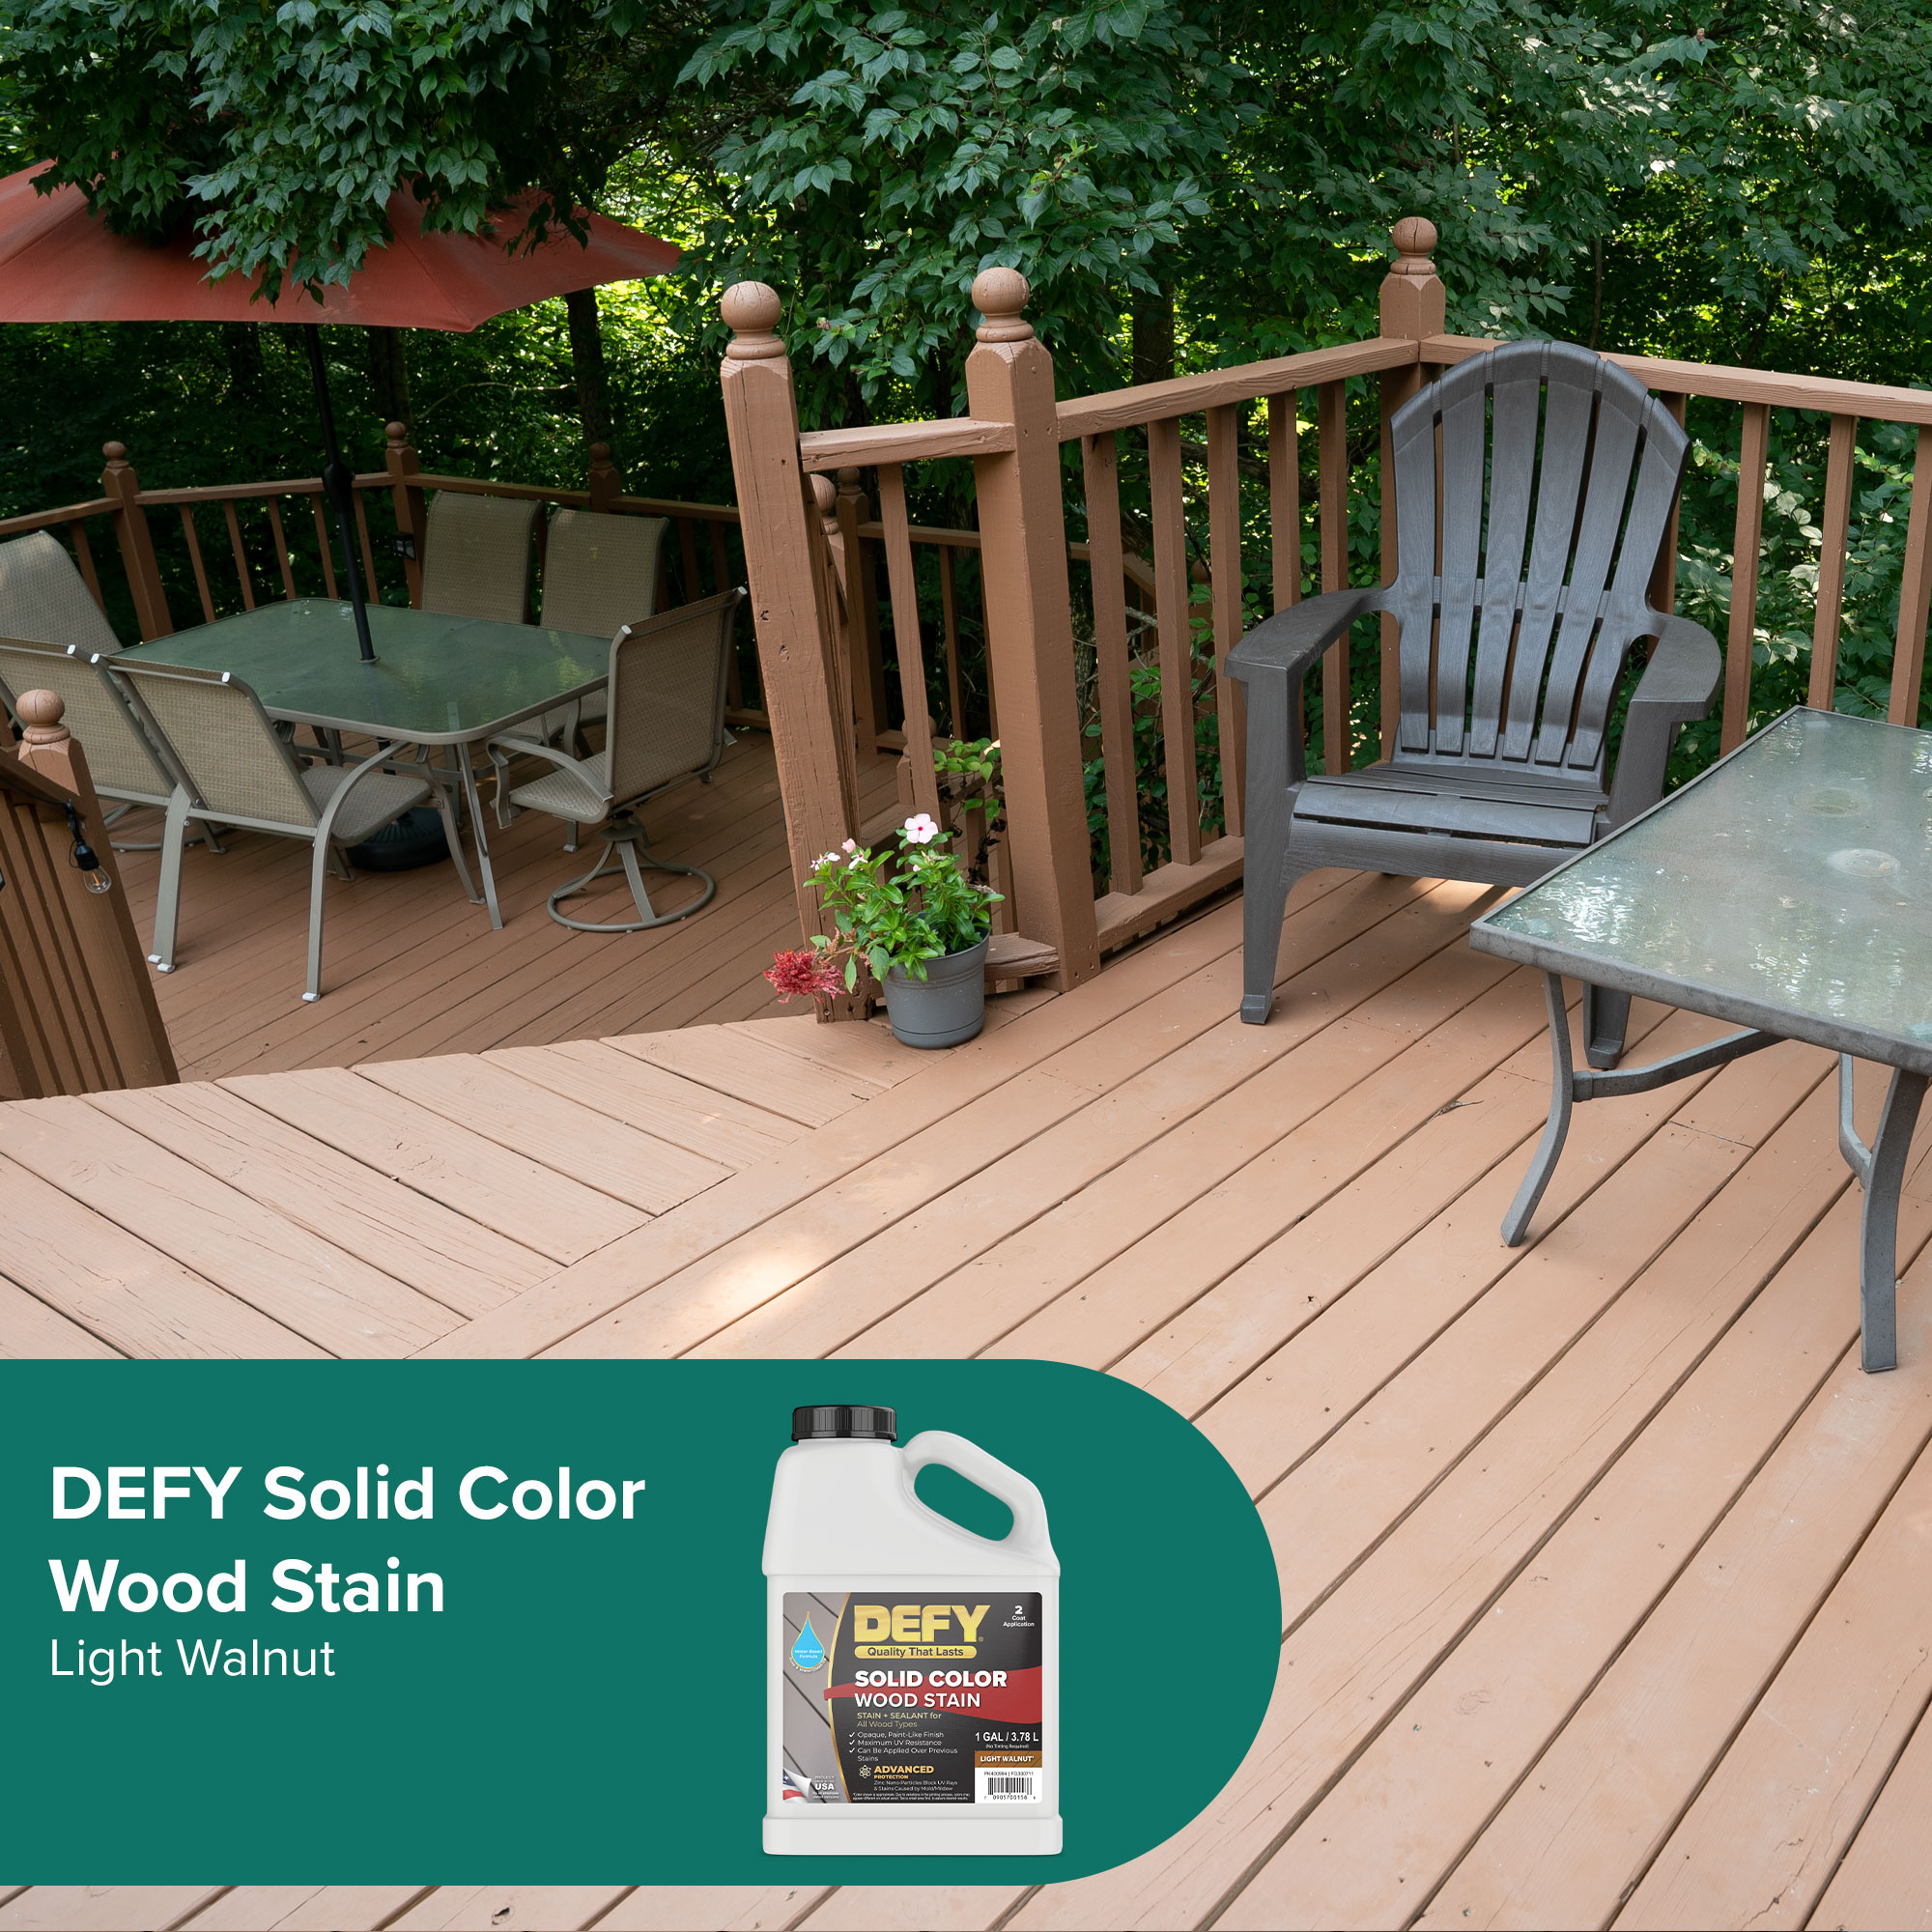
Look for paints labeled as weather-resistant or exterior-grade. These paints resist fading, moisture, and UV rays. Some paints include mildew and mold inhibitors. Sealers or topcoats add extra protection. Use these on all painted surfaces for longer durability.
Preparing The Furniture Surface
Preparing the surface of your outdoor furniture is key before painting. It helps the paint stick better and last longer. This step removes dirt, old paint, and fixes any damage. Clean and smooth surfaces make a big difference in the final look.
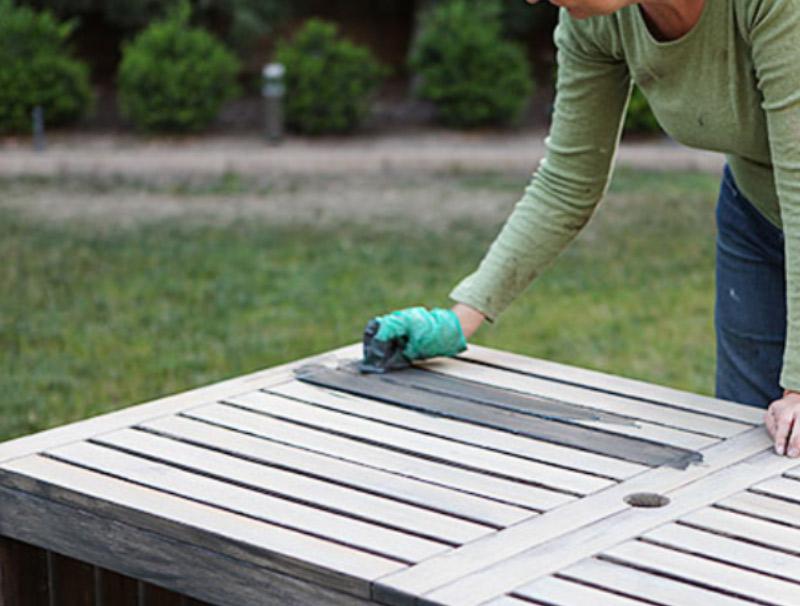
Cleaning Stains And Dirt
Start by wiping the furniture with a damp cloth. Use mild soap mixed with water to remove tough stains. Scrub gently with a soft brush to avoid damage. Rinse with clean water and let it dry fully. Clean surfaces allow the paint to hold well.
Sanding Techniques
Light sanding smooths rough spots and removes old paint flakes. Use fine-grit sandpaper for best results. Sand in the direction of the wood grain or material texture. Wipe off dust with a dry cloth after sanding. This creates a smooth base for the new paint.
Repairing Damages
Check for cracks, holes, or loose parts. Fill small holes with wood filler or putty. Use a putty knife to apply and smooth it out. Let the filler dry completely, then sand it flat. Tighten screws or glue loose joints for stability.
Priming For Better Coverage
Priming is a key step before painting stained outdoor furniture. It helps the paint stick better and covers stains well. Without primer, paint may peel or look uneven. Using the right primer makes your furniture look smooth and fresh for a long time.
Selecting A Suitable Primer
Choose a primer made for outdoor use. It should block stains and resist moisture. Oil-based primers work well on wood with dark stains. For metal furniture, use a rust-inhibiting primer. Check the label to match the primer with your paint type.
Applying Primer Correctly
Clean the furniture surface first. Remove dirt and loose paint. Use a brush or roller to spread primer evenly. Cover all areas, especially edges and corners. Avoid thick layers; thin coats dry faster and stick better. Let the first coat dry before adding more.
Drying Time Tips
Allow the primer to dry fully before painting. Drying times vary by product and weather. Warm, dry days speed up drying. Avoid painting if it is rainy or very humid. Check the primer can for recommended drying hours. Patience here prevents paint from peeling later.

Credit: www.lowes.com
Painting Process
Painting over stained outdoor furniture needs a clear process. This ensures the paint sticks well and lasts long. Preparing the right tools and applying paint carefully make a big difference. Follow these steps for a smooth finish and strong protection.
Choosing Brushes And Rollers
Select brushes with synthetic bristles for water-based paint. They hold paint well and give a smooth finish. Use small brushes for corners and detailed parts. Rollers cover flat surfaces faster and evenly. Choose a roller with a short nap to avoid rough texture. Clean tools after use to keep them in good shape.
Layering Paint For Durability
Apply thin paint layers to avoid drips and cracks. Let each layer dry completely before adding the next. Two or three layers give the best coverage and strength. Thin layers bond better and last longer outdoors. Patience during drying improves the final look and protection.
Avoiding Common Mistakes
Skip painting on wet or hot days to prevent peeling. Do not apply thick layers that take too long to dry. Avoid using old or clumpy paint for a smooth finish. Sand the surface well before painting to help paint stick. Clean dirt and dust off furniture to stop bumps under paint.
Finishing Touches
Finishing touches make your painted outdoor furniture last longer and look great. After painting, these steps protect your work and keep your furniture ready for the weather. A few careful steps ensure your furniture stays beautiful.
Sealing For Protection
Sealing covers your paint with a strong, clear layer. It stops water, dirt, and sun damage from ruining the paint. Use a sealant made for outdoor use. Apply it with a brush or spray in thin coats. Let each coat dry before adding the next. Sealing keeps colors bright and paint from peeling.
Maintaining Painted Furniture
Clean your furniture regularly with a soft cloth and mild soap. Avoid harsh chemicals that can wear down the paint and sealant. Cover your furniture during heavy rain or snow. Store it inside or under a shelter in winter. These habits protect the paint and wood, helping it last longer.
Touch-up Tips
Small chips or scratches can happen over time. Keep some leftover paint for quick fixes. Lightly sand the damaged spot before painting. Apply paint only on the worn area to blend it well. Touch-ups prevent bigger damage and keep the furniture looking fresh.
Credit: ahomefordesign.com
Credit: zavala.es
Frequently Asked Questions
How Do I Prepare Stained Outdoor Furniture For Painting?
Clean the surface thoroughly to remove dirt and grime. Sand the stained wood lightly to create a smooth, even base. Use a primer designed for stained wood to ensure paint adhesion and durability.
Can I Paint Directly Over Stained Wood Furniture?
No, painting directly over stained wood is not recommended. You must clean, sand, and prime the surface first. Primer blocks stains and helps paint stick better, preventing peeling and uneven coverage.
What Type Of Paint Is Best For Outdoor Furniture?
Use exterior-grade acrylic latex paint for outdoor furniture. It offers excellent durability, weather resistance, and color retention. Avoid indoor paints, as they may not withstand outdoor elements effectively.
How Long Should I Wait Between Coats Of Paint?
Wait at least 4 hours between paint coats. Drying times may vary by temperature and humidity. Ensure the first coat is completely dry before applying the next for a smooth finish.
Conclusion
Painting over stained outdoor furniture can refresh its look quickly. Clean and sand the surface well before you paint. Choose the right paint for outdoor use to ensure durability. Apply thin, even coats and let each dry fully. This simple process protects your furniture and makes it look new again.
Enjoy your renewed outdoor space with confidence.