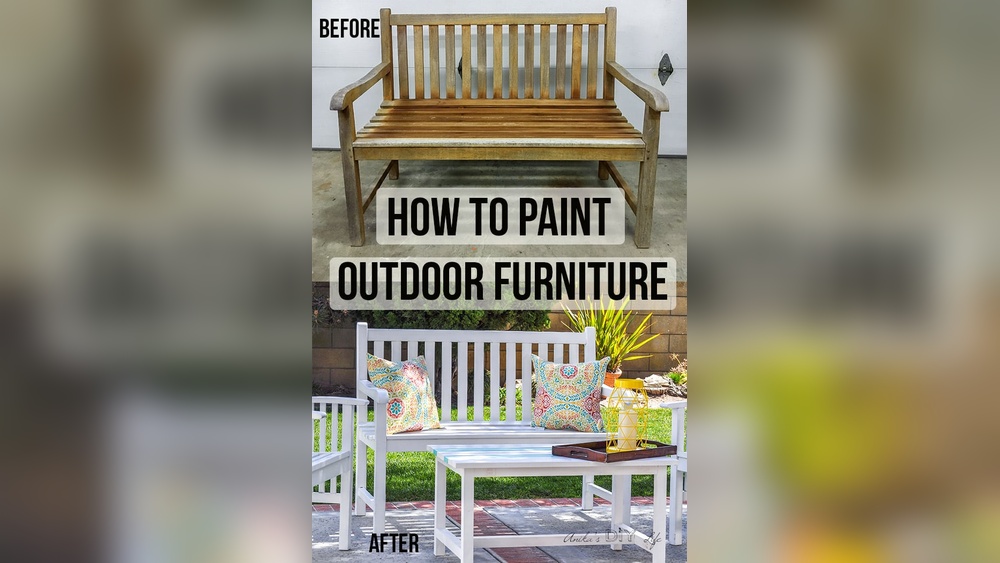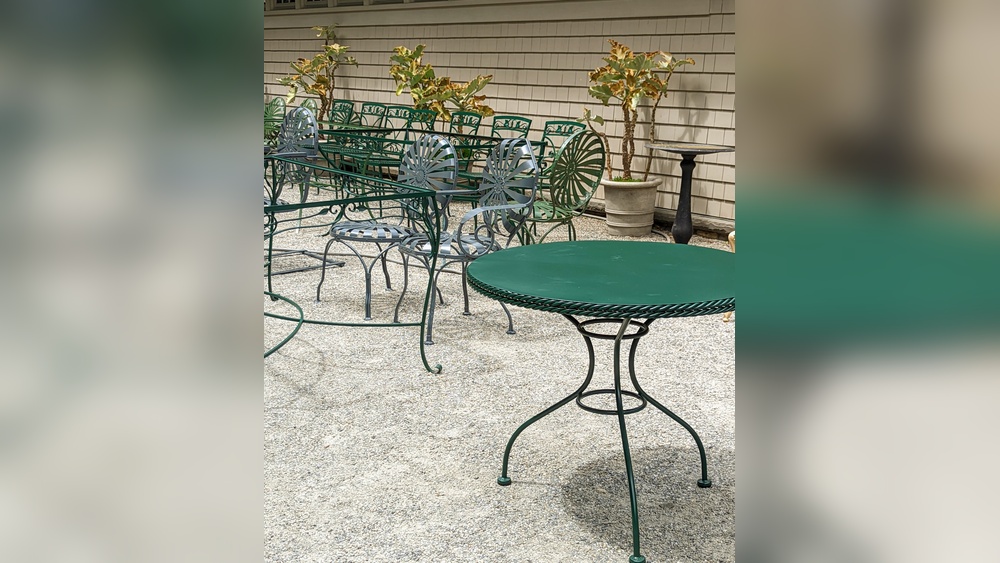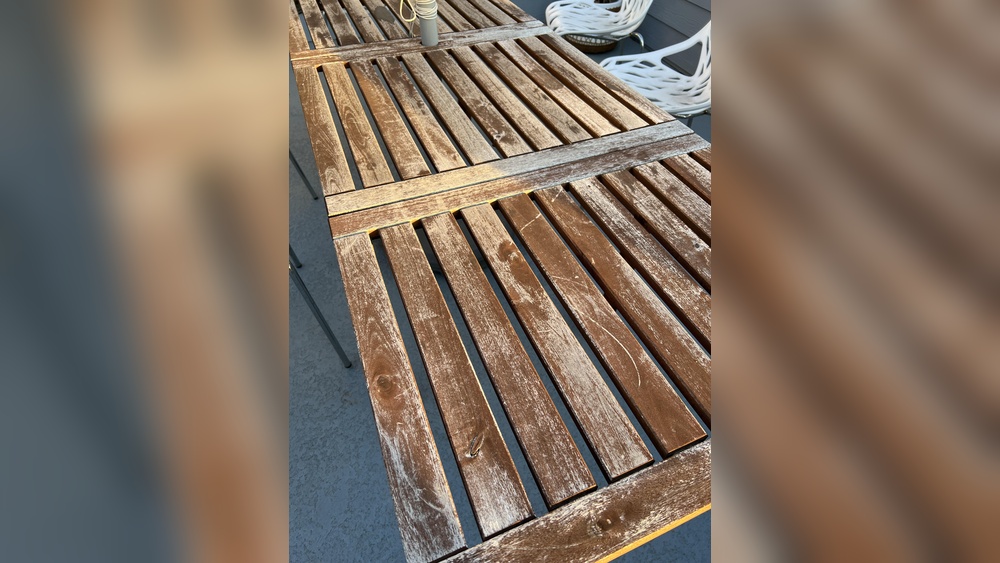
Is your outdoor furniture looking dull or worn out? You don’t have to replace it just yet.
Re-varnishing your outdoor furniture can bring back its original shine and protect it from weather damage. Imagine relaxing on a chair that looks fresh and new, right in your own backyard. In this guide, you’ll discover simple, step-by-step tips to make your furniture look stunning again.
Keep reading, and you’ll learn how easy it is to restore the beauty of your outdoor pieces while saving money and time. Your perfect outdoor space is just a few coats of varnish away.

Credit: www.luxushomeandgarden.com
Preparing The Furniture
Preparing outdoor furniture for re-varnishing is the first step to a smooth and lasting finish. This process ensures the new varnish sticks well and looks fresh. Careful preparation prevents peeling and damage caused by weather and old layers. Start by cleaning the furniture thoroughly, then remove any old varnish and finish by sanding the surface. Each step helps create the perfect base for your new coat of varnish.
Cleaning And Drying
Clean the furniture using warm water and mild soap. Use a soft brush to remove dirt and grime from all surfaces. Rinse with clean water to remove soap residue. Let the furniture dry completely in a shaded area. Avoid direct sunlight to prevent warping or cracking. Drying can take a full day depending on weather conditions.
Removing Old Varnish
Old varnish must be removed for the new one to stick properly. Use a chemical varnish stripper or sandpaper. Apply the stripper with a brush and follow the product instructions carefully. After the varnish softens, scrape it off with a plastic scraper. Avoid metal scrapers to prevent damage. Clean the surface again to remove any leftover stripper or varnish.
Sanding Techniques
Sanding smooths the wood and removes any remaining varnish bits. Use medium-grit sandpaper first to remove rough spots. Follow with fine-grit sandpaper to create a smooth surface. Sand in the direction of the wood grain to avoid scratches. Wipe the dust off with a damp cloth before applying varnish. Proper sanding improves varnish adhesion and final appearance.
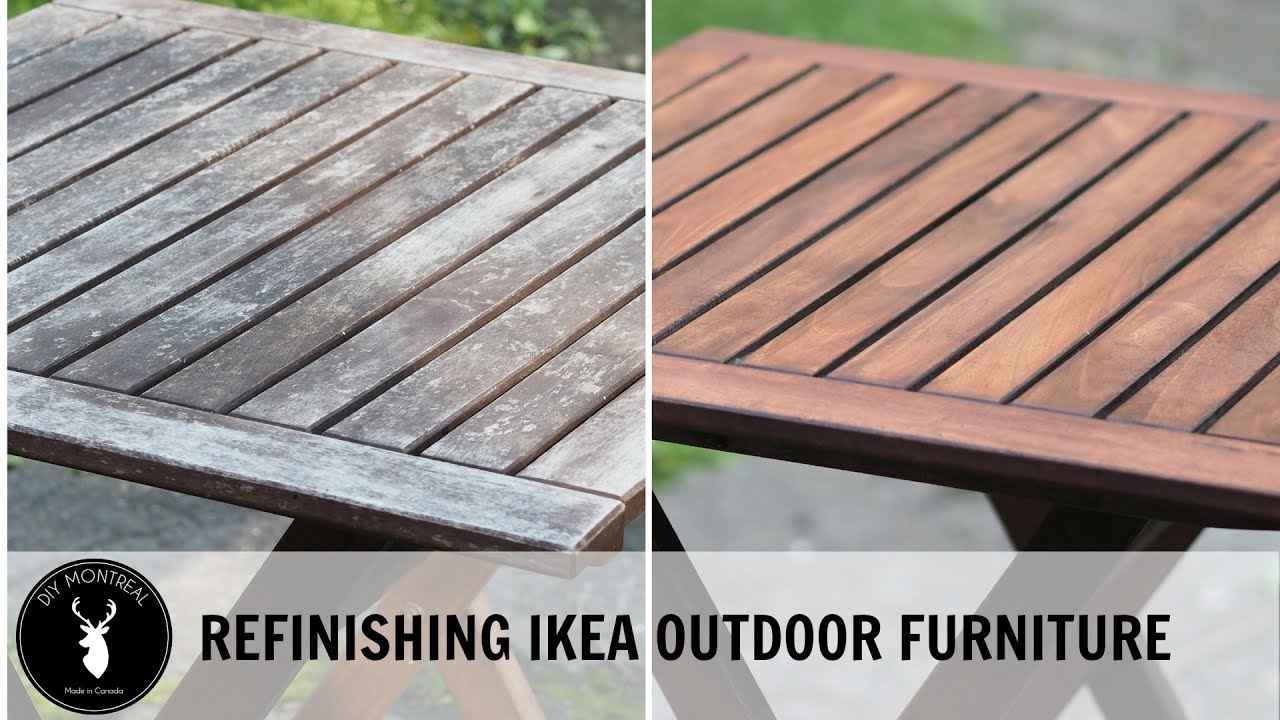
Credit: www.youtube.com
Choosing The Right Varnish
Choosing the right varnish is key to protecting your outdoor furniture. It helps keep wood safe from sun, rain, and wear. The wrong varnish can peel or fade quickly. This section guides you through picking the best varnish for your wood and climate.
Types Of Outdoor Varnish
There are several types of varnish for outdoor use. Polyurethane varnish is tough and water-resistant. Spar varnish stretches and moves with wood, which stops cracks. Water-based varnish dries fast and has less smell. Oil-based varnish gives a warm glow but takes longer to dry.
Selecting Based On Wood Type
Different woods need different varnishes. Hardwoods like teak and oak do well with oil-based varnish. Softwoods such as pine need flexible varnish like spar varnish. Some woods absorb varnish fast. Apply extra coats for better protection. Always test a small area first.
Weather Resistance Factors
Outdoor furniture faces harsh weather. Choose varnish with UV protection to stop sun damage. Water resistance prevents warping and swelling. Look for varnish that resists mold and mildew. If your area has cold winters, pick a varnish that handles freeze and thaw cycles well.
Applying The Varnish
Applying varnish to outdoor furniture is a key step in protecting it from weather damage. A smooth, even coat enhances the wood’s look and extends its life. Take your time and follow simple steps for the best results.
Tools And Materials Needed
- High-quality outdoor varnish
- Clean paintbrush or spray gun
- Sandpaper (fine grit)
- Lint-free cloth
- Gloves and safety glasses
- Drop cloth to protect the floor
Brushing Vs Spraying
Brushing is easy and controls the varnish well. It works best for small or detailed furniture. Spraying covers large areas quickly and gives a smooth finish. It needs more skill and protective gear. Choose brushing for precision. Pick spraying for speed and uniformity.
Tips For Even Coating
Start with clean, dry wood. Use long, smooth strokes with the brush. Avoid thick layers; thin coats dry better. Let each coat dry fully before adding another. Lightly sand between coats for a smooth finish. Check for drips or bubbles and fix them fast.
Drying And Curing
Drying and curing are key steps in re-varnishing outdoor furniture. Proper drying ensures the varnish hardens well. Curing gives the finish strength and durability. Both steps protect the wood from weather damage and wear. Taking care during drying and curing helps your furniture look great for years.
Ideal Drying Conditions
Choose a dry, warm place for drying. Avoid direct sunlight. Bright sun can cause the varnish to dry too fast. Too much heat may lead to cracks. Good air flow helps varnish dry evenly. Keep the furniture away from dust and insects. These can stick to the wet surface.
Avoiding Common Mistakes
Don’t rush the drying process. Touching varnish before it dries leaves marks. Avoid placing furniture where it might get wet. Water spots ruin the finish. Skip heavy sanding between coats. Light sanding is enough to smooth the surface. Use a clean brush to prevent dust in varnish.
Timing Between Coats
Wait the right time before applying the next coat. Usually, 4 to 6 hours is best. Follow the varnish label instructions. Too soon means the new coat won’t stick well. Too late means extra sanding is needed. Proper timing keeps the finish smooth and strong.
Maintenance For Longevity
Maintaining outdoor furniture helps keep it strong and beautiful for years. Regular care stops damage and keeps the varnish fresh. Simple steps can protect your furniture from sun, rain, and dirt. Consistent attention makes re-varnishing easier and less frequent. This section covers key practices to extend your furniture’s life.
Regular Cleaning Practices
Clean furniture often to remove dirt and dust. Use a soft brush or cloth with mild soap and water. Avoid harsh chemicals that can strip varnish or damage wood. Rinse well and dry with a clean cloth. Regular cleaning prevents buildup that wears down the finish.
Touch-up Techniques
Check for small scratches or worn spots regularly. Lightly sand these areas with fine-grit sandpaper. Apply a thin layer of matching varnish to repair damage. Let it dry completely before using the furniture again. Touch-ups keep the surface smooth and protect wood underneath.
Protecting Against Elements
Cover furniture during heavy rain or snow to prevent water damage. Use breathable covers to avoid moisture buildup. Place furniture in shaded areas to reduce sun fading. Apply a UV-resistant varnish for extra sun protection. These steps shield your furniture from weather harm.

Credit: www.youtube.com
Frequently Asked Questions
How Do I Prepare Outdoor Furniture For Re Varnishing?
Start by cleaning the furniture thoroughly to remove dirt and grime. Sand the surface lightly to remove old varnish. Wipe off dust with a tack cloth before applying new varnish.
What Type Of Varnish Is Best For Outdoor Furniture?
Use spar varnish or marine varnish for outdoor furniture. These varnishes resist UV rays, moisture, and temperature changes. They provide durable protection and maintain the wood’s natural look.
How Many Coats Of Varnish Should I Apply?
Apply at least two to three coats of varnish for optimal protection. Allow each coat to dry fully before applying the next. Lightly sand between coats to ensure smooth, even coverage.
How Long Should I Wait Before Using Varnished Furniture?
Wait 24 to 48 hours for the varnish to dry completely. Full curing can take up to a week. Avoid heavy use during this time to prevent damage.
Conclusion
Revarnishing outdoor furniture keeps it looking fresh and new. Clean and sand the surface well before you start. Use a brush or cloth to apply the varnish evenly. Let each coat dry fully for best results. Protect your furniture from sun and rain to last longer.
Small care steps make a big difference. Enjoy your beautiful furniture for many seasons. Easy to do and worth the effort. Your outdoor space will feel cozy and inviting again.