Are you ready to give your outdoor furniture a fresh, vibrant look that lasts? Spraying your furniture can be the easiest and quickest way to transform your patio or garden space.
But how do you do it right without making a mess or wasting paint? In this guide, you’ll discover simple, step-by-step tips to help your outdoor furniture shine with a smooth, professional finish. Keep reading, and by the end, you’ll feel confident to tackle the project yourself and enjoy your renewed outdoor space like never before.
Credit: www.cravingsomecreativity.com
Choosing The Right Spray Paint
Choosing the right spray paint is key to a successful outdoor furniture project. The paint protects your furniture from weather damage. It also gives a fresh, new look that lasts. Picking the correct type and color makes all the difference. This section helps you find the best spray paint for your needs.
Types Of Spray Paint For Outdoor Use
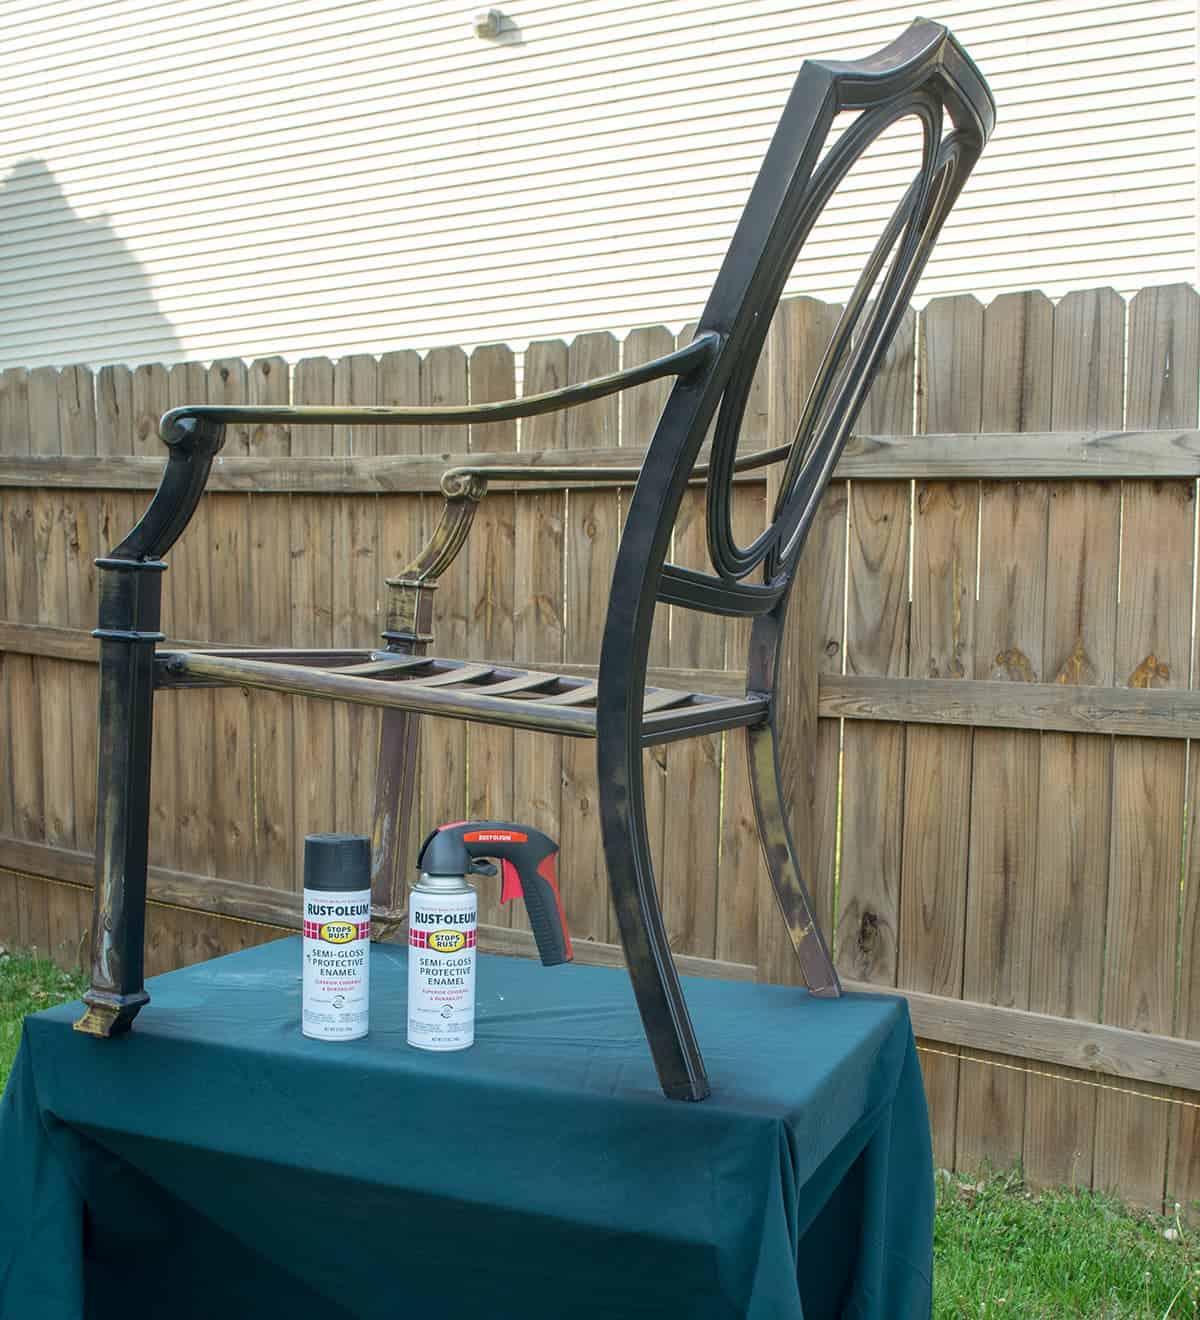
Outdoor furniture needs paint that can stand up to rain, sun, and wind. Look for spray paint labeled as weather-resistant or for outdoor use. Acrylic spray paint works well on wood and metal. It dries quickly and holds color for a long time.
Oil-based spray paint offers strong protection. It is good for metal and plastic surfaces. It also resists rust and fading. Spray paint with rust inhibitors is ideal for metal furniture. It stops rust from forming and spreading.
Some spray paints have a primer built in. This saves time and helps paint stick better. Choose a paint that matches your furniture material for best results.
Selecting The Best Color And Finish
Color changes the look and feel of your furniture. Light colors reflect heat and keep furniture cooler. Dark colors hide dirt well but can get hot in the sun. Think about your outdoor space style before picking a color.
Finish affects how shiny or matte the surface looks. Glossy finishes give a bright, shiny look. They are easy to clean but can show scratches. Matte finishes offer a soft, natural look. They hide flaws but may be harder to clean.
Satin finish is a good middle ground. It has some shine and hides dirt well. Choose a finish that fits your style and furniture use.
Preparing Your Furniture
Preparing your outdoor furniture is the first step to a smooth spray painting job. Good preparation helps paint stick well and last longer. It also makes the furniture look smooth and fresh.
Cleaning And Sanding Surfaces
Start by cleaning the furniture thoroughly. Use soap and water to remove dirt, dust, and grime. Let it dry completely before moving on.
Next, sand the surfaces lightly. Sanding removes old paint and rough spots. Use fine-grit sandpaper for a smooth finish. Wipe away dust with a clean cloth after sanding.
Repairing Damages And Imperfections
Check the furniture for cracks, holes, or dents. Fill small holes with wood filler or putty. Let the filler dry and sand it smooth. Fix loose joints with glue or screws. This step ensures a neat, even surface for painting.
Setting Up A Safe Workspace
Choose a well-ventilated area for spraying. Outdoors is best to avoid fumes and mess. Cover the ground with a drop cloth or newspaper. Keep children and pets away from the workspace. Wear a mask and gloves to protect yourself.
Spray Painting Techniques
Spray painting outdoor furniture can refresh its look and protect it from weather damage. Using the right techniques ensures a smooth, even finish without drips or patches. Careful preparation and attention during painting make a big difference in the final result.
Shaking And Testing The Spray Can
Shake the spray can well for about one minute. This mixes the paint inside evenly. Test the spray on a piece of cardboard first. Check that the paint sprays in a steady, even mist. This step helps avoid clumps and uneven spots on your furniture.
Maintaining Proper Distance And Angle
Hold the spray can 8 to 12 inches from the furniture surface. Keep the can perpendicular to the surface for even coverage. Move your hand steadily side to side or up and down. Avoid staying too long in one spot to prevent drips.
Applying Thin, Even Coats
Spray light, thin coats instead of one thick coat. Thin coats dry faster and look smoother. Wait about 10 to 15 minutes between each coat. Apply 2 to 3 coats for best coverage and durability.
Avoiding Common Spray Painting Mistakes
Do not spray in windy or dusty conditions. Avoid spraying too close to the furniture. Don’t shake the can while spraying. Prevent drips by moving your hand evenly and quickly. Clean the spray nozzle after use to keep it working well.
Drying And Curing Process
The drying and curing process is vital for sprayed outdoor furniture. It protects the paint and keeps the finish strong. Proper drying helps avoid smudges and uneven surfaces. Curing makes the paint hard and ready for outdoor use. Patience during this process ensures a smooth and lasting result.
Recommended Drying Times Between Coats
Wait the right time between each coat of paint. Usually, 30 minutes to 1 hour is enough. Check the paint label for exact drying times. The surface should feel dry but not hard before applying the next coat. Avoid rushing to prevent bubbles or peeling. Drying times can change with temperature and humidity.
Ensuring Durability In Outdoor Conditions
Curing time is longer than drying time. It can take days or weeks to fully cure. During this time, keep furniture away from rain and direct sunlight. A fully cured finish resists water, dirt, and sun damage. Use a clear topcoat for extra protection. Proper curing makes the paint last through all seasons.
Finishing Touches
Finishing touches give your outdoor furniture a lasting look. They protect your paint and keep your furniture looking fresh. This step is important to ensure your work stands the test of time.
Applying Protective Seals
After the paint dries, apply a clear protective seal. This seal guards against sun, rain, and dirt. Use a spray sealant for even coverage. Hold the can about 12 inches from the surface. Spray in light, steady strokes to avoid drips. Let the first coat dry fully before applying a second. Two coats provide stronger protection. Choose a sealant made for outdoor use. It helps paint last longer and keeps colors bright.
Maintaining Your Painted Furniture
Clean your furniture regularly with mild soap and water. Avoid harsh chemicals that can damage the paint. Wipe spills quickly to prevent stains. Store cushions inside when not in use. Cover furniture during heavy rain or snow. Check for chips or scratches and touch up paint as needed. Proper care keeps your furniture looking new for years. Maintenance is simple but makes a big difference.
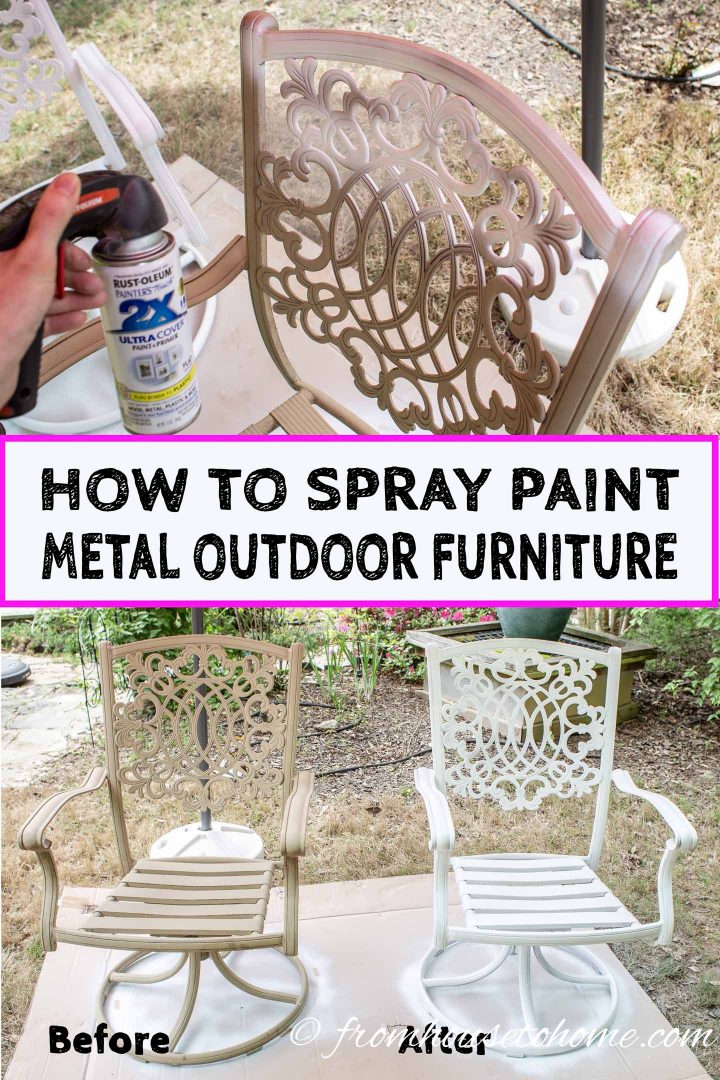
Credit: www.fromhousetohome.com
Credit: www.wagnerspraytech.com
Frequently Asked Questions
How Do I Prepare Outdoor Furniture For Spraying?
Clean the furniture thoroughly to remove dirt and debris. Sand the surface lightly for better paint adhesion. Cover nearby areas to protect from overspray.
What Type Of Spray Paint Is Best For Outdoor Furniture?
Use spray paint specifically designed for outdoor use. Look for weather-resistant and rust-proof formulas. Choose paint compatible with your furniture’s material.
How Many Coats Of Spray Paint Should I Apply?
Apply 2-3 thin, even coats for best coverage. Allow each coat to dry fully before applying the next. This prevents drips and ensures durability.
Can I Spray Outdoor Furniture In Humid Weather?
Avoid spraying in high humidity or rain. Moisture can affect paint drying and adhesion. Choose a dry, calm day for spraying.
Conclusion
Spraying outdoor furniture protects it from weather damage. Clean the surface well before you start. Use even strokes for a smooth finish. Let each coat dry fully before applying the next. Choose the right spray paint for your furniture type.
This simple process keeps furniture looking fresh longer. Regular care helps your outdoor space stay inviting. Enjoy your furniture’s new look and lasting protection. A little effort brings great results.

