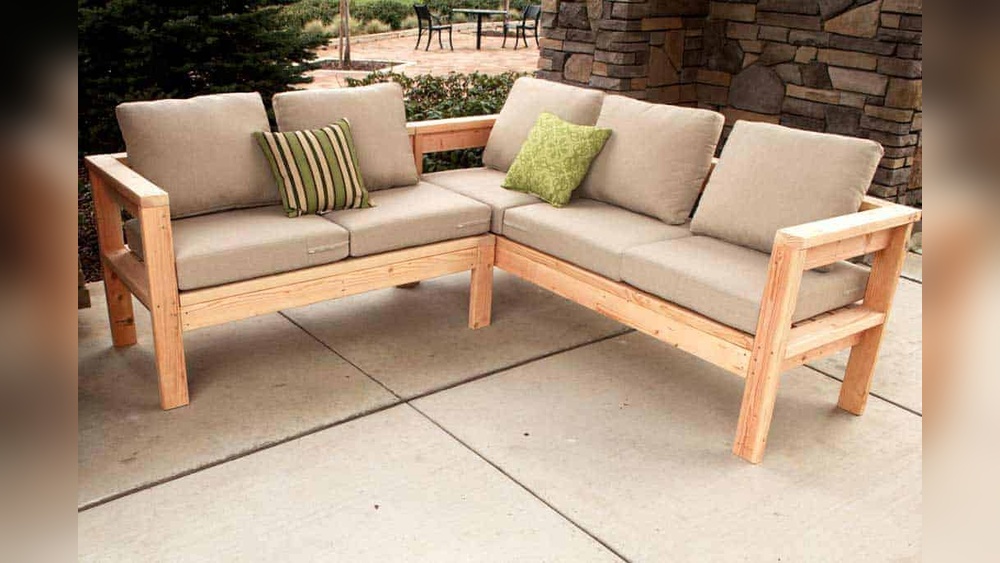
Are your outdoor furniture cushions looking worn or outdated? Imagine giving them a fresh, stylish makeover without spending a fortune.
Sewing your own slipcovers is easier than you think, and it lets you customize colors and fabrics to match your outdoor space perfectly. In this guide, you’ll discover simple steps to create durable, beautiful slipcovers that protect your furniture and boost your patio’s charm.
Ready to transform your outdoor area with your own hands? Let’s dive into how you can sew slipcovers for your outdoor furniture today.

Credit: inmyownstyle.com
Choosing The Right Fabric
Choosing the right fabric is key to making durable slipcovers for outdoor furniture. The fabric must handle weather changes and stay strong over time. It also should feel comfortable and look good. Picking the right material helps protect your furniture and keeps your outdoor space inviting.
Outdoor Fabric Types
Outdoor fabrics come in many types. Acrylic, polyester, and olefin are common choices. Acrylic fabrics resist fading and mildew well. Polyester is strong and dries quickly. Olefin is lightweight and resists stains. Each type offers different benefits. Choose one that fits your climate and use.
Waterproof And Uv Protection
Waterproof fabrics keep moisture away from your furniture. They stop water from soaking through. UV protection blocks sun rays to prevent fading. Fabrics with these features last longer outside. They protect your furniture from damage. Always check for water and UV ratings before buying.
Color And Pattern Selection
Color and pattern can change the look of your outdoor space. Light colors reflect heat and feel cool. Dark colors hide dirt better. Patterns add style and hide stains. Choose colors that match your garden or patio theme. Select patterns that suit your taste and lifestyle.
Measuring Your Furniture
Measuring your outdoor furniture is the first step to sewing a perfect slipcover. Accurate measurements make sure the fabric fits well. It helps avoid wasting fabric or making a slipcover that looks loose or tight. Take your time and measure carefully. This way, your slipcover will look neat and last longer.
Taking Accurate Dimensions
Use a tape measure for all parts of the furniture. Measure the width, height, and depth of the seat and back. Write down each number clearly. Measure twice to avoid mistakes. Remember to measure the furniture as it is, with cushions or without.
Accounting For Cushions And Armrests
Measure cushions separately if they are removable. Add their thickness to the main measurements. Don’t forget to measure armrests too. They often need extra fabric for coverage. Note any curves or angles on armrests to help shape the slipcover.
Creating A Measurement Template
Draw a simple sketch of your furniture. Mark each measurement on the drawing. This template helps you keep track of all sizes. Use it when cutting fabric. It also guides you during sewing to match each piece correctly.
Gathering Materials And Tools
Before sewing slipcovers for outdoor furniture, gather all needed materials and tools. This step saves time and ensures a smooth sewing process. Having the right supplies helps create strong, weather-resistant covers. Prepare your workspace and check each item carefully.
Essential Sewing Supplies
Start with durable outdoor fabric like canvas or waterproof polyester. Choose thread made for outdoor use, such as polyester or nylon thread. Use sharp fabric scissors to cut clean edges. Pins or fabric clips hold pieces together while sewing. A measuring tape helps get exact dimensions of your furniture. Marking tools like tailor’s chalk or fabric markers are important for accurate cuts.
Recommended Tools For Beginners
A basic sewing machine is enough for most slipcovers. Choose one that can sew through thick fabric layers. A seam ripper fixes mistakes quickly. An iron helps press seams flat for neat results. Use a simple rotary cutter and cutting mat for straight, easy cuts. Sewing patterns or templates guide the shape and size of your slipcover pieces.
Optional Accessories
Zippers or Velcro strips make slipcovers easy to remove and clean. Adding elastic bands can help hold covers snug on furniture corners. Waterproof sprays increase fabric resistance to rain and stains. Decorative trims or piping add a finished look. Foam or batting inserts improve comfort and shape for loose slipcovers.
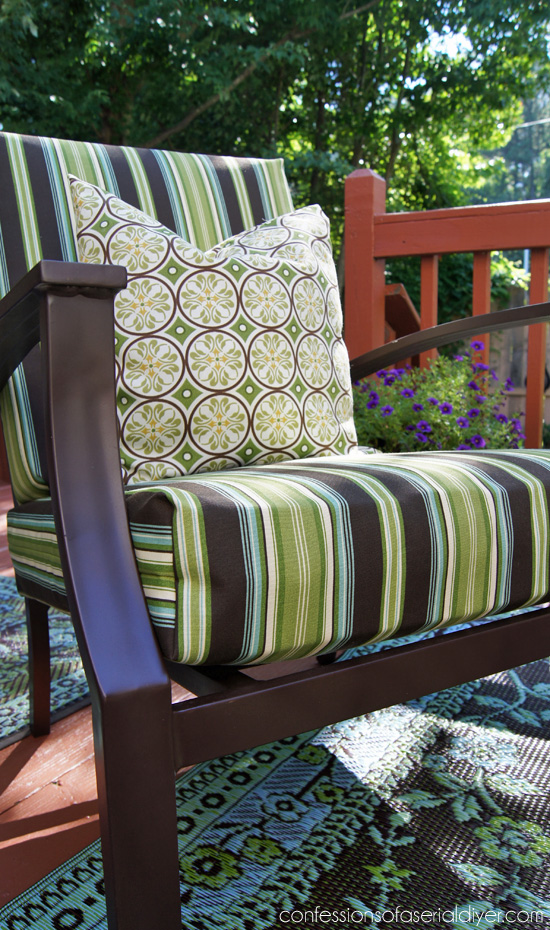
Credit: www.confessionsofaserialdiyer.com
Cutting And Preparing Fabric
Cutting and preparing fabric is an important step in sewing slipcovers for outdoor furniture. It ensures the fabric fits well and lasts long. Proper preparation makes sewing easier and gives a neat look. Taking time at this stage saves effort later.
Marking Fabric Pieces
Start by laying your fabric flat on a clean surface. Use a ruler and fabric chalk to mark each piece. Follow the pattern shapes carefully. Mark all edges and corners clearly. Double-check measurements before cutting. Clear marks help you cut accurately and avoid mistakes.
Adding Seam Allowances
Seam allowances give space for sewing seams. Add about 1/2 inch around each piece. This space helps join fabric pieces without shrinking the cover. Mark the seam allowance outside the main piece lines. Keep the allowance even for a smooth finish. This step prevents the slipcover from being too tight.
Pre-washing And Ironing Fabric
Pre-wash fabric to remove dirt and shrinkage. Use cold water and mild detergent. Let it dry completely before cutting. Iron the fabric to remove wrinkles and flatten it. Smooth fabric cuts easier and fits better. Clean, flat fabric makes sewing faster and more accurate.
Sewing The Slipcover Panels
Sewing the slipcover panels is a key step in creating a perfect fit for your outdoor furniture. This process shapes the fabric to match each part of your chair or sofa. Careful stitching ensures durability and a neat look. Follow clear steps to sew strong, smooth panels that hold well outdoors.
Basic Stitching Techniques
Start with a straight stitch for most seams. It is strong and easy to control. Use a medium stitch length for outdoor fabrics. This prevents holes and keeps the fabric tight. Backstitch at the beginning and end to lock stitches in place. A sewing machine with a heavy-duty needle works best.
Joining Fabric Pieces
Align edges of fabric pieces carefully. Pin them together to avoid shifting while sewing. Sew along the edge with a ½ inch seam allowance. Press seams open with an iron for a flat finish. Match corners and curves slowly to keep shapes accurate. This helps the slipcover fit well on the furniture.
Reinforcing Seams
Outdoor slipcovers face wear and weather. Reinforce seams by sewing a second line of stitching close to the first. Use strong thread made for outdoor use. Double stitching adds strength and prevents tears. Focus on stress points like corners and edges. This step extends the life of your slipcover.
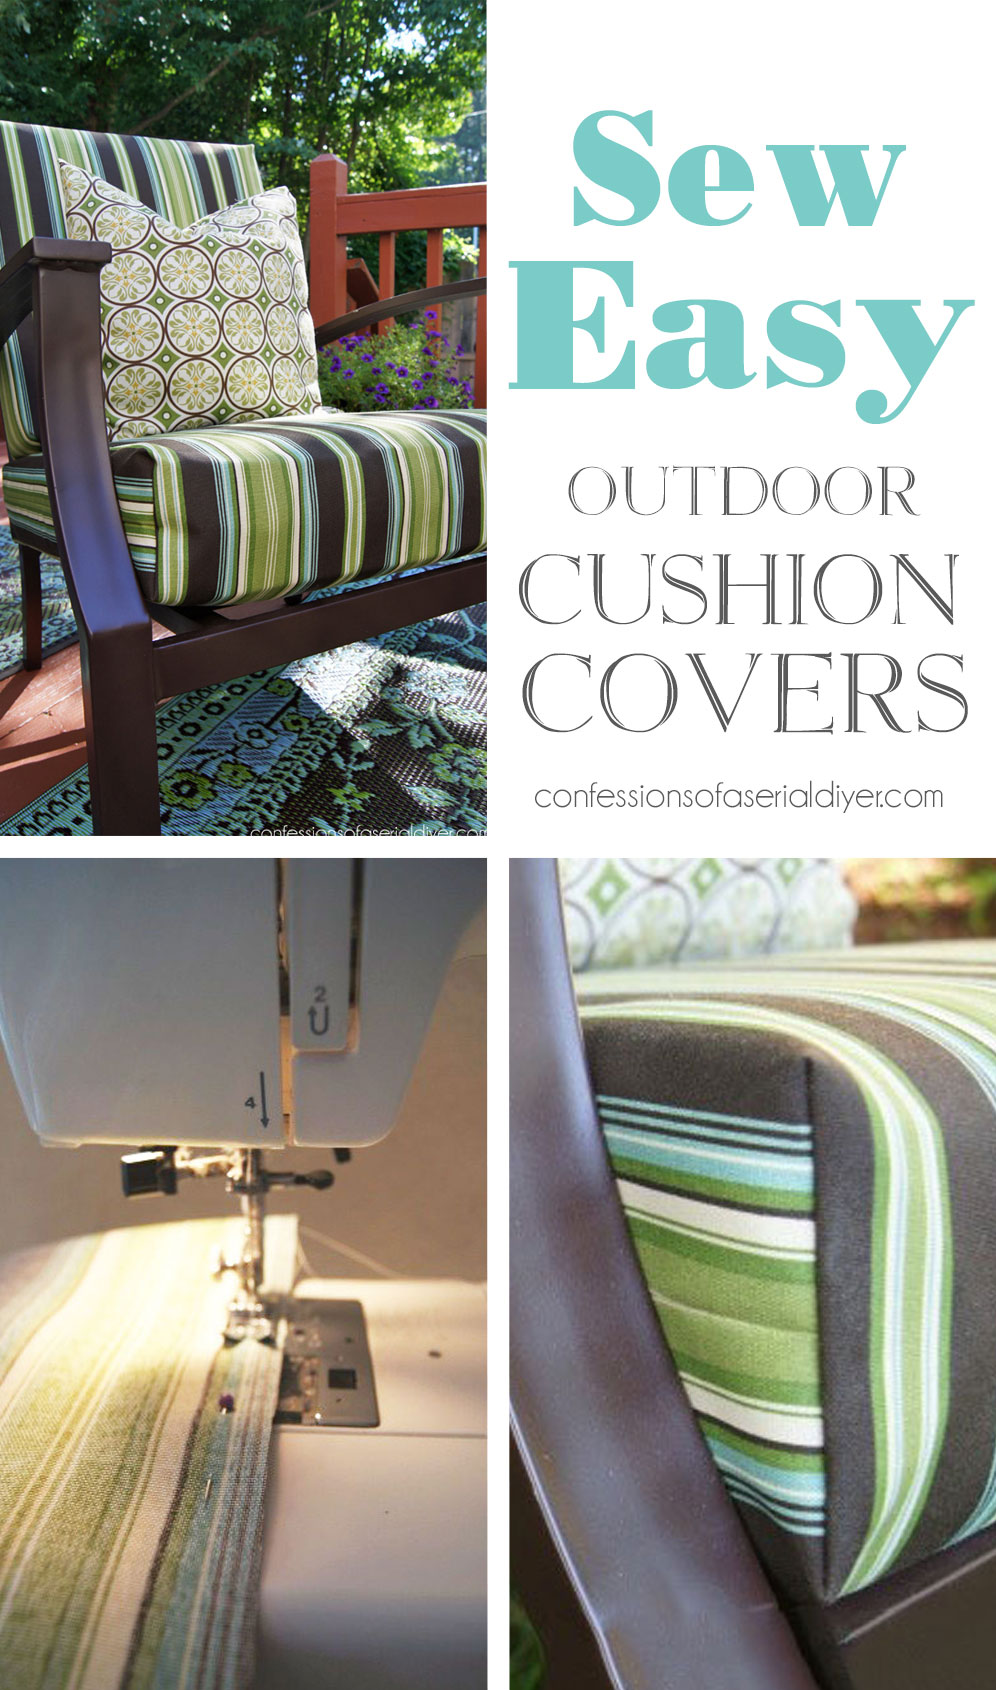
Credit: www.confessionsofaserialdiyer.com
Fitting And Adjusting The Slipcover
Fitting and adjusting the slipcover is a key step in sewing slipcovers for outdoor furniture. A good fit keeps the cover neat and protects the furniture well. This part takes patience and attention to detail. It ensures the slipcover looks good and stays in place during use.
Trying The Cover On Furniture
Start by placing the slipcover over the furniture. Smooth out any wrinkles or folds. Check the fit around corners and edges. See how the fabric sits on cushions and arms. Note any spots that are loose or too tight. This helps identify where adjustments are needed.
Making Necessary Alterations
Mark the areas that need changes with pins or chalk. Take in loose fabric by sewing seams smaller. Let out seams if the cover is too tight. Cut away extra fabric carefully to avoid bulk. Make small adjustments and try the cover on again. Repeat until the fit looks balanced and smooth.
Adding Elastic Or Ties
Elastic bands help keep the slipcover snug on the furniture. Sew elastic around the bottom edges or under cushions. Ties work well to secure loose parts and prevent slipping. Attach ties at corners or sides where needed. These additions make the cover stay put during wind or movement.
Finishing Touches
Finishing touches make your slipcovers look neat and last longer outdoors. These final steps protect the fabric and improve fit. They also add a personal style to your furniture. Take time to do each step carefully for the best results.
Hemming Edges
Hemming keeps the fabric edges from fraying. Fold the raw edges under twice, about half an inch each time. Sew close to the folded edge with a straight stitch. This creates a clean, strong border. Use a thread color that matches your fabric for a smooth look.
Installing Zippers Or Velcro
Zippers or Velcro make your slipcovers easy to remove and wash. Place the zipper or Velcro on one side seam or under a cushion flap. Pin it in place before sewing. Sew slowly to keep the zipper straight and secure. Velcro works well for quick removal without special tools.
Adding Decorative Elements
Decorative touches give your slipcovers a unique charm. Add piping along seams to highlight shapes. Sew on buttons or fabric flowers for style. Use contrasting thread for visible stitching designs. These small details make your slipcovers stand out and reflect your taste.
Care And Maintenance Tips
Proper care keeps your outdoor slipcovers looking fresh and lasting longer. Regular maintenance protects fabric from dirt, sun, and wear. Follow simple steps to clean, store, and fix slipcovers. This helps keep furniture attractive and ready for use.
Cleaning Instructions
Remove slipcovers and shake off loose dirt first. Use a soft brush to clean away dust. Wash covers in cold water with mild soap. Avoid bleach or harsh chemicals that damage fabric. Air dry covers away from direct sunlight. Do not use a dryer to prevent shrinking.
Storage Suggestions
Store slipcovers in a dry, cool place during winter or bad weather. Fold covers neatly to avoid wrinkles and damage. Use a breathable bag to protect covers from dust. Keep covers away from moisture to stop mold growth. Regularly check stored covers for pests or damage.
Repairing Minor Damages
Fix small tears or holes quickly to prevent bigger damage. Use needle and thread that match fabric color. Patch holes with fabric scraps from leftover material. Reinforce weak seams with extra stitching. Repairing early saves money and extends slipcover life.
Frequently Asked Questions
What Materials Are Best For Outdoor Slipcovers?
Choose durable, water-resistant fabrics like Sunbrella or marine vinyl. These materials withstand weather and UV rays. They resist fading, mold, and mildew, ensuring long-lasting slipcovers for outdoor furniture.
How Do I Measure Furniture For Slipcovers?
Measure width, depth, and height of each furniture piece. Note armrests and cushion dimensions. Accurate measurements ensure a snug, custom fit for your outdoor slipcovers.
Can I Sew Slipcovers Without A Pattern?
Yes, you can create DIY patterns using cardboard templates. Trace furniture shapes and add seam allowances. This method customizes slipcovers to fit your outdoor furniture precisely.
How To Make Slipcovers Water-resistant?
Use water-repellent fabrics and apply fabric protector sprays. Seam tape can seal stitching holes. These steps enhance water resistance, protecting your slipcovers from rain and spills.
Conclusion
Sewing slipcovers for outdoor furniture saves money and adds style. Choose the right fabric for weather protection and comfort. Take your time measuring and cutting for a perfect fit. Simple stitches can make your covers strong and lasting. Enjoy fresh looks and protect your furniture all year.
With practice, sewing slipcovers becomes easier and more fun. Try it yourself and see the difference it makes. Your outdoor space will look neat and inviting. Ready to start? Grab your sewing kit today!