Looking for a fun and creative way to organize your space? Building a Lego coat rack might be just what you need.
Imagine having a colorful, sturdy rack that not only holds your coats but also adds a playful touch to your room. You don’t need to be a Lego expert or a DIY pro to make this happen. In this guide, you’ll discover simple steps to build your very own Lego coat rack, turning ordinary bricks into a practical and eye-catching piece.
Ready to transform your clutter into a cool display? Let’s get started!
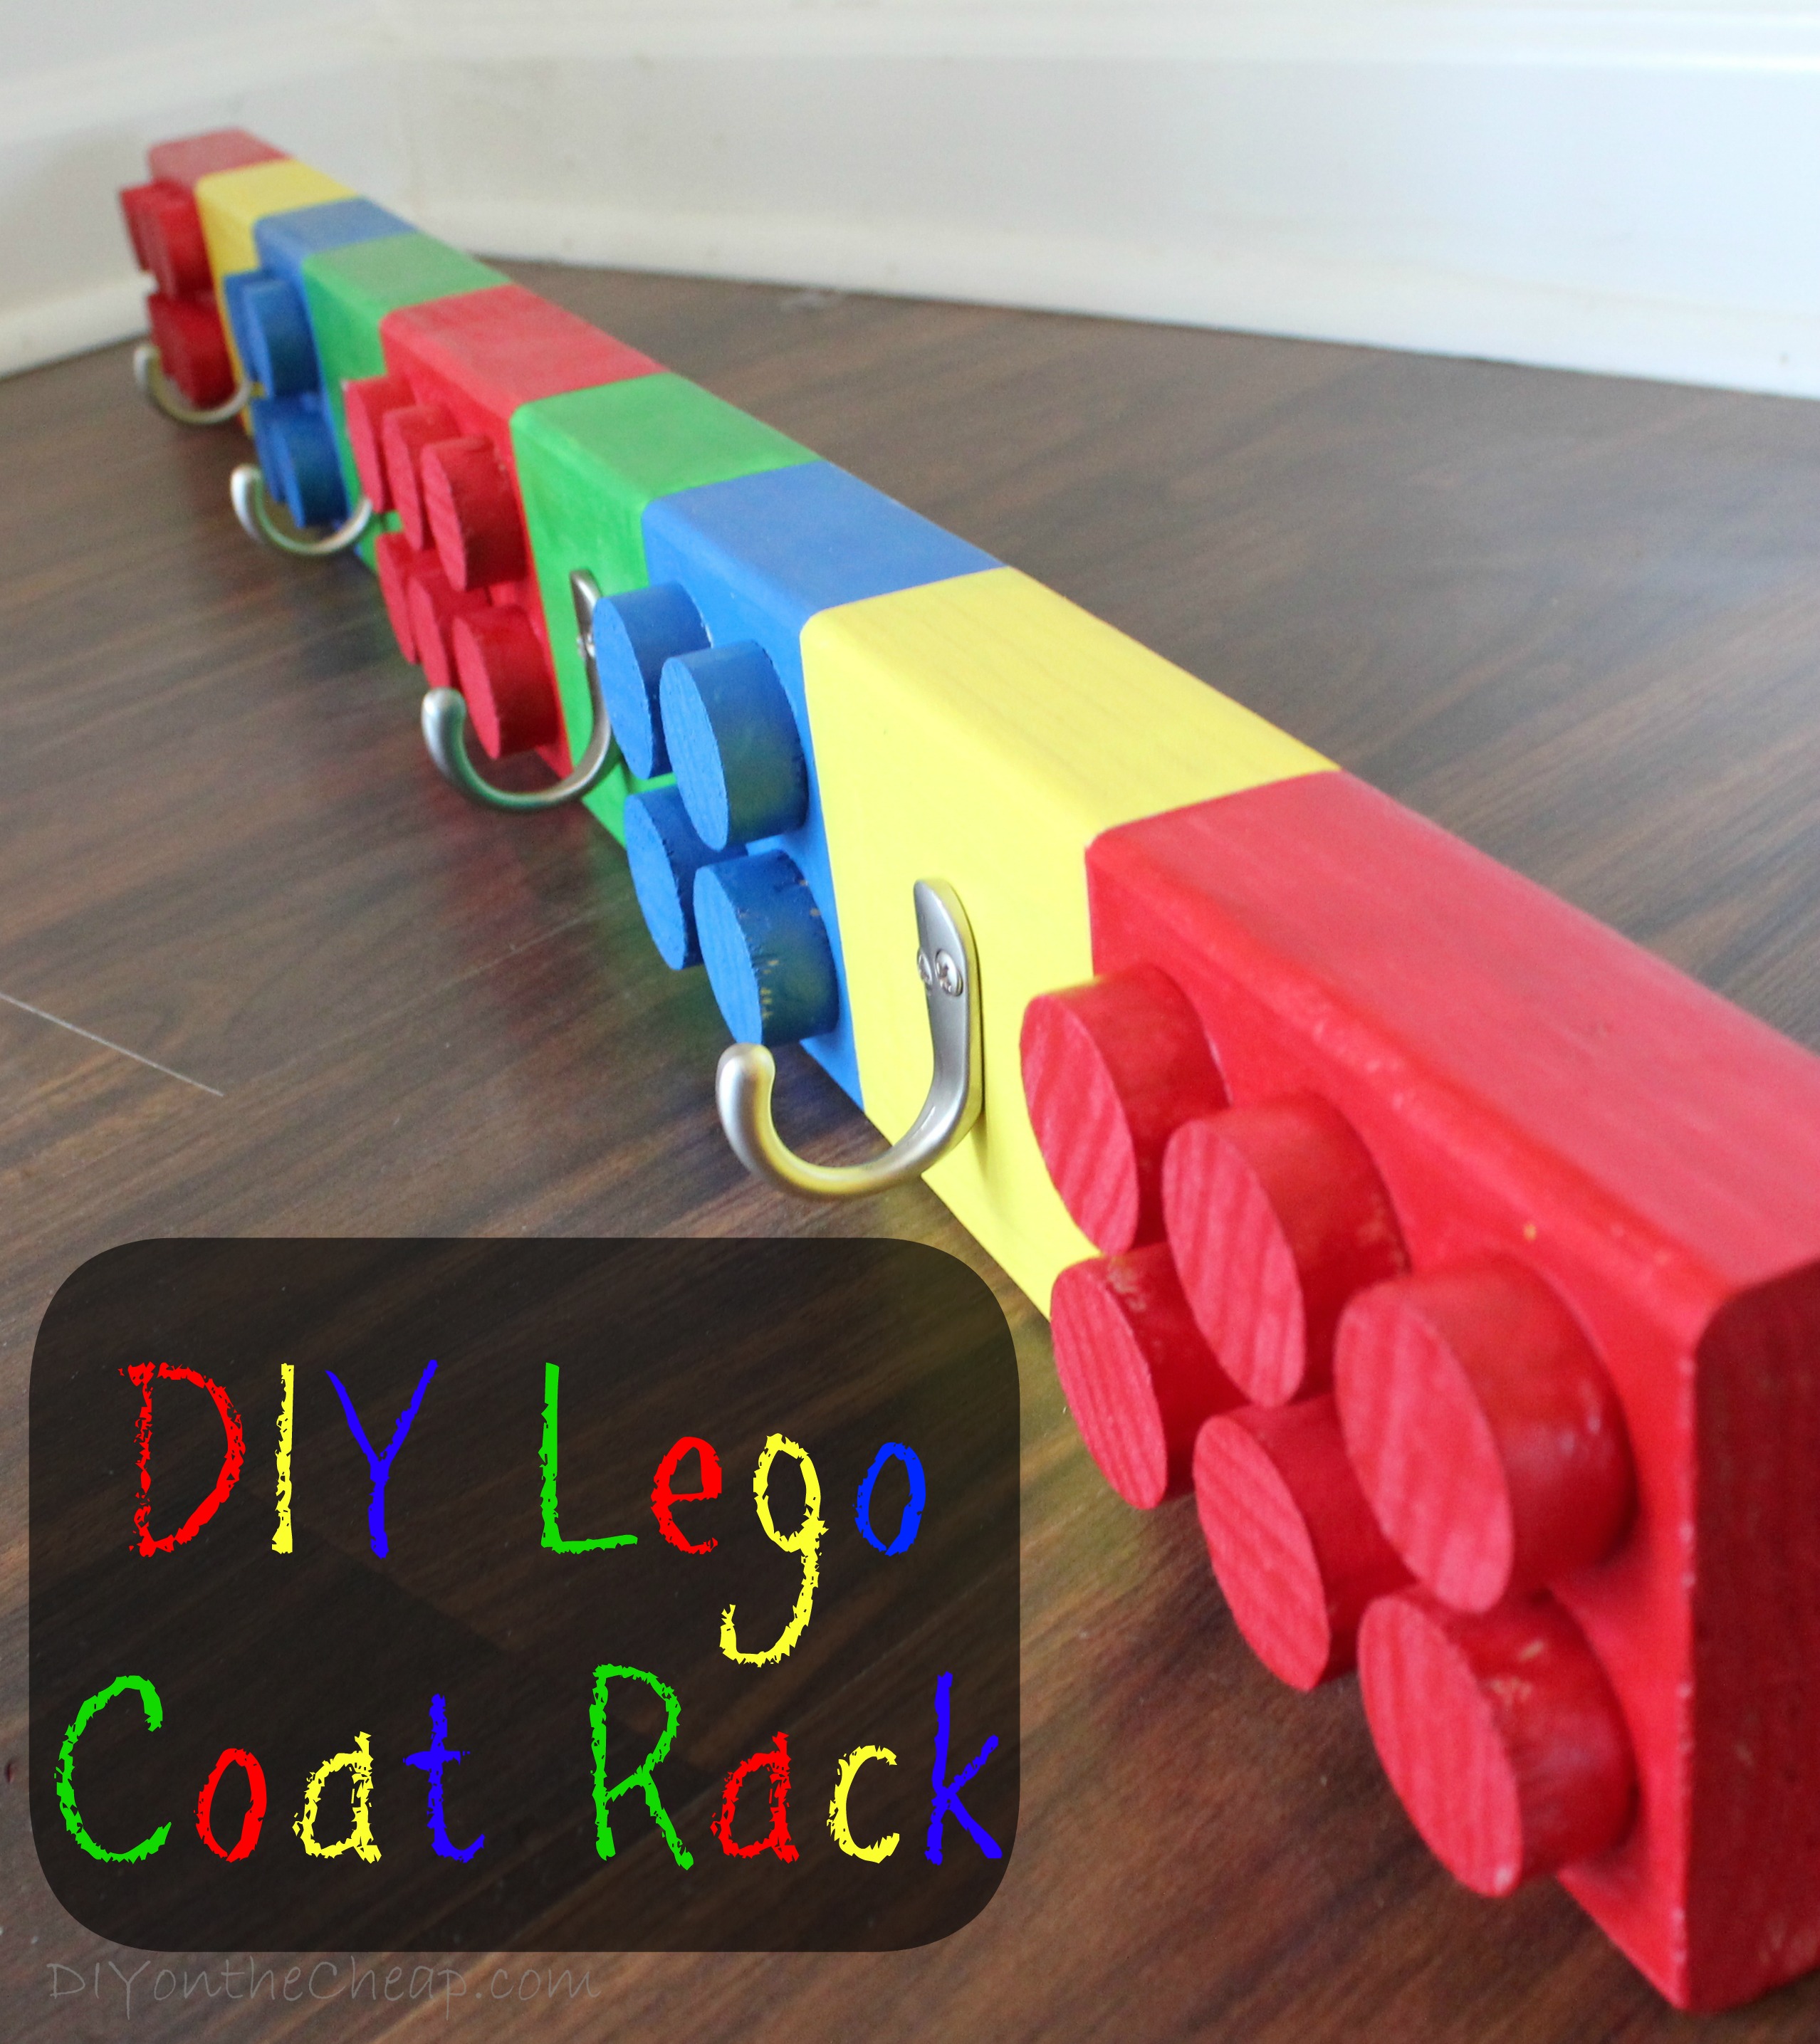
Credit: www.erinspain.com
Choosing The Right Lego Pieces
Choosing the right Lego pieces is key to building a strong and attractive coat rack. The pieces must hold weight and stay firmly connected. Picking the correct colors and styles also helps make the rack look good. Sometimes, extra materials help improve stability and use.
Selecting Durable Bricks
Use Lego bricks made from sturdy plastic. These bricks last long and support heavy coats. Avoid old or cracked pieces. Choose standard bricks with smooth surfaces for better grip. Larger bricks add strength and reduce wobbling.
Colors And Styles
Pick colors that match your room or create a fun pattern. Bright colors make the rack stand out. Neutral colors suit most rooms and look clean. Use different styles, like flat tiles or smooth slopes, to add texture and design.
Additional Materials Needed
Some non-Lego parts can help. Strong glue holds parts firmly together. Small hooks or pegs attach to bricks for hanging coats. A base plate adds extra support and keeps the rack stable. Use these materials carefully for a lasting build.
Designing Your Coat Rack
Designing your Lego coat rack is the first step to a useful and fun project. You decide how it looks and works. A good design makes your coat rack strong and easy to use. Think about size, shape, and how it will hold your coats. Plan carefully to build something you will like and use every day.
Start with simple ideas. Draw or imagine the coat rack before building. This helps avoid mistakes and saves time. Keep your design clear and practical.
Determining Size And Shape
Choose a size that fits your space. Measure the wall or area where you want the rack. Make sure it is not too big or too small. The shape can be straight, curved, or creative. A simple rectangle is easy to build. Use Lego blocks that fit your size plan.
Incorporating Hooks
Hooks hold coats and bags. Use Lego pieces that stick out for hooks. Space hooks evenly for balance. Think about how many coats you want to hang. Make hooks strong enough to hold weight. You can make hooks in different colors for fun.
Stability Considerations
Stability is very important. Your coat rack must not fall down. Use wide Lego bases to keep it steady. Connect blocks tightly to avoid loose parts. Add support pieces behind the rack. Test the rack by hanging light items first.
Step-by-step Assembly
Building a Lego coat rack is fun and simple. Follow these clear steps to create a sturdy rack. Each part fits together like a puzzle. Take your time and enjoy the process.
Building The Base
Start with a flat Lego plate. This will hold the coat rack steady. Use large, sturdy pieces for strength. Snap them tightly to avoid wobbles. Make a rectangle or square shape. The base needs to support the entire rack.
Constructing The Frame
Attach vertical Lego bricks to the base. These will form the frame’s sides. Build up to your desired height. Add horizontal bricks to connect both sides. This creates a strong, stable frame. Check that all pieces fit well together.
Attaching The Hooks
Choose small Lego pieces for hooks. Attach them evenly along the frame. Press firmly to secure each hook. Space hooks to hold coats without crowding. Use colorful pieces to add style. Your Lego coat rack is ready to use.
Credit: www.ana-white.com
Customizing Your Rack
Customizing your Lego coat rack lets you create a unique and useful piece. This step adds personality and style to your project. You can make the rack fit your space and needs perfectly. Small changes can make a big difference. Below are easy ways to customize your Lego coat rack.
Adding Decorative Elements
Decorative elements make your rack stand out. Use small Lego pieces like flowers, shapes, or patterns. Attach stickers or use printed Lego bricks for extra design. These touches add charm without making the rack bulky. Think about what style fits your room best.
Personalizing With Colors
Choose colors that match your room or mood. Use bright colors for a fun look or soft tones for calmness. Mixing colors can create interesting patterns. Keep color choices simple for a clean design. Color makes the rack more inviting and easy to spot.
Integrating Functional Features
Function matters as much as style. Add small shelves or hooks made from Lego pieces. Include spaces for keys or small items. Make sure the rack is strong enough to hold coats. Functional features help keep your space tidy and organized.
Mounting And Placement Tips
Mounting and placing your Lego coat rack correctly ensures it stays secure and looks great. Proper setup also helps it hold coats without tipping or falling. Consider your space and how you want to use the rack before fixing it in place.
Wall Mounting Options
Choose strong walls like brick or studs behind drywall for mounting. Use heavy-duty anchors and screws to hold the Lego rack firmly. Attach mounting brackets to the rack’s back for better support. Check the rack’s weight before selecting screws and anchors.
Free-standing Setup
Build a wide base with Lego bricks for stability on the floor. Add extra support at the bottom to stop tipping. Place the rack on flat surfaces only. Use non-slip pads under the base to keep it steady. This setup allows moving the rack easily around your room.
Optimal Location Choices
Pick a spot near the door for quick access to coats. Avoid placing the rack where it blocks walkways or furniture. Choose an area with enough space for hanging coats without crowding. Good lighting helps see the rack and the coats clearly. Keep the rack away from moisture or heat sources to protect Lego bricks.
Maintenance And Durability
Building a Lego coat rack is fun and creative. Keeping it strong and clean is important. Proper care helps your Lego rack last longer. This section explains simple ways to maintain and protect your Lego coat rack.
Cleaning Lego Surfaces
Dust and dirt can build up on Lego pieces. Use a soft brush or cloth to wipe them gently. For deeper cleaning, use warm water with mild soap. Avoid soaking the rack for long times. Dry all pieces completely to stop damage.
Repairing Loose Pieces
Loose pieces can make the rack weak. Check joints and connections regularly. Push pieces firmly back into place if loose. Use a small amount of glue on hidden spots for extra hold. Do not use too much glue to keep the look clean.
Extending Lifespan
Keep the rack away from direct sunlight and heat. High temperatures can warp Lego pieces. Avoid placing heavy items on the rack. Use it gently to prevent cracks and breaks. Store it in a safe place when not in use.

Credit: www.erinspain.com
Frequently Asked Questions
What Materials Do I Need To Build A Lego Coat Rack?
To build a Lego coat rack, you need various Lego bricks, base plates, and sturdy connectors. Choose strong pieces that support weight and ensure stability. Additional tools like adhesive or mounting hardware may help secure the rack to the wall.
How Much Weight Can A Lego Coat Rack Hold?
A Lego coat rack’s weight capacity depends on the brick quality and design. Typically, it holds light items like scarves or hats. For heavier coats, reinforce the structure with strong bricks and secure mounting to avoid collapse or damage.
How Do I Make A Lego Coat Rack Sturdy?
To make it sturdy, use large base plates and interlock bricks tightly. Incorporate structural supports and reinforce connection points. Attaching the rack securely to a wall or sturdy surface also improves stability and prevents it from tipping over.
Can I Customize The Lego Coat Rack Design?
Yes, Lego coat racks are highly customizable. You can change colors, shapes, and sizes to fit your style. Add hooks or shelves to suit your needs. Creativity with Lego bricks allows you to build a unique and functional rack.
Conclusion
Building a Lego coat rack is simple and fun. You only need a few pieces and some patience. This project adds color and style to any room. It also helps keep coats organized and off the floor. Try different designs to fit your space and taste.
Enjoy creating something useful with your own hands. Keep experimenting and make your coat rack truly unique. This small project brings joy and order together. Give it a try and see the difference it makes!