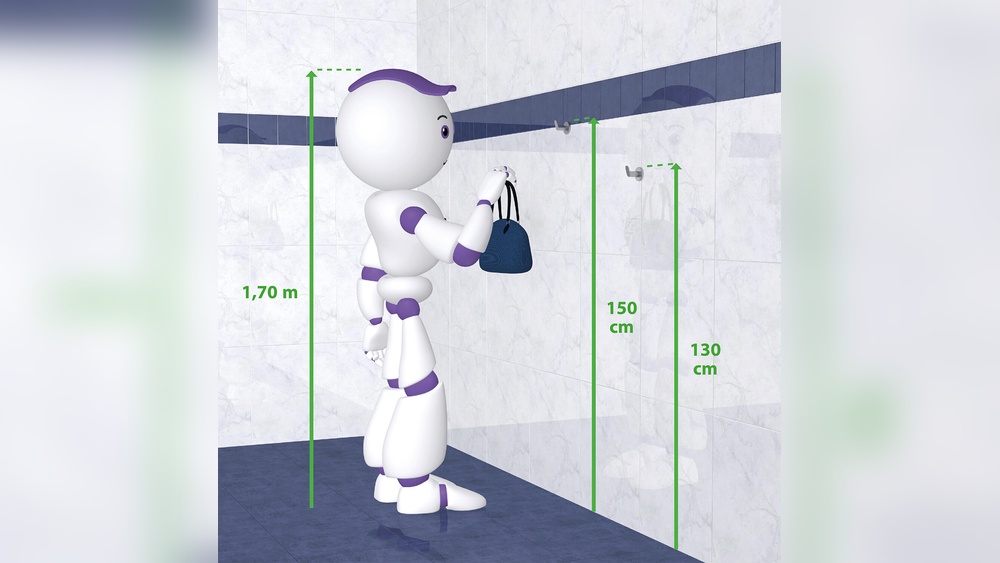
Are you tired of your wire coat rack wobbling or tipping over every time you hang something heavy? Anchoring your wire coat rack properly can make a huge difference in stability and safety.
Imagine a coat rack that stays firmly in place, ready to hold all your coats, hats, and bags without any worry. In this guide, you’ll learn simple, effective steps to anchor your wire coat rack securely. By the end, you’ll have the confidence to keep your space organized and your rack steady—no more frustration or accidents.
Keep reading to find out how easy it is to fix this common problem once and for all.

Credit: www.amazon.com
Choosing The Right Spot
Choosing the right spot for your wire coat rack is very important. The right place keeps the rack steady and safe. Picking a good location also helps you use space well. Before you start fixing the rack, think about where it will be strong and useful. Look for places that suit your needs and the wall type.
Assessing Wall Material
Check what kind of wall you have. Drywall, plaster, and brick all need different anchors. Drywall alone may not hold heavy coats. Solid walls like brick or wood handle weight better. Knowing your wall type helps pick the right tools. This step stops the rack from falling off.
Finding Studs Or Solid Support
Studs are wooden beams behind the wall. They give the best support for heavy racks. Use a stud finder to locate them. If no studs are available, find solid parts of the wall. These spots can hold screws better. Anchoring into studs or solid support keeps your rack secure and safe.
Gathering Necessary Tools
Gathering the right tools is the first step to anchor a wire coat rack safely. Using proper tools makes the job easier and ensures the rack stays secure. Prepare everything before starting to avoid interruptions during the work.
Essential Hardware
Start with the hardware needed to fix the rack. Wall anchors are a must for drywall or hollow walls. Screws should fit the coat rack holes and wall anchors perfectly. Use washers if needed to protect the wire rack from damage. Check that all pieces are rust-resistant for durability.
Recommended Tools
A drill with the correct drill bit size helps make clean holes. A screwdriver, either manual or electric, is needed to tighten screws. A level ensures the rack hangs straight and looks good. A tape measure helps mark the exact spot on the wall. Pencil marks guide where to drill holes precisely.
Marking And Measuring
Marking and measuring are key steps before anchoring a wire coat rack. These steps ensure the rack fits well and stays secure. Taking your time here helps avoid mistakes and extra holes in the wall.
Careful measuring sets the foundation for a strong hold. Accurate marks guide your drilling and anchor placement. Skipping this step can cause the rack to hang crooked or fall.
Positioning The Rack
Choose the height and spot for your coat rack. Think about who will use it and how much space they need. Hold the rack against the wall and check if it feels right. Use a level to keep it straight. Adjust until the position looks balanced and practical.
Marking Anchor Points
Look at the holes on the wire rack for anchor spots. Use a pencil to mark these points on the wall. Double-check the marks with a measuring tape. Make sure they line up and match the rack’s holes. Clear, precise marks make drilling easier and safer.
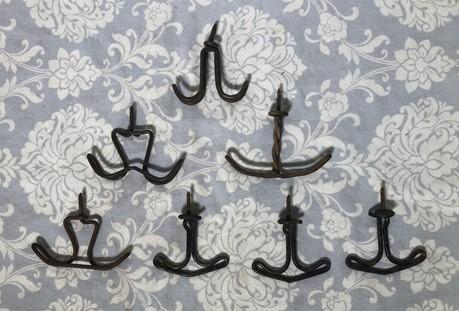
Credit: www.theoldgrainery.com
Drilling Holes Safely
Drilling holes safely is important when anchoring a wire coat rack. It prevents damage to walls and keeps you safe. Follow simple steps to drill correctly and avoid accidents. Use the right tools and methods for the best results.
Selecting Drill Bits
Choose a drill bit based on your wall type. Use a masonry bit for brick or concrete walls. For drywall, a regular twist bit works well. Match the drill bit size to the anchor size. This ensures a snug fit and strong hold. Always check the bit for damage before use.
Drilling Techniques
Mark the spot where you want to drill. Use a pencil or masking tape for accuracy. Hold the drill steady and start at a slow speed. Increase speed gently once the bit grips the wall. Keep the drill straight to avoid uneven holes. Drill only as deep as the anchor requires. Clean dust from the hole before inserting the anchor.
Installing Wall Anchors
Installing wall anchors is key to securing your wire coat rack safely. Anchors hold the screws tightly in the wall. This prevents the rack from pulling out under weight. Choosing the right anchor and inserting it properly are important steps. Follow these tips to install wall anchors correctly and keep your coat rack stable.
Types Of Anchors
Plastic expansion anchors work well in drywall. They spread out as the screw goes in, holding tight.
Molly bolts are metal anchors that expand behind the wall for strong support.
Toggle bolts have wings that open inside the wall cavity. They hold heavy loads securely.
Self-drilling anchors screw directly into drywall without a pre-drilled hole. They are quick and easy.
Proper Insertion Methods
Mark the spot where you want to install the rack.
Use a drill bit that matches the anchor size to make a hole.
Insert the anchor gently into the hole until flush with the wall.
Tap lightly with a hammer if needed to seat the anchor fully.
Drive the screw into the anchor slowly to avoid damage.
Stop tightening when the screw feels firm and the rack is secure.
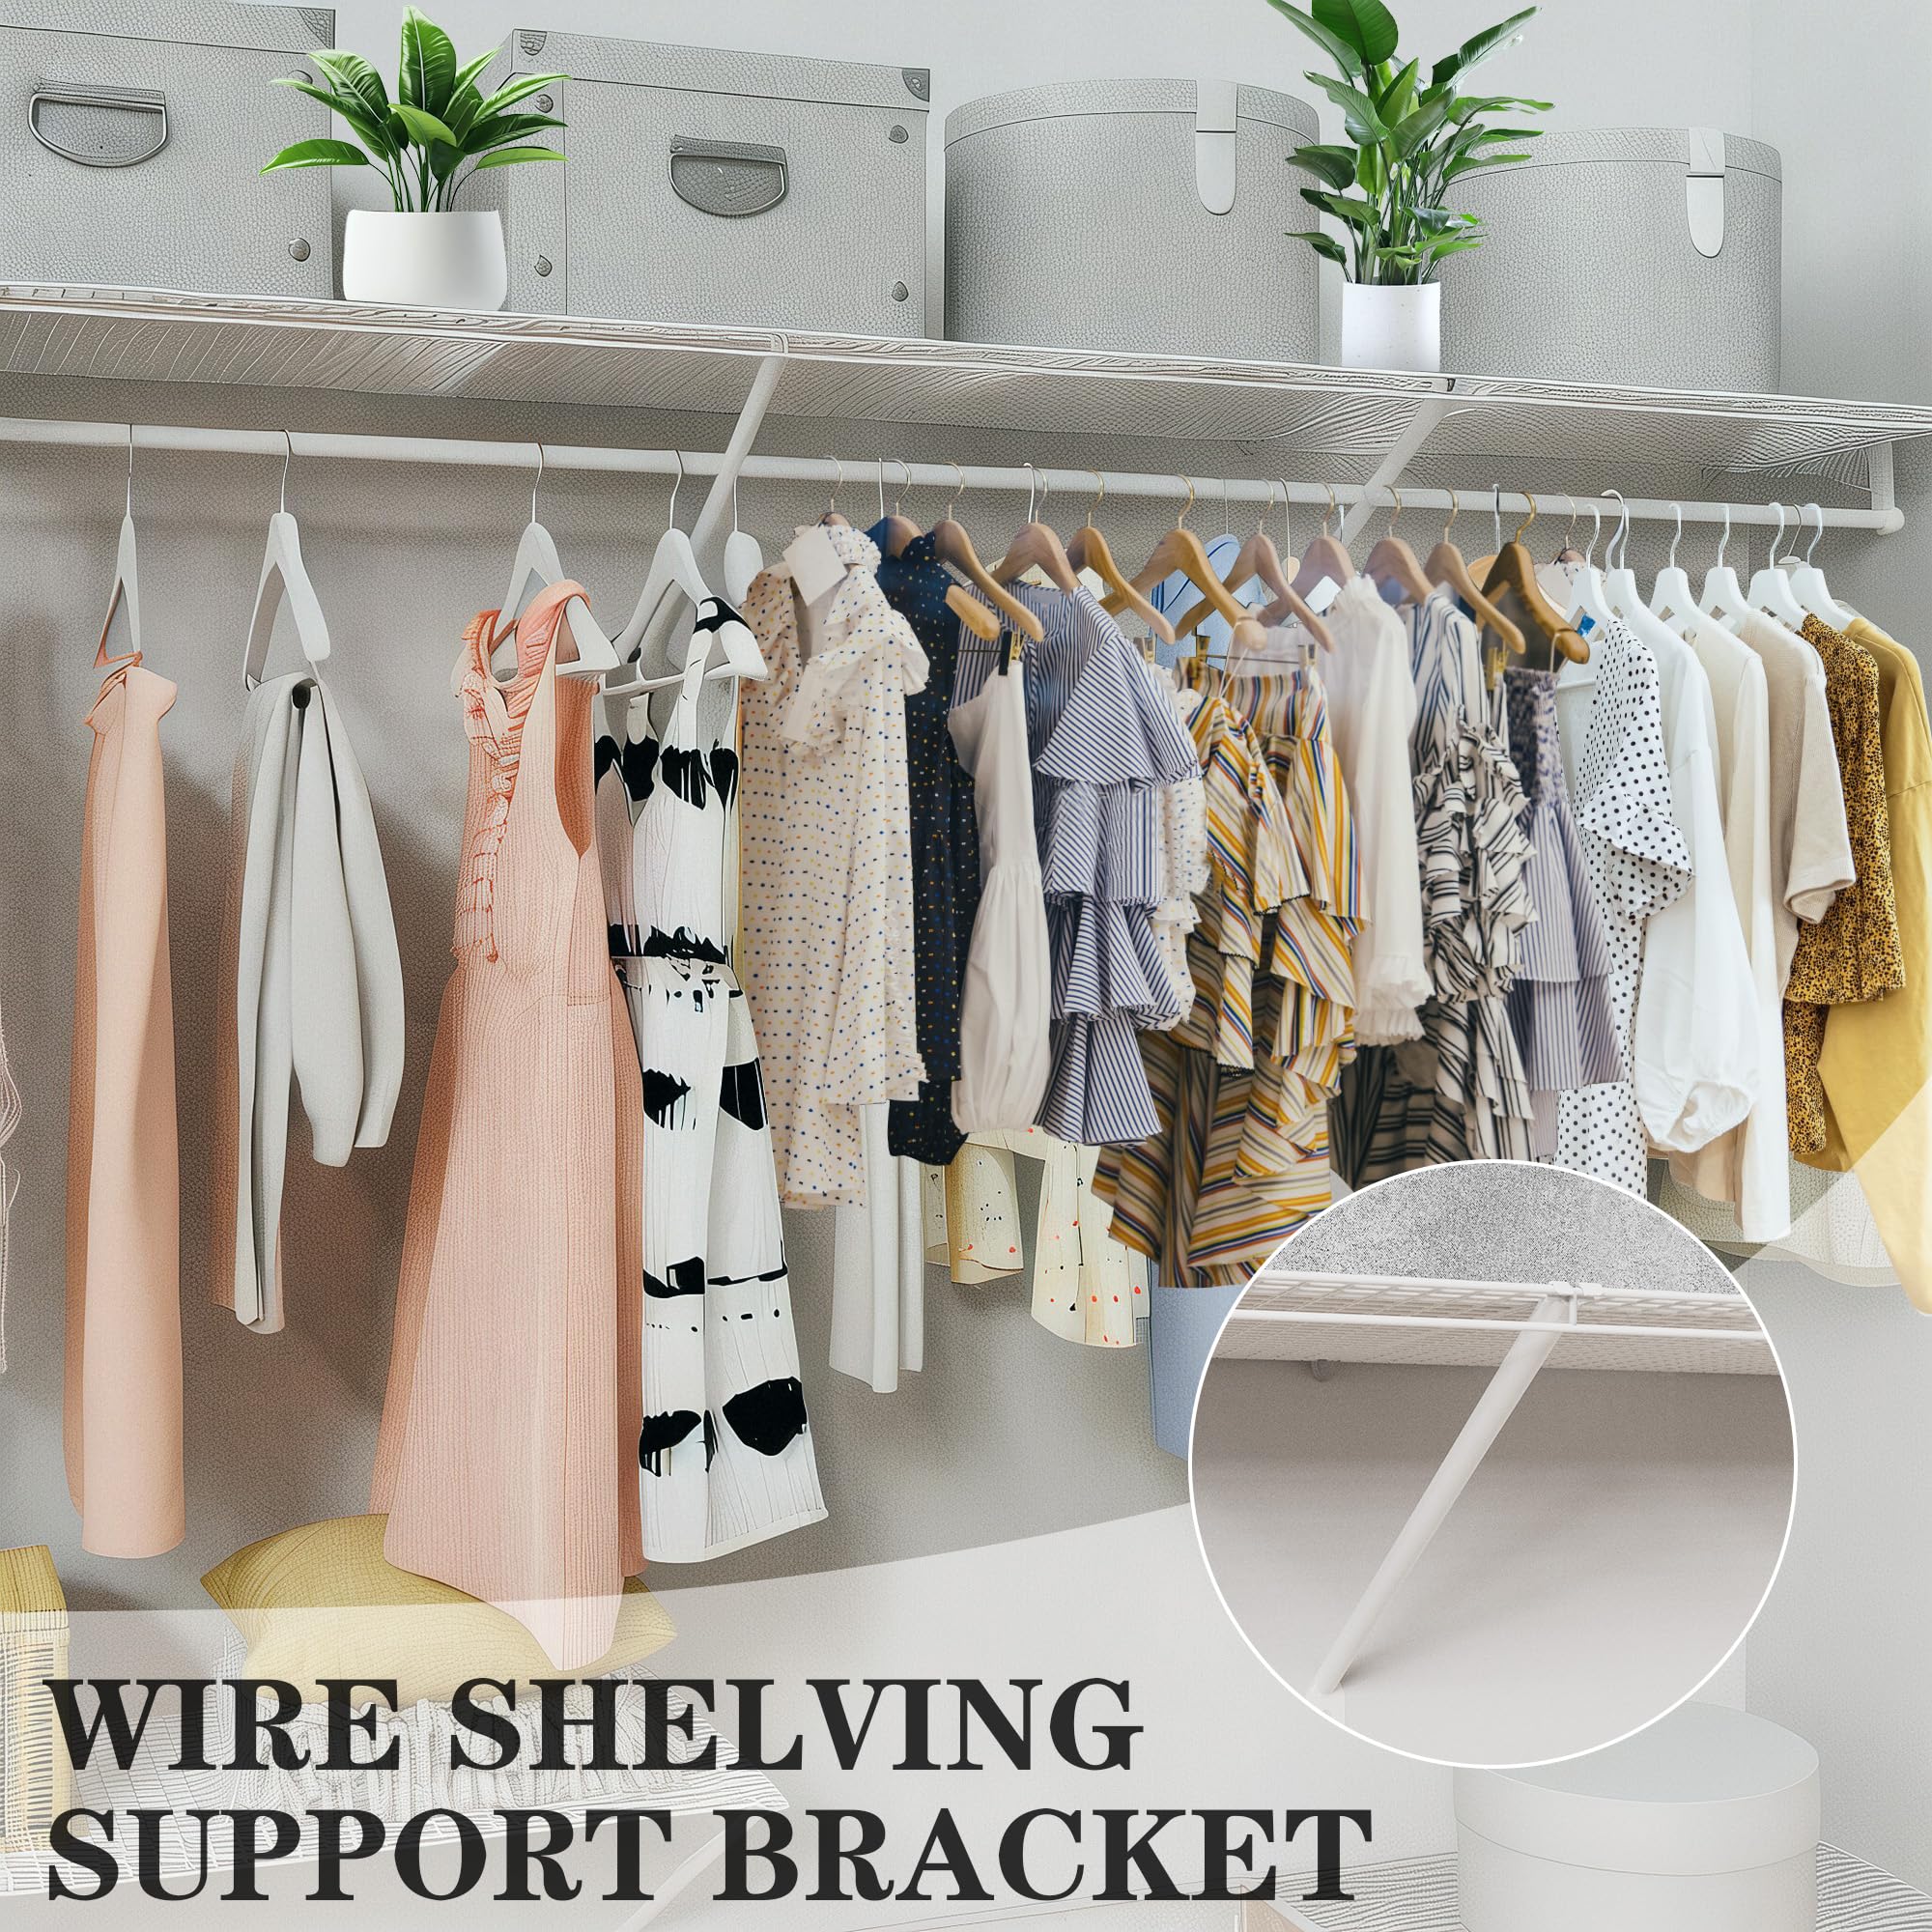
Credit: kafaatsa.com
Mounting The Coat Rack
Mounting a wire coat rack properly keeps it steady and safe. It stops the rack from wobbling or falling off the wall. Follow these steps to mount your coat rack with care and accuracy.
Aligning And Securing
Place the coat rack on the wall at the desired height. Use a level to check if it is straight. Mark the holes where screws will go. Hold the rack firmly while marking. This ensures the rack stays in place during mounting.
Tightening Screws
Insert screws into the marked holes. Turn screws slowly to keep the rack steady. Use a screwdriver or drill with low speed. Tighten until the rack feels secure but do not over-tighten. Over-tightening can damage the wall or rack.
Testing Stability
Testing the stability of your wire coat rack is important for safety and usefulness. A stable rack holds coats without tipping or wobbling. This step ensures your rack stays in place and serves its purpose well.
Applying Load
Start by gently hanging a few coats or bags on the rack. Check how it holds the weight. Watch for any movement or shaking. Add more items slowly. Notice if it stays firm or begins to lean. This helps spot weak spots early.
Adjusting If Needed
If the rack feels unstable, adjust the anchors or screws. Tighten loose parts carefully. Shift the rack slightly to balance the load better. Use extra anchors for heavy racks or walls that feel weak. Test again after each change to ensure steady support.
Maintenance Tips
Maintaining your wire coat rack is key for long-lasting use and safety. Small efforts keep it sturdy and looking good. This section shares simple tips to care for your coat rack daily.
Regular Checks
Check your coat rack every few weeks. Look for loose screws or bolts. Tighten anything that feels wobbly. Inspect the wall anchor points for cracks or damage. Early fixes prevent bigger problems later.
Handling Wear And Tear
Wire racks can bend or scratch over time. Gently straighten any bent wires with pliers. Use a soft cloth to clean dust and dirt. Avoid harsh cleaners that can damage the finish. Treat small rust spots with a rust remover to stop spreading.
Frequently Asked Questions
How Do You Securely Anchor A Wire Coat Rack?
To securely anchor a wire coat rack, use wall anchors and screws suitable for your wall type. Locate studs if possible for extra support. Mark the mounting points, drill pilot holes, insert anchors, and fasten the rack firmly to prevent wobbling or falling.
What Tools Are Needed To Anchor A Wire Coat Rack?
You need a drill, screwdriver, wall anchors, screws, a level, and a pencil. Optional tools include a stud finder and measuring tape. These tools ensure accurate placement and secure installation of your wire coat rack on the wall.
Can I Install A Wire Coat Rack On Drywall Alone?
Yes, but use drywall anchors to support the rack’s weight. Drywall anchors prevent screws from pulling out. For heavier racks, locate studs or use toggle bolts for better stability and safety.
How High Should I Mount A Wire Coat Rack?
Mount the wire coat rack at about 5 to 6 feet high for easy access. Adjust height based on user needs and available space. Ensure it’s reachable but not obstructive.
Conclusion
Anchoring a wire coat rack keeps it steady and safe. Choose the right tools and wall anchors for your surface. Mark spots carefully before drilling holes. Tighten screws firmly but avoid overdoing it. Test the rack by hanging some coats gently.
A well-anchored rack lasts longer and holds more weight. This simple process helps avoid damage and accidents. Enjoy your organized space with confidence and ease.