Are you tired of clutter piling up by your front door? Imagine having a stylish entryway bench coat rack that keeps your space neat and welcoming.
You don’t need to spend a fortune or hire a pro to get it. In this guide, you’ll learn simple steps to build your own entryway bench coat rack, perfect for organizing coats, bags, and shoes all in one place.
Ready to transform your entryway into a functional and beautiful spot? Let’s get started!
Materials And Tools
Building an entryway bench coat rack needs the right materials and tools. Choosing good wood and hardware helps make a strong and useful piece. Having the right tools makes the work easier and faster. This section lists the materials and tools you need for this project.
Wood Selection
Pick sturdy wood that holds weight well. Pine is budget-friendly and easy to work with. Oak or maple lasts longer and looks nice. Choose smooth wood to avoid splinters. Buy enough wood for the bench seat, back, and sides.
Hardware Needed
Get screws to hold the wood parts together. Use wood glue to add strength. Buy coat hooks for hanging jackets and bags. Sandpaper helps smooth rough edges. Consider wood finish or paint for protection and style.
Essential Tools
You need a drill for screws and holes. A saw cuts wood to the right size. A screwdriver tightens screws securely. A measuring tape ensures precise cuts. A pencil marks where to cut and drill. A sander smooths wood surfaces quickly.

Credit: www.youtube.com
Design And Measurements
Design and measurements are the first steps to build an entryway bench coat rack. They decide how the final product will look and fit in your space. Careful planning saves time and materials. It also helps create a bench that is both useful and attractive.
Choosing The Style
Select a style that matches your home decor. Think about modern, rustic, or traditional looks. Simple designs work well in small spaces. More detailed styles suit larger areas. Consider the type of wood or paint finish. This choice affects the bench’s appearance and feel.
Determining Dimensions
Measure the available space in your entryway. Leave room for walking and other furniture. The bench height should be comfortable for sitting, usually 16 to 20 inches. Depth between 12 to 18 inches fits most users. The width depends on how many people will use it. Add space for hooks above, about 5 to 6 feet high.
Sketching The Plan
Draw a simple sketch of your bench design. Include the bench seat, storage, and coat rack hooks. Mark all measurements clearly on the sketch. This visual guide helps during cutting and assembly. Adjust the design if the sketch shows any problems. A clear plan makes building easier and faster.
Cutting The Wood
Cutting the wood is the first big step in building your entryway bench coat rack. This step shapes all the pieces you will need. Good cuts mean the bench fits well and looks nice. Taking time to measure and cut carefully saves headaches later. Safety is very important while using saws and tools. Follow these simple tips to make clean, safe cuts.
Measuring And Marking
Start by measuring each piece of wood carefully. Use a tape measure and write down the exact lengths. Double-check the numbers before cutting anything. Mark the cut lines clearly with a pencil. Draw straight lines with a ruler or square. Clear markings help guide your saw and keep cuts straight. Measure twice to avoid mistakes.
Safe Cutting Techniques
Wear safety glasses and hearing protection before cutting. Keep your work area clean and well-lit. Use clamps to hold the wood steady on your workbench. Cut slowly and steadily to control the saw well. Always cut away from your body and hands. Use push sticks to keep hands safe from the blade. Stop and check your progress often. Safety first, every time you cut wood.
Credit: learn.kregtool.com
Assembling The Bench Frame
Assembling the bench frame is the first step to creating a sturdy entryway bench coat rack. This stage sets the foundation for the entire project. Take your time to ensure all parts fit well. A solid frame will support the bench and hold the weight of coats and bags. Follow the steps carefully to avoid mistakes.
Joining The Pieces
Start by laying out all wooden pieces on a flat surface. Match each piece according to the plan. Connect the legs to the bench seat frame first. Use clamps to hold the wood in place. Check that corners are square with a carpenter’s square. Fit the side panels next, aligning them properly. Make sure edges are flush for a clean look. Dry-fit all parts before gluing or screwing.
Securing With Screws And Glue
Apply wood glue to the joints for extra strength. Spread glue evenly on contact surfaces. Press pieces together firmly after applying glue. Insert screws into pre-drilled holes to prevent wood splitting. Use screws long enough to hold the parts securely. Tighten screws just enough to avoid damaging the wood. Wipe off excess glue with a damp cloth. Let the frame dry for at least one hour before moving on.
Adding The Seat And Shelves
Adding the seat and shelves to your entryway bench coat rack gives it both function and style. The seat provides a comfortable spot to sit while putting on shoes. Shelves add useful storage space for shoes, bags, or baskets. These parts make the bench practical and neat.
Follow clear steps to attach the seat and install shelves securely. Use basic tools and take your time. A strong bench will last for years and keep your entryway organized.
Attaching The Seat
Place the seat on top of the bench frame. Make sure it fits well and aligns with the edges. Use clamps to hold the seat in place. Drill pilot holes through the seat into the frame. This prevents wood from splitting.
Secure the seat with screws, spacing them evenly. Check that the seat is tight and does not wobble. Sand any rough edges for a smooth finish. The seat should feel sturdy and safe to sit on.
Installing Lower Storage Shelves
Measure the space under the seat for the shelves. Cut the shelf boards to fit perfectly. Position the shelves evenly, leaving room for shoes or baskets below. Use brackets or cleats to hold the shelves up.
Attach the supports securely to the side panels. Then set the shelves on top and fix them with screws. Ensure the shelves are level and strong. Sand the shelves to avoid splinters and improve appearance.
These shelves keep your entryway tidy and items easy to find. Your bench coat rack becomes a useful, organized space for daily needs.
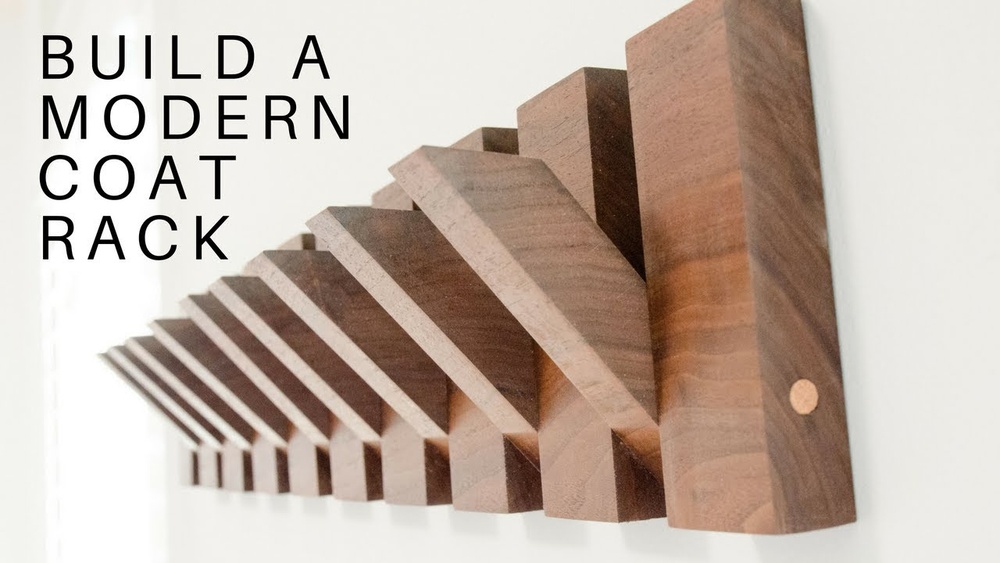
Building The Coat Rack
Building the coat rack is a simple and fun step. It gives your entryway a neat and useful look. The coat rack holds coats, hats, and bags in one place. Follow easy instructions to create a strong and stylish rack.
Creating The Back Panel
Start with a wooden board for the back panel. Choose a smooth, sturdy piece that fits your space. Sand the board to remove rough spots and splinters. Paint or stain the wood for a nice finish. Let it dry completely before moving on. The back panel supports the hooks and adds style.
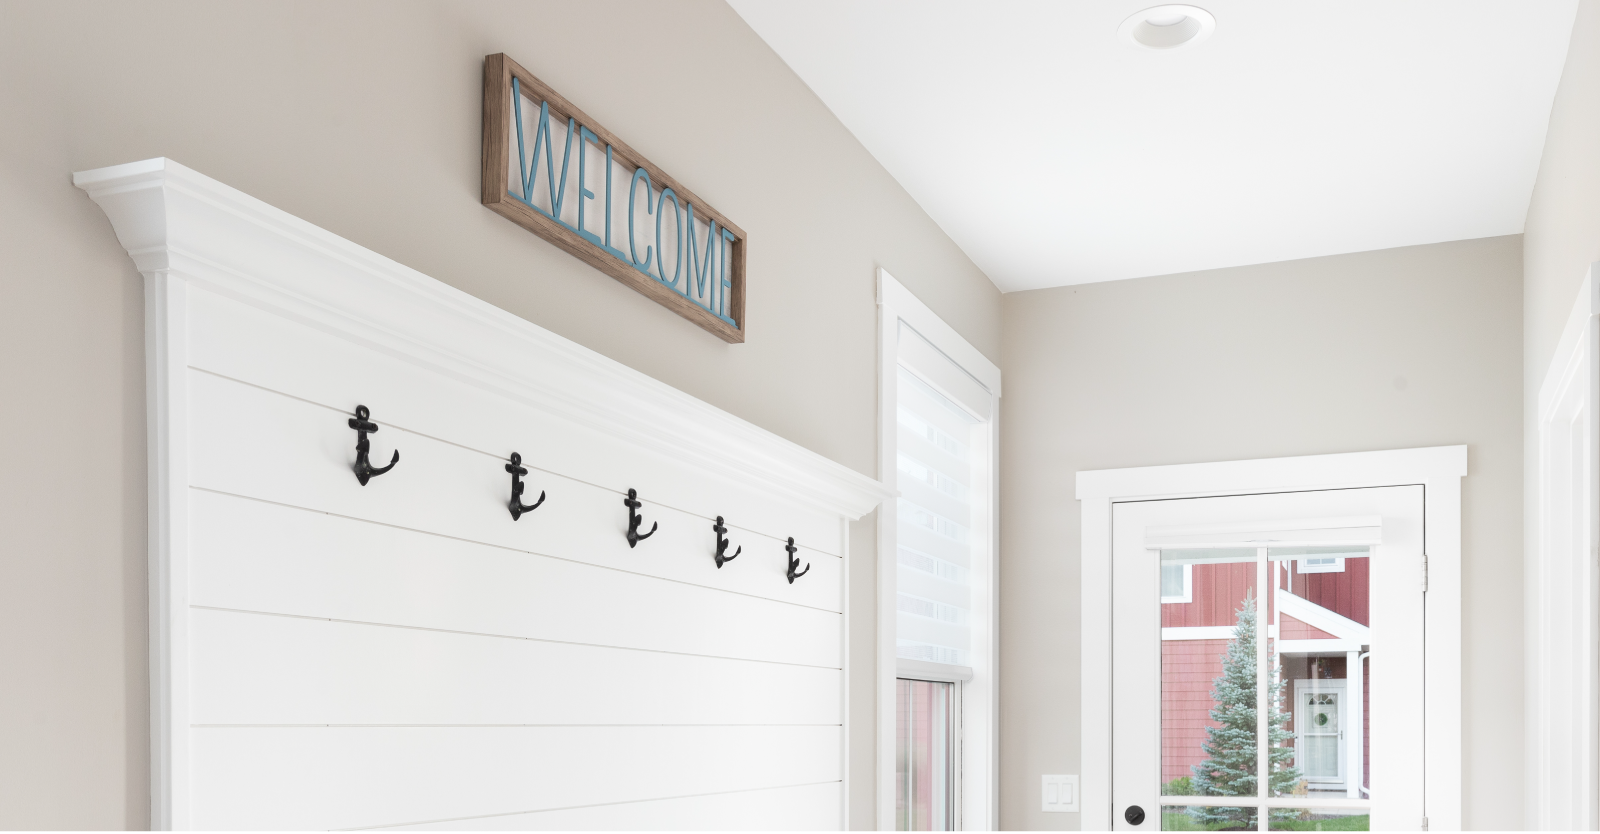
Installing Hooks Or Pegs
Select hooks or pegs based on your style and needs. Mark the spots evenly on the back panel. Drill small pilot holes to avoid splitting the wood. Attach hooks or pegs using screws or nails. Make sure they are tight and secure. Test them by hanging a light item to check strength.
Sanding And Finishing
Sanding and finishing are key steps in building an entryway bench coat rack. These steps help create a smooth surface and protect the wood. A well-finished bench looks better and lasts longer. Take your time and work carefully.
Smoothing Surfaces
Start by sanding the wood with medium-grit sandpaper. Sand along the grain to avoid scratches. Move to fine-grit sandpaper for a smooth finish. Check all edges and corners for rough spots. Wipe the surface with a damp cloth to remove dust before finishing.
Painting Or Staining Options
Choose paint or stain to match your style. Paint gives a bright, clean look. Stain shows the wood’s natural beauty. Apply thin, even coats using a brush or cloth. Let each coat dry before adding another. Test colors on a scrap piece to see the result.
Applying Protective Coating
Protective coating shields the wood from wear and moisture. Use clear polyurethane or varnish for strong protection. Apply with a clean brush in long, smooth strokes. Allow the first coat to dry fully. Lightly sand before adding a second coat for best results.
Final Assembly And Installation
The final assembly and installation are the last steps to complete your entryway bench coat rack. This part brings all pieces together for a sturdy, functional unit. Proper joining and securing ensure the bench is safe and stable. Follow these clear steps for a strong finish.
Joining Bench And Rack
Align the bench and the coat rack sections carefully. Use screws to connect the two parts firmly. Pre-drill holes to avoid wood splitting. Tighten screws evenly to keep the surfaces flush. Check the connection for any gaps. The bench and rack should feel like one solid piece.
Securing To The Wall
Find wall studs using a stud finder for the best support. Mark the points where you will drill. Use a level to keep the rack straight. Drill pilot holes in the wall and rack frame. Insert wall anchors if you miss a stud. Screw the rack securely into the wall. Test the stability by applying gentle pressure. A well-secured rack prevents tipping and damage.
Maintenance Tips
Maintaining your entryway bench coat rack keeps it looking fresh and working well. Regular care protects the wood and metal parts from damage. Small habits help your bench last longer and stay attractive. Here are some easy maintenance tips to follow.
Cleaning Suggestions
Dust the bench and coat rack often using a soft cloth. Wipe spills quickly to stop stains. Use mild soap and water for dirt, then dry with a clean towel. Avoid harsh cleaners that can harm the finish. For metal hooks, a damp cloth removes dust and grime.
Repair And Upkeep
Check screws and hooks regularly to ensure they are tight. Tighten any loose parts with a screwdriver. Sand down small scratches lightly and apply wood polish to restore shine. Replace broken hooks or worn-out cushions promptly. Regular checks prevent bigger repairs later.

Credit: www.instructables.com
Frequently Asked Questions
What Materials Are Needed To Build An Entryway Bench Coat Rack?
You need wood boards, screws, hooks, sandpaper, paint or stain, and a drill. Choose sturdy wood for durability. Hooks should be strong to hold coats. Sand and finish wood for a smooth surface and attractive look.
How Long Does It Take To Build An Entryway Bench Coat Rack?
It typically takes 3 to 5 hours depending on skill level. Preparing materials and finishing may add extra time. Beginners might need more time. Planning and organizing tools in advance speeds up the process.
Can I Customize The Size Of The Entryway Bench Coat Rack?
Yes, customize the size to fit your entryway space. Measure the available area before starting. Adjust bench height and width to suit your needs. Custom sizes improve functionality and complement your home’s style.
What Tools Are Essential For Building This Coat Rack Bench?
Essential tools include a drill, saw, measuring tape, screwdriver, and level. A sander or sandpaper ensures smooth surfaces. Clamps help hold pieces during assembly. Proper tools make construction easier and safer.
Conclusion
Building an entryway bench coat rack adds both style and function. It helps keep your space tidy and organized. You can customize it to fit your room and needs. Using simple tools and materials makes the project easy. Enjoy a neat entryway where coats and shoes have a place.
This project saves money and gives a sense of pride. Try it step by step, and watch your space transform. A small change with big results.