Are you ready to create something practical and beautiful for your home? Building a wood bookshelf is a project you can tackle, even if you’re new to woodworking.
Imagine having a custom shelf that fits perfectly in your space and holds all your favorite books and treasures. This guide will show you simple, clear steps to make your own sturdy bookshelf. By the end, you’ll not only have a useful piece of furniture but also the pride of building it yourself.
Let’s get started and turn your ideas into reality!
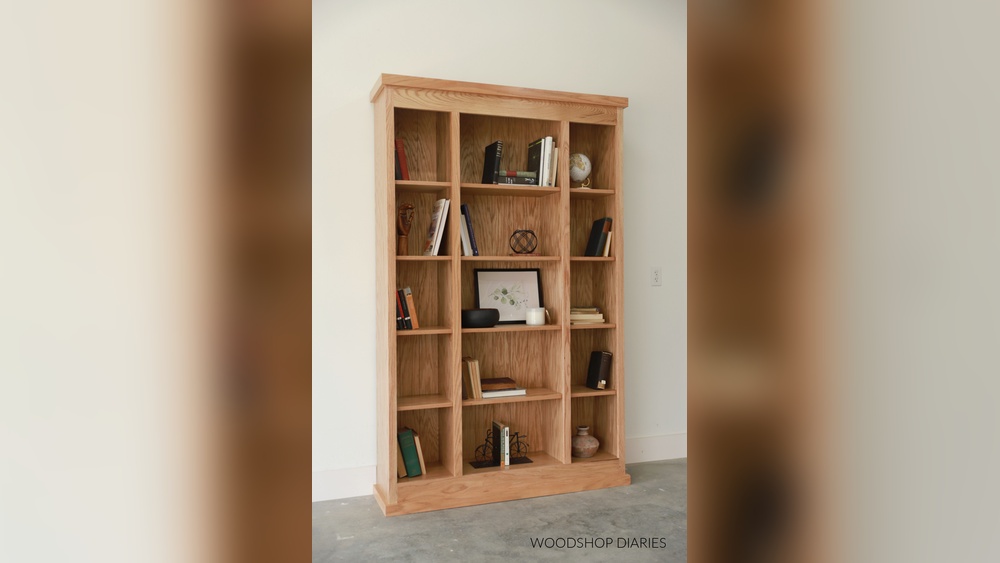
Credit: homemadebycarmona.com
Choosing The Right Wood
Choosing the right wood is key to building a strong and beautiful bookshelf. The wood affects how the shelf looks, lasts, and holds weight. Picking the best wood means balancing style, strength, and cost.
Wood types vary in color, grain, and hardness. Quality and durability affect how long the shelf will stay sturdy. Budget plays a role in deciding which wood fits your needs.
Types Of Wood For Bookshelves
Hardwoods like oak, maple, and cherry are popular. They are strong and have nice grains. Softwoods such as pine and cedar are easier to work with. They cost less but may dent easily. Choose wood that matches your room’s style and shelf use.
Wood Quality And Durability
Look for wood with few knots and cracks. Solid wood lasts longer than plywood or MDF. Hardwood resists scratches and holds heavy books well. Softwood can work but may need extra support. Check the wood’s moisture to avoid warping.
Budget Considerations
Hardwoods cost more but offer great durability. Softwoods are cheaper and good for light use. Plywood and MDF are budget-friendly but less strong. Decide how much you want to spend before buying wood. A good balance saves money and ensures shelf quality.
Gathering Tools And Materials
Building a wood bookshelf starts with gathering the right tools and materials. This step sets the foundation for a smooth project. Having everything ready saves time and frustration. It also helps keep the work safe and efficient. Below is a clear list of what you need.
Essential Tools List
- Measuring tape for accurate dimensions
- Carpenter’s square to check corners
- Hand saw or circular saw for cutting wood
- Drill with drill bits for making holes
- Screwdriver for fastening screws
- Clamps to hold wood pieces steady
- Sanding block or electric sander for smooth surfaces
- Hammer for nails and adjustments
Materials Checklist
- Wood boards (plywood or pine are good choices)
- Wood screws or nails for assembly
- Wood glue to strengthen joints
- Wood filler to cover holes or gaps
- Paint or wood stain for finishing
- Sandpaper for final smoothing
- Primer if you plan to paint
Safety Gear
- Safety glasses to protect your eyes
- Work gloves to guard your hands
- Ear protection if using loud power tools
- Dust mask to avoid inhaling sawdust
- Closed-toe shoes to protect your feet
Planning Your Bookshelf Design
Planning your bookshelf design is the first step to a successful project. This phase helps you create a clear vision. It saves time and materials later. Careful planning ensures the shelf fits your space and needs. Think about the style, size, and function before building.
Determining Size And Dimensions
Measure the space where the bookshelf will stand. Consider height, width, and depth. Make sure the bookshelf fits without blocking doors or windows. Also, think about the room’s style and how the shelf will look there. Write down your measurements to avoid mistakes.
Sketching The Layout
Draw a simple sketch of your bookshelf. Include the overall shape and each shelf level. Sketching helps you see the design clearly. It shows where shelves and supports go. Use a pencil to change ideas easily. A clear layout guides you during the building process.
Selecting Shelf Spacing
Decide how far apart the shelves should be. Consider the size of the books or items you will store. Tall books need more space between shelves. Smaller items need less space. Balanced spacing makes the bookshelf useful and neat. Write down your shelf spacing measurements in your plan.
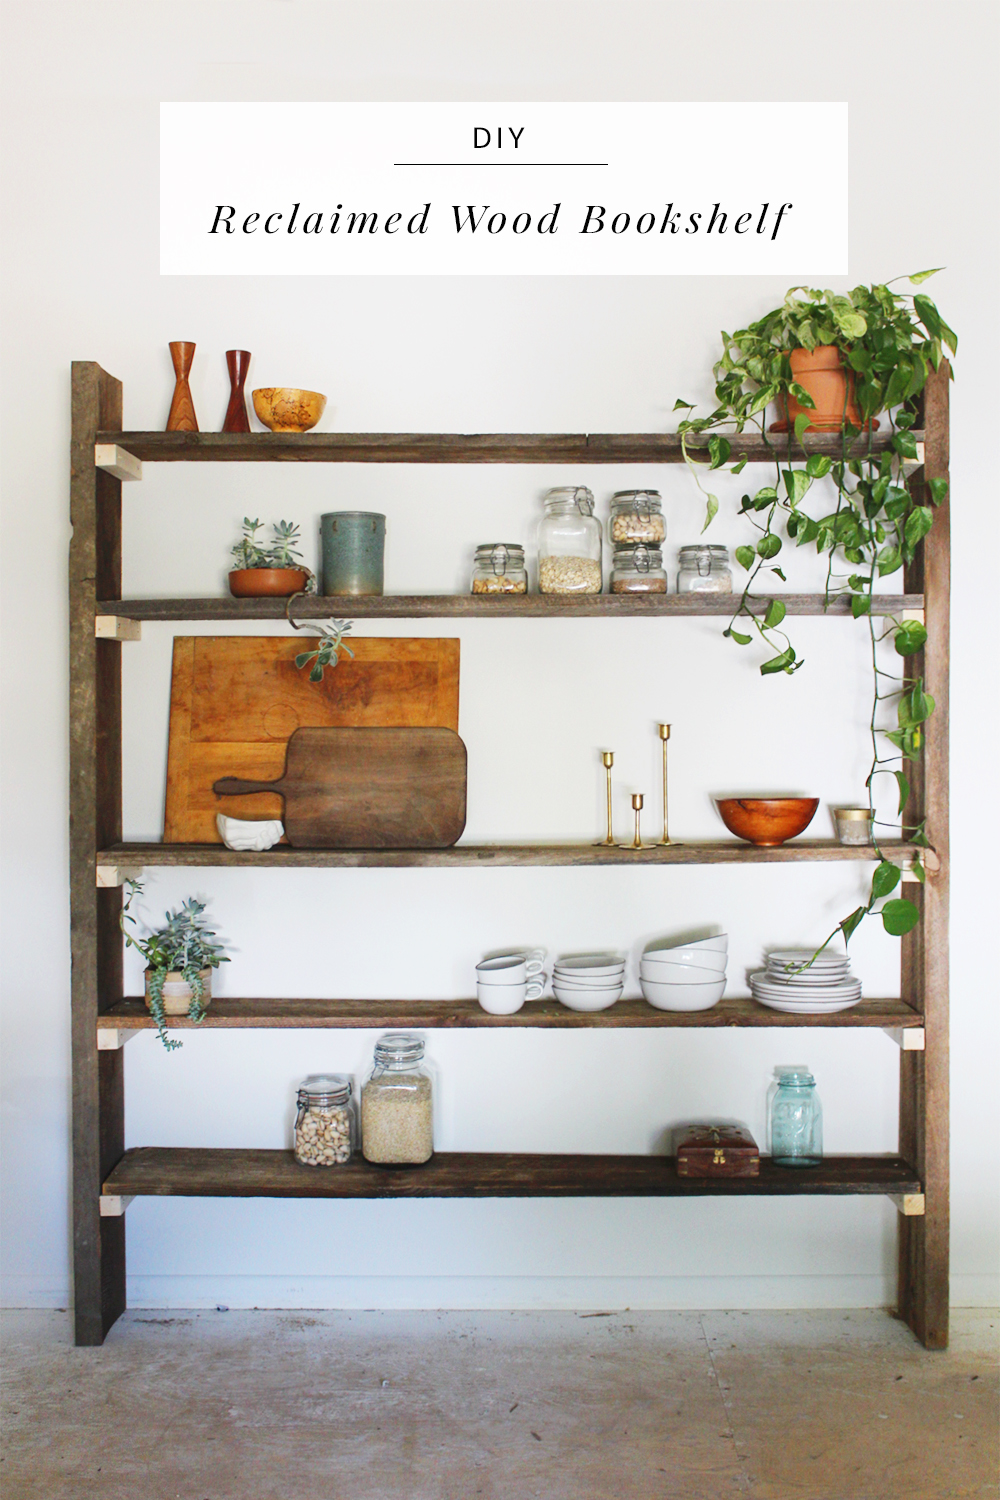
Credit: jenwoodhouse.com
Cutting Wood Pieces
Cutting wood pieces is the first important step in building a wood bookshelf. Accurate cuts ensure the parts fit well together. This step sets the foundation for a strong and neat bookshelf. Taking time to measure and cut carefully saves trouble later. Safety is also key when using saws.
Measuring Accurately
Measure the wood pieces twice before cutting. Use a tape measure and mark clearly with a pencil. Check each measurement against your bookshelf plan. Straight, clean lines help guide your saw. Accurate measuring prevents mistakes and wasted wood. Always measure from the same edge for all pieces.
Using Saws Safely
Choose the right saw for your cuts. A handsaw or circular saw works well for bookshelf parts. Wear safety goggles to protect your eyes. Keep your hands away from the blade. Cut slowly and follow the pencil lines. Secure the wood piece with clamps to stop it from moving. Stay focused to avoid accidents.
Preparing Edges For Assembly
After cutting, smooth rough edges with sandpaper. Sand the sides evenly for a clean fit. Check that all pieces match your measurements. Remove any splinters or chips carefully. Clean edges help the wood glue and screws hold better. Proper preparation makes assembly easier and the bookshelf stronger.
Assembling The Frame
Assembling the frame is a crucial step in building a wood bookshelf. It forms the basic structure that holds everything together. A strong frame ensures the bookshelf is stable and lasts a long time.
Start by preparing all the wood pieces and tools. Follow the plan closely to avoid mistakes. Take your time to join the parts carefully for a neat finish.
Joining Techniques
Use simple joining methods for a solid frame. Butt joints are common and easy to make. Align the edges of the wood pieces and hold them firmly together.
Dowel joints add extra strength. Drill small holes and insert wooden dowels to connect the parts. These joints improve durability and keep the frame tight.
Securing With Screws And Glue
Apply wood glue on the joining surfaces for a strong bond. Spread it evenly to cover all contact areas. Press the pieces together and wipe off extra glue.
Use screws to lock the joints in place. Pre-drill holes to prevent wood from splitting. Screws add stability and hold the frame firmly during use.
Checking For Squareness
Check if the frame is square before the glue dries. Measure diagonals from corner to corner. Both measurements should be equal.
Adjust the frame by gently tapping or repositioning. A square frame is important for shelves to fit correctly. Take your time to get this step right.

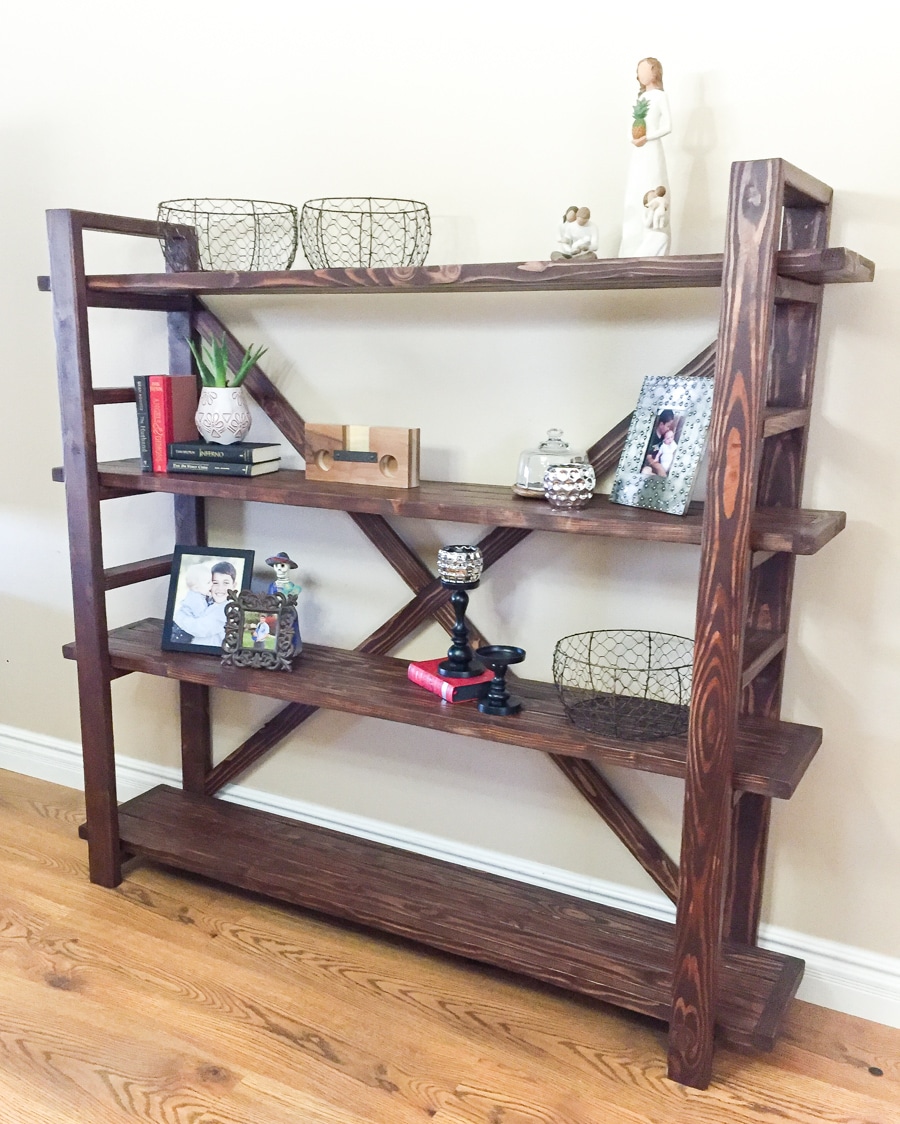
Credit: thediyplaybook.com
Attaching Shelves
Attaching shelves is a key step in building a wood bookshelf. Shelves hold your books and items. They need to be strong and well placed. This part guides you through placing shelves correctly and making them sturdy.
Positioning Shelves Evenly
Start by measuring the inside height of the bookshelf frame. Divide this space by the number of shelves plus one. Mark each spot clearly on both sides. Use a level to draw straight lines. These marks help keep shelves even and balanced.
Check distances twice before drilling holes. Even spacing makes the bookshelf look neat. It also helps balance the weight of books.
Supporting Shelf Weight
Choose strong shelf supports like metal brackets or wooden cleats. Attach supports firmly to the frame at your marks. Use screws that fit the wood type. The shelf must sit flat on the supports.
For heavy books, add extra supports in the middle of longer shelves. This stops shelves from bending or breaking. Support strength protects your books and keeps the shelf safe.
Reinforcing Joints
Apply wood glue to edges where shelves meet the frame. Press shelves tightly against the frame. Screw shelves in place for extra hold. Use screws that are long enough to reach the frame securely.
To avoid cracks, drill pilot holes first. Tight joints make your bookshelf sturdy. Strong joints keep shelves in place for years.
Sanding And Finishing
Sanding and finishing are key steps in building a wood bookshelf. They give the wood a smooth feel and protect it from damage. Proper sanding removes rough spots and prepares the surface for staining or painting. Finishing brings out the wood’s natural beauty and adds durability.
Sanding Techniques For Smoothness
Start with coarse sandpaper to remove big bumps. Use 80-grit to shape the wood. Move to medium grit like 120 to smooth the surface. Finish with fine grit, such as 220, for a soft touch. Sand along the grain, not against it. Use a sanding block for flat parts. For corners, sand carefully by hand. Remove dust with a cloth before finishing.
Choosing Finishes And Stains
Pick a finish that suits the wood type and room style. Stains add color but still show the grain. Choose light stains for a natural look. Dark stains create a rich, classic feel. Finishes like varnish or lacquer protect from water and scratches. Some finishes dry fast, others take longer. Test on a scrap piece first to see the color.
Applying Protective Coatings
Apply coatings with a clean brush or cloth. Use thin, even layers to avoid drips. Let each coat dry fully before the next. Sand lightly between coats with fine sandpaper. This helps the next layer stick better. For extra strength, add two or three coats. Final coats give shine and hard protection. Clean tools right after use to keep them ready.
Final Touches
The final touches on your wood bookshelf give it a polished, complete look. These small steps protect your work and improve its style. They also make sure the shelf is safe to use and lasts a long time.
Adding Back Panels
Back panels add strength and stability to the bookshelf. Use thin plywood or hardboard cut to size. Attach it with small nails or screws along the edges. This panel keeps books from falling behind the shelf. It also helps the bookshelf stay square and firm.
Installing Decorative Trim
Decorative trim adds a nice, finished look to your bookshelf. Choose trim that matches your wood type or paint color. Cut pieces to fit the edges or corners. Nail or glue the trim carefully. This step hides rough edges and gives your shelf a clean, stylish appearance.
Mounting The Bookshelf Securely
Secure mounting keeps your bookshelf from tipping over. Use wall anchors or brackets for heavy shelves. Find studs in the wall with a stud finder. Attach brackets to the wall and the bookshelf firmly. This step protects your books and keeps the shelf steady and safe.
Frequently Asked Questions
What Tools Do I Need To Build A Wood Bookshelf?
You need a saw, drill, screwdriver, measuring tape, clamps, and sandpaper. These tools help cut, assemble, and finish the bookshelf efficiently and safely.
What Type Of Wood Is Best For Bookshelves?
Pine, oak, and plywood are popular choices. Pine is affordable, oak is durable, and plywood offers a smooth finish and strength.
How Long Does It Take To Build A Wood Bookshelf?
Building a basic bookshelf typically takes 4 to 6 hours. Complex designs may take longer depending on skill level and materials.
How Do I Ensure My Bookshelf Is Sturdy?
Use strong joints like screws or dowels, and add brackets for support. Also, choose quality wood and properly balance the shelves.
Conclusion
Building a wood bookshelf can be simple and fun. Follow each step with care and take your time. Choose the right wood and tools for the best results. Remember to measure twice and cut once. Your new bookshelf will hold books and add charm to any room.
Enjoy the feeling of making something with your own hands. Keep practicing, and each project will get easier. Woodworking brings satisfaction and useful skills. Start your project today and see what you create!