Looking to add style and function to your entryway or living room? Building an easy console table might be just what you need.
Imagine having a beautiful piece of furniture made by your own hands, perfectly sized for your space and designed to hold your keys, photos, or favorite decor. You don’t need to be a woodworking expert or have expensive tools to create this.
In this guide, you’ll discover simple steps that anyone can follow to build a sturdy, stylish console table. Ready to transform your space and impress your guests? Let’s get started!
Choosing The Right Materials
Choosing the right materials is important for building an easy console table. The materials affect the table’s strength, look, and how simple it is to work with. Picking good wood and having the right tools help the project go smoothly. This section covers the best wood types and the tools needed.
Selecting Wood Types
Choose wood that fits your style and budget. Pine is soft, easy to cut, and cheap. It works well for beginners. Oak is strong and looks classic but costs more. Birch offers a smooth finish and is good for painting. Avoid wood with many knots or cracks. These can weaken the table. Sand the wood before use for a clean surface.
Gathering Tools And Supplies
Prepare tools before starting. You need a saw to cut wood pieces accurately. A drill helps make holes for screws. Sandpaper smooths rough edges and surfaces. Use wood glue to join parts firmly. Clamps hold pieces in place while drying. Have screws, measuring tape, and a pencil ready. Proper tools make building faster and safer.

Credit: saffronavenue.com
Measuring And Planning
Measuring and planning are the first steps to build a console table. These steps help avoid mistakes and save materials. Taking time to measure and plan ensures the table fits your space perfectly. It also makes the building process smooth and quick.
Determining Table Dimensions
Start by deciding the height, width, and depth of your console table. Measure the space where the table will go. Leave some room around it for walking and other furniture. Typical console tables stand about 30 to 36 inches tall. The width can vary from 30 to 50 inches depending on your needs. The depth usually ranges from 12 to 18 inches. Write down these measurements to use in your design.
Sketching The Design
Draw a simple sketch of your console table on paper. Include all sides and the top view. Mark the exact measurements on the sketch. Show where the legs and supports will go. This step helps you visualize the final product. It also makes cutting and assembling easier. Keep the design simple for easy building and a clean look.
Cutting The Wood
Cutting the wood is the first step in building your console table. Accurate cuts make the assembly easier and the table stronger. Take your time to measure and mark before cutting. Safety is very important when using saws. Follow simple rules to avoid injuries. This section guides you through marking your wood and using saws safely.
Marking Cut Lines
Start by measuring the wood pieces carefully. Use a pencil and a ruler to draw straight lines. Mark each piece clearly to avoid confusion. Double-check all measurements before cutting. Clear lines help you cut exactly where needed. Use a square tool to keep lines straight and square.
Using Saws Safely
Always wear safety goggles and gloves before cutting. Keep your fingers away from the blade. Hold the wood firmly on a stable surface. Use slow, steady movements with the saw. Do not rush the cutting process. Turn off the saw completely before moving the wood. Store saws safely after use to prevent accidents.
Credit: www.youtube.com
Assembling The Frame
Assembling the frame is a key step in building your console table. It creates the base that holds everything together. A strong frame means a steady table that lasts long. Take your time and follow the steps carefully. Use the right tools and materials for the best results.
Joining Legs And Supports
Start by placing the legs upright on a flat surface. Align the supports between the legs. Make sure the supports fit snugly and evenly. Check the corners to keep them square. Use clamps to hold the pieces in place. This keeps the frame steady as you work.
Securing With Screws And Glue
Apply wood glue to the contact areas for extra strength. Spread the glue evenly with a small brush or stick. Press the pieces together firmly. Next, drill pilot holes to avoid splitting the wood. Insert screws into the holes and tighten them. Wipe off any extra glue before it dries. Let the frame dry fully before moving on.
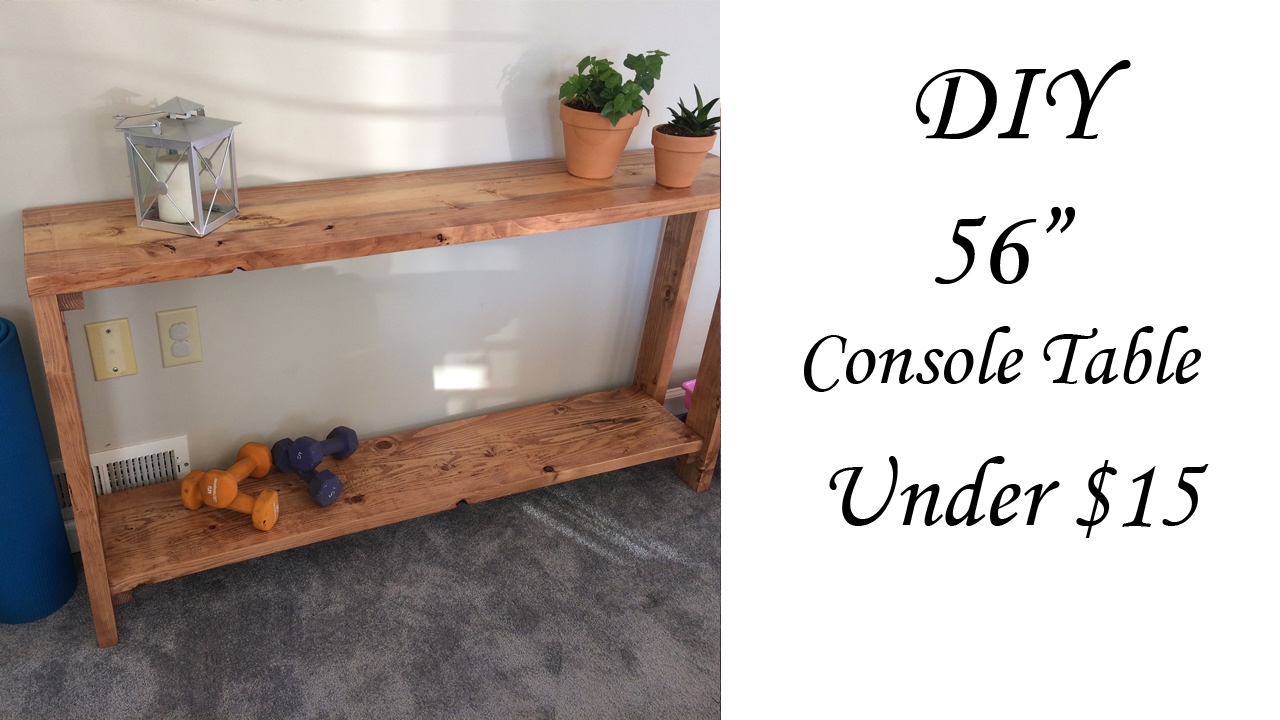
Adding The Tabletop
Adding the tabletop is a key step in building a console table. It gives the table its final look and function. The tabletop must be attached well and stable. This ensures the table is safe to use and lasts long.
Attaching The Surface
Place the tabletop on the frame carefully. Align it so all edges match the frame. Use screws to fix the tabletop to the frame. Drill pilot holes first to avoid splitting the wood. Screw the tabletop down tightly but do not over-tighten. Check the surface is flat and even.
Ensuring Stability
Check the tabletop does not wobble or move. Add corner braces under the table for extra support. Use wood glue along the joints to strengthen the bond. Let the glue dry fully before use. Press down on the tabletop to test its strength. Fix any loose screws or weak spots immediately.
Sanding And Finishing
Sanding and finishing are key steps in building a console table. They make the wood smooth and ready for use. These steps also protect the wood and improve its look. Taking time to do this right will give your table a clean, polished finish. Follow the steps below for the best results.
Smoothing Rough Edges
Start by sanding all the wood parts. Use medium-grit sandpaper to remove rough spots. Sand along the grain to avoid scratches. Check edges and corners carefully. Use fine-grit sandpaper to finish for a smooth touch. Wipe off dust with a clean cloth before moving on.
Applying Paint Or Stain
Choose paint or stain to match your style. Use a brush or cloth to apply evenly. Apply thin coats and let each dry well. Lightly sand between coats for a smooth surface. Finish with a clear sealant to protect the wood. This step keeps your console table looking new for years.
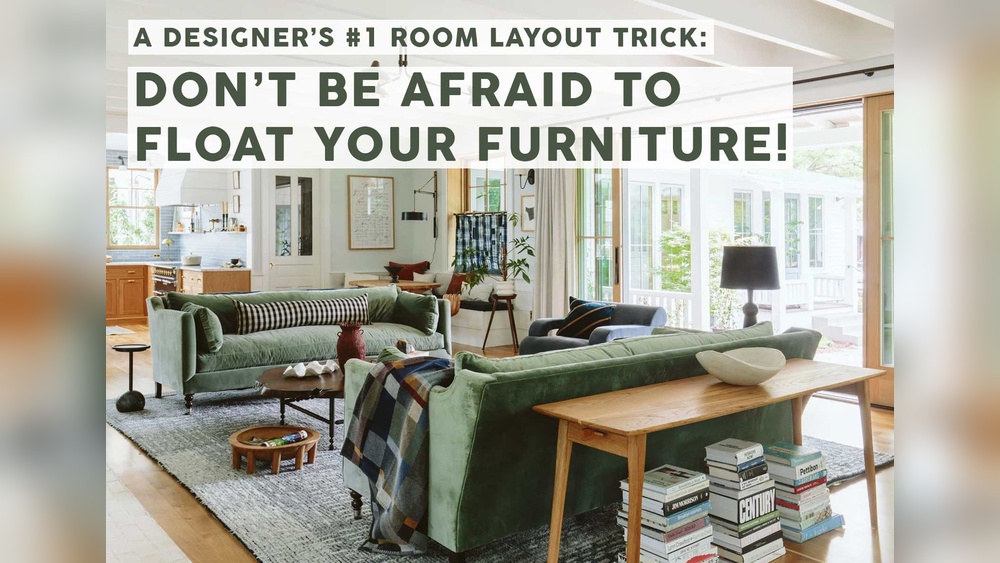
Styling Your Console Table
Styling your console table is a fun way to show your personality. It also makes the space feel warm and inviting. Simple touches can turn a plain table into a beautiful focal point.
Think about the colors and shapes you like. Balance small and large items for a neat look. Keep some space free to avoid clutter and let each piece shine.
Decorating Ideas
Start with a small lamp for soft light. Add a stack of books for interest and height. Use a vase with fresh flowers or green plants to bring life. A tray can hold keys or small items neatly. Personal items like photos or art add charm.
Placement Tips
Place the table near an entryway or hallway for function and style. Make sure it does not block walking paths. Use the wall above for mirrors or artwork. This draws the eye and adds depth. Keep items at different heights to create balance and flow.
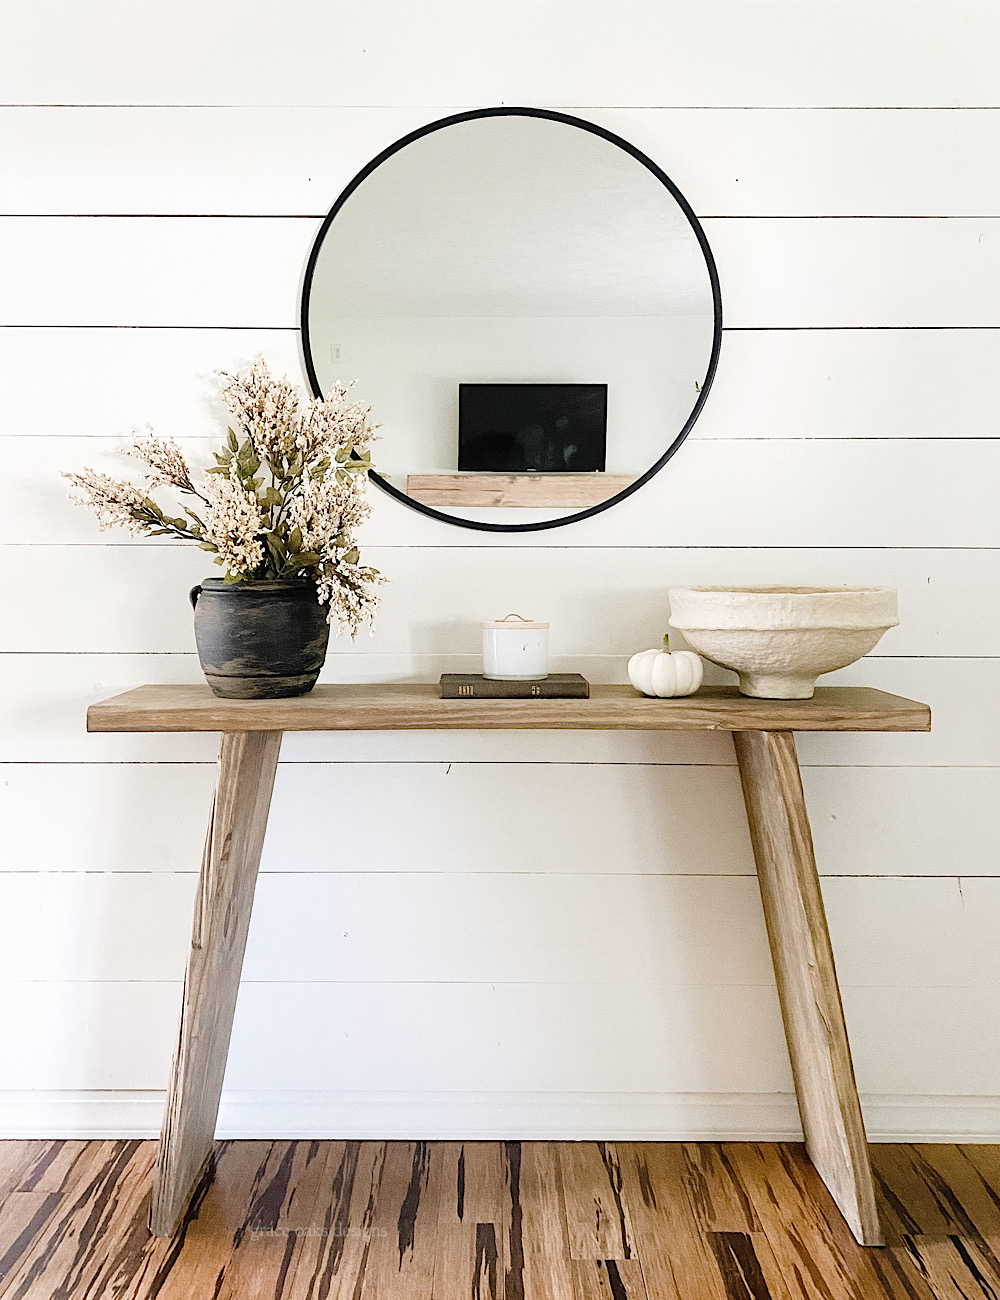
Credit: graceoaksdesigns.com
Frequently Asked Questions
What Materials Are Needed For A Simple Console Table?
You need wood planks, screws, wood glue, sandpaper, paint or stain, and basic tools like a drill and saw. These materials are affordable and easy to find at hardware stores. Choosing quality wood ensures durability and a smooth finish.
How Long Does It Take To Build A Console Table?
Building a basic console table usually takes 2 to 4 hours. Time depends on your experience and the complexity of the design. Preparation and drying times for paint or stain can add extra hours.
What Tools Are Essential For Console Table Assembly?
Essential tools include a saw, drill, screwdriver, measuring tape, and clamps. These help cut, join, and secure the wood pieces accurately. Using the right tools makes the process faster and safer.
Can Beginners Build A Console Table Easily?
Yes, beginners can build an easy console table with simple instructions. Choosing a basic design and following step-by-step guides makes the process manageable. It’s a great project to learn woodworking basics.
Conclusion
Building an easy console table is a fun and useful project. You only need basic tools and simple steps. The process saves money and lets you customize your table. Enjoy crafting something practical for your home. Try adding your own style or color.
This project helps improve your skills bit by bit. Start today and see how rewarding it feels. A handmade console table brings charm and function to any room.