Have you ever wanted to add a unique touch to your room while keeping your favorite books close at hand? Building a floating bookshelf is an easy and stylish way to do just that.
Imagine a sleek shelf that seems to hover on your wall, giving your space a modern, clean look. You don’t need to be a woodworking expert or spend a fortune. In this guide, you’ll discover simple steps to create your very own floating bookshelf that fits perfectly in your home.
Ready to transform your walls and show off your books like never before? Let’s get started!
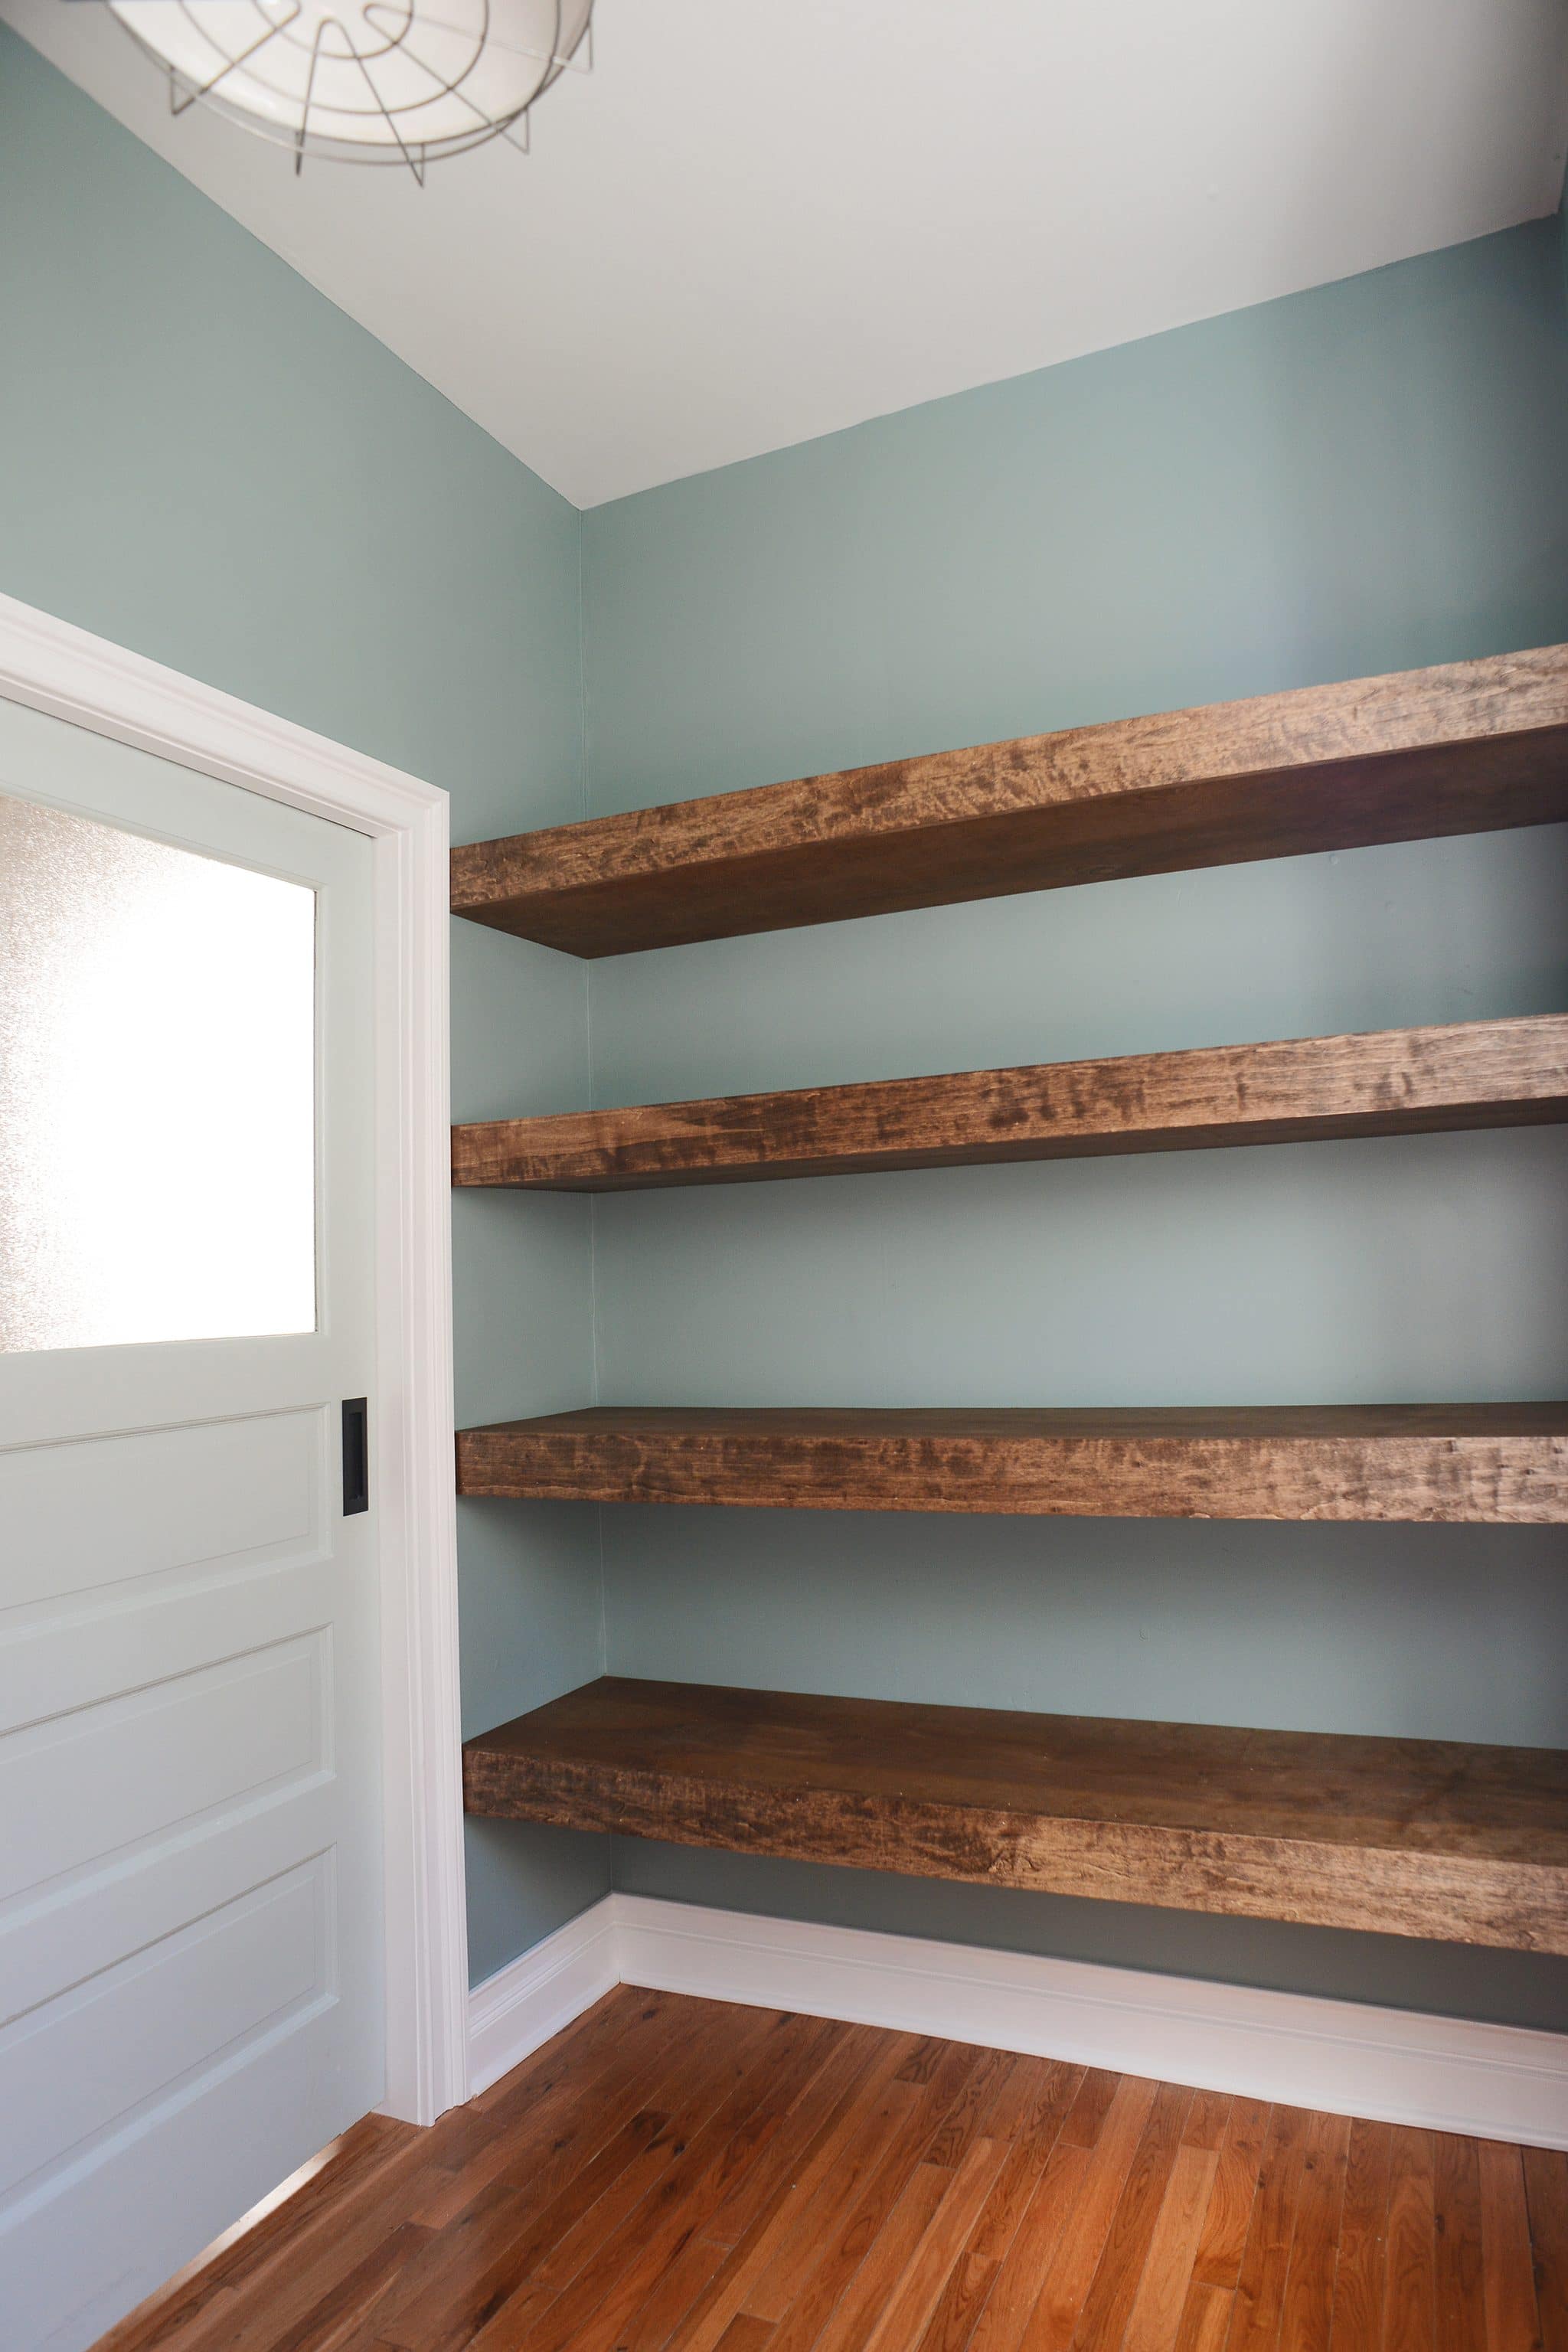
Credit: yellowbrickhome.com
Materials And Tools Needed
Building a floating bookshelf starts with gathering the right materials and tools. These are the foundation of your project. Choosing the right items makes the process smoother and your shelf sturdy.
Knowing what to prepare helps you avoid delays and extra trips to the store. A clear list keeps the work organized. Below, find details on wood selection, essential tools, and some decorative supplies.
Choosing The Right Wood
Pick wood that is strong and easy to work with. Pine and oak are popular choices. Pine is soft and affordable. Oak is harder and lasts longer.
Consider the size and weight of books you plan to store. Thicker wood supports more weight. Smooth wood finishes better and looks nice on walls.
Essential Tools List
You need a drill for making holes. A level ensures the shelf stays straight. A stud finder helps find wall supports.
Other tools include a screwdriver, measuring tape, and pencil. Sandpaper smooths rough edges. A saw cuts the wood to size.
Optional Decorative Supplies
Paint or wood stain adds color and protects the wood. Brushes and rags help apply these finishes evenly.
Wood filler fixes any holes or cracks. Clear sealant gives a shiny and lasting finish. These extras make the shelf look professional.
Planning Your Shelf Design
Planning your floating bookshelf design is the first step to a successful project. Careful planning helps you avoid mistakes and ensures the shelf fits perfectly. This phase involves understanding your space and deciding on the right size and style. Taking time here saves effort later.
Measuring Your Space
Start by measuring the wall area where the shelf will go. Use a tape measure and note the width, height, and depth available. Check for any obstacles like light switches or vents. Accurate measurements help you pick the right shelf size.
Selecting Shelf Dimensions
Choose shelf length and depth based on your needs and space. The shelf should hold your books without crowding the wall. Standard depth ranges from 6 to 12 inches. Keep shelf length balanced with the wall size to look neat.
Deciding On Shelf Style
Pick a style that matches your room’s decor. Simple rectangular shelves suit modern rooms. Floating shelves with hidden brackets offer a clean look. Wood types and finishes add personality to the shelf. Choose a style that fits your taste and space.
Preparing The Wood
Preparing the wood is a key step in building a floating bookshelf. It makes sure the shelf looks good and lasts long. You start by cutting the wood to the right size. Then, sanding it smooth helps remove rough spots. Finally, applying a finish or paint protects the wood and adds style.
Each step shapes the wood into a perfect base for your shelf. Careful preparation helps the shelf fit well on your wall. It also keeps the wood safe from damage over time. Let’s explore these steps in detail.
Cutting To Size
Measure the wood carefully before cutting. Use a saw to cut the wood to your chosen length and width. Make straight cuts for a neat look. Wear safety goggles to protect your eyes. Double-check measurements to avoid mistakes.
Sanding For Smoothness
Start sanding with coarse sandpaper to remove rough areas. Then use finer sandpaper for a smooth finish. Sand all surfaces, including edges and corners. Smooth wood prevents splinters and looks better. Clean off dust with a cloth after sanding.
Applying Finish Or Paint
Choose a finish or paint that suits your style. Apply a thin, even coat with a brush or cloth. Let the first coat dry completely before adding more. Multiple coats improve durability and appearance. Finish protects the wood from moisture and wear.

Credit: www.freeandunfettered.com
Installing The Brackets
Installing the brackets is a crucial step in building a floating bookshelf. The brackets hold the shelf firmly against the wall. Proper installation ensures the shelf stays secure and supports the weight of your books. Take your time to do this step carefully for the best results.
Locating Wall Studs
Use a stud finder to locate the wall studs. Studs are vertical wooden beams behind your wall. They provide strong support for the brackets. Mark the spots where the studs are located. Avoid drilling into drywall alone, as it won’t hold the weight.
Marking Mounting Points
Hold the bracket against the wall at the desired height. Use a pencil to mark the screw holes on the wall. Double-check the marks to ensure they line up with the studs. Measure twice to avoid mistakes. Proper marking makes securing the brackets easier and safer.
Securing Brackets Safely
Drill pilot holes at the marked points. Pilot holes prevent the wall from cracking. Use screws long enough to reach deep into the studs. Tighten screws firmly but avoid overtightening. This will keep the brackets stable and ready to hold the shelf.
Mounting The Shelf
Mounting the shelf is a key step in building a floating bookshelf. It requires careful attention to detail to ensure the shelf looks great and holds weight safely. The process involves aligning the shelf, attaching it securely to the brackets, and making sure it stays stable over time.
Aligning The Shelf
Start by placing the shelf near the wall. Use a level tool to check if the shelf is straight. Mark spots on the wall where the brackets will go. Double-check these marks before drilling holes. Proper alignment prevents the shelf from tilting later.
Attaching To Brackets
Attach the brackets to the wall using screws and anchors. Make sure the screws fit tightly and the brackets do not move. Slide the shelf onto the brackets carefully. Use screws or bolts to fix the shelf onto the brackets firmly. This step keeps the shelf from slipping off.
Ensuring Stability
Test the shelf by gently pressing down on it. Check for any shaking or movement. Tighten screws if the shelf feels loose. Add extra support brackets for heavier shelves. Stability is important to keep books safe and prevent accidents.

Credit: www.uglyducklinghouse.com
Styling Your Floating Bookshelf
Styling your floating bookshelf transforms it from a simple storage space into a striking display. It lets your personality shine through your book collection and decor choices. Thoughtful styling enhances the room’s atmosphere and keeps your shelves organized.
Arranging Books Creatively
Stack some books vertically and others horizontally. Mix up colors and sizes to create visual interest. Place a few books with the covers facing out. This draws attention and breaks the monotony. Use bookends or small objects to keep books upright.
Adding Decorative Items
Include small plants or succulents to add life and color. Place framed photos or artwork for a personal touch. Use candles or figurines for extra texture and shape. Keep decorations balanced and avoid overcrowding the shelf. This keeps the look fresh and inviting.
Maintaining A Clean Look
Remove dust regularly to keep the shelf neat. Avoid overloading the shelf with too many items. Leave some empty space to give your eyes a rest. Organize books and objects by theme or color. This makes the shelf look tidy and stylish.
Frequently Asked Questions
What Materials Are Needed To Build A Floating Bookshelf?
You need wood boards, brackets, screws, anchors, a drill, level, measuring tape, and sandpaper. Choose sturdy wood for durability.
How Do You Install A Floating Bookshelf On Drywall?
Locate studs using a stud finder. Attach brackets to studs for strong support. Use anchors if studs aren’t available.
What Weight Can A Floating Bookshelf Hold?
Weight depends on wood thickness and bracket strength. Typically, a well-installed shelf holds 20-50 pounds safely.
How Do You Make A Floating Bookshelf Look Seamless?
Use hidden brackets and paint the shelf to match the wall. Sand edges smoothly for a clean finish.
Conclusion
Building a floating bookshelf adds style and space to your room. The steps are simple and clear to follow. Use the right tools and materials for safety and strength. Take your time to measure and install carefully. Enjoy your new shelf for books, plants, or decor.
It makes your space neat and modern. Try this project to improve your home easily. Small changes can bring big satisfaction. You now have the knowledge to create a floating bookshelf yourself.