Are you looking to give your old bookshelf a fresh, creative makeover? Decoupaging a bookshelf is an easy and fun way to add personality and style to your space without spending a fortune.
Imagine transforming plain wood into a vibrant, eye-catching piece that reflects your taste perfectly. In this guide, you’ll discover simple steps and helpful tips to decoupage your bookshelf like a pro. Keep reading, and you’ll be ready to turn your bookshelf into a stunning work of art in no time!
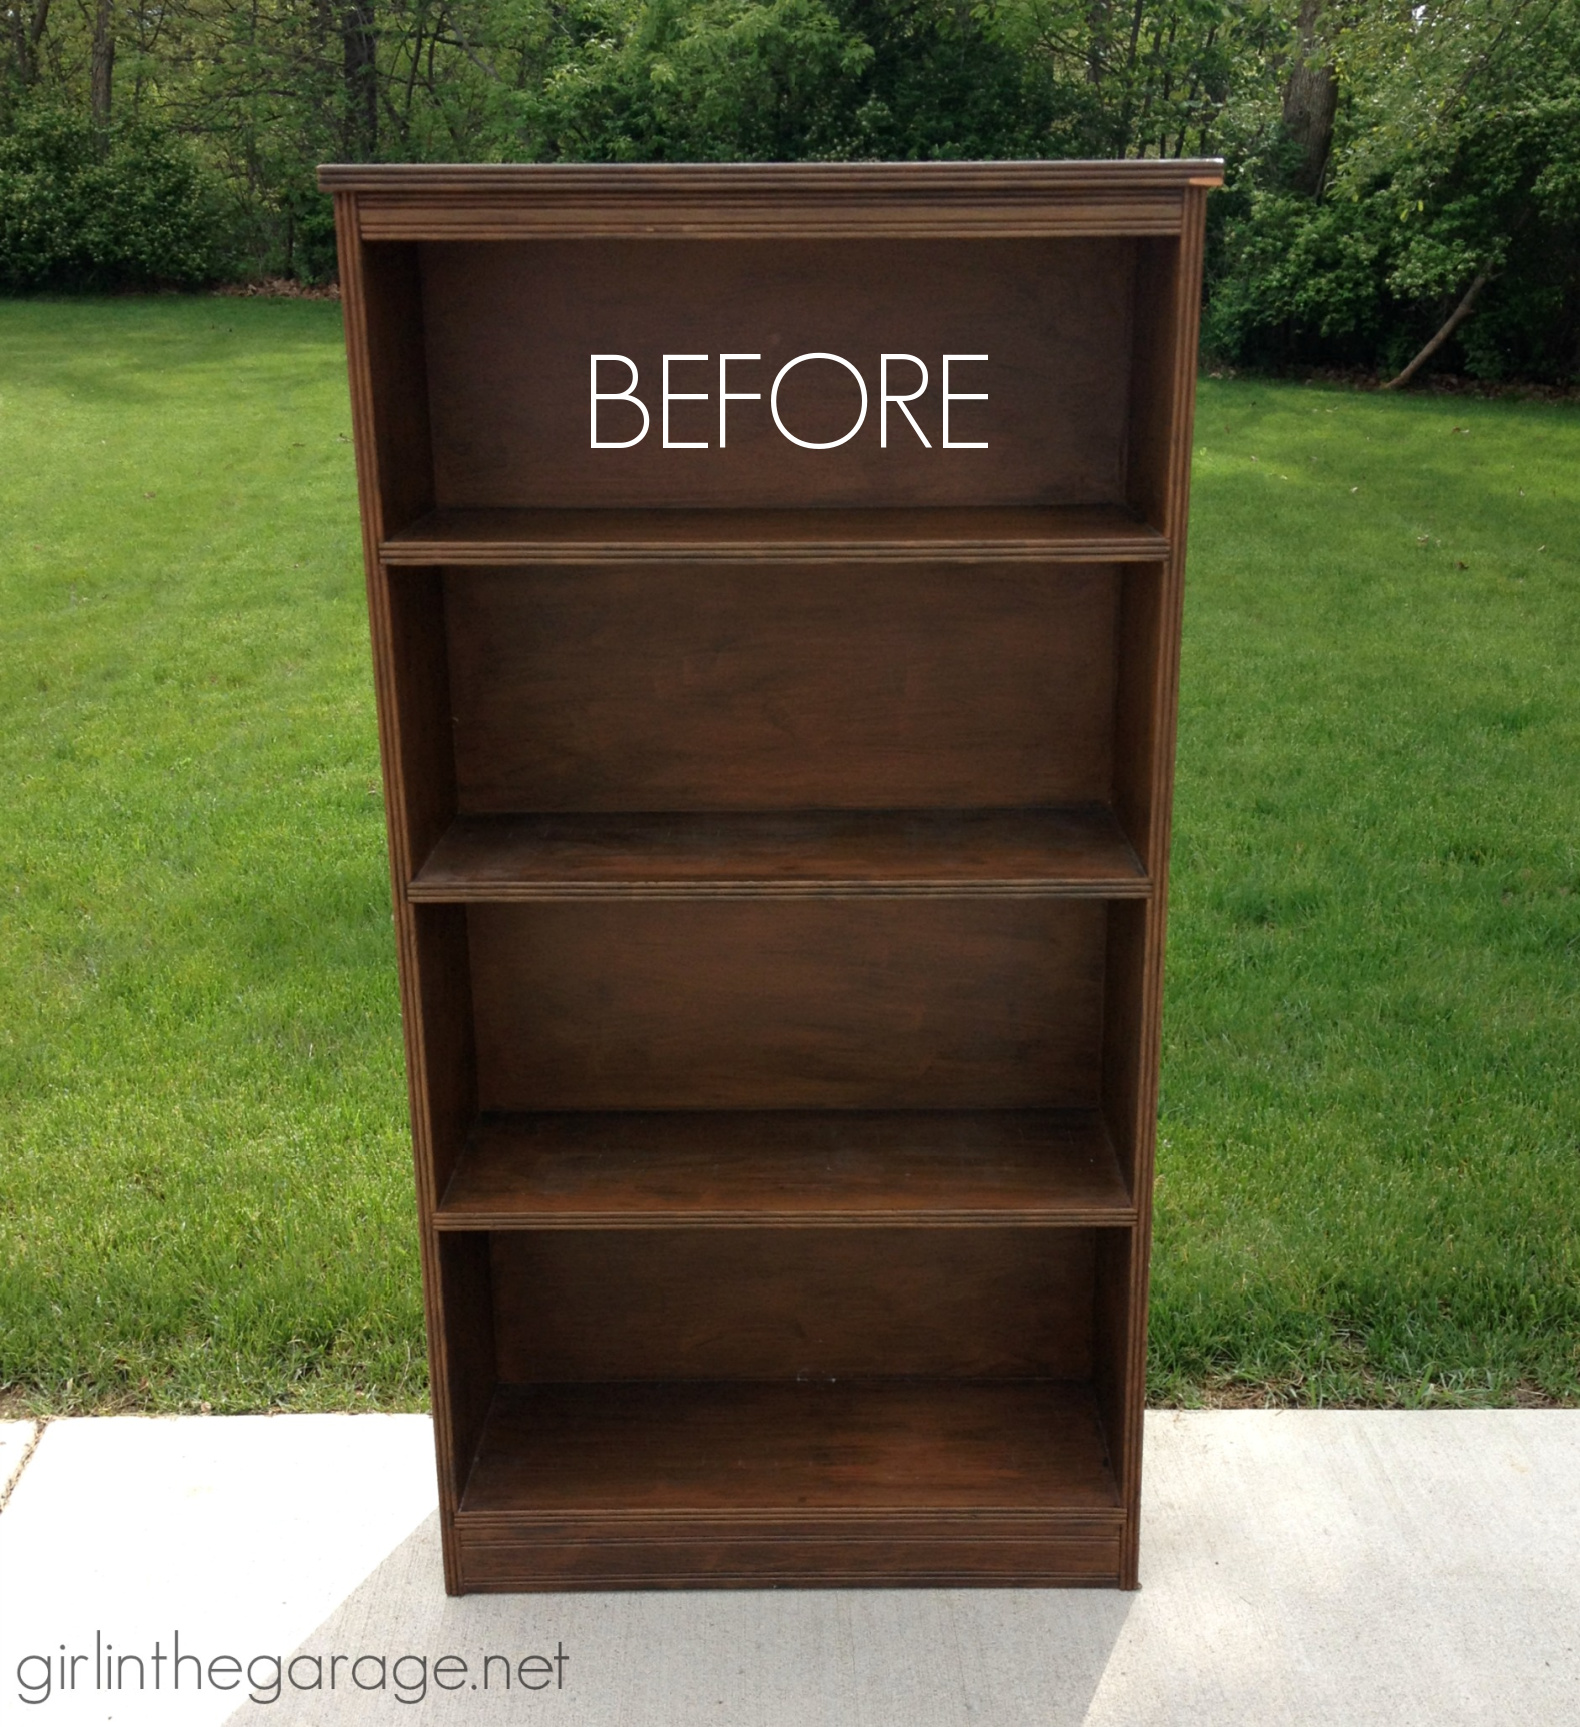
Credit: girlinthegarage.net
Materials Needed
Decoupage a bookshelf requires some basic materials to get started. Choosing the right items helps the project go smoothly. Having the right tools and supplies makes your work neat and lasting. Below, find the main materials needed for decoupaging a bookshelf.
Choosing The Right Bookshelf
Pick a bookshelf with a smooth surface. Wood or MDF works best for decoupage. Avoid rough or textured surfaces. A smaller shelf is easier to start with. Check that it is clean and dry before you begin.
Essential Decoupage Supplies
You will need decoupage glue or Mod Podge. A paintbrush or foam brush helps apply glue evenly. Have a pair of scissors to cut paper designs. Use a sanding block to smooth the shelf before gluing. Keep a clean cloth handy to wipe off excess glue.
Selecting Paper And Adhesives
Choose lightweight paper like napkins, tissue, or scrapbook paper. Pick designs you like and that match your room style. Use glue made for decoupage or craft projects. Avoid thick papers that wrinkle easily. Test your adhesive on a small paper piece first.

Credit: www.teaandforgetmenots.com
Preparing The Bookshelf
Preparing the bookshelf is the first step for a successful decoupage project. It creates a smooth and clean surface. This helps the glue and paper stick well. Taking time here saves effort later.
Cleaning And Sanding
Start by wiping the bookshelf with a damp cloth. Remove dust, dirt, and grease. Use mild soap for tough stains. Let it dry completely before moving on.
Next, sand the surface lightly with fine-grit sandpaper. This removes old paint or rough spots. Sanding creates tiny scratches that help glue stick. Wipe away sanding dust with a clean cloth.
Repairing Damages
Check the bookshelf for cracks, holes, or dents. Fill small holes with wood filler. Press it in firmly and smooth it out. Let the filler dry fully.
For bigger cracks, use wood glue and clamps. Hold pieces tightly until glue sets. Sand repaired areas smooth to blend with the rest.
Priming For Better Adhesion
Apply a coat of primer to the entire bookshelf. Primer seals the wood and evens the surface. It helps decoupage glue stick better and last longer.
Use a brush or roller to spread primer thinly. Let it dry completely before starting to decoupage. A well-primed surface makes your project look neat and bright.
Cutting And Arranging Paper
Cutting and arranging paper is a key step in decoupaging a bookshelf. It shapes how your design looks and fits. Careful cutting and neat arrangement make the final result clean and beautiful. This step needs focus and patience to get the perfect fit and pattern.
Measuring And Cutting Techniques
Start by measuring each shelf and side carefully. Write down the size for each part. Use a ruler and pencil to mark the paper before cutting. Cut with sharp scissors or a craft knife for clean edges. Cut slowly to avoid mistakes. Trim small bits for a tight fit around corners and edges.
Creating Patterns And Layouts
Try different paper patterns before fixing them. Mix colors and designs that match your room style. You can create stripes, grids, or random patterns. Think about balance and harmony in your layout. Use paper scraps to test different ideas. Plan the pattern on a flat surface before gluing.
Testing Paper Placement
Place cut papers on the bookshelf without glue first. Check how the paper fits and looks on each section. Move pieces to improve the arrangement. Make sure all edges meet neatly without gaps. This step helps avoid mistakes and wasted paper. Adjust until you are happy with the design before gluing.
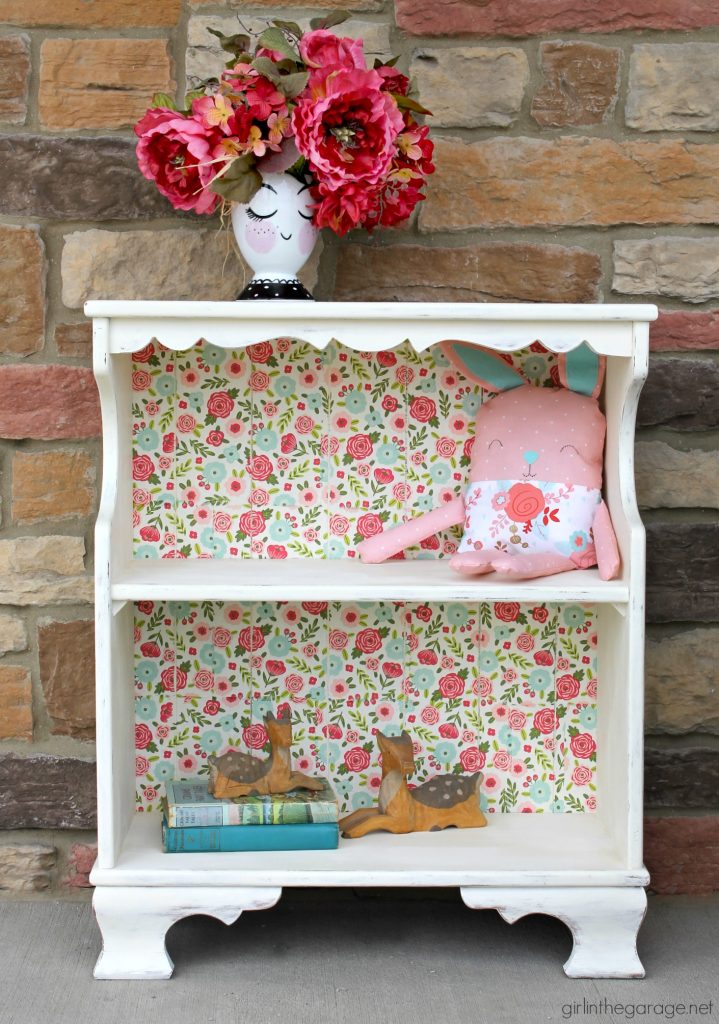
Credit: girlinthegarage.net
Applying Decoupage Medium
Sealing and finishing are key steps in decoupaging a bookshelf. They protect the paper designs and make your project last longer. A good sealant shields against moisture, dirt, and wear. Finishing adds a smooth, polished look that highlights your work.
Choosing The Right Sealant
Select a sealant that suits your project and environment. Water-based sealants dry fast and have low odor. They work well for indoor bookshelves. Polyurethane offers strong protection and a shiny finish. Matte sealants keep a soft, natural look. Consider the room’s humidity and use before buying.
Applying Protective Coats
Use a clean brush or foam applicator for smooth coats. Apply thin layers to avoid bubbles and wrinkles. Let each coat dry fully before adding the next. Two to three coats usually give good protection. Light sanding between coats helps the next layer stick better. Use gentle, circular motions for even coverage.
Drying And Curing Time
Drying time depends on the sealant and room conditions. Allow each coat to dry at least two hours. Full curing can take several days to a week. Avoid heavy use or placing items on the shelf too soon. Good curing ensures a tough, lasting finish. Patience results in a sturdy, beautiful bookshelf.
Sealing And Finishing
Creative design ideas can make your decoupage bookshelf stand out. They help turn a simple piece into a unique work of art. This section explores easy ways to add style and personality. Each idea focuses on making your bookshelf truly yours.
Mixing Patterns And Textures
Combine different patterns for a lively look. Use floral prints with stripes or dots. Textures like fabric, paper, and burlap add depth. Mix smooth and rough surfaces for interest. This approach creates a dynamic, eye-catching shelf.
Incorporating Stencils And Paint
Use stencils to add shapes or words on your shelf. Paint designs can highlight details or create backgrounds. Choose colors that match your room’s theme. Stencils help keep designs neat and consistent. Paint adds a fresh, vibrant feel to your project.
Adding Personal Touches
Include photos, quotes, or small keepsakes. Write or print favorite sayings on paper for decoupage. Use maps or ticket stubs for a travel theme. Personal items make the bookshelf meaningful and special. This makes your project truly one of a kind.
Creative Design Ideas
Maintaining a decoupaged bookshelf is key to keeping it beautiful and lasting long. Simple care steps protect the design and the surface. Small actions can stop damage early and keep your bookshelf looking fresh.
Cleaning Decoupaged Surfaces
Use a soft, dry cloth to dust the surface often. Avoid water or harsh cleaners that can ruin the paper and glue. For dirt, lightly dampen the cloth with water only. Gently wipe without rubbing too hard. Let the surface dry naturally after cleaning.
Repairing Wear And Tear
Check for loose edges or small tears regularly. Apply a thin layer of decoupage glue to fix peeling parts. Press gently and let it dry fully. For scratches, use clear varnish to cover and protect the area. Fix problems early to prevent bigger damage.
Long-term Care Advice
Keep the bookshelf away from direct sunlight to avoid fading. Avoid placing heavy objects on decoupaged areas. Use coasters or pads under items to protect the surface. Store the bookshelf in a dry place to stop moisture damage. Regular care helps your shelf look new for years.
Frequently Asked Questions
What Materials Are Needed To Decoupage A Bookshelf?
You need decoupage glue, brushes, scissors, paper or fabric, and a sealant. Sandpaper and a clean cloth are also helpful for prepping the surface.
How Do You Prepare A Bookshelf For Decoupage?
Clean the bookshelf thoroughly and sand it lightly to remove rough spots. Wipe off dust before applying glue or paper for better adhesion.
Can I Use Any Type Of Paper For Decoupage?
You can use scrapbook paper, wrapping paper, or fabric. Choose thin materials for easy application and smooth finish.
How Long Does Decoupage Glue Take To Dry?
Decoupage glue usually dries within 15 to 20 minutes. For best results, allow it to cure for 24 hours before sealing.
Conclusion
Decoupaging a bookshelf adds charm and personality to any room. The process is simple and fun to try at home. Choose papers and glue carefully for best results. Take your time to apply each layer smoothly. Your bookshelf will look fresh and unique after finishing.
This craft also gives old furniture a new life. Enjoy your creative project and the beauty it brings. Try different patterns to suit your style and space. Happy crafting!