Are you tired of searching for the perfect bookshelf that fits your style and space? What if you could create one yourself, exactly how you want it?
Building your own bookshelf is easier than you think, and it can save you money while adding a personal touch to your home. In this guide, you’ll discover simple steps and handy tips to DIY a bookshelf that looks great and holds all your favorite books.
Ready to transform your space with a project you’ll be proud of? Let’s get started!
Credit: www.woodshopdiaries.com
Choosing The Right Bookshelf Design
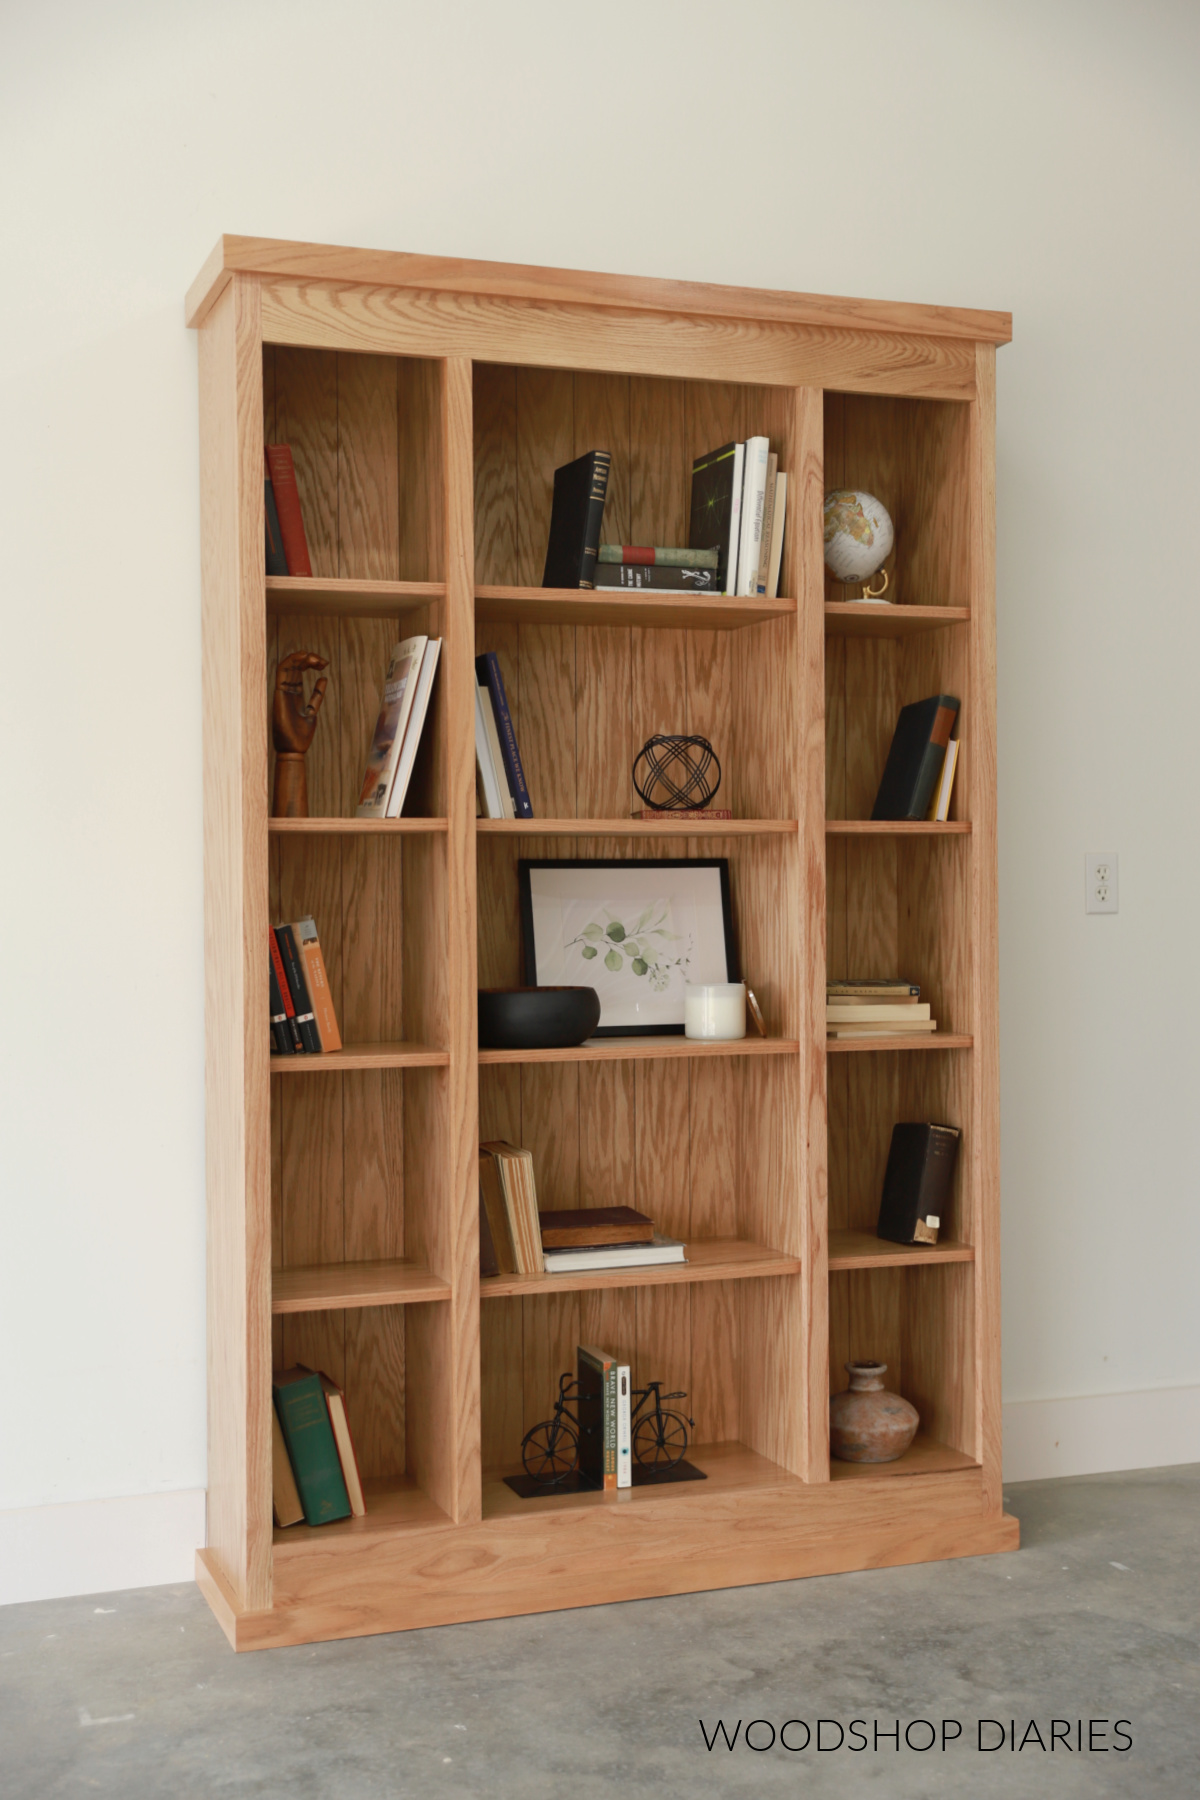
Choosing the right bookshelf design is an important step in your DIY project. The design affects how the bookshelf fits in your room and how well it holds your books. A good design matches your space, style, and needs.
Assessing Your Space
Start by measuring the area where you want the bookshelf. Note the height, width, and depth available. Think about nearby furniture and walking paths. This helps avoid making a bookshelf too big or too small. Consider the wall type for mounting options. A bookshelf that fits well looks neat and saves space.
Selecting Materials
Choose materials based on strength, look, and budget. Wood is strong and classic. Plywood is cheaper and easy to paint. Metal offers a modern style and high durability. Think about the finish and how it matches your room. Good materials make your bookshelf last longer and look better.
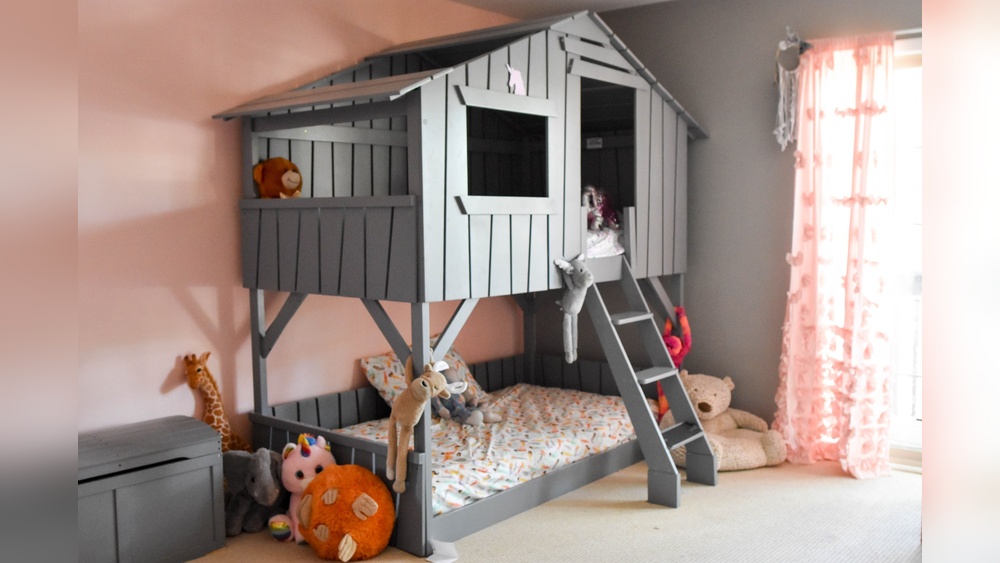
Picking A Style
Bookshelves come in many styles. Traditional shelves have straight lines and simple shapes. Floating shelves attach directly to the wall without legs. Ladder shelves lean against the wall and add a casual look. Choose a style that fits your room’s theme and your taste. The right style makes your bookshelf stand out or blend in quietly.
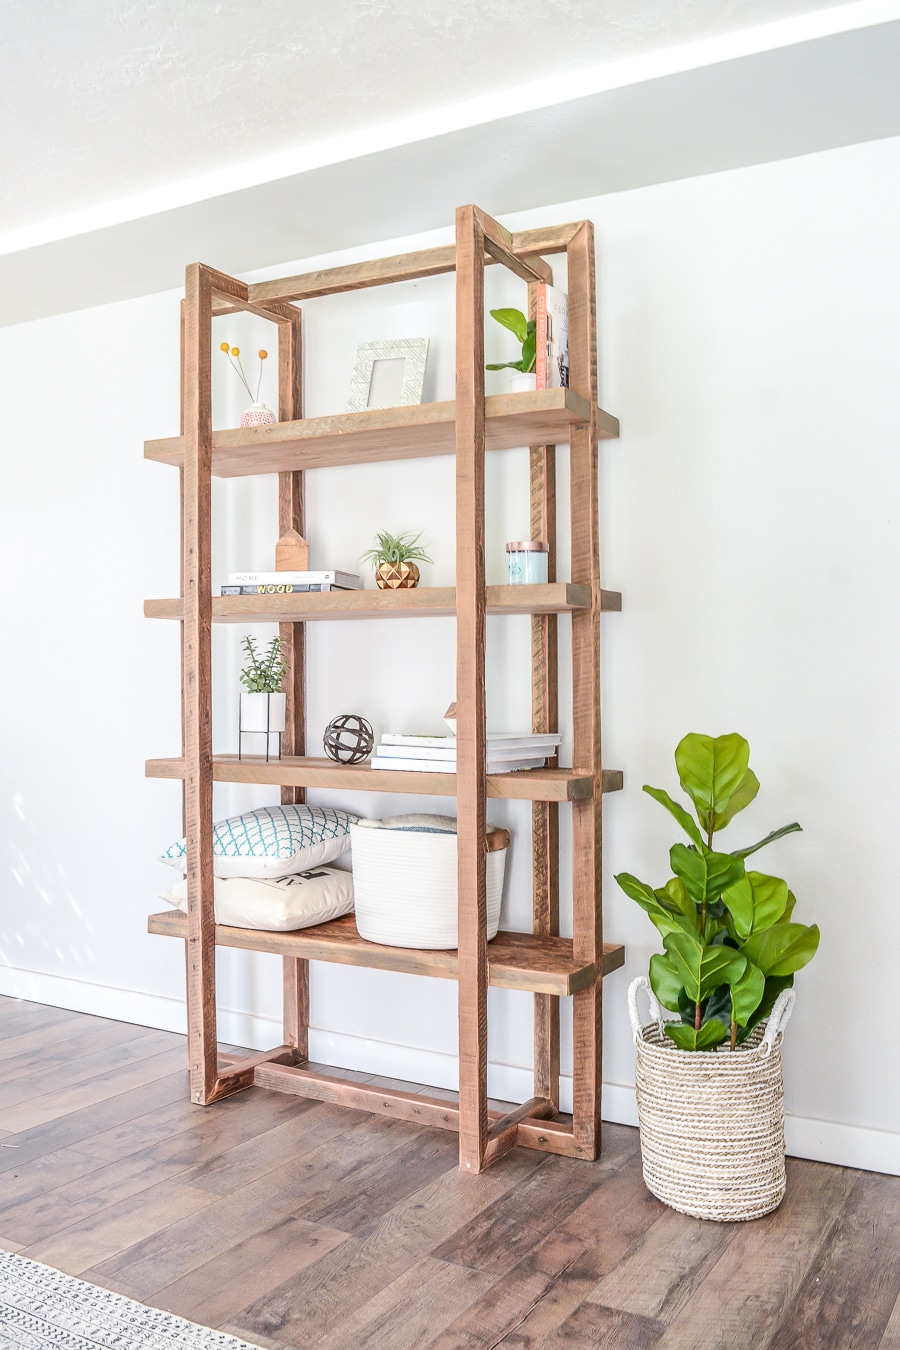
Credit: jenwoodhouse.com
Gathering Tools And Supplies
Gathering the right tools and supplies makes building a bookshelf easier. Having everything ready helps the project go smoothly. It saves time and avoids frustration. Prepare carefully before starting your DIY bookshelf.
Essential Tools List
- Measuring tape for accurate dimensions
- Electric drill with drill bits
- Screwdriver or drill driver
- Handsaw or circular saw for cutting wood
- Level to keep shelves even
- Clamps to hold pieces while assembling
- Pencil for marking measurements
- Sandpaper or sanding block for smooth edges
Recommended Materials
- Wood boards (plywood or pine work well)
- Wood screws or nails
- Wood glue for extra strength
- Paint or wood stain for finishing
- Primer to prepare wood before painting
- Wood filler to cover holes or gaps
Safety Gear
- Safety glasses to protect your eyes
- Work gloves to protect your hands
- Dust mask to avoid inhaling sawdust
- Ear protection if using loud power tools
- Closed-toe shoes to protect your feet
Preparing Your Workspace
Preparing your workspace is the first step in building a DIY bookshelf. A clean and organized area helps you work faster and safer. It also keeps your tools and materials easy to find. Taking time to set up your space makes the project more enjoyable.
Clearing The Area
Start by removing all items from your work area. Clear away furniture, boxes, and clutter. This creates enough room to move freely and handle materials. A clear space reduces the chance of accidents and damage to your project.
Setting Up Workbench
Choose a sturdy, flat surface for your workbench. A good workbench supports your wood and tools well. Place it near power outlets and good lighting. Make sure it stands at a comfortable height for working.
Organizing Materials
Gather all wood, screws, nails, and tools before you start. Arrange them in order of use on or near your bench. Use containers or trays to keep small items from rolling away. Organized materials save time and prevent frustration during building.
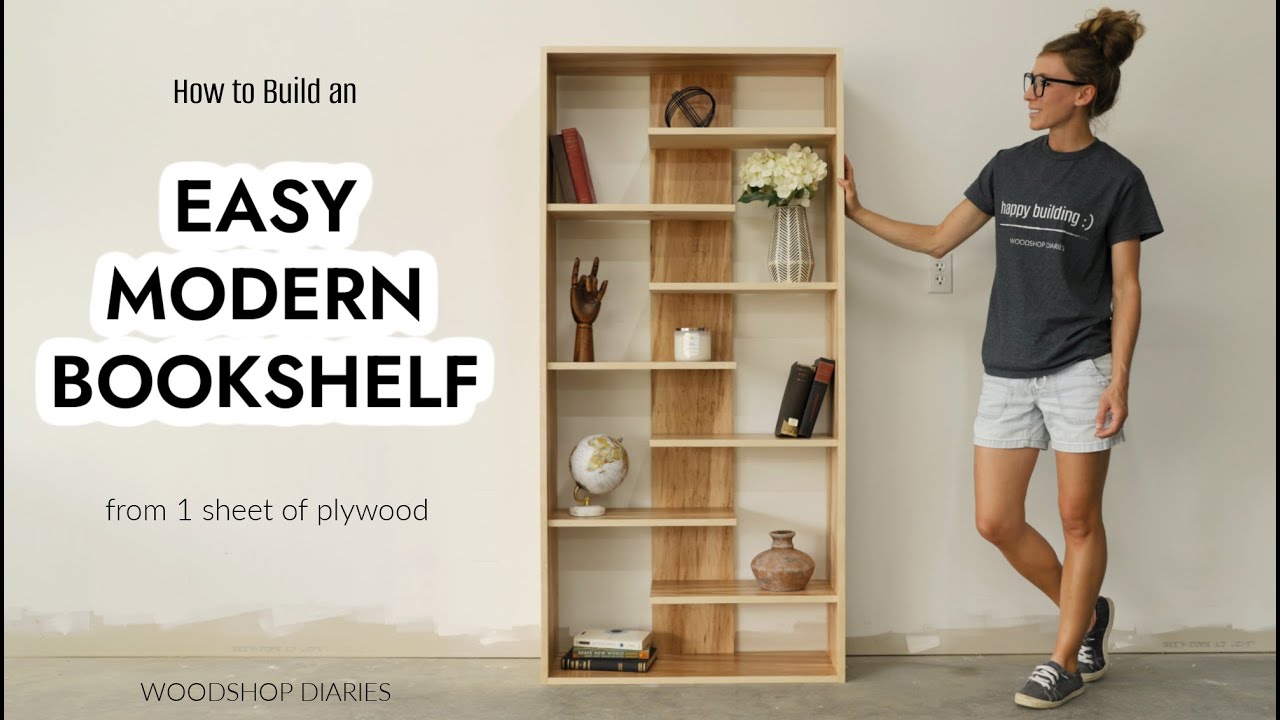
Credit: www.youtube.com
Measuring And Cutting Wood
Measuring and cutting wood are key steps in building a sturdy bookshelf. Accurate measurements ensure the pieces fit well. Clean cuts create smooth edges for a neat look. Taking your time in this phase saves effort later.
Taking Accurate Measurements
Use a tape measure to get exact lengths. Measure twice to avoid mistakes. Write down each measurement clearly. Measure the width and height of each shelf piece. Double-check all numbers before cutting wood.
Marking Cut Lines
Use a pencil to mark where to cut. Draw straight lines with a ruler or square. Make lines clear but thin for precision. Mark both sides of the wood to cut straight. This step guides your saw for clean cuts.
Safe Cutting Techniques
Wear safety glasses and gloves before cutting. Use a stable surface to place your wood. Hold the wood firmly but do not force the saw. Cut slowly along your marked lines. Keep fingers away from the blade at all times.
Assembling The Bookshelf Frame
Building the bookshelf frame is the first step in creating your own shelf. This stage sets the shape and strength of the entire project. Take your time to make sure the frame is square and solid. A strong frame supports all the shelves and the books they hold.
Joining Techniques
There are several ways to join wood pieces. Common methods include butt joints, dado joints, and pocket holes. Butt joints are the simplest, where two pieces meet at right angles. Dado joints involve a groove cut into one piece for the other to fit into. Pocket holes use angled screws for a tight hold. Choose a technique based on your tools and skill level.
Using Screws And Nails
Screws provide strong and lasting connections. Use screws designed for wood and pre-drill holes to avoid splitting. Nails are quicker but less secure. For best results, use screws on the main joints. Nails work well for temporary holds or backing panels. Always drive screws and nails flush with the wood surface.
Ensuring Stability
Check the frame for squareness before fixing all joints. Use a carpenter’s square or measure diagonals. Tighten all screws and nails evenly. Add corner braces or wood glue for extra strength. Stability prevents wobbling and keeps your bookshelf safe. A solid frame makes the whole project last longer.
Adding Shelves And Supports
Adding shelves and supports is a key step in building your bookshelf. Proper placement keeps books safe and the structure strong. Carefully measuring and installing these parts ensures your shelf looks good and works well.
Follow simple steps to space shelves right, add brackets, and make supports strong. This helps your bookshelf hold many books without bending or breaking.
Spacing Shelves Evenly
Measure the height of your bookshelf’s interior space. Divide this space by the number of shelves you want. Leave extra room for tall books or decorations. Mark each spot clearly on the side panels. Use a level to keep marks straight. Even spacing gives your bookshelf a neat, balanced look.
Installing Shelf Brackets
Choose brackets that fit your shelf size and style. Hold each bracket at the marked spot. Use a pencil to mark screw holes on the side panels. Drill pilot holes to prevent wood from splitting. Screw brackets tightly to the panels. Place shelves on the brackets and check for stability. Brackets support the weight and keep shelves steady.
Reinforcing For Weight
Books can be heavy, so reinforce shelves for safety. Add a center support under wide shelves to stop sagging. Use thicker wood or metal braces if needed. Secure supports with strong screws or bolts. Test the shelf by pressing down gently. Strong supports protect your bookshelf and keep it durable.
Finishing Touches
Finishing touches give your DIY bookshelf a clean and polished look. These final steps make the wood smooth and protect it from damage. They also enhance the color and texture, helping your bookshelf last longer. Take your time and follow each step carefully for the best results.
Sanding Surfaces
Start by sanding all wooden surfaces. Use fine-grit sandpaper to smooth rough spots. Sand in the direction of the wood grain for a better finish. Remove dust with a soft cloth after sanding. Smooth surfaces help paint or stain stick evenly.
Applying Paint Or Stain
Choose paint or stain based on your desired look. Use a brush or cloth to apply evenly. Apply thin coats to avoid drips and blotches. Allow each coat to dry fully before adding another. Paint gives a solid color, while stain shows the wood’s natural beauty.
Sealing And Protecting
Seal your bookshelf with a clear finish. Polyurethane or varnish works well to protect wood. Apply thin layers and let each dry before the next. Sealing prevents scratches, water damage, and fading. This step keeps your bookshelf looking good for years.
Installing And Styling Your Bookshelf
Installing and styling your DIY bookshelf is a key step to make it safe and attractive. Proper installation keeps the shelf stable. Styling adds personality and charm to your space.
Securing To Wall
Secure the bookshelf to the wall to prevent tipping. Use brackets or straps designed for furniture safety. Find studs in the wall with a stud finder for strong support. Attach brackets tightly with screws. Check stability by gently shaking the shelf. Safety first.
Arranging Books And Decor
Place books vertically and horizontally for a balanced look. Group books by size or color to create order. Add decorative items like plants, candles, or photos. Leave some empty space to avoid clutter. Change arrangement often to keep the shelf fresh and interesting.
Maintenance Tips
Dust your bookshelf weekly with a soft cloth. Avoid placing the shelf in direct sunlight to prevent fading. Tighten screws and brackets every few months. Clean spills immediately to protect the wood. Regular care keeps your bookshelf strong and beautiful.
Frequently Asked Questions
What Materials Do I Need To Diy A Bookshelf?
You need wood boards, screws, brackets, sandpaper, paint or stain, a drill, and measuring tools. Choose sturdy wood like pine or plywood for durability and ease of use.
How Long Does It Take To Build A Diy Bookshelf?
Building a simple bookshelf typically takes 2 to 4 hours. Time varies depending on design complexity and your skill level with tools.
What Tools Are Essential For Making A Bookshelf?
Essential tools include a drill, screwdriver, measuring tape, level, saw, and clamps. These tools help you cut, assemble, and secure the bookshelf parts properly.
How Can I Make My Diy Bookshelf More Durable?
Use high-quality wood and proper screws or brackets. Apply wood glue at joints and finish with sealant or paint for added protection.
Conclusion
Building your own bookshelf saves money and adds a personal touch. You control the size, style, and finish to fit your space. The steps are simple and require only basic tools. Take your time, follow the instructions, and stay safe while working.
Enjoy the pride of creating something useful with your own hands. This DIY project brings both function and charm to any room. Start small, and soon you’ll have a custom shelf to hold your favorite books.