Looking to add a personal touch to your home? Building your own bookshelf is easier than you think.
Imagine having a custom piece that perfectly fits your space and style, made by your own hands. In this guide, you’ll learn simple steps to create a sturdy, beautiful bookshelf that showcases your favorite books and decor. Whether you’re a beginner or just want a fresh idea, this article will give you clear, practical tips to get started right away.
Ready to transform your room and impress your guests? Let’s dive in and make your dream bookshelf a reality.
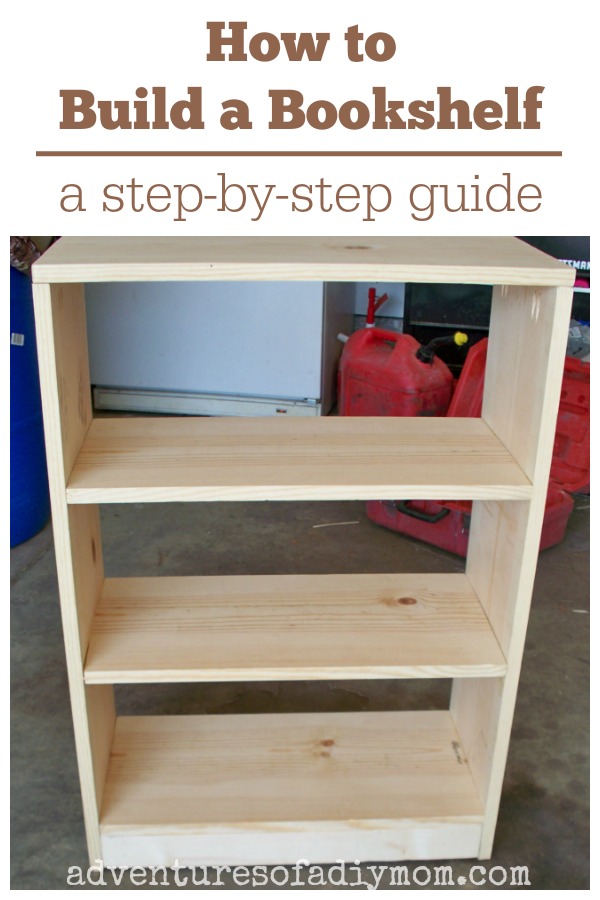
Credit: www.adventuresofadiymom.com
Materials And Tools Needed
Building a bookshelf is a fun and useful project. Gathering the right materials and tools helps the work go smoothly. Quality wood and proper tools make your bookshelf strong and neat. Below are the main materials and tools needed to build a bookshelf.
Choosing The Right Wood
Select wood that is strong and easy to work with. Pine is a good choice for beginners. It is soft and affordable. Oak and maple are harder woods. They last longer but are harder to cut. Choose wood with smooth surfaces to save sanding time. Avoid wood with cracks or knots. These can weaken your bookshelf.
Essential Tools For The Project
You need some basic tools to build a bookshelf. A saw helps cut the wood to size. A drill makes holes for screws. Sandpaper smooths rough edges and surfaces. A screwdriver secures the pieces together. A tape measure helps make accurate cuts. A level keeps your bookshelf straight and balanced.
Additional Supplies
Besides wood and tools, get some extra supplies. Wood glue adds strength to joints. Screws hold the parts firmly. Wood filler covers small holes or cracks. Paint or stain gives your bookshelf color and protection. Brushes or rags apply the finish evenly. Safety glasses and gloves protect you during work.

Credit: www.infarrantlycreative.net
Designing Your Bookshelf
Designing your bookshelf is the first step to building a perfect piece. It shapes how your bookshelf will look and fit in your space. Careful planning saves time and materials. It also ensures your bookshelf holds all your favorite books safely.
Start by thinking about size, style, and function. These choices guide every detail in your design. A clear plan makes building easier and more fun.
Determining Size And Style
Measure the wall or space where the bookshelf will stand. Note height, width, and depth limits. Think about the type of books you want to store. Bigger books need taller shelves. Choose a style that matches your room’s look. Simple, modern, or classic? Pick what feels right.
Sketching Your Plan
Draw your bookshelf on paper or use a computer program. Include all parts like shelves, sides, and back. Mark where each shelf goes. Sketching helps spot problems early. It gives a clear picture to follow while building.
Measuring And Marking
Use a tape measure to mark wood pieces accurately. Double-check every measurement before cutting. Mark lines clearly with a pencil. Precise marks make cutting and assembling easier. Take your time here to avoid mistakes.
Cutting And Preparing Wood
Cutting and preparing wood is a key step in building a bookshelf. It shapes the wood into parts that fit well together. Careful cutting ensures strong shelves that last a long time.
Preparing wood also means making the surfaces smooth. This helps the wood look nice and avoid splinters. Organizing all pieces keeps the building process easy and fast.
Safe Cutting Techniques
Always wear safety glasses to protect your eyes. Use ear protection if the saw is loud. Keep your hands away from the blade at all times. Cut slowly and steadily for better control. Use clamps to hold the wood in place. Check the saw blade for sharpness before cutting. Measure twice and cut once to avoid mistakes.
Sanding For Smooth Finish
Use medium-grit sandpaper to remove rough spots. Sand along the grain of the wood. Switch to fine-grit sandpaper for a smooth finish. Wipe off dust with a dry cloth after sanding. Smooth wood prevents splinters and looks more polished. Sand edges and corners carefully for safety. Take your time to get an even surface.
Organizing Pieces
Label each wood piece after cutting. Group pieces by size and shelf position. Lay them out in the order you will assemble. Keep screws and nails in a separate container. Organizing saves time during assembly. It reduces confusion and mistakes. Check all pieces before starting to build.
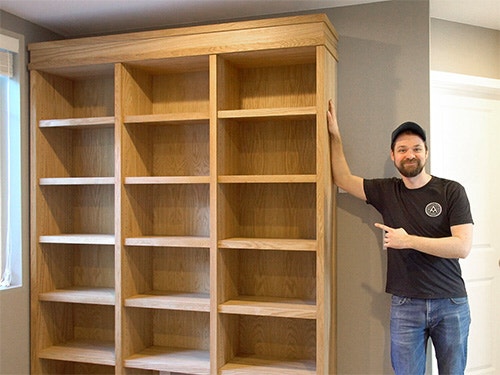
Credit: www.rockler.com
Assembling The Bookshelf
Assembling a bookshelf is a key step in your DIY project. This part brings all the pieces together. Careful assembly makes the bookshelf strong and stable.
Follow clear steps for a smooth build. Take your time to join the frame first. Then install the shelves properly. Finally, secure everything with screws and glue.
Joining The Frame
Start with the side panels and bottom piece. Align them carefully to form a rectangle. Use clamps to hold the pieces in place. Make sure edges are flush and square. This step creates the basic shape of the bookshelf.
Installing Shelves
Mark the shelf positions on the side panels. Use a level to ensure shelves are straight. Slide the shelves into place or rest them on supports. Double-check spacing between shelves for your books. Proper shelf placement keeps books organized and balanced.
Securing With Screws And Glue
Apply wood glue to joints before screwing. This adds extra strength to the frame. Use screws long enough to hold firmly. Drive screws slowly to avoid splitting wood. Wipe away any excess glue quickly. Tight joints prevent wobbling and ensure durability.
Finishing Touches
Finishing touches give your bookshelf a polished look. These final steps protect the wood and improve its appearance. Take your time to ensure a smooth and lasting finish.
Painting Or Staining
Choose paint or stain to match your room’s style. Paint offers many color options and covers wood grain. Stain enhances the natural beauty of the wood. Apply thin, even coats for the best result. Let each coat dry fully before adding another.
Adding Protective Coating
Protective coating keeps your bookshelf safe from scratches and spills. Use clear varnish, polyurethane, or lacquer. Apply with a brush or spray for an even layer. This coating also makes cleaning easier. Wait until it dries completely before use.
Final Inspection And Adjustments
Check the bookshelf carefully for rough spots or uneven paint. Sand any rough edges gently with fine sandpaper. Tighten screws and make sure shelves are level. Fix any small issues before placing books. A well-finished shelf looks neat and lasts longer.
Frequently Asked Questions
What Materials Do I Need To Make A Bookshelf?
You need wood boards, screws, nails, wood glue, sandpaper, paint or stain, and basic tools like a saw and drill. Choose sturdy wood like pine or plywood for durability and stability.
How Long Does It Take To Build A Bookshelf?
Building a bookshelf typically takes 3 to 6 hours, depending on design complexity and your experience level. Simple models require less time, while custom or large shelves take longer.
What Is The Easiest Bookshelf Design For Beginners?
A basic rectangular bookshelf with fixed shelves is easiest for beginners. It involves simple cuts and assembly, requiring minimal tools and skills, making it perfect for first-time builders.
How Do I Ensure My Bookshelf Is Sturdy?
Use strong wood, secure joints with screws and wood glue, and reinforce corners with brackets. Proper sanding and finishing also prevent damage, ensuring long-lasting stability and safety.
Conclusion
Building a bookshelf can be simple and fun. Follow the steps to create a sturdy shelf. Use the right tools and materials for best results. Take your time and measure carefully. A handmade bookshelf adds charm to any room. Enjoy organizing your books on it daily.
Keep practicing to improve your skills. Start your project and see the results yourself.