Looking for a unique way to organize your coats and add a cool touch to your space? Making a coat rack out of hockey sticks is a fun and creative idea that you can easily do yourself.
Imagine turning those old sticks into something practical and stylish that will catch everyone’s eye. In this guide, you’ll discover simple steps to build your own hockey stick coat rack, even if you’re not a DIY expert. Ready to transform your gear into a statement piece?
Let’s get started!
Materials Needed
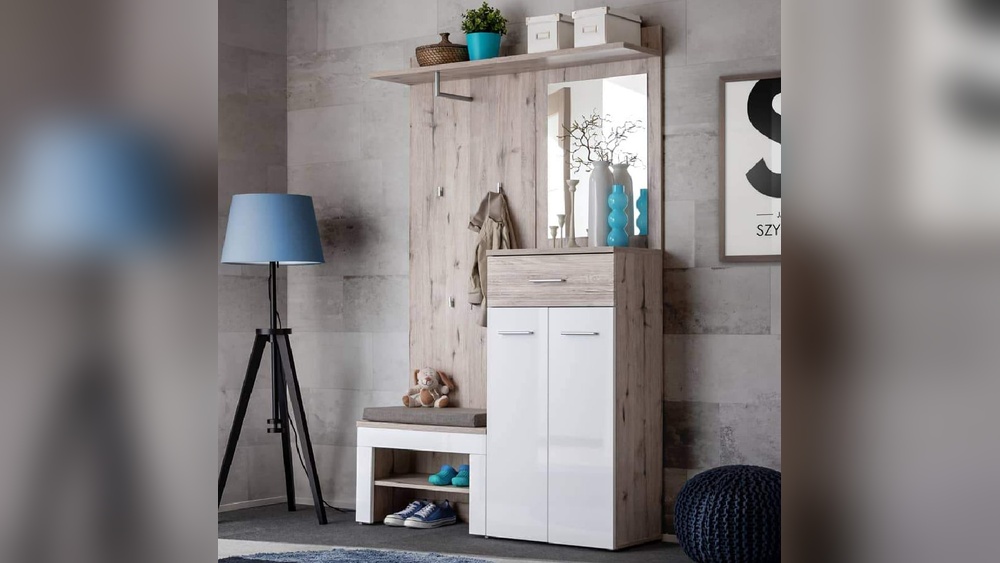
Creating a coat rack from hockey sticks needs a few key materials. The right items make the project easier and the rack sturdy. Gather everything before starting to save time and avoid interruptions.
Choosing The Right Hockey Sticks
Select hockey sticks that are strong and in good shape. Old or broken sticks can weaken the coat rack. Sticks with flat blades work best for mounting on the wall. Try to find sticks of similar length for a balanced look. Wooden sticks add a classic feel, while composite sticks offer modern style.
Additional Supplies
Besides hockey sticks, you will need screws and wall anchors to secure the rack. A drill helps make holes for screws. Sandpaper smooths rough edges on the sticks. Hooks or pegs are necessary to hang coats. Paint or varnish can protect and decorate the sticks. A measuring tape and pencil assist with precise placement.

Credit: www.amazon.sg
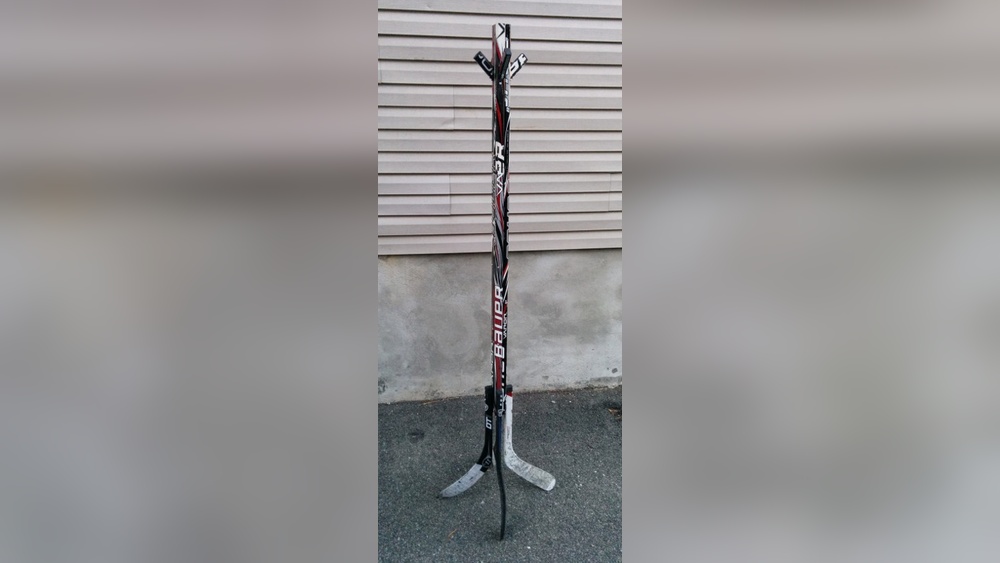
Preparing The Hockey Sticks
Preparing the hockey sticks is the first step in creating a unique coat rack. It ensures the sticks are safe to use and look great. Proper preparation also helps the rack last longer. Start by cleaning and sanding the sticks. Then, cut them to the right size for your design.
Cleaning And Sanding
Remove any dirt, tape, or stickers from the hockey sticks. Use a damp cloth with mild soap to wipe them clean. Let the sticks dry completely before moving on.
Next, sand the sticks to smooth rough spots and edges. Use medium-grit sandpaper first, then fine-grit for a smooth finish. Sanding helps paint or varnish stick better. It also removes splinters, making the sticks safer to handle.
Cutting To Size
Decide how long each stick should be for your coat rack. Mark the cutting points clearly with a pencil. Use a saw suitable for wood or composite materials to cut the sticks.
Cut straight to ensure the pieces fit well together. Wear safety goggles and gloves during cutting. Clean up any rough edges with sandpaper after cutting. Proper size and shape make your coat rack sturdy and attractive.
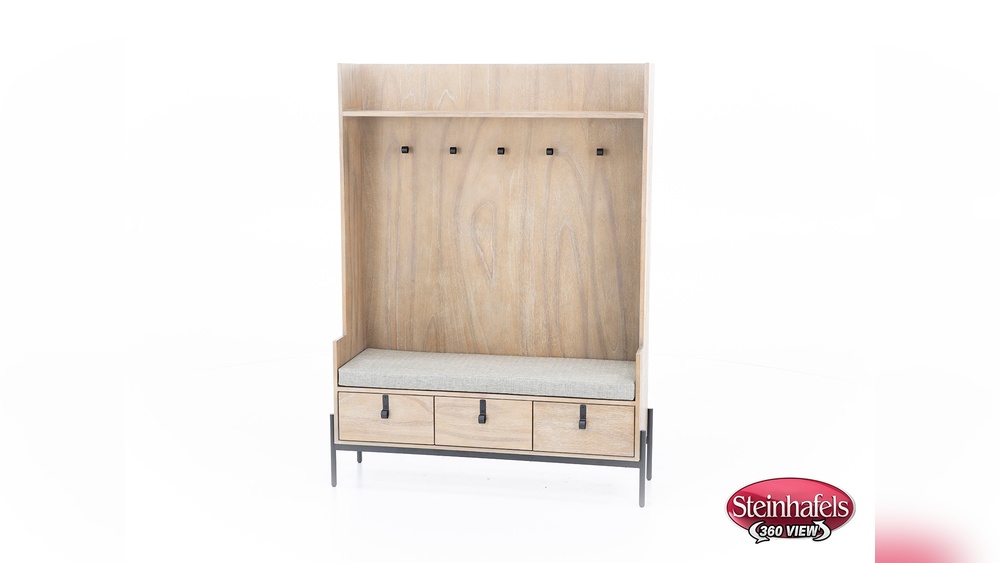
Designing The Rack
Designing the coat rack is a fun step. It lets you choose how the hockey sticks fit together. A good design makes the rack strong and useful. It also makes your space look nice. Think about the room where you will hang the rack.
Consider the style you want. Do you want it simple or more creative? Plan the shape and size before you start. This helps you avoid mistakes later.
Layout Ideas
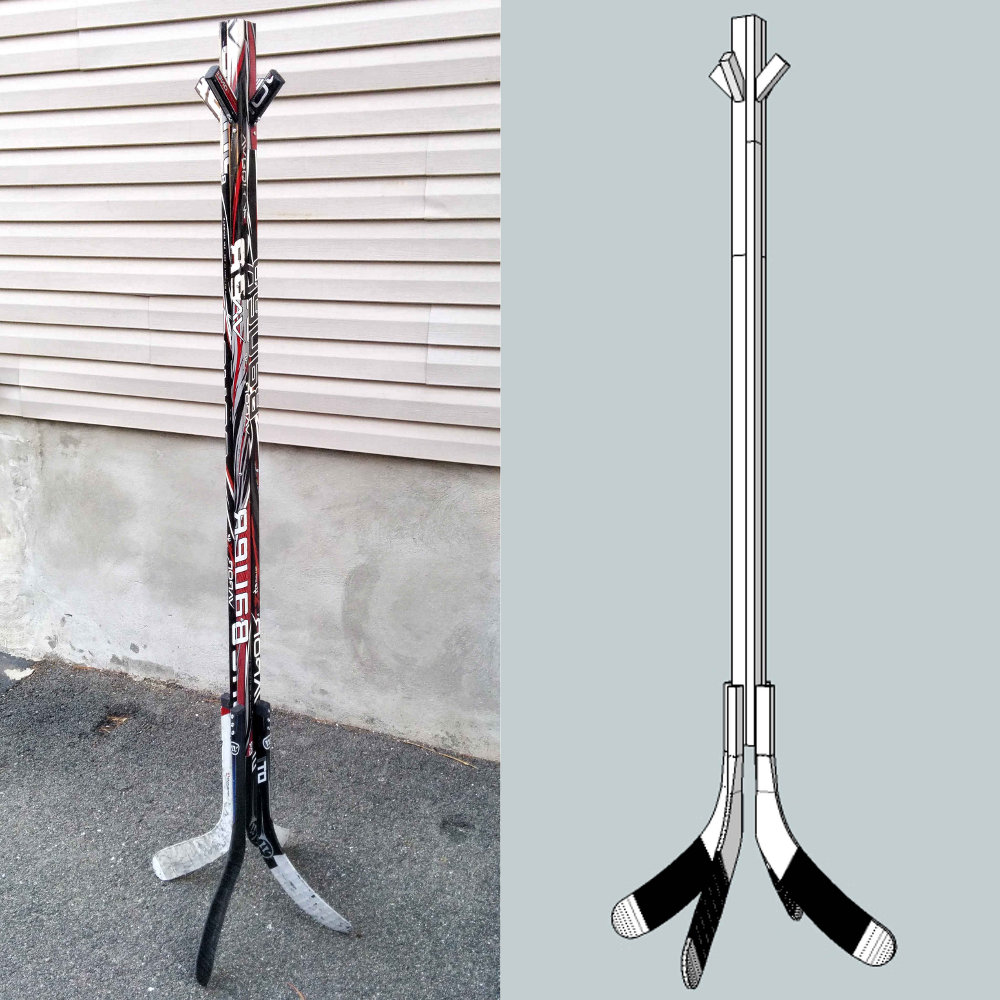
Start by placing the hockey sticks on a flat surface. Try different shapes like a straight line or a star. You can also overlap sticks for a layered look. Keep the hooks easy to reach. Balance the sticks to hold weight well. The layout should match your room’s style.
Marking Attachment Points
After choosing the layout, mark where to attach the sticks. Use a pencil to make small marks. Mark both ends and the middle points. This helps keep the sticks steady. Make sure the marks line up for easy assembly. Check twice before drilling or nailing.
Assembling The Coat Rack
Assembling the coat rack is the step where your project starts to take shape. You will join the hockey sticks and add hooks for hanging coats. Take your time to make sure everything fits well and is strong.
Attaching The Hockey Sticks
Lay the hockey sticks side by side on a flat surface. Use screws or nails to join them at the base. Make sure the sticks are aligned straight. Drill pilot holes to avoid splitting the wood. Tighten the screws firmly but do not overdo it. Check that the sticks do not wobble after attaching. This forms the main frame of your coat rack.
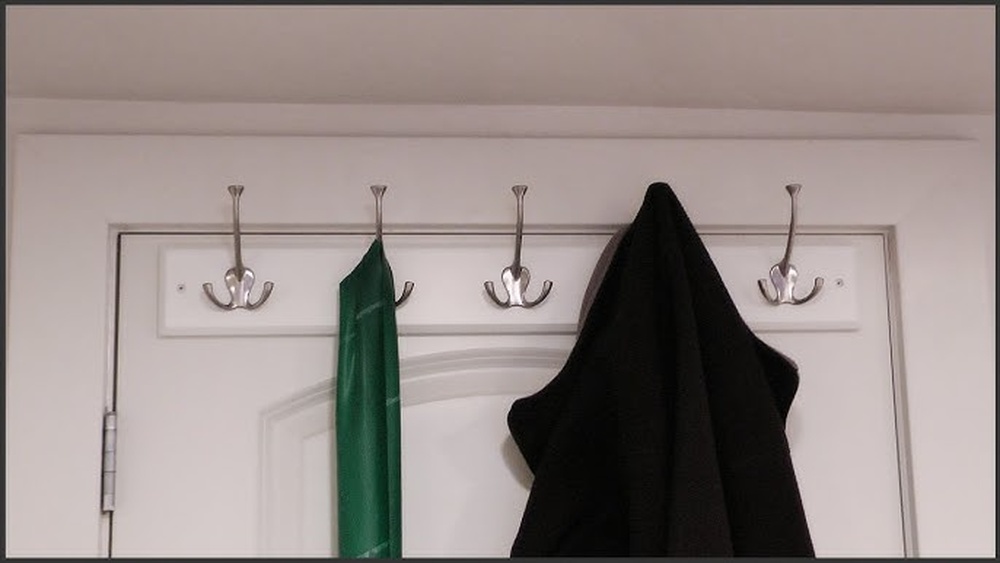
Securing Hooks And Hangers
Choose sturdy hooks that fit the style of the rack. Mark spots along the hockey sticks for the hooks. Space the hooks evenly for balanced hanging. Use a drill to make small holes for screws. Attach the hooks with screws and tighten well. Test each hook by gently pulling on it. The hooks must hold coats without bending or falling.
Finishing Touches
Finishing touches give your coat rack a polished look. They protect the wood and improve durability. These steps make the rack ready for daily use. Focus on painting, sealing, and mounting to complete the project.
Painting And Sealing
Choose paint that suits your room’s style. Use a brush or spray for smooth coverage. Let the paint dry completely before the next step. Apply a clear sealant to protect the paint and wood. Sealants help resist water, scratches, and wear. Use several thin coats for better protection. Let each coat dry fully before adding the next.
Mounting The Rack
Find a sturdy wall for mounting your rack. Use a level to keep it straight. Mark holes for screws on the wall through the rack. Drill holes and insert wall anchors if needed. Screw the rack firmly into the wall anchors. Check the rack is secure before hanging items. Proper mounting ensures safety and long-term use.
Credit: hockeystickbuilds.com
Creative Variations
Creative variations make your hockey stick coat rack unique. Small changes can add color, character, and personality. You can customize the rack to match your room or style. These ideas are easy and fun to try.
Using Colored Tape
Wrap colored tape around the hockey sticks for a vibrant look. Choose tape in bright colors or patterns. This adds grip and protects the wood. You can create stripes or geometric shapes. Colored tape also hides scratches and wear. It is a cheap way to refresh old sticks.
Incorporating Team Logos
Add your favorite team logos to the coat rack. Use stickers or paint to place logos on the sticks. This shows your sports spirit and loyalty. You can also use team colors for tape or paint. A logo adds a personal touch and makes the rack stand out. It becomes a cool decor piece for fans.
Maintenance Tips
Maintaining your hockey stick coat rack keeps it looking great and lasting longer. Simple care helps prevent damage and keeps the rack sturdy. Follow these tips to clean and repair your unique coat rack.
Cleaning The Rack
Dust the rack regularly with a soft cloth. Use a damp cloth to remove dirt and stains gently. Avoid harsh chemicals that can damage the wood or paint. Dry the rack well after cleaning to stop moisture damage. Clean hooks and joints to keep them free from grime.
Repairing Damage
Check the rack often for cracks or loose parts. Tighten screws or bolts to keep it strong. Small cracks can be fixed with wood glue or filler. Sand rough spots gently to avoid splinters. Replace broken hooks or parts to maintain full function.

Credit: www.amazon.sg
Frequently Asked Questions
How Do I Prepare Hockey Sticks For A Coat Rack?
Clean the sticks thoroughly and remove any tape or residue. Sand rough areas to ensure smooth surfaces. Cut or arrange sticks to your desired rack size before assembly.
What Tools Are Needed To Build A Hockey Stick Coat Rack?
You’ll need a drill, screws, a saw, sandpaper, and a measuring tape. Optionally, use wood glue and a level for better stability and alignment.
Can I Customize The Hockey Stick Coat Rack Design?
Yes, customize by choosing different stick colors, orientations, and adding hooks. Personalize with paint or varnish for a unique, stylish look.
How Do I Securely Mount The Hockey Stick Coat Rack?
Use wall anchors and screws suitable for your wall type. Ensure the rack is level and firmly attached to support heavy coats.
Conclusion
Crafting a coat rack from hockey sticks brings fun and function together. It saves money and recycles old gear. You get a unique item that fits your style perfectly. Plus, it’s a great project to enjoy alone or with friends.
Try it, and watch your space transform with a sporty touch. Simple steps lead to a cool, useful rack. Keep your coats neat and your room full of character. Give this idea a shot—it’s easy and rewarding.