Are you ready to transform your bedroom with a stunning floating bunk bed? Imagine a bed that not only saves space but also adds a sleek, modern touch to your room.
Making a floating bunk bed might sound tricky, but with the right steps, you can build one yourself and impress everyone who sees it. In this guide, you’ll discover simple instructions and helpful tips that make the process easy and fun.
Keep reading to learn how you can create your very own floating bunk bed and enjoy a stylish, space-saving sleep solution today!
Materials And Tools Needed
Building a floating bunk bed needs the right materials and tools. Using good supplies helps create a strong and safe bed. This section lists what you need to start your project. Follow this list to prepare well and work smoothly.
Materials Required
Choose quality wood like pine or oak for the frame. You will need plywood sheets for the bed base. Use strong metal brackets to support the bed. Buy screws and wood glue for secure joints. Sandpaper helps smooth rough edges. Finish with paint or varnish for protection.
Tools Needed
A drill is necessary for making holes and fixing screws. Use a saw to cut wood pieces to size. A measuring tape ensures exact measurements. A level tool keeps the bed straight. Screwdrivers help tighten screws. Clamps hold wood parts while gluing. Safety gear like gloves and goggles protect you.
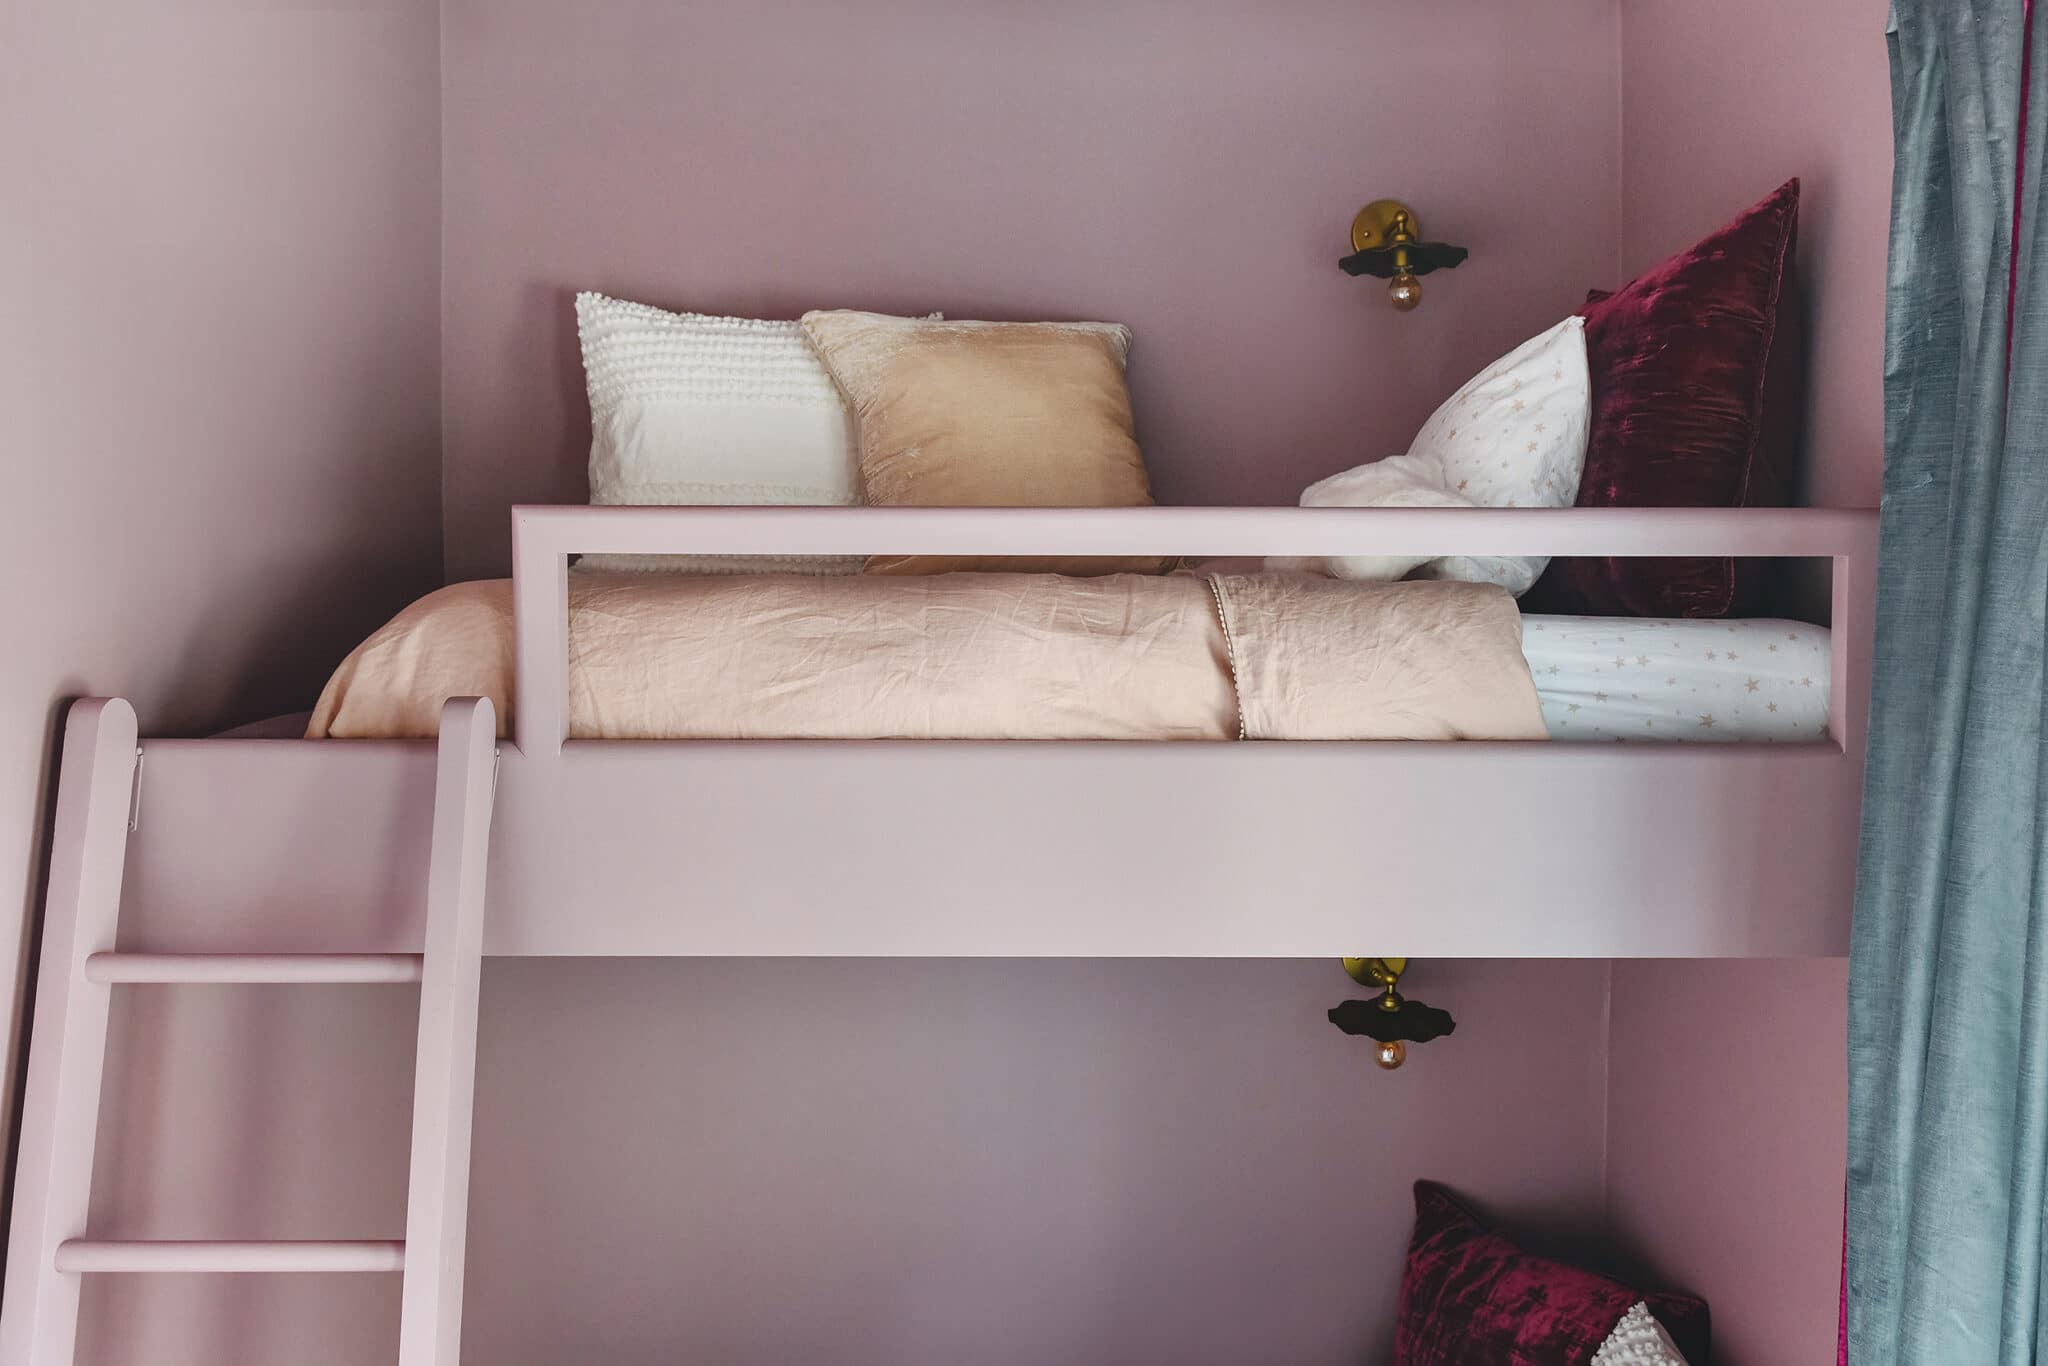
Credit: yellowbrickhome.com
Planning Your Floating Bunk Bed
Planning your floating bunk bed is the first key step. Careful planning saves time and effort later. It helps create a safe and beautiful bed. Think about the room size and wall strength. Consider the bed’s style and how it fits your needs.
Choosing The Right Location
Pick a wall that can hold heavy weight. Avoid walls with pipes or wires behind. Find a spot with enough space for the bed and movement. Check the ceiling height to allow safe headroom. Choose a place with good light but not direct sunlight. This keeps the bed comfortable and bright.
Measuring And Design Considerations
Measure the room carefully before building. Note the wall length and height. Decide the bunk bed size based on mattress dimensions. Allow extra space for the frame and supports. Think about the distance between the top and bottom beds. Plan for a strong bracket system to hold weight. Include space for a ladder or stairs. Make sure the design fits your room’s style.
Preparing The Wall And Frame
Preparing the wall and frame is the first key step to building a floating bunk bed. The wall must be strong enough to hold the bed’s weight safely. The frame needs to fit perfectly and support the mattress well. Careful preparation makes the bed both safe and long-lasting.
Wall Reinforcement Tips
Check the wall studs before starting. Use a stud finder to locate solid wood beams inside the wall. These studs will hold the bed frame. Avoid drywall alone—it cannot support heavy weight.
Reinforce the wall by adding extra wooden blocks between studs. Secure these blocks with strong screws. This creates a solid base to attach the bed frame. Use heavy-duty anchors if studs are hard to reach.
Measure twice and mark the wall carefully. Make sure the bed frame will sit level and steady. A reinforced wall prevents accidents and keeps the bed safe over time.
Building The Bed Frame
Choose strong, durable wood like pine or oak for the frame. Cut the wood to the exact size needed for your mattress. Smooth the edges to avoid splinters.
Start by building the main rectangle that holds the mattress. Use screws and wood glue for extra strength. Add support slats inside the frame for better mattress support.
Attach brackets to the frame corners for wall mounting. Make sure these fit the reinforced wall spots. Test the frame by lifting it slightly. It must feel solid and balanced.
Mounting The Floating Bunk Bed
Mounting a floating bunk bed is a key step in the building process. It makes the bed safe and strong. Proper mounting keeps the bed secure and prevents accidents. This section explains how to fix the frame and check stability.
Securing The Frame To The Wall
Start by finding the wall studs with a stud finder. Mark the studs clearly. Use heavy-duty brackets to attach the bed frame. Drill pilot holes before screwing to avoid wood splitting. Tighten screws fully to hold the frame firmly. Double-check all brackets for tightness. The frame must not wobble or move.
Ensuring Stability And Safety
Test the bed by applying gentle pressure from different angles. Add extra support brackets if the frame feels loose. Use a level tool to keep the bed even. Check the weight limit of the materials used. Install guardrails on the top bunk for safety. Make sure there is enough space between beds and the ceiling. Regularly inspect the bed to keep it safe over time.
Finishing Touches
Finishing touches bring your floating bunk bed to life. These steps make your bed safe, smooth, and cozy. Pay attention to details for a polished look.
Sanding And Painting
Start by sanding all surfaces with fine-grit sandpaper. Sand until wood feels smooth and edges are rounded. This prevents splinters and gives a clean finish.
Choose paint or stain that suits your room’s style. Apply thin, even coats for the best result. Let each coat dry fully before adding the next. Use a sealant to protect the wood from moisture and wear.
Adding Mattresses And Accessories
Select mattresses that fit your bunk bed perfectly. Choose ones that are comfortable and safe for sleepers. Add guardrails or cushions for extra safety on the top bunk.
Decorate with pillows, blankets, and fun bedding. Personal touches make the bed inviting and cozy. Keep accessories simple to avoid clutter and maintain safety.
Common Mistakes To Avoid
Building a floating bunk bed can be exciting but tricky. Many beginners make simple mistakes that cause problems later. Avoiding these errors saves time and effort. It also keeps the bed safe and sturdy.
Below are some common mistakes to watch out for during the project. Knowing these helps you build a strong, beautiful floating bunk bed.
Using Weak Materials
Choosing the wrong wood or hardware weakens the bed. Soft wood can bend or break easily. Thin screws or nails may not hold the weight. Use strong, durable materials for safety.
Poor Wall Anchoring
Not anchoring the bed properly to the wall is risky. The bed can fall or wobble under weight. Always find studs and use heavy-duty anchors. This keeps the bed secure and stable.
Ignoring Weight Limits
Every bunk bed has a weight limit. Overloading the bed causes damage or accidents. Check the maximum weight before building. Build a frame that supports enough weight safely.
Skipping Precise Measurements
Imprecise measurements lead to gaps or uneven parts. The bed may not fit in the space or hold well. Measure twice, cut once. This prevents costly mistakes and frustration.
Not Planning For Mattress Size
Forgetting mattress size causes fitting problems. The mattress should fit snugly without gaps. Know mattress dimensions before building. Leave a little space for easy mattress removal.
Neglecting Safety Features
Skipping guardrails or ladders is dangerous. Falling from a bunk bed can cause injury. Add sturdy guardrails and a safe ladder. Safety should be a top priority in the design.
Maintenance And Care Tips
Keeping your floating bunk bed in good shape helps it last longer. Regular care prevents damage and keeps it safe to use. Small maintenance steps save time and money later. Follow these tips to maintain your bed’s strength and look.
Checking The Mounting Hardware
Inspect bolts and screws often. Tighten any loose parts with the right tools. Replace rusty or worn hardware quickly. Secure fittings keep the bed steady and safe.
Cleaning The Bed Frame
Dust the frame weekly using a soft cloth. Avoid harsh cleaners that can damage the finish. Use mild soap and water for stains. Dry the surface well to prevent rust or wood damage.
Protecting The Wood Or Metal
Apply polish or sealant to wood every few months. This keeps wood from drying or cracking. For metal, use rust protection spray. These steps extend the bed’s life and keep it looking new.
Inspecting For Wear And Tear
Look for cracks, bends, or other damage regularly. Check the mattress support for signs of weakness. Fix problems early to avoid accidents. Replace parts if they look unsafe or worn out.
Maintaining Mattress And Bedding
Rotate the mattress every month to avoid sagging. Use bedding that fits well to prevent slipping. Wash sheets and blankets often to keep the bed fresh. Clean bedding helps keep the sleeping area healthy.

Credit: www.youtube.com

Credit: www.younghouselove.com
Frequently Asked Questions
How Do You Build A Floating Bunk Bed Safely?
Use strong wall studs and heavy-duty brackets for support. Securely anchor the bed frame to the wall. Follow precise measurements and double-check all connections for stability.
What Materials Are Needed For A Floating Bunk Bed?
You need wood planks, metal brackets, screws, wall anchors, and a mattress. Choose high-quality, durable materials for safety and longevity. Proper tools like a drill and level are also essential.
Can A Floating Bunk Bed Support Adult Weight?
Yes, if properly constructed with sturdy materials and strong wall anchors. Always check weight limits of brackets and wood used. Reinforce the bed frame to ensure it holds adult weight safely.
How Much Space Is Needed For A Floating Bunk Bed?
Allow at least 7 feet ceiling height for comfort and safety. Ensure enough wall space for secure mounting. Leave clearance around the bed for easy access and ventilation.
Conclusion
Building a floating bunk bed can save space and add style. Follow clear steps for a strong, safe design. Use good materials and measure twice for best results. Take your time and enjoy the process. A well-made floating bunk bed looks great and lasts long.
Try this project to make your room more fun and useful. You can do it!