Are you ready to create something useful and beautiful with your own hands? Making a wood bookshelf is easier than you think, and it can add a personal touch to your home or office.
Imagine having a sturdy, custom shelf that fits perfectly in your space and holds your favorite books and treasures. In this guide, you’ll find simple steps that anyone can follow, even if you’ve never built furniture before. Stick with me, and by the end, you’ll have the confidence and know-how to build a bookshelf you’ll be proud of.
Let’s get started!
Choosing The Right Wood
Before starting your wood bookshelf project, gather all necessary tools and materials. Being prepared saves time and helps avoid interruptions. Organize everything in a clean workspace. Check each item carefully to ensure quality and safety.
Essential Tools List
- Measuring tape for accurate dimensions
- Hand saw or circular saw for cutting wood
- Drill with drill bits for screws
- Screwdriver or power driver
- Clamps to hold pieces together
- Sandpaper or electric sander for smooth edges
- Carpenter’s square to check right angles
- Pencil for marking measurements
Materials Checklist
- Wood boards, such as pine or plywood
- Wood screws of various sizes
- Wood glue for extra strength
- Wood stain or paint for finishing
- Brushes or rags for applying finish
- Wood filler to cover gaps or holes
Safety Gear
- Safety goggles to protect your eyes
- Dust mask to avoid inhaling sawdust
- Work gloves to protect your hands
- Ear protection if using loud power tools
- Closed-toe shoes for foot safety
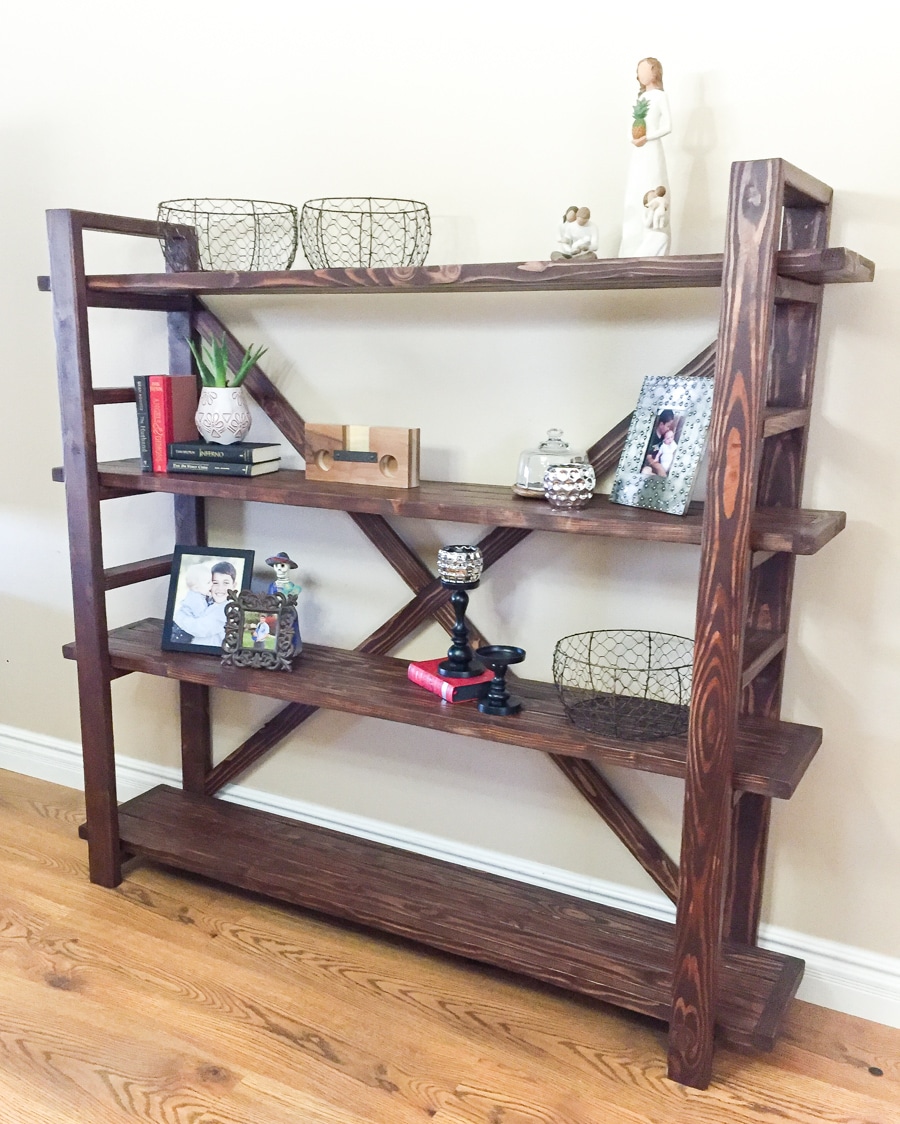
Credit: jenwoodhouse.com
Gathering Tools And Materials
Designing your wood bookshelf is the first step to building a piece that fits your space and style. It helps you see how the final product will look and function. Good design makes your bookshelf practical and beautiful.
Think about where the bookshelf will go. Consider the size and shape of the room. Decide what you want to store. Books, decorations, or both? Planning these details saves time and effort later.
Measuring Space And Size
Start by measuring the wall or corner for your bookshelf. Write down the height, width, and depth. Leave some space around the shelf for easy access. Small gaps prevent the shelf from feeling cramped.
Think about the bookshelf’s height. Will it reach the ceiling or stay low? Choose a size that fits the room’s scale. Too tall or too wide shelves can overwhelm the space.
Shelf Style Ideas
Pick a style that matches your room’s look. Simple, straight shelves work well in modern rooms. Curved or decorative shelves suit traditional spaces. Open shelves show off your items. Closed shelves hide clutter.
Consider adding doors or drawers for extra storage. Floating shelves create a light, airy feel. Built-in shelves offer a custom, seamless look. Choose a style that fits your taste and needs.
Planning Shelf Spacing
Decide how tall each shelf should be. Books need different space than decorations. Taller books need more room. Adjustable shelves let you change the height as needed.
Leave enough space between shelves to avoid crowding. Too little space makes items hard to fit. Too much space wastes room. Balance is key for a functional shelf.
Designing Your Bookshelf
Cutting and preparing wood is the first step in building a strong bookshelf. Good preparation makes the whole project easier. It helps the pieces fit well and look neat. Take time to measure and cut carefully. Use the right tools and safety gear. Smooth the wood after cutting to avoid rough edges. This part sets the base for a beautiful finished shelf.
Measuring And Marking Cuts
Start by measuring your wood pieces with a tape measure. Mark the cuts clearly using a pencil and a straight edge. Double-check your measurements to avoid mistakes. Mark both sides of the wood for better guidance. Accurate marks help you cut straight and fit parts perfectly.
Using Saws Safely
Choose the right saw for your cuts, like a handsaw or circular saw. Wear safety glasses and gloves to protect yourself. Keep your hands away from the blade. Cut slowly and follow the marked lines closely. A steady hand gives cleaner cuts and prevents accidents.
Sanding For Smooth Finish
After cutting, sand the edges and surfaces using sandpaper or a sanding block. Start with coarse grit to remove rough spots. Then use fine grit for a smooth finish. Sanding makes the wood safe to handle and ready for painting or staining. It also improves the bookshelf’s look and feel.
Cutting And Preparing Wood
Assembling the frame is a key step in making a wood bookshelf. This step builds the basic shape and structure. A strong frame supports the shelves and holds the weight of books. Take time to make sure the frame is square and solid.
Joining Techniques
There are several ways to join wood pieces for the frame. Common methods include butt joints, dowel joints, and pocket holes. Butt joints are simple but less strong. Dowel joints add strength by fitting wooden pins into drilled holes. Pocket holes use angled screws to pull pieces tightly together. Choose a method that fits your tools and skill level.
Using Screws And Nails
Screws hold wood pieces firmly and resist pulling apart. Use screws with a drill for quick assembly. Nails work for light parts but may loosen over time. Pre-drill holes to stop wood from splitting. Countersink screws so the heads sit flush or below the surface. This creates a neat look and avoids snags.
Ensuring Stability
Check the frame for square corners using a carpenter’s square. Tighten all joints before moving on. Add corner braces or wood glue for extra strength. Make sure the frame does not wobble or lean. A stable frame keeps the bookshelf safe and long-lasting.
Assembling The Frame
Installing shelves is an important step in building a wood bookshelf. It gives the bookshelf its storage space and holds your books firmly. Careful installation ensures shelves stay level and strong for a long time.
Attaching Shelf Supports
Start by fixing the shelf supports on the inside walls of the bookshelf. Use a measuring tape to mark equal heights on both sides. Drill pilot holes for screws to avoid splitting the wood. Attach the supports tightly using screws and a screwdriver. Make sure they are level to keep shelves stable.
Positioning Shelves Evenly
Place the shelves on the supports gently. Check the distance between each shelf to keep them even. Use a ruler or tape measure for accuracy. Adjust the shelves as needed before securing them. Even spacing creates a balanced look and helps books stand upright.
Securing Shelves
Secure the shelves by nailing or screwing them to the supports. This prevents movement and adds strength. Use small nails or screws and a hammer or drill. Do not force the shelves; they should fit snugly on the supports. Double-check that shelves are level before final fixing.
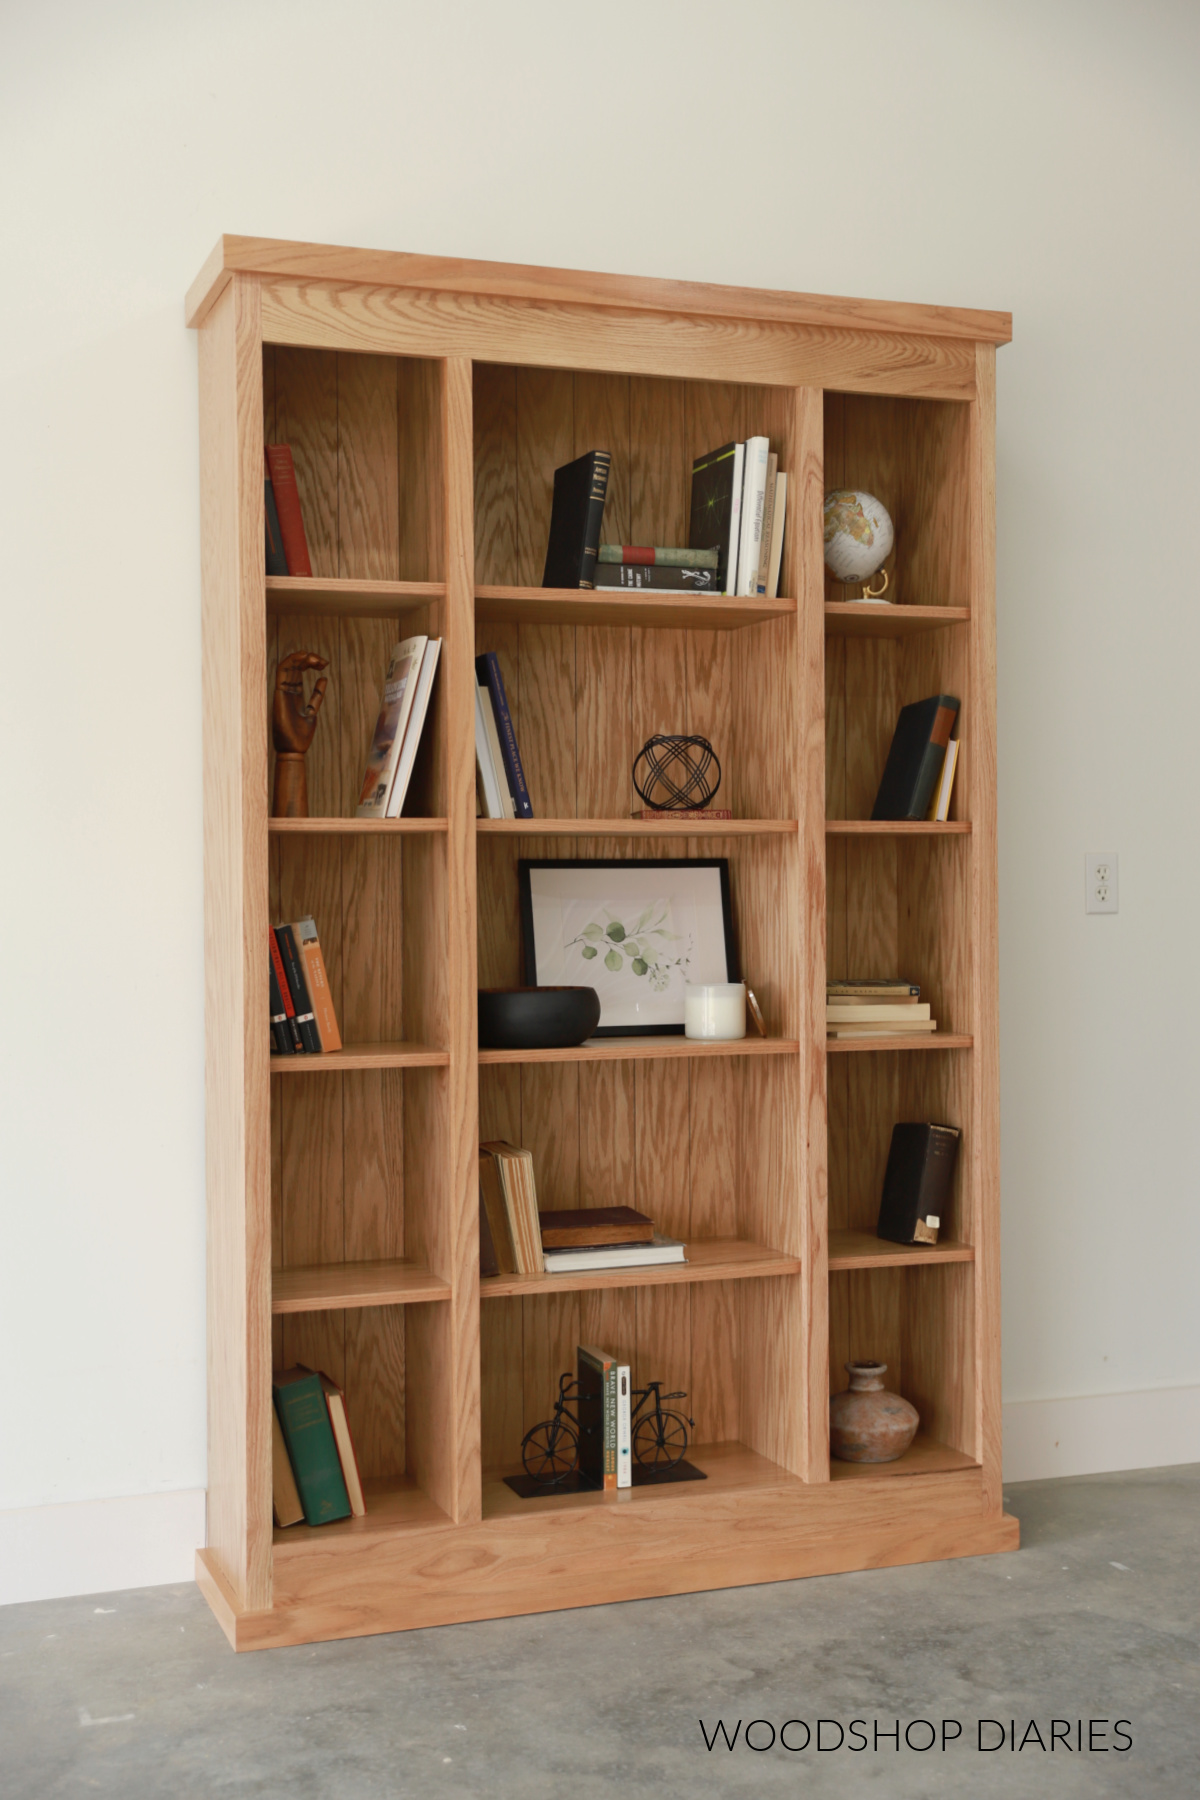
Credit: www.woodshopdiaries.com
Installing Shelves
Finishing touches bring your wood bookshelf to life. They protect the wood and add style. These final steps make your bookshelf look polished and ready to use. Pay attention to these details for the best results.
Applying Stain Or Paint
Choose a stain or paint color that matches your room. Stain shows the wood grain and gives a natural look. Paint hides the grain and adds solid color. Use a brush or cloth to apply evenly. Let it dry fully before moving on.
Sealing For Protection
Seal the wood with a clear finish to protect it. Use polyurethane, varnish, or lacquer for strong protection. Apply thin coats and let each dry well. This prevents scratches, water damage, and wear. Sealing keeps your bookshelf looking good for years.
Adding Decorative Elements
Decorate your bookshelf to make it unique. Add knobs, trim, or stencils for style. Use wood glue or small nails to attach decorations. Keep designs simple for a clean look. These touches personalize your bookshelf and show your creativity.
Finishing Touches
Maintaining your wood bookshelf keeps it looking new and lasting longer. Regular care protects the wood and preserves its beauty. Simple steps can help avoid damage and keep the shelf strong.
Cleaning Tips
Dust the bookshelf often with a soft cloth. Use a dry or slightly damp cloth to avoid water damage. Avoid harsh chemicals that can strip the wood finish. For sticky spots, use mild soap mixed with water. Wipe gently and dry immediately to prevent moisture build-up.
Preventing Damage
Keep the bookshelf away from direct sunlight to stop fading. Avoid placing it near heaters or air conditioners to prevent warping. Use coasters or mats under items that might scratch the surface. Do not overload shelves; follow weight limits to prevent sagging. Handle the bookshelf carefully during moves to avoid cracks or breaks.
Repairing Scratches And Dents
Minor scratches can be hidden with wood polish or a touch-up marker. For deeper dents, use a damp cloth and an iron to raise the wood fibers gently. Sand lightly and apply matching wood stain if needed. Fill small holes with wood filler, then sand and paint or stain. Regular checks help catch damage early for easy repair.
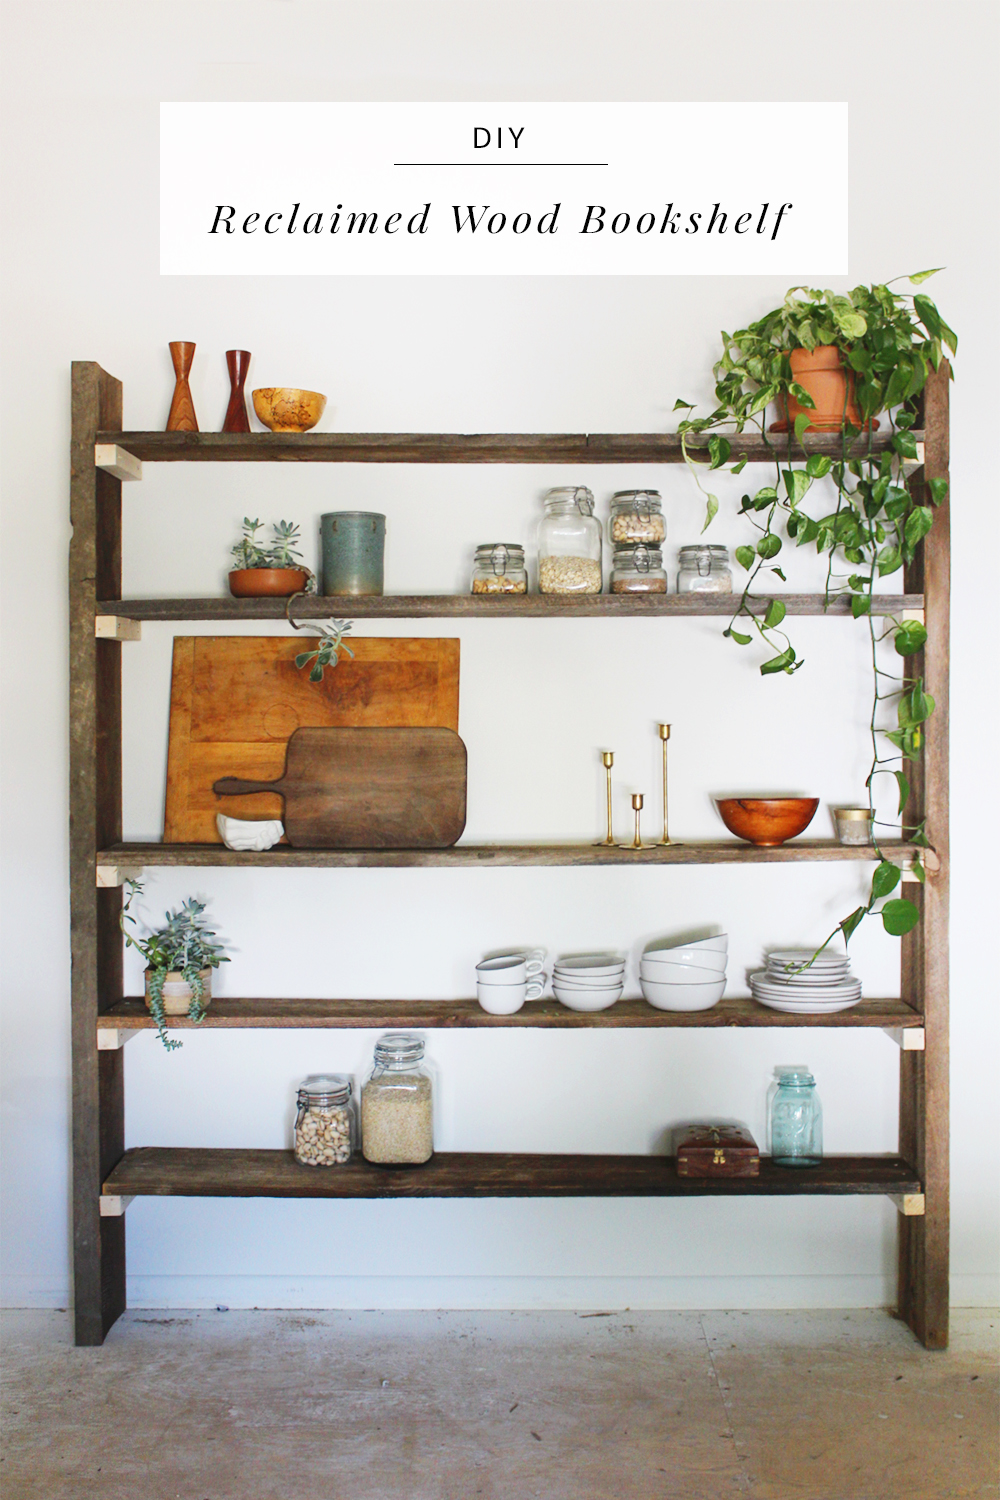
Credit: homemadebycarmona.com
Frequently Asked Questions
What Materials Do I Need To Make A Wood Bookshelf?
You need wood boards, screws, wood glue, sandpaper, paint or stain, a saw, drill, and measuring tools. Choose durable wood like pine or oak for strength and longevity.
How Long Does It Take To Build A Wood Bookshelf?
Building a wood bookshelf typically takes 3 to 6 hours. Time varies by design complexity and your woodworking experience.
Can I Customize The Size Of My Bookshelf?
Yes, you can customize the bookshelf size to fit your space. Adjust height, width, and shelf depth as needed for your room and storage needs.
What Type Of Wood Is Best For Bookshelves?
Hardwoods like oak, maple, or cherry are best for durability. Softwoods like pine work for budget-friendly projects but are less durable.
Conclusion
Building a wood bookshelf is a fun and useful project. You only need a few tools and some wood pieces. Follow each step carefully for best results. Take your time to measure and cut precisely. Sand the edges to make it smooth and safe.
Paint or stain the wood to match your style. This shelf will hold your books and decorate your room. Enjoy the pride of making something with your own hands. Try making more shelves for extra storage space. Simple projects like this boost your skills and confidence.