Are you ready to transform your plain bookshelf into a stunning focal point that reflects your style? Adding a wallpaper back to your bookshelf is a simple and affordable way to breathe new life into your space.
Imagine opening your shelves to reveal a pop of color or pattern that makes your books and decor stand out like never before. In this guide, you’ll discover easy, step-by-step tips to create a beautiful wallpaper-backed bookshelf that feels uniquely yours.
Keep reading to learn how you can elevate your room with this clever and creative makeover.
Materials Needed
Gathering the right materials is the first step in making a bookshelf with a wallpaper back. Each item plays a key role in building a sturdy and beautiful piece. Knowing what to use helps the project go smoothly and the shelf to last long.
Choosing The Right Wood
Select wood that is strong and easy to work with. Pine and plywood are good options for beginners. They are affordable and light. The wood should be smooth or sanded to avoid splinters. Thickness around ¾ inch works well for shelves.
Selecting Wallpaper Patterns
Pick a wallpaper pattern that matches your room style. Simple designs or soft colors create a calm look. Bold patterns add a fun, lively touch. Make sure the wallpaper is easy to cut and stick. Choose moisture-resistant wallpaper for longer durability.
Essential Tools
Gather basic tools for cutting and assembling. A saw, hammer, nails, and screwdriver are must-haves. Sandpaper smooths the wood edges. Measuring tape and level keep shelves even. Use glue and wallpaper paste for a neat finish.
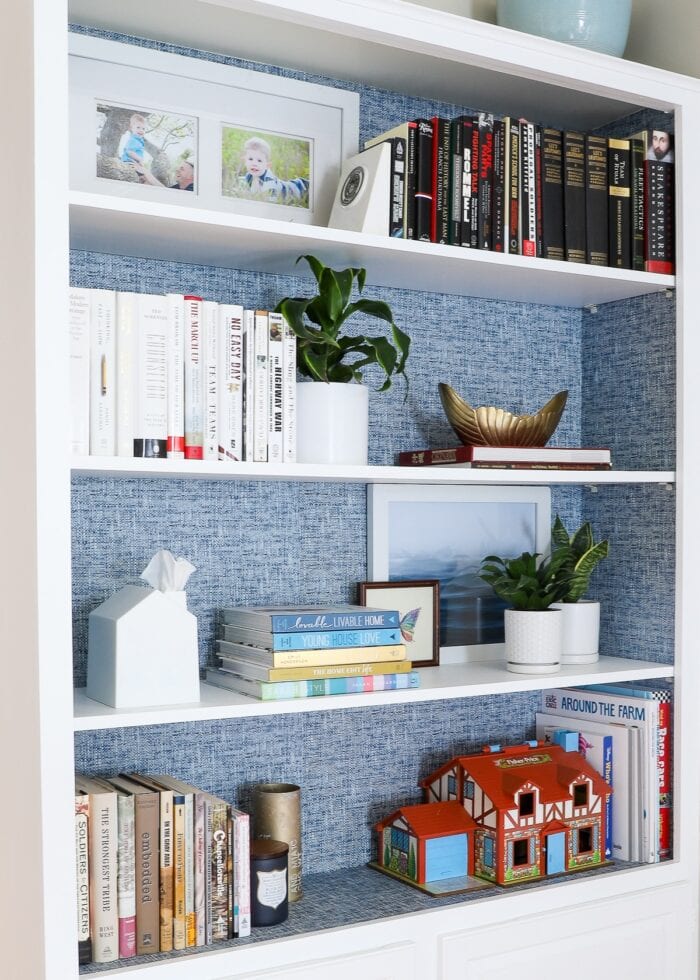
Credit: thehomesihavemade.com
Planning Your Bookshelf
Planning your bookshelf is the first step to a successful DIY project. It helps you avoid mistakes and saves time. Careful planning makes your bookshelf strong and beautiful. You will also get a clear idea of how the wallpaper back will fit in.
Measuring Space And Dimensions
Start by measuring the wall space where the bookshelf will go. Use a tape measure to get the height, width, and depth. Write down all numbers clearly. Check for obstacles like switches or vents. These might affect the size of your shelf. Precise measurements ensure the bookshelf fits perfectly.
Designing Shelf Layout
Think about how many shelves you want. Decide the distance between each shelf. Consider the size of the books or items you will store. Draw a simple sketch of the layout. This helps you visualize the final product. A good design balances space and strength.
Preparing A Cutting List
List all parts needed for the bookshelf. Include the sides, shelves, and back panel. Write down the exact sizes for each piece. This list will guide your cutting process. Double-check the numbers to avoid errors. A clear cutting list saves material and effort.
Cutting And Assembling Wood
Cutting and assembling wood is the foundation of building a sturdy bookshelf. This step requires careful measurement and precise work. Taking time to cut wood correctly ensures your bookshelf fits perfectly and looks neat. A well-assembled frame provides strong support for your books and decorative items. Follow these simple steps to prepare and join the wood pieces for a beautiful bookshelf with a wallpaper back.
Cutting Wood To Size
Measure the space where you want your bookshelf. Mark the wood pieces according to these measurements. Use a saw to cut the wood carefully along the marked lines. Keep your cuts straight for a clean fit. Cutting wood to the right size is key to a solid structure.
Sanding And Smoothing Edges
After cutting, the wood edges can be rough. Sand each edge using sandpaper or a sanding block. Smooth edges prevent splinters and give a polished look. Take your time sanding all surfaces that will show. Smooth wood helps paint or finish stick better too.
Assembling The Frame
Arrange the cut wood pieces to form the frame. Use wood glue on the edges for extra hold. Secure the frame with screws or nails for strength. Check the frame is square before tightening fully. A strong frame means your bookshelf will last long and hold weight safely.
Applying Wallpaper Back
Applying wallpaper to the back of your bookshelf gives it a fresh and stylish look. It adds color and pattern, making the shelf stand out. This step is simple but needs care for the best result. Follow these tips to apply wallpaper smoothly and neatly.
Cutting Wallpaper To Fit
Measure the back panel of your bookshelf carefully. Use a ruler and pencil for accuracy. Cut the wallpaper slightly larger than the panel. This extra helps adjust the fit later. Trim any excess after sticking the wallpaper. Sharp scissors or a craft knife work best for clean edges.
Adhering Wallpaper Smoothly
Peel a small section of the wallpaper backing first. Stick it to the top edge of the panel. Slowly pull the backing off while pressing the wallpaper down. Use a flat tool or credit card to remove air bubbles. Work from the center out to the edges. Smooth application prevents wrinkles and gaps.
Handling Corners And Edges
Fold wallpaper gently at corners for a neat finish. Cut small slits if needed to avoid bunching. Press wallpaper firmly along edges to secure it well. Use a damp cloth to wipe away extra glue. Smooth corners keep your bookshelf looking polished and clean.
Finishing Touches
Finishing touches bring your bookshelf to life. They make it strong and beautiful. Careful work here ensures your bookshelf lasts and looks great. Focus on sealing the wallpaper, adding shelves, and treating the wood for the best result.
Sealing And Protecting Wallpaper
Seal the wallpaper to stop water and dirt damage. Use a clear, matte finish sealer for a smooth look. Apply the sealer gently with a soft brush or roller. Let it dry fully before adding shelves. This step keeps the wallpaper bright and clean.
Adding Shelves And Supports
Attach shelves with strong brackets or supports. Measure carefully to keep shelves level and even. Use screws that fit well and hold tight. Place supports at regular intervals for extra strength. Test the shelves by adding weight slowly.
Painting Or Staining Wood
Paint or stain wood to match your room’s style. Choose colors that suit the wallpaper’s design. Light coats work best to avoid drips and blotches. Let each coat dry before adding another. This step protects wood and adds charm.
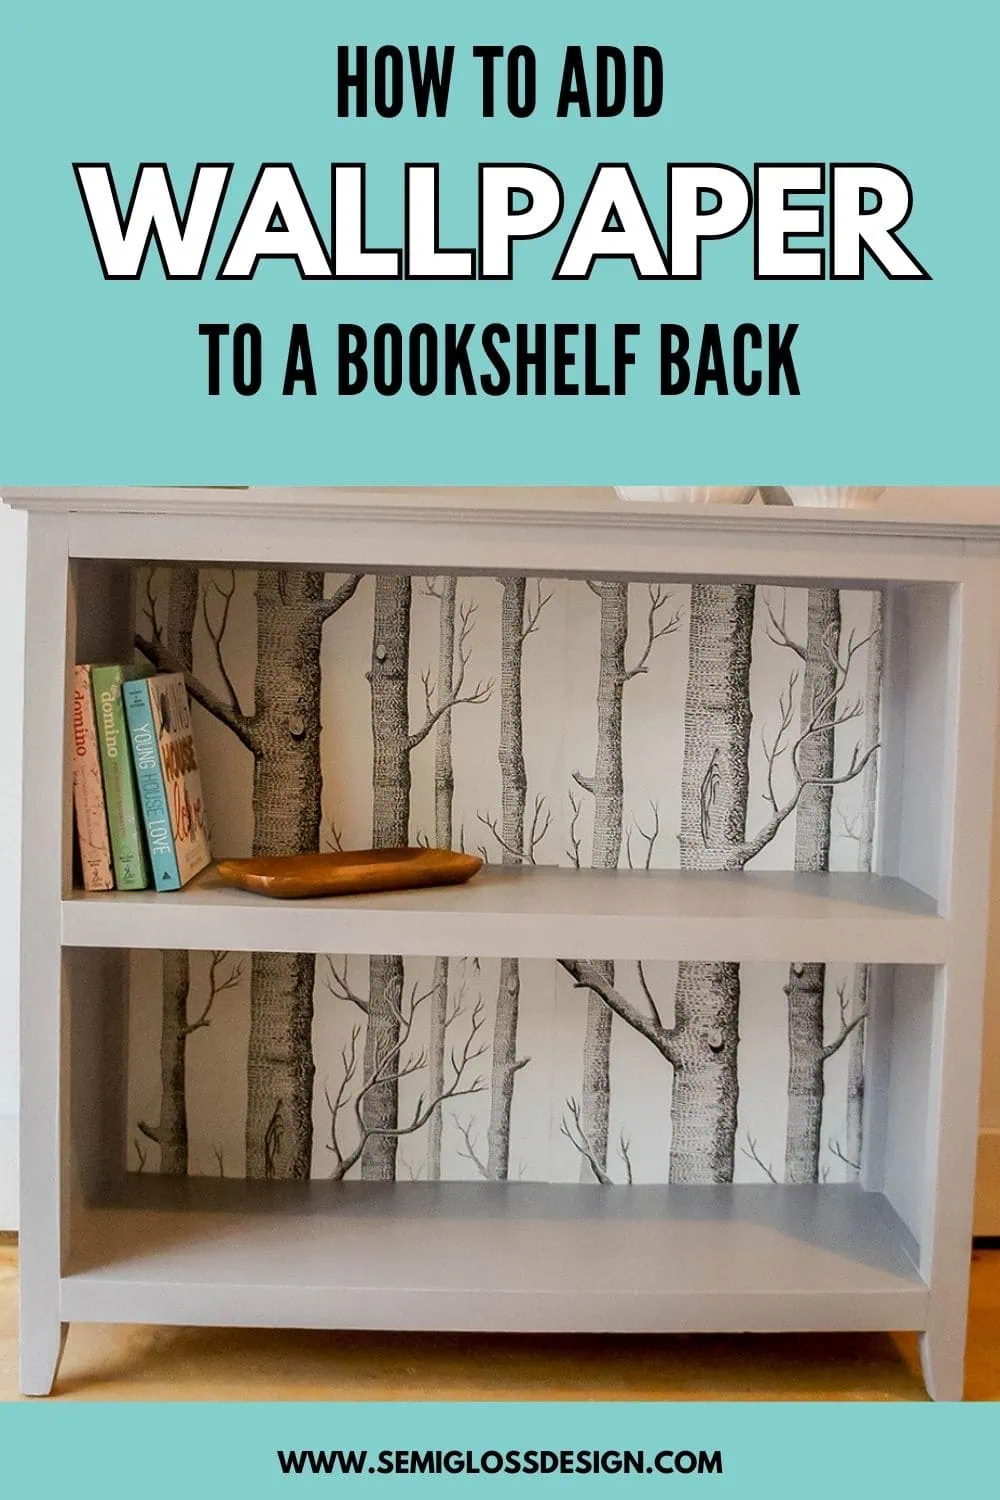
Credit: www.semiglossdesign.com
Installation Tips
Installing a bookshelf with a wallpaper back adds charm and style to any room. Proper installation ensures safety and enhances the look. Follow these tips for a smooth setup.
Securing Bookshelf To Wall
Attach the bookshelf firmly to the wall to prevent tipping. Use wall anchors or screws suitable for your wall type. Locate studs with a stud finder for stronger support. Tighten all screws securely. Check the shelf holds steady before placing items.
Leveling And Stability Checks
Use a level tool to make sure shelves are straight. Adjust legs or add shims under the base if needed. Test the shelf by gently pushing it. It should not wobble or rock. Stability is key for safety and appearance.
Organizing Books And Decor
Arrange books by size or color for a neat look. Mix books with decorative items to add interest. Avoid overcrowding shelves to keep balance. Leave space for easy access and dusting. Change decorations seasonally to refresh the style.
Creative Variations
Creative variations make your bookshelf unique and stylish. You can change the look by using different materials and designs. Small changes can bring big impact to your room’s decor.
Using Different Wallpaper Textures
Choose wallpapers with various textures to add depth. Smooth, rough, or embossed wallpapers create distinct feelings. Textured wallpaper can make your bookshelf stand out visually and by touch.
Try natural textures like grasscloth for a warm, earthy vibe. Vinyl wallpapers offer durability and easy cleaning. Mixing textures can make your bookshelf feel custom and inviting.
Incorporating Lighting
Light adds charm and focus to your bookshelf. Use LED strips or small spotlights behind the shelves. Lighting highlights the wallpaper and your displayed items.
Soft, warm lights create cozy moods. Bright lights make the colors pop and look fresh. Lighting also helps you see books and decor better at night.
Customizing Shelf Shapes
Change shelf shapes to break the usual straight lines. Curved or angled shelves add creative energy to the space. Odd shapes can fit special items or art pieces perfectly.
Mix tall and short shelves for varied storage options. Play with asymmetry to catch the eye. Custom shapes give your bookshelf a fun, personal touch.

Credit: uwdecals.com
Frequently Asked Questions
What Materials Do I Need For A Wallpaper-backed Bookshelf?
You need plywood or MDF boards, wallpaper, adhesive, paint or stain, nails or screws, and basic tools. Choose wallpaper that complements your room’s decor. Proper preparation ensures a sturdy and stylish bookshelf with a unique wallpaper back.
How Do I Apply Wallpaper To The Bookshelf Back?
Measure the bookshelf back accurately. Cut wallpaper slightly larger than the back panel. Apply adhesive evenly, then smooth the wallpaper from top to bottom. Trim excess edges carefully for a clean finish. Let it dry before assembling the bookshelf.
Can I Use Any Wallpaper Type For The Bookshelf Back?
Yes, but vinyl or washable wallpapers are best. They resist moisture and wear, keeping your bookshelf looking fresh. Avoid delicate wallpapers that may tear easily during installation or use. Choose durable wallpaper for longevity and easy maintenance.
How Long Does It Take To Make A Wallpaper-backed Bookshelf?
Typically, it takes about 2 to 4 hours. Time varies depending on design complexity and drying time for adhesive or paint. Planning and preparation can reduce total project time. This DIY project is perfect for a weekend activity.
Conclusion
Creating a bookshelf with a wallpaper back adds charm to any room. It brings color and style without much effort. You only need a few tools and some patience. This project is perfect for beginners and DIY lovers. Enjoy the process and personalize your space.
Your new bookshelf will hold books and display your favorite items. Try different wallpaper patterns for a unique look. Small changes can make a big difference in home decor. Start today and see how easy it can be!