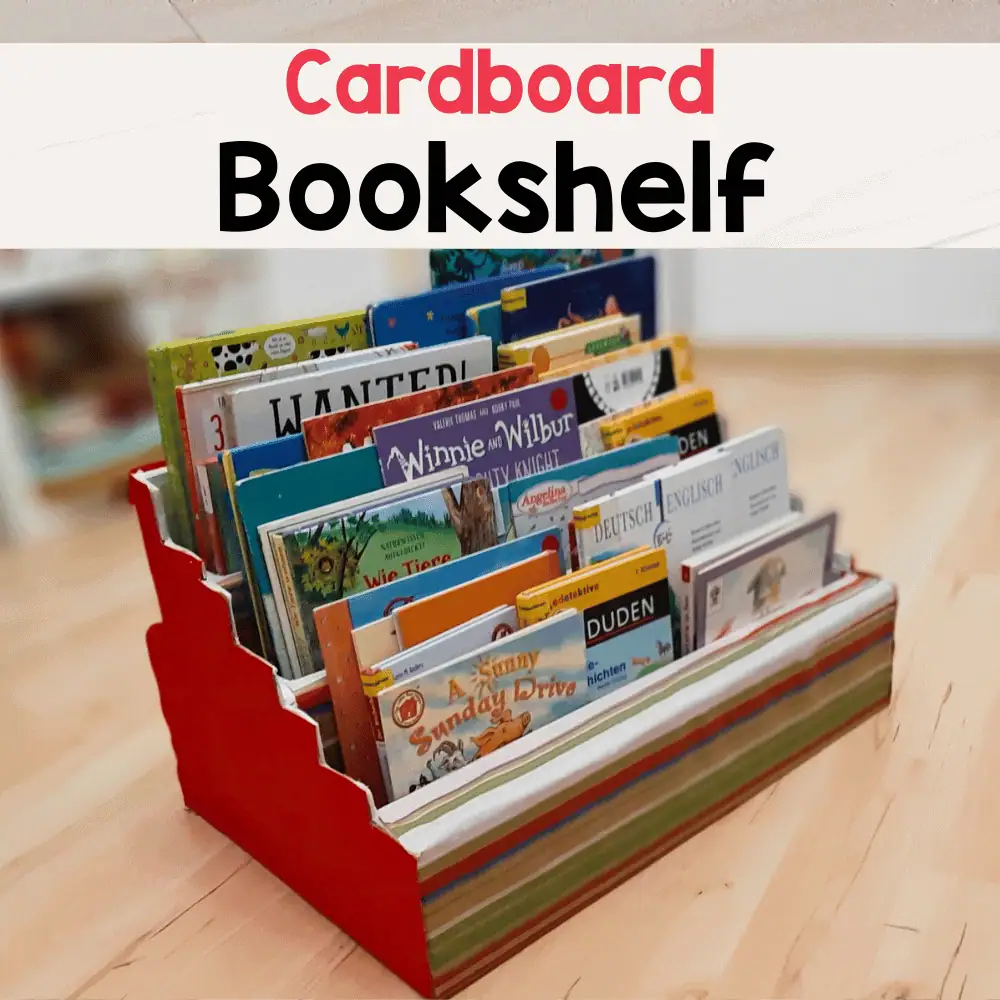
Are you tired of clutter and looking for a simple way to organize your space? Imagine having a beautiful bookshelf you made yourself, without spending a lot of money or needing special skills.
In this guide, you’ll discover easy steps to build a sturdy, stylish bookshelf right at home. Whether you want to display your favorite books, plants, or keepsakes, this project is perfect for you. Ready to transform your space and impress your friends with your DIY skills?
Keep reading, and you’ll see how simple it can be!
Materials Needed
Before building your bookshelf, gather all the necessary materials. Having everything ready makes the process smooth and faster. This section covers the types of wood, tools, and other supplies you need.
Wood Types
Choose wood that fits your style and budget. Pine is soft and easy to work with. It also costs less. Oak is strong and lasts longer. It looks great but costs more. Plywood is affordable and stable. It works well for shelves and sides.
Tools Required
Basic tools make building easier and safer. A saw helps cut the wood to size. Use a drill for screws and holes. A measuring tape ensures accurate cuts. Sandpaper smooths the wood surface. A level keeps your shelves straight.
Additional Supplies
Besides wood and tools, some extra items help a lot. Screws hold the pieces tightly. Wood glue adds extra strength. Paint or stain gives a nice finish. Brushes or rags help apply paint or stain. Safety gear like gloves and goggles protect you.
Credit: www.littleladoo.com
Planning Your Bookshelf
Planning your bookshelf is the first step to a successful project. Careful thought saves time and effort later. It helps create a bookshelf that fits your needs and space perfectly.
Consider what you want to store on your bookshelf. Books, decorations, or both? This will guide your decisions on size and design.
Choosing Dimensions
Measure the area where the bookshelf will go. Width, height, and depth matter for a good fit. Think about the size of your books and items too.
Keep shelves tall enough for large books. Shelf depth should be enough to hold them without overhang. Balance size with room space to avoid crowding.
Design Styles
Pick a style that matches your room. Simple, modern, rustic, or classic designs work well. A clean design often looks neat and fits many spaces.
Decide if you want open shelves or ones with doors. Open shelves show off items. Closed shelves keep dust away and hide clutter.
Space Considerations
Think about how much space the bookshelf will use. Leave room to walk and access shelves easily. Avoid blocking windows or doors.
Consider the wall strength for heavy books. Some walls need extra support or anchors. Plan for future room changes too.
Cutting The Wood
Cutting the wood is one of the first steps in making a bookshelf at home. This part shapes the pieces that will form your shelf. You need to be careful and precise to get good results. Cutting the wood well ensures your bookshelf fits together tightly and looks neat. Use the right tools and take your time to measure and cut carefully.
Measuring Accurately
Start by measuring the wood pieces before cutting. Use a tape measure or ruler for exact numbers. Mark the wood with a pencil on the spot where you will cut. Double-check each measurement to avoid mistakes. Measure twice, cut once. This saves wood and keeps your project on track.
Safe Cutting Techniques
Wear safety goggles and gloves to protect yourself. Use a stable surface to cut the wood. Hold the wood firmly or clamp it down. Cut slowly and steadily to keep control. Follow the lines you marked for a clean cut. Keep your fingers away from the blade at all times.
Assembling The Frame
Assembling the frame is a key step in making an easy bookshelf at home. It gives the bookshelf its shape and strength. A well-built frame holds shelves firmly and keeps the whole structure stable. Focus on connecting the wood pieces tightly and straight. This makes the bookshelf last longer and look neat.
Joining Methods
There are several ways to join the wood pieces for the frame. Choose a method based on tools and skills. Common methods include wood glue, dowels, and brackets. Each method has its own strength and ease of use. Use clamps to hold pieces while glue dries. This ensures a strong bond. The goal is to make joints that do not wobble or come apart.
Using Screws And Nails
Screws and nails are popular for quick assembly. Screws hold wood tightly and are easy to remove if needed. Pre-drill holes to avoid splitting the wood. Nails are faster but less strong than screws. Use a hammer and nail set to drive nails flush with wood. Both screws and nails add good support to the frame. Use them on corners and where shelves will rest. This strengthens the entire bookshelf structure.
Adding Shelves
Adding shelves is the key step in making a simple bookshelf at home. Shelves hold your books and decorations. They need to be spaced right and fixed firmly. This part will guide you on how to space and secure your shelves effectively.
Spacing Shelves
Decide how tall your books and items are. Measure the tallest book to set the shelf height. Leave extra space above for easy access. Mark each shelf spot on the frame. Keep shelves evenly spaced for a neat look. Adjust spacing if you want to store taller items on some shelves.
Securing Shelves
Use screws or brackets to attach shelves to the frame. Check that shelves are level before fixing them. Drill pilot holes to avoid wood splitting. Tighten screws so shelves stay stable. Test each shelf by placing a book to ensure it holds well. Secure shelves firmly to prevent wobbling or falling.
:max_bytes(150000):strip_icc()/dominiquegebruinsta-35b11dd4f037417980649e06e17c4027.jpg)
Credit: www.thespruce.com
Finishing Touches
Finishing touches give your bookshelf a polished look. They protect the wood and make it last longer. These final steps make your project look neat and professional. Let’s explore how to complete your bookshelf with sanding, painting or staining, and protective coating.
Sanding Smooth
Sanding removes rough spots and splinters. Use fine-grit sandpaper for a smooth surface. Sand along the wood grain to avoid scratches. Wipe dust off with a clean cloth after sanding. This step helps paint or stain stick better.
Painting Or Staining
Choose paint or stain based on your style. Paint hides wood grain but offers many colors. Stain shows the natural wood texture and adds color. Apply thin, even coats for best results. Let each coat dry before applying the next.
Protective Coating
Protective coating shields your bookshelf from scratches and spills. Use clear varnish, polyurethane, or wax. Apply with a brush or cloth in thin layers. Allow each layer to dry completely. This step extends the life of your bookshelf.
Tips For Durability
Building a bookshelf at home is fun and rewarding. To keep it strong and lasting, focus on durability tips. These help your shelf hold more weight and stay safe over time. Small efforts make big differences in how long your bookshelf lasts.
Weight Distribution
Place heavy books on the bottom shelves. This lowers the shelf’s center of gravity. It stops the bookshelf from tipping over. Keep lighter items on top shelves. Spread books evenly to avoid pressure on one side. Balanced weight keeps shelves from bending or breaking.
Maintenance Advice
Check screws and nails regularly. Tighten any loose parts to keep shelves steady. Clean dust often to protect wood from damage. Use a soft cloth and mild cleaner. Avoid heavy water contact to stop wood from swelling. Fix small cracks quickly to prevent bigger problems.
Credit: jenwoodhouse.com
Frequently Asked Questions
What Materials Do I Need To Make A Bookshelf At Home?
You need wood boards, screws, a drill, sandpaper, paint, and brackets. These basic materials are easy to find and affordable for a DIY bookshelf project.
How Long Does It Take To Build An Easy Bookshelf?
Building a simple bookshelf typically takes 2 to 4 hours. Time depends on your skill level and the complexity of the design.
Can I Customize The Size Of My Homemade Bookshelf?
Yes, you can adjust the bookshelf dimensions to fit your space. Measure your area first, then cut wood pieces accordingly for a perfect fit.
What Tools Are Essential For A Diy Bookshelf Project?
Essential tools include a drill, screwdriver, measuring tape, saw, and level. These tools help ensure your bookshelf is sturdy and well-built.
Conclusion
Building a bookshelf at home is simple and fun. You need just a few tools and materials. Follow the steps carefully for a strong shelf. This project saves money and adds charm to your space. Enjoy your new bookshelf, made by your own hands.
Try different designs to fit your style and room. Start your DIY bookshelf today and enjoy organizing books easily.