Are you tired of searching for the perfect bookshelf that fits your style and space? Imagine creating your own handmade bookshelf that not only holds your favorite books but also adds a personal touch to your room.
Making a bookshelf yourself might sound tricky, but with the right steps, you can build something unique and sturdy. In this guide, you’ll discover simple, clear instructions that anyone can follow. Ready to turn your ideas into a beautiful, functional bookshelf?
Let’s get started!

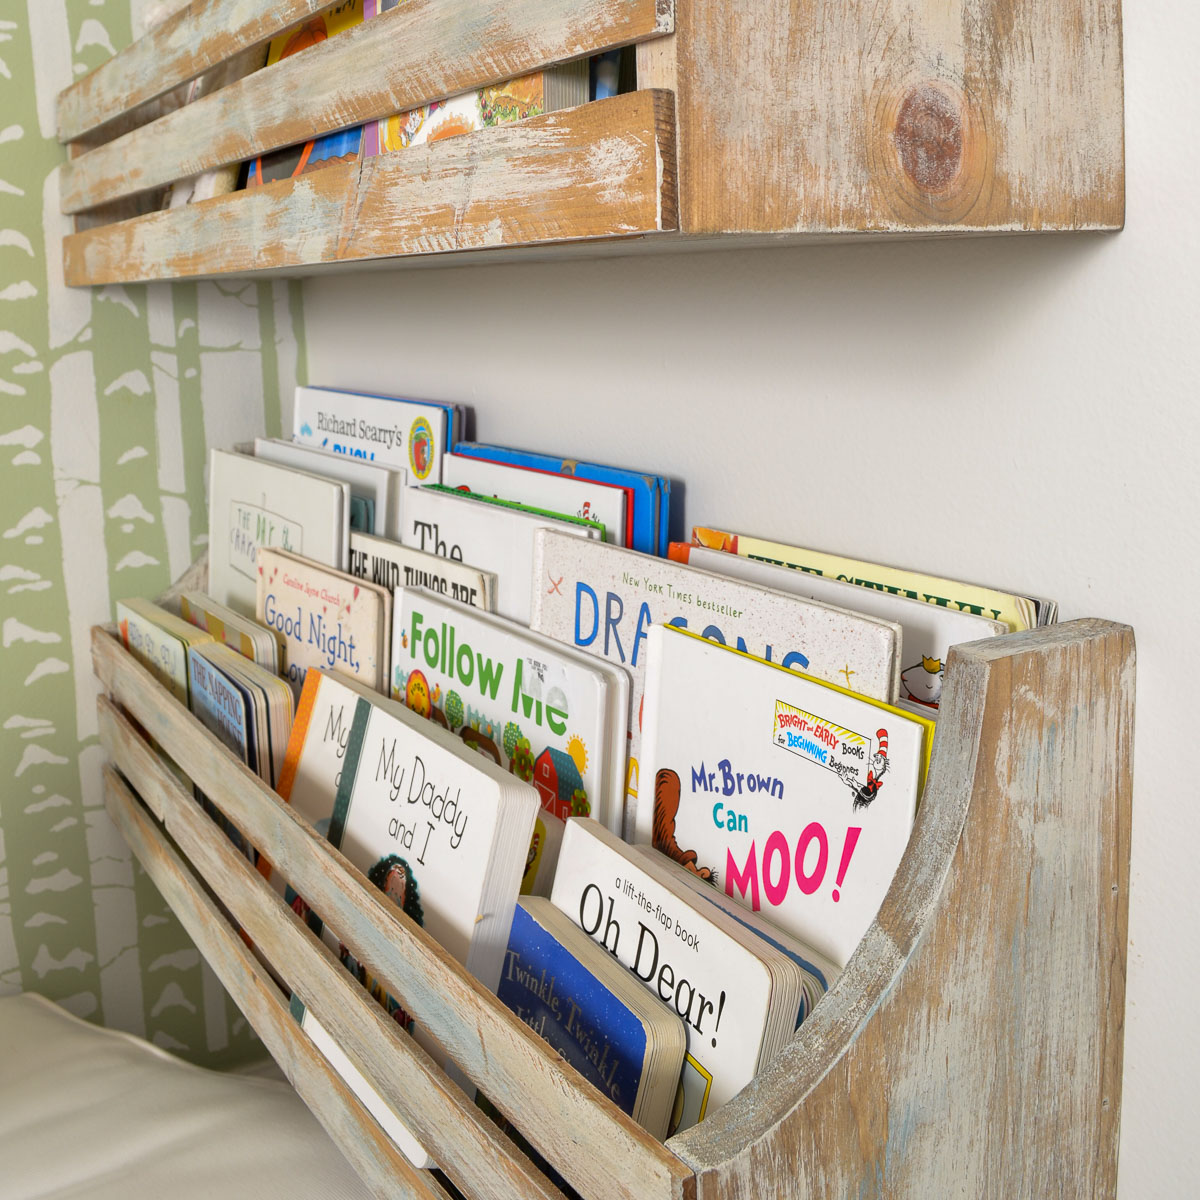
Credit: www.housebeautiful.com
Materials Needed
Building a handmade bookshelf needs the right materials. Choosing good materials makes your bookshelf strong and beautiful. Gather all items before you start. This helps your work go smoothly.
Wood Types
Pick wood that fits your style and budget. Pine is soft and easy to cut. Oak is hard and lasts long. Plywood is cheaper and good for shelves. Avoid wood with many knots or cracks. Smooth wood is easier to paint or stain.
Tools Required
Basic tools make building easier and safer. A saw helps cut wood to size. A drill makes holes for screws. Sandpaper smooths rough edges. A screwdriver tightens screws firmly. A measuring tape ensures exact cuts. A level checks if shelves are straight.
Additional Supplies
Some supplies improve the shelf’s finish and strength. Wood glue holds pieces tightly together. Screws keep the shelf sturdy. Wood filler hides holes or gaps. Paint or stain adds color and protection. Brackets support heavy books safely.
Design Planning
Design planning is the first step in making a handmade bookshelf. It helps to set clear goals and avoid mistakes. Careful planning saves time and materials. A good design fits your space and needs perfectly.
Start by thinking about where you will place the bookshelf. Consider the size and style that suits your room. Planning well leads to a beautiful and useful piece.
Choosing Dimensions
Measure the space where the bookshelf will stand. Note the height, width, and depth limits. Choose dimensions that fit your room and storage needs. Keep enough space around the shelf for easy access. Remember to leave some room for future items.
Selecting Shelf Style
Decide the shape and look of your bookshelf. Simple straight shelves work well for most rooms. You can also add angled or curved shelves for a unique look. Think about how many shelves you need. More shelves hold more books but need more space.
Sketching The Blueprint
Draw a rough sketch of your bookshelf on paper. Include all measurements and shelf positions. This helps to visualize the final product. Mark where screws and supports will go. A clear blueprint guides you during building and avoids errors.
Preparing The Wood
Preparing the wood is the first step in making a sturdy handmade bookshelf. It sets the foundation for the entire project. Careful preparation ensures all pieces fit well and the bookshelf lasts long. Take your time to work precisely with the wood.
Measuring And Marking
Measure the wood pieces carefully before cutting. Use a tape measure for accuracy. Mark the cutting lines with a pencil or chalk. Double-check measurements to avoid mistakes. Clear marks guide your cuts and keep the project neat.
Cutting Techniques
Choose the right saw for straight, clean cuts. A handsaw or circular saw works well for most wood types. Cut slowly and follow the marked lines exactly. Keep your hands steady and safe. Smooth edges make assembly easier and stronger.
Sanding Surfaces
Sanding smooths the wood and removes rough spots. Use medium-grit sandpaper first, then fine-grit for a polished finish. Sand all surfaces, including edges and corners. This step helps paint or stain stick better. Smooth wood feels nice to touch and looks professional.
:max_bytes(150000):strip_icc()/6a00d8358081ff69e201b8d19d6c2b970c-800wi-f39e5c1a40634c1fb3373ca7d9696b64.jpg)
Credit: www.thespruce.com
Assembly Process
The assembly process is a key part of making a handmade bookshelf. It brings all the cut pieces together. Careful assembly ensures the shelf is strong and looks great. Follow each step closely for the best results.
Joining The Pieces
Start by arranging the bookshelf parts on a flat surface. Match edges and corners carefully. Use clamps to hold pieces tightly. This helps keep everything in place during assembly. Take time to align the shelves and sides properly.
Securing With Screws And Glue
Apply wood glue along the edges where pieces meet. Glue adds extra strength to the joints. Next, drill pilot holes to prevent wood from splitting. Insert screws into the holes and tighten them. This locks the parts firmly together for long-lasting durability.
Checking For Stability
Stand the bookshelf upright on a level floor. Gently push it from different sides. If it wobbles, adjust screws or add support. Use a level tool to check shelf alignment. Stability ensures safety and a neat finish for your project.
Finishing Touches
Finishing touches give your handmade bookshelf its final look. These steps protect the wood and make the shelf strong. Small details make a big difference. They help your bookshelf last longer and look better.
Applying Paint Or Stain
Choose paint or stain to match your room’s style. Paint covers the wood for a smooth look. Stain shows the wood grain and adds color. Use a brush or cloth to apply evenly. Let each coat dry well before adding another. This step makes your bookshelf attractive and unique.
Adding Protective Coating
Protective coating guards against scratches and spills. Clear varnish or polyurethane works well. Apply with a clean brush in thin layers. Wait for each layer to dry fully. This coating keeps your bookshelf looking new longer. It also makes cleaning easier.
Installing Shelf Supports
Shelf supports hold the shelves firmly in place. Choose metal brackets or wooden pegs based on design. Measure carefully and mark support spots. Secure supports tightly with screws or nails. Proper supports prevent shelves from bending or falling. This step ensures your bookshelf can hold heavy books safely.
Maintenance Tips
Maintaining your handmade bookshelf helps keep it strong and beautiful. Regular care stops damage and keeps the wood looking fresh. Small actions save money and effort later. Follow simple steps to care for your bookshelf daily.
Cleaning Methods
Dust the shelves often using a soft cloth. Avoid wet cloths that can harm the wood. Use a dry or slightly damp cloth for sticky spots. Do not use harsh chemicals or abrasive cleaners. A gentle wood cleaner works best for deep cleaning.
Repairing Minor Damages
Fix small scratches with a wood touch-up marker. For loose screws, tighten them carefully with a screwdriver. Use wood glue to fix small cracks or splits. Press glued areas firmly and let dry completely. Sand rough patches lightly to smooth the surface.
Extending Shelf Life
Keep the bookshelf away from direct sunlight to prevent fading. Avoid placing it near heaters or damp areas. Use coasters or pads under heavy items to avoid dents. Rearrange books regularly to distribute weight evenly. Apply a wood polish every few months to protect the finish.
Credit: refreshliving.us
Frequently Asked Questions
What Materials Are Needed To Make A Handmade Bookshelf?
To build a handmade bookshelf, you need wood boards, screws, a drill, sandpaper, wood glue, and paint or varnish. These basic materials help create a sturdy and attractive bookshelf customized to your space and style.
How Long Does It Take To Build A Handmade Bookshelf?
Building a handmade bookshelf typically takes 3 to 6 hours. Time varies based on design complexity and your experience with woodworking tools. Simple projects can be completed in a single day.
Can Beginners Make A Sturdy Handmade Bookshelf?
Yes, beginners can make a sturdy bookshelf by following step-by-step instructions. Using quality materials and measuring carefully ensures durability and safety. Starting with simple designs builds confidence and skills gradually.
What Tools Are Essential For Making A Bookshelf?
Essential tools include a saw, drill, screwdriver, measuring tape, and sandpaper. These tools help cut, assemble, and finish the bookshelf accurately and smoothly, resulting in professional-quality craftsmanship.
Conclusion
Making a handmade bookshelf can be a fun and useful project. It adds a personal touch to your space. You can choose the size and style you want. Using simple tools and materials keeps the process easy. This project helps improve your skills step by step.
Enjoy the satisfaction of building something with your own hands. Your books and items will have a special place. Keep practicing and try new designs next time. Handmade shelves bring charm and function together. Give it a try, and see the difference it makes.