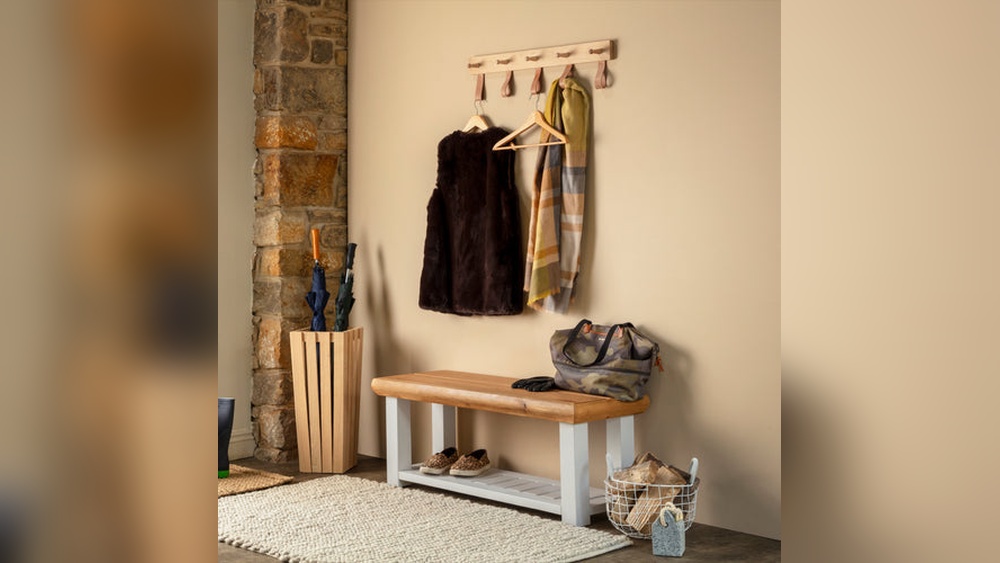
Are you tired of coats and bags cluttering your entryway? Hanging a coat rack properly can transform your space from messy to organized in minutes.
But getting it right isn’t always as simple as it seems. If you want your coat rack to be sturdy, functional, and perfectly placed, you need to follow a few key steps. Keep reading, and you’ll learn exactly how to hang your coat rack so it stays secure and looks great—making your daily routine smoother and your home tidier.
Choosing The Right Spot
Choosing the right spot to hang your coat rack is important. The location affects its use and how well it holds. Picking a good place makes your space tidy and easy to use. Consider some key points before you start drilling holes.
Consider Wall Material
Check what type of wall you have. Drywall, brick, or wood need different tools and anchors. Some walls hold weight better than others. Knowing your wall type helps you pick the right screws and tools. This keeps your coat rack safe and steady.
Assess Available Space
Look for an empty wall space that fits your coat rack size. Avoid crowded corners or places with too much furniture. Leave enough room for coats to hang without touching the floor. A good space makes the rack look neat and easy to use.
Think About Accessibility
Choose a spot easy to reach for everyone. Avoid placing the rack too high or behind doors. A good height helps all family members hang their coats quickly. Make sure it is near the door for quick access when leaving or entering.

Credit: www.butlerluxury.com
Gathering Necessary Tools
Gathering the right tools is the first step to hang a coat rack properly. Having everything ready saves time and makes the job easier. It helps avoid mistakes and keeps the process smooth. Below are the essential tools and safety tips to prepare you for the task.
List Of Tools Needed
Start with a drill to make holes in the wall. Use a screwdriver to fasten screws tightly. A level ensures the coat rack is straight. Measure with a tape measure for precise placement. Wall anchors provide extra support for heavy racks. A pencil helps mark where to drill. Safety goggles protect your eyes from dust and debris. A stud finder locates wall studs for secure mounting.
Safety Precautions
Wear safety goggles to protect your eyes. Keep your work area clean and free of clutter. Check for electrical wires before drilling. Use a stud finder to avoid hitting pipes or cables. Handle tools carefully to prevent injuries. Work slowly and focus on each step. Keep children and pets away during installation. Take breaks if you feel tired or distracted.
Measuring And Marking
Measuring and marking are crucial steps before hanging a coat rack. These steps ensure the rack is level and fits well on your wall. Taking time here prevents errors that waste effort and damage walls.
Determine Height
Decide the best height for your coat rack. Think about who will use it most. For adults, 5 to 6 feet from the floor works well. For children, lower the height to about 4 feet. Use a tape measure to find and mark this height on the wall. Mark several points across the width where the rack will hang.
Mark Anchor Points
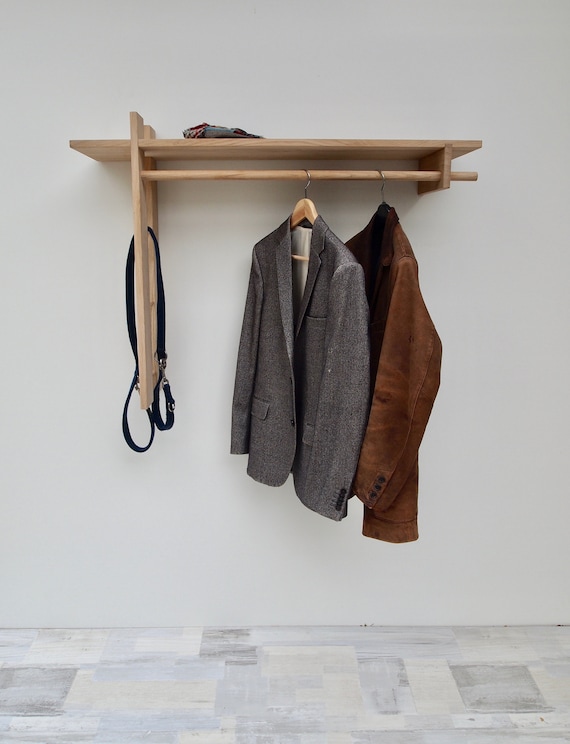
Locate where the screws or anchors will go. These points must match the holes on the coat rack. Use a level to ensure the marks are straight across. Mark each anchor point clearly with a pencil. Double-check the spacing and height before drilling. Accurate marks make hanging easy and secure.
Credit: www.etsy.com
Installing Anchors And Screws
Installing anchors and screws is a key step to hang your coat rack securely. It keeps the rack steady and holds weight safely. Using the right anchors and screws prevents damage to your walls. Follow simple steps to make sure your coat rack stays in place for years.
Select Appropriate Anchors
Choose anchors based on your wall type. Drywall needs plastic or metal anchors. For concrete or brick, use heavy-duty anchors. Pick anchors that fit the screw size of your coat rack. Strong anchors hold the rack firmly. Avoid using small or weak anchors.
Drilling And Securing
Mark the spots for drilling holes on the wall. Use a drill bit that matches the anchor size. Drill slowly and carefully to avoid wall damage. Insert anchors fully into the holes. Align the coat rack and screw it into the anchors. Tighten screws just enough to hold the rack steady. Do not overtighten and crack the wall.
Mounting The Coat Rack
Mounting the coat rack is the key step to ensure it holds well and looks good. This part requires careful attention to detail. Proper mounting keeps the rack stable and safe for daily use.
Start by choosing the right spot on the wall. The rack should be at a comfortable height for easy access. Check the wall material before fixing the rack. Different walls need different tools and anchors.
Aligning The Rack
Place the coat rack against the wall. Use a level tool to make sure it is straight. Mark the positions of the holes with a pencil. Check twice before drilling. A crooked rack looks unprofessional and may not hold weight well.
Securing The Rack
Drill holes on the marked spots carefully. Insert wall anchors if the wall is drywall or plaster. Screw the rack firmly into the wall. Tighten screws evenly to avoid tilting. Test the rack by gently pulling it to ensure it is secure.

Credit: www.amazon.com
Testing Stability
Testing the stability of your coat rack is important to avoid accidents. It ensures the rack holds weight safely. This step comes after installation but before regular use. A stable coat rack lasts longer and keeps your wall safe.
Apply Weight Gradually
Start by hanging one or two light items. Watch how the rack holds the weight. Add more items slowly to test strength. Do not add all coats at once. This helps find any weak points early.
Adjust If Needed
If the rack moves or feels loose, make changes. Tighten screws or anchors carefully. Check if the rack is level and straight. Adjust until the rack feels solid and secure. Repeat the weight test to confirm stability.
Maintenance Tips
Maintaining your coat rack ensures it stays sturdy and attractive. Simple care keeps it useful for years. Follow easy steps to protect your investment and avoid damage.
Regular Checks
Inspect the coat rack every few weeks. Look for loose screws or hooks. Tighten any parts that feel wobbly. Check the wall anchors to make sure they hold firm. Early fixes prevent bigger problems later.
Cleaning Suggestions
Dust the coat rack often to stop dirt buildup. Use a soft cloth or duster. For wooden racks, wipe with a damp cloth. Avoid harsh cleaners that can damage the finish. Dry the rack quickly to prevent moisture harm.
Frequently Asked Questions
How High Should I Hang A Coat Rack?
Hang the coat rack at eye level, around 5 to 6 feet from the floor. This height is accessible and practical for most users.
What Tools Do I Need To Hang A Coat Rack?
You need a drill, level, screws, anchors, a measuring tape, and a pencil. These tools ensure precise and secure installation.
Can I Hang A Coat Rack On Drywall?
Yes, but use wall anchors or studs for support. Drywall alone may not hold heavy coats safely.
How Far Apart Should Coat Rack Hooks Be?
Space hooks 6 to 8 inches apart. This spacing allows coats to hang without overlapping or crowding.
Conclusion
Hanging a coat rack is simple with the right steps. Use a level to keep it straight. Choose the right wall and anchors for support. Mark where screws go before drilling. Tighten screws firmly but do not overdo it. Check the rack’s stability once hung.
Enjoy the extra space and neatness. A well-hung coat rack keeps your entry tidy. Small effort, big difference. Try it yourself and see how easy it is!