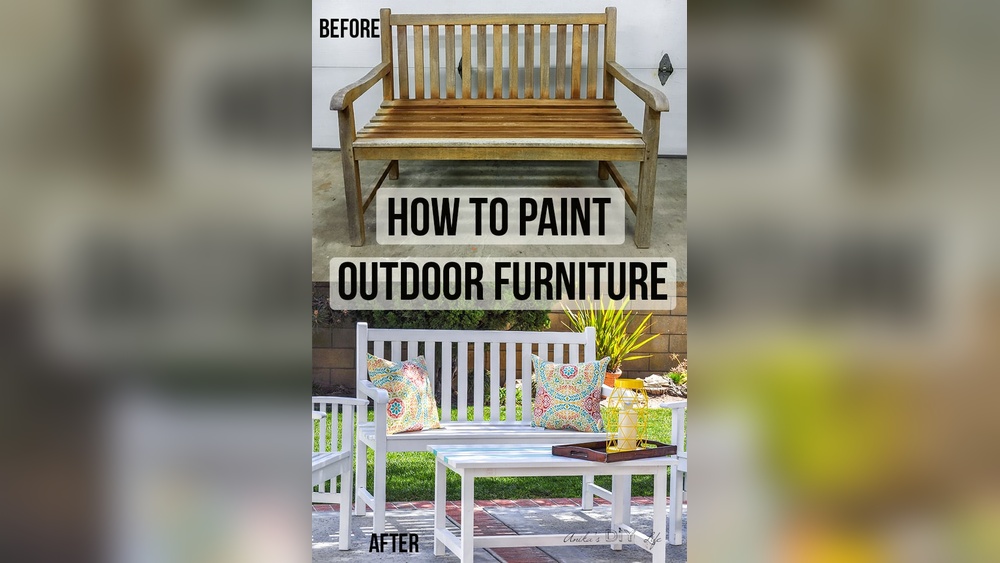
Is your outdoor wooden furniture looking worn or faded? You don’t have to replace it to bring back its charm.
Repainting your wooden furniture is a simple and rewarding way to refresh your outdoor space. Imagine turning tired benches, chairs, or tables into stunning focal points that invite you to relax and enjoy. In this guide, you’ll discover easy steps and expert tips to repaint your outdoor wooden furniture like a pro.
By the end, you’ll have the confidence and know-how to give your pieces a fresh, beautiful look that lasts. Ready to transform your outdoor space? Let’s get started!
Choosing The Right Paint
Choosing the right paint is key to a successful outdoor furniture makeover. The paint must protect wood from sun, rain, and wind. It should also stick well and look great for a long time. Picking the right paint saves time and money on repairs later. This section explains types of paint, how to pick lasting colors, and tools needed.
Types Of Paint For Outdoor Wood
Outdoor wooden furniture needs paint made for outside use. Acrylic latex paint is popular. It dries fast and resists cracking and peeling. Oil-based paint lasts long and handles weather well. It takes longer to dry but gives a smooth finish. Chalk paint works for a rustic look but needs sealing. Choose paint that says “exterior” on the label. This means it protects against sun and water.
Selecting Colors That Last
Bright colors fade faster under the sun. Dark colors absorb heat and can cause wood to crack. Medium tones balance both. Whites and pastels reflect sunlight and stay cooler. Matte and satin finishes hide dirt and scratches better than glossy ones. Test a small patch first. See how the color looks in sunlight and shade. Pick colors that match your style and the environment around your furniture.
Tools And Materials Needed
Prepare all tools before starting to paint. You need sandpaper to smooth the wood surface. A brush or roller applies paint evenly. Use a paint tray to hold the paint. Clean cloths remove dust and dirt. Primer helps paint stick better and lasts longer. Put on gloves and old clothes to protect your skin. Have a drop cloth or newspaper to protect the ground from spills.
Credit: www.maisondepax.com
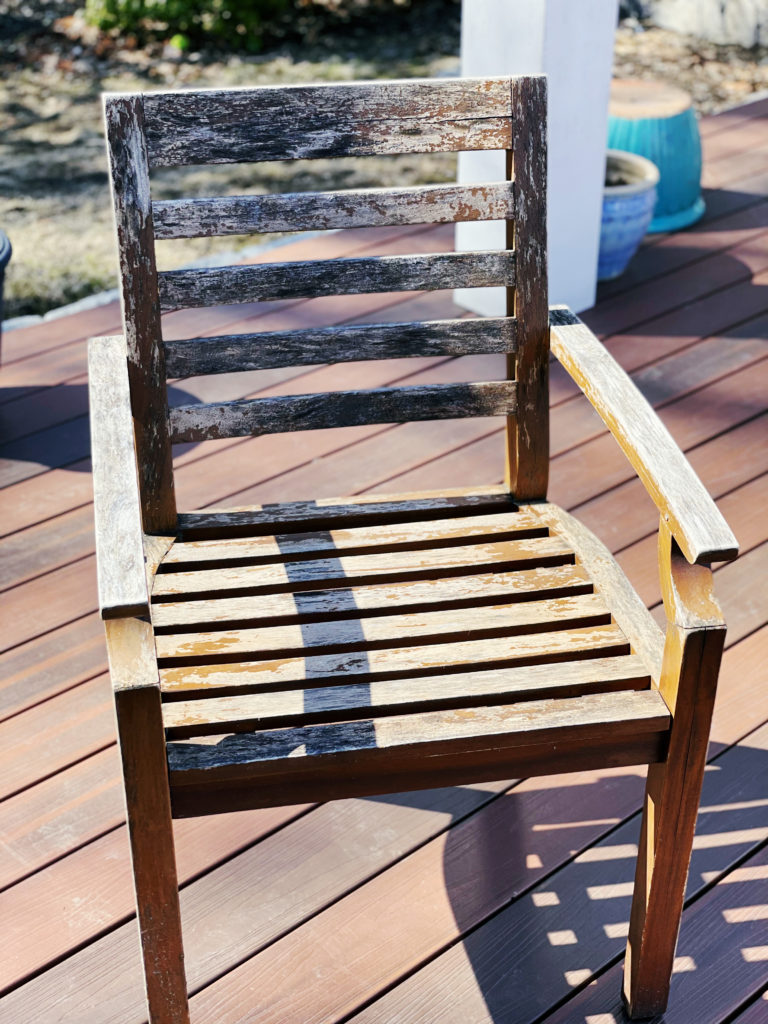
Preparing The Furniture
Preparing wooden furniture for repainting is a key step. It helps the paint stick well and last longer. Good preparation improves the final look. Follow these steps to get the best results.
Cleaning And Removing Dirt
Start by cleaning the furniture. Use a soft brush to remove loose dirt. Wash the surface with mild soap and water. Rinse well to remove soap residue. Let the wood dry completely before moving on.
Stripping Old Paint
Old paint can peel or crack under new paint. Use a paint stripper to remove it safely. Apply the stripper with a brush and wait as directed. Scrape off the softened paint carefully. Wear gloves and work in a ventilated area.
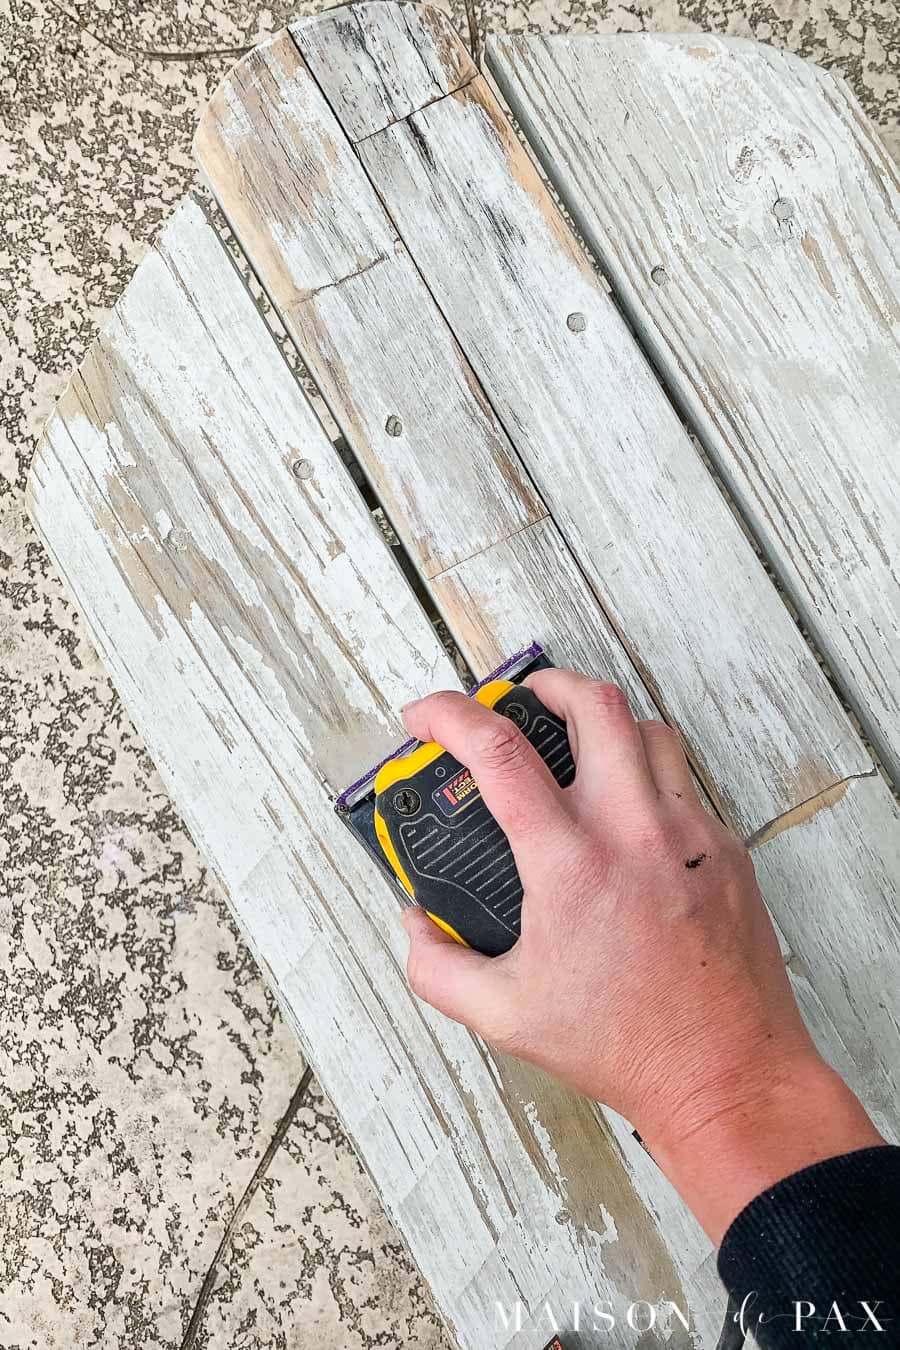
Sanding For A Smooth Surface
Sanding smooths the wood and removes rough spots. Use medium-grit sandpaper first, then fine-grit for a soft finish. Sand in the direction of the wood grain. Wipe away dust with a clean cloth. The surface should feel smooth and ready for paint.
Repairing Damages
Repairing damages is a key step before repainting outdoor wooden furniture. Fixing cracks, holes, or broken parts helps the paint stick better. It also improves the furniture’s look and strength. Proper repairs prevent more damage from water and weather.
Filling Cracks And Holes
Start by cleaning the cracks and holes. Remove dirt and loose wood pieces. Use a wood filler suitable for outdoor use. Press the filler firmly into the cracks or holes. Smooth the surface with a putty knife. Let the filler dry completely before the next step.
Replacing Broken Parts
Examine the furniture for any broken or rotten parts. Remove the damaged pieces carefully. Cut new wood pieces to fit the gaps. Attach the new parts using outdoor wood glue or screws. Make sure the replacements are secure and flush with the surface.
Sanding Repaired Areas
Sand the filled and replaced sections to make them even. Use medium-grit sandpaper to smooth rough spots. Follow with fine-grit sandpaper for a clean finish. Sanding helps paint stick better and looks smooth. Clean off dust with a brush or cloth after sanding.
Priming The Wood
Priming the wood is a key step before painting outdoor wooden furniture. It protects the wood and helps the paint stick better. Without a good primer, paint may peel or fade quickly. Preparing the wood with the right primer makes your paint job last longer.
Choosing The Right Primer
Pick a primer made for outdoor wood. It should resist moisture and prevent mold. Oil-based primers work well on bare wood. They seal knots and prevent stains. Latex primers dry faster and clean up easily with water. Check the label to match your paint type.
Applying Primer Evenly
Use a brush or roller to spread primer smoothly. Cover all surfaces, including edges and corners. Avoid thick layers to prevent drips and bubbles. Apply in thin, even coats. Let each coat dry before adding another.
Drying Time Tips
Allow primer to dry fully before painting. Drying time varies by temperature and humidity. Follow the primer label’s instructions for best results. Avoid painting in very cold or wet weather. A dry primer ensures better paint adhesion and finish.
Painting The Furniture
Painting outdoor wooden furniture requires careful steps to get a nice, even finish. Proper painting protects the wood from weather damage. It also improves the furniture’s look and lifespan.
Start with clean, dry surfaces. Use good paint made for outdoor wood. Take your time to apply paint carefully for the best results.
Techniques For Smooth Coats
Use a brush with soft bristles or a small roller for smooth coats. Paint in long, even strokes. Work in the direction of the wood grain. Avoid over-brushing, which can cause rough patches. Keep your brush or roller loaded but not dripping. Thin layers dry better and look smoother.
Applying Multiple Layers
Apply thin layers instead of one thick coat. Let each layer dry fully before adding the next. This builds strong protection and rich color. Two to three coats usually work well for outdoor furniture. Lightly sand between layers with fine sandpaper. This helps paint stick better and smooths any bumps.
Avoiding Drips And Streaks
Use a steady hand to prevent drips and streaks. Do not overload your brush or roller. Paint slowly and carefully around edges and corners. Check your work often for runs or drips and fix them right away. Keep the paint wet to blend strokes smoothly. Proper technique creates a clean, neat finish.
Sealing And Protecting
Sealing and protecting outdoor wooden furniture is essential after repainting. It stops water, sun, and dirt from damaging the wood. A good seal helps keep the paint fresh and the wood strong. This step extends the life of your furniture and keeps it looking nice.
Best Sealants For Outdoor Use
Choose a sealant made for outdoor wood. Clear polyurethane is tough and water-resistant. Spar varnish bends with wood changes and blocks UV rays. Exterior wood sealers soak into the wood and stop moisture. Pick a product that suits your paint type and climate.
Application Methods
Clean the furniture before sealing. Use a brush for even coverage. Apply thin, smooth coats to avoid drips. Let each coat dry fully before the next. Spray sealants work well for detailed or large pieces. Follow the sealant’s instructions for best results.
Maintenance Tips For Longevity
Check your furniture regularly for cracks or peeling. Clean it with mild soap and water to remove dirt. Reapply sealant every year or after harsh weather. Cover or store furniture during winter to protect it. Proper care keeps your furniture strong and beautiful longer.
Final Touches
After repainting outdoor wooden furniture, the final touches bring the project to life. These steps make your furniture look complete and ready for use. Small details can make a big difference.
Adding Decorative Elements
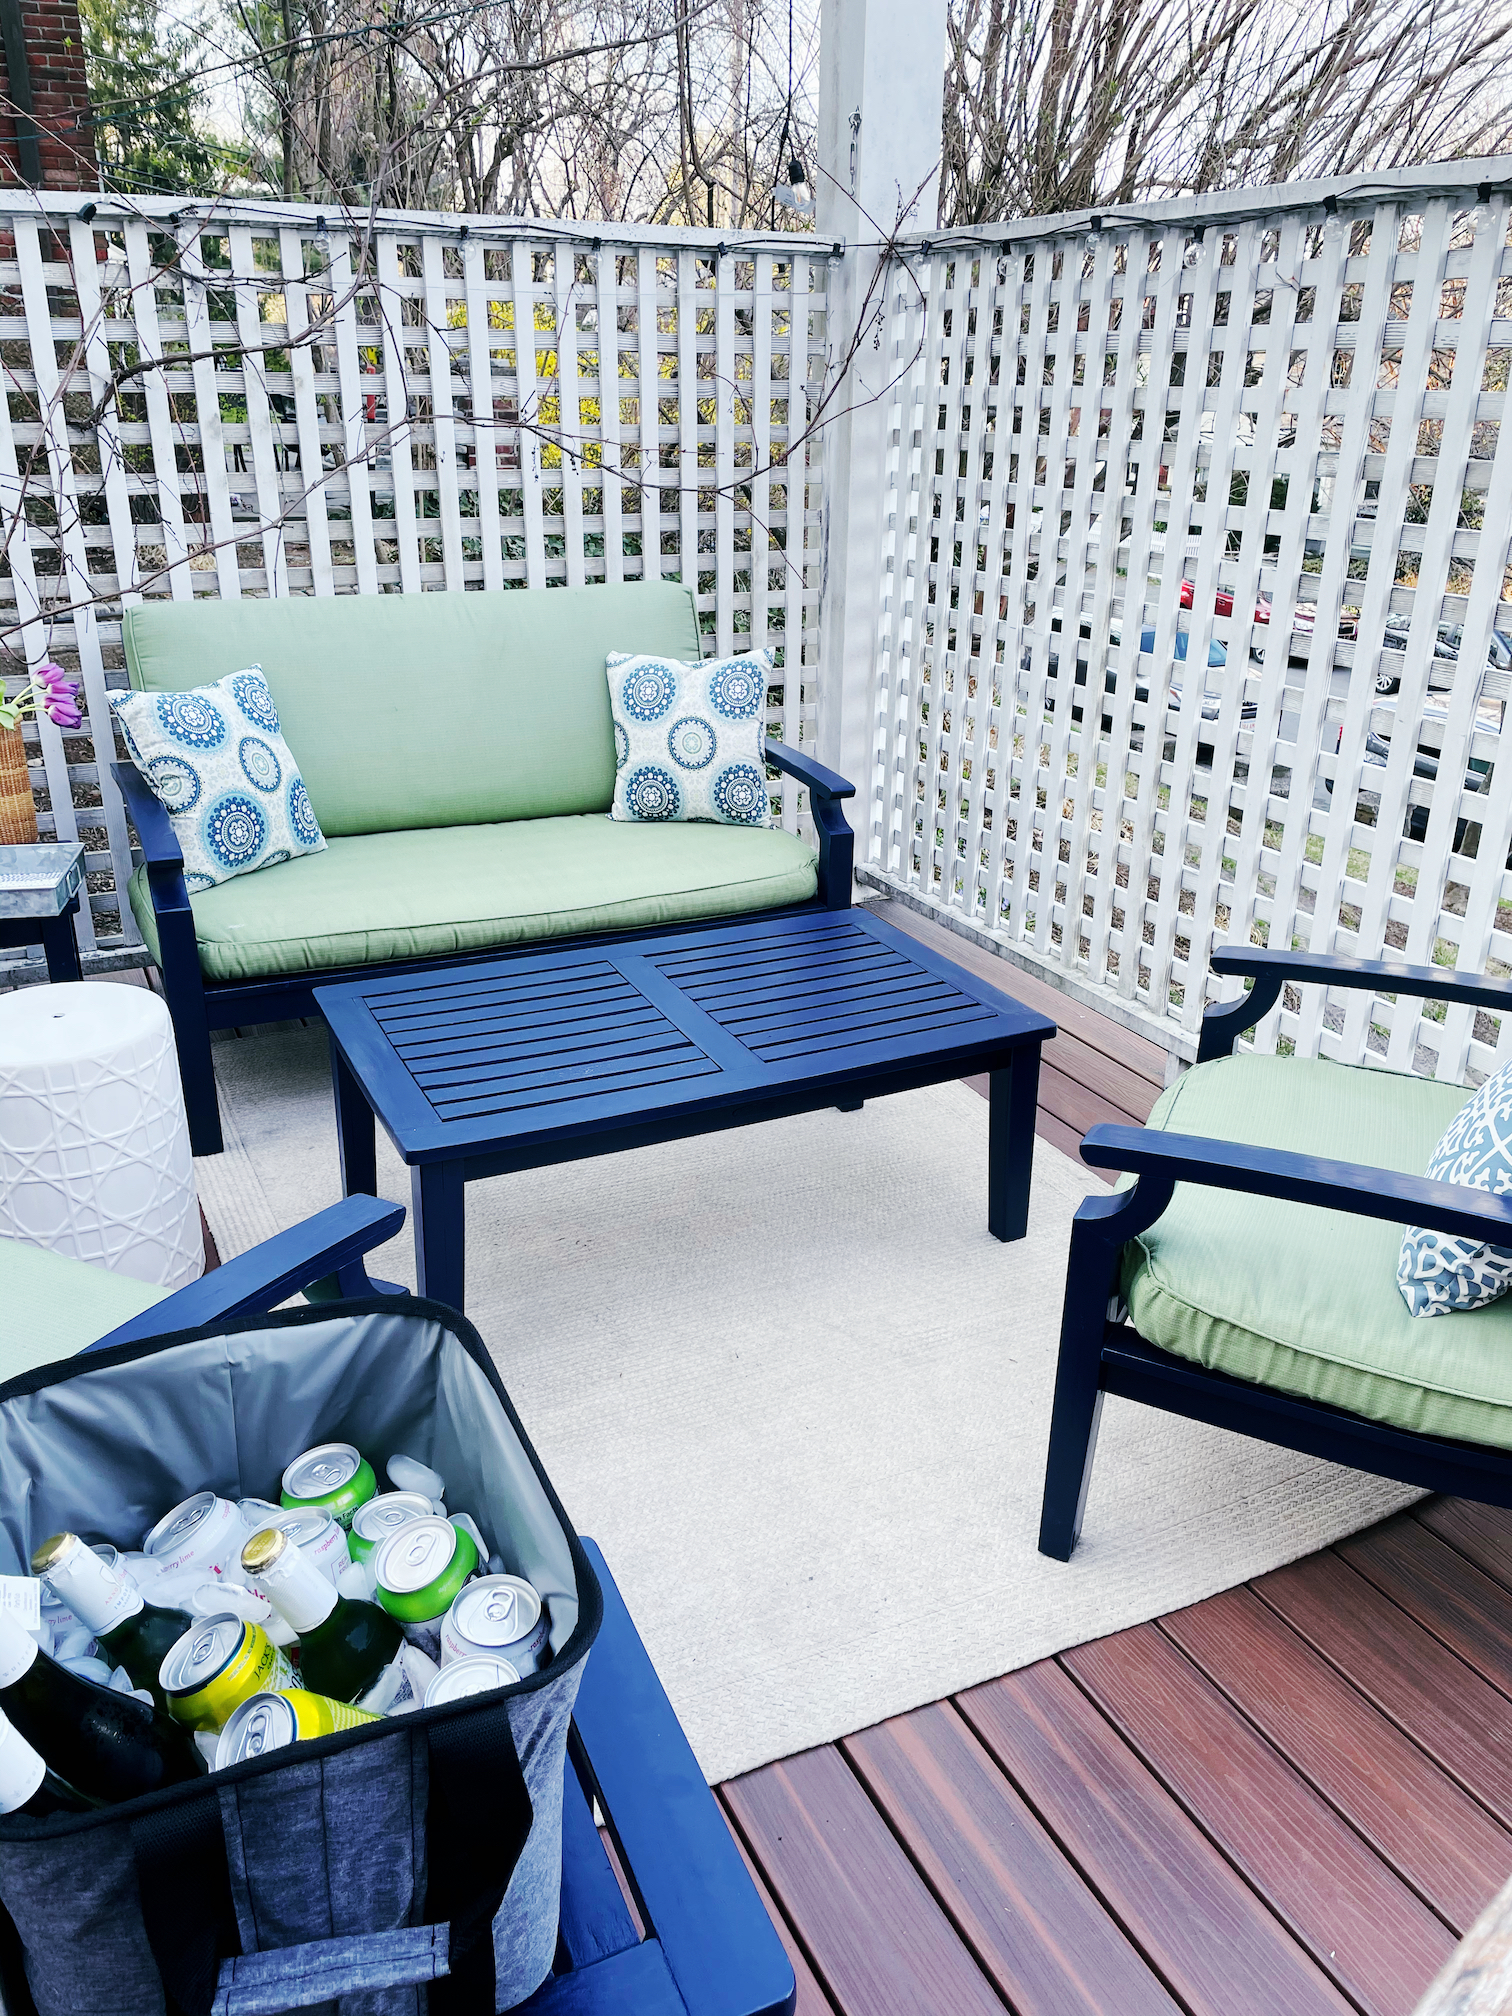
Decorative touches add charm to your freshly painted furniture. Consider colorful cushions or patterned pillows for comfort and style. You can also add outdoor-friendly decals or stencils for a creative look. Small plant pots or lanterns enhance the furniture’s appeal. Keep decorations simple to avoid clutter.
Reassembling And Placement
Carefully put the furniture pieces back together. Check all screws and bolts for tightness. Place the furniture in a dry, shaded spot to protect the paint. Avoid placing it directly under harsh sunlight or rain. Positioning your furniture well extends its life and beauty.
Seasonal Care Advice
Protect your furniture through changing seasons. Cover pieces during heavy rain or snow to prevent damage. Clean dirt and debris regularly with a soft brush or cloth. Reapply a weatherproof sealant once a year for extra protection. Good care keeps your furniture looking fresh longer.
Credit: whitneysowles.com
Credit: whitneysowles.com
Frequently Asked Questions
How Do I Prepare Wooden Furniture For Repainting?
Clean the surface thoroughly to remove dirt and mildew. Sand the wood to smooth rough spots. Fill any cracks or holes with wood filler. Remove old peeling paint for a smooth finish. This preparation ensures better paint adhesion and durability.
What Type Of Paint Is Best For Outdoor Wood?
Use exterior-grade paint designed for wood surfaces. Acrylic latex paint is durable and weather-resistant. It resists fading, cracking, and peeling. Choose paint with UV protection to prevent sun damage. Proper paint type extends furniture lifespan outdoors.
How Many Coats Of Paint Should I Apply?
Apply at least two coats for even coverage and durability. Allow the first coat to dry completely before the second. Multiple coats protect wood from moisture and weather damage. Thin, even layers prevent drips and ensure a smooth finish.
Can I Repaint Outdoor Furniture Without Sanding?
Sanding is highly recommended but not always mandatory. Lightly sanding removes old paint and smooths the surface. It helps new paint adhere better and last longer. If the old paint is in good condition, clean well before repainting.
Conclusion
Repainting outdoor wooden furniture can refresh your space quickly. Start with cleaning and sanding for a smooth surface. Choose the right paint for lasting protection. Take your time with each step to avoid mistakes. A fresh coat brightens your furniture and extends its life.
Enjoy your renewed outdoor area with pride. Small effort, big difference. Give your wooden pieces a new look today.