Looking for a way to add charm and function to your entryway? You can create a timeless, old fashioned coat rack that not only holds your jackets but also becomes a beautiful focal point in your home.
Imagine having a piece that welcomes guests warmly while keeping your space neat and organized. In this guide, you’ll discover simple steps to build your own classic coat rack, even if you’re new to DIY projects. Ready to transform your hallway with a touch of vintage style?
Let’s get started!
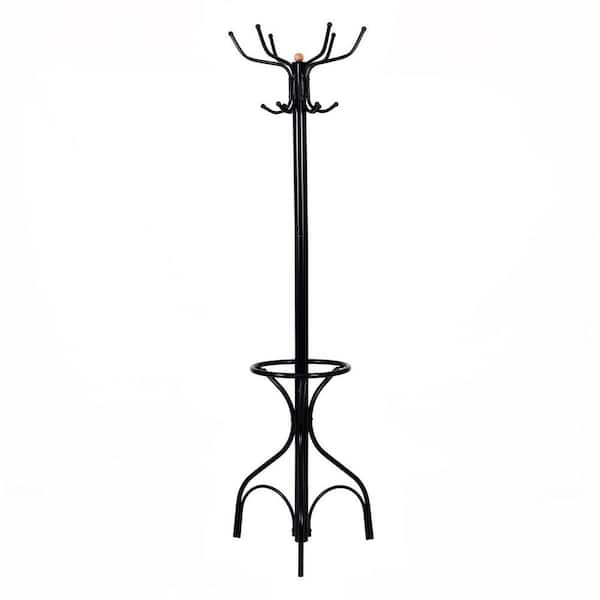
Credit: www.homedepot.com
Materials Needed
To make an old fashioned coat rack, gather wood boards, hooks, screws, and sandpaper. A drill and paint or stain will help finish the project. Simple tools make building easier and faster.
Wood Selection
Choose wood that is strong and easy to work with. Pine and oak are good choices. Pine is soft and easy to shape. Oak is harder but lasts longer. Pick wood without cracks or knots. Smooth wood makes the rack look better. The size depends on your space and needs.
Hardware And Tools
Use sturdy hooks to hold coats well. Metal hooks with screws work best. You will need screws and nails to join parts. A drill or screwdriver helps fit screws. Sandpaper smooths rough wood edges. A saw cuts the wood to size. Clamps keep pieces steady while you work.
Finishing Supplies
Finish your coat rack to protect the wood. Use wood stain to add color. Clear varnish or polyurethane seals the surface. These finishes stop water and dirt damage. Apply with a brush or cloth. Let each layer dry well before next coat.
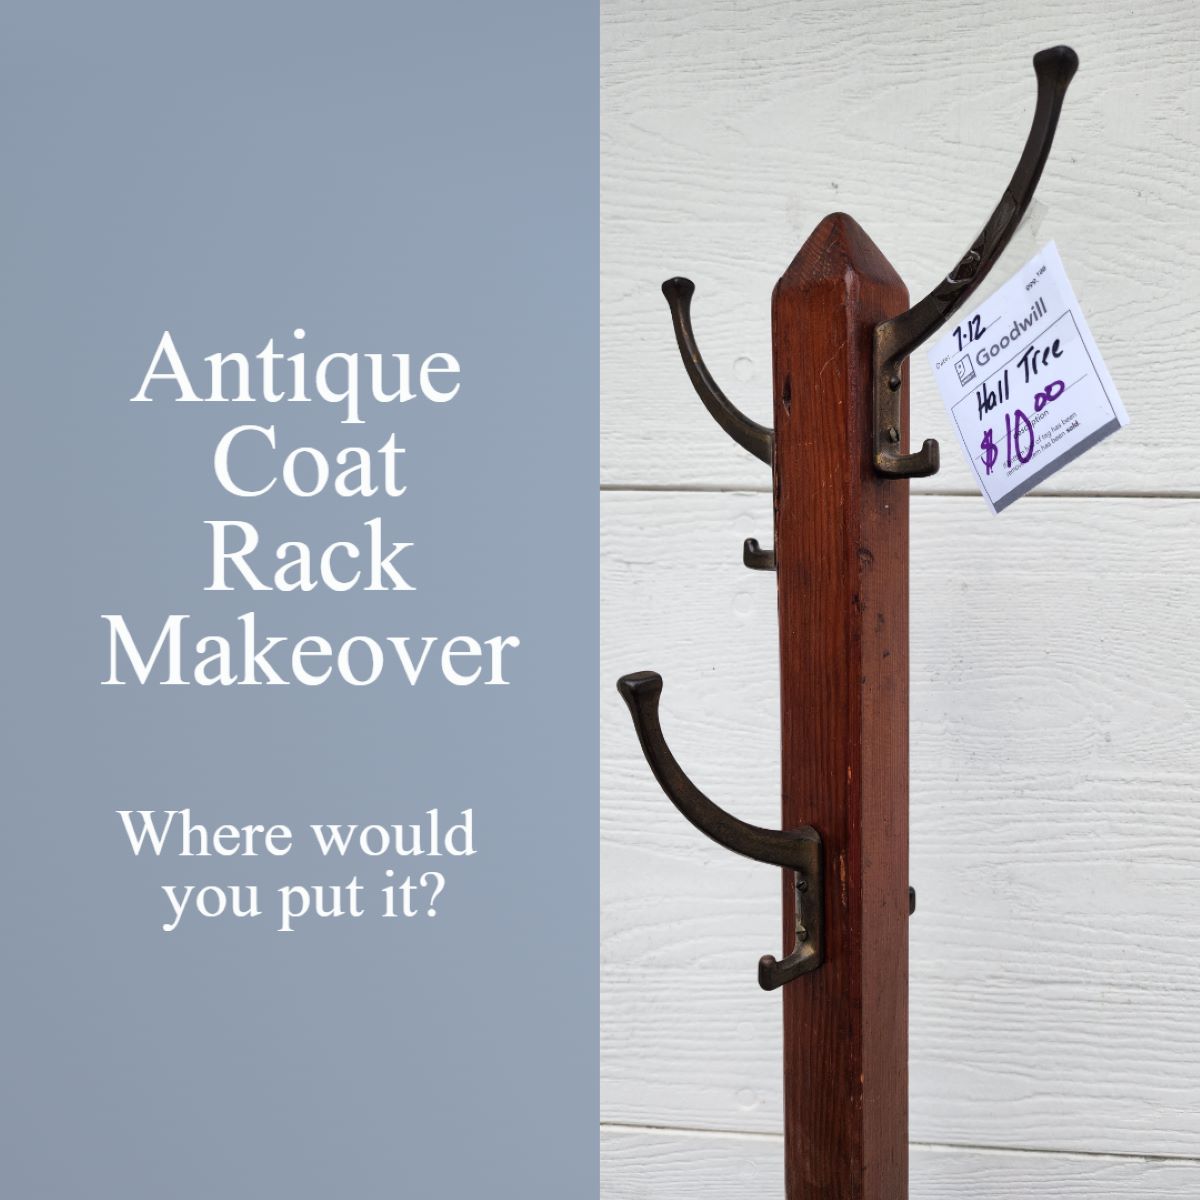
Credit: www.myrepurposedlife.com
Choosing The Design
Choosing the design is a key step to create your old fashioned coat rack. It shapes how your rack looks and works. This choice affects the style, size, and where hooks go. A good design fits your space and meets your needs. Think about your room’s style and the items you want to hang.
Take time to pick the right design. It makes your project easier and the final rack more useful. Start by exploring style ideas, then decide the size. Finally, plan the hook placement carefully. Each part plays a role in the rack’s success.
Style Inspirations
Old fashioned coat racks often have a classic or vintage look. Wood with a natural finish gives warmth. You might like a simple straight design or something with curves. Look at antique stores or old pictures for ideas. Choose a style that fits your home’s theme.
Size And Dimensions
Measure the wall space where you want the rack. Keep the size proportional to the room. A rack too big or small looks odd and may not be useful. Think about how many coats or hats you want to hang. Plan the height so everyone can reach the hooks easily.
Hook Placement
Hook spacing is important for easy use. Space hooks about 6 to 8 inches apart to hold items well. Place hooks at different heights for hats, coats, and scarves. Avoid putting hooks too close to each other. This prevents clothes from overlapping and getting wrinkled.
Preparing The Wood
Preparing the wood is the first step to make an old fashioned coat rack. It ensures the rack looks great and lasts long. Good preparation makes the wood smooth and ready for assembly. It also helps the paint or stain stick better.
Cutting To Size
Start by measuring the wood pieces carefully. Cut each piece to the right length using a saw. Make sure edges are straight and clean. Proper cuts make the rack sturdy and balanced. Always wear safety gear while cutting wood.
Sanding Techniques
Use sandpaper to smooth the wood surfaces. Begin with coarse grit to remove rough spots. Then, switch to finer grit for a smooth finish. Sand all sides, including edges and corners. Smooth wood prevents splinters and looks polished.
Creating Decorative Details
Add charm by carving or shaping the wood edges. Use simple tools like a chisel or router. Create curves or patterns that fit the old fashioned style. These details make your coat rack unique. Take your time to work carefully and neatly.

Credit: www.sellingantiques.co.uk
Assembling The Rack
Assembling the coat rack is a simple process that brings all parts together. This step transforms your materials into a useful and stylish piece. Follow clear instructions to make the rack sturdy and reliable.
Attaching Hooks
Start by placing the hooks evenly along the rack’s top section. Mark spots with a pencil for perfect alignment. Drill small pilot holes to avoid wood splitting. Screw the hooks firmly into place. Check each hook to ensure it holds tight.
Securing The Base
Position the base on a flat surface. Align it with the vertical post carefully. Use strong screws or bolts to join them securely. Tighten all connections well to prevent wobbling. Test the base by applying gentle pressure.
Adding Support Elements
Add extra wooden braces between the post and base. Cut pieces to fit snugly for better strength. Attach these supports with screws or nails. This step stops the rack from leaning or shaking. Make sure every support is level and tight.
Finishing Touches
The finishing touches bring your old fashioned coat rack to life. These steps protect the wood and enhance its look. A good finish makes the rack last longer and feel smooth to touch. Spend time on these details to get the best result.
Staining And Painting
Choose a stain or paint that fits your style. Staining shows the wood grain and adds warmth. Painting covers the wood with solid color for a fresh look. Apply thin, even coats using a brush or cloth. Let each coat dry completely before adding the next one. This process improves the rack’s appearance and protects the wood.
Sealing For Durability
Seal the coat rack to protect it from moisture and damage. Use a clear varnish or polyurethane for a strong finish. Apply with a clean brush, covering all surfaces. Allow the sealer to dry fully before handling. Sealing helps keep the rack looking new for years. It also makes cleaning easier and prevents scratches.
Final Inspection
Look over the coat rack carefully. Check for rough spots or missed areas. Sand lightly if needed and apply extra finish. Test the hooks to ensure they hold well. Make sure the rack stands firm and balanced. This final check guarantees a safe, beautiful rack ready for use.
Mounting And Maintenance
Mounting and maintaining your old fashioned coat rack is key to keeping it sturdy and good-looking. Proper installation ensures it holds coats safely. Regular care keeps the wood or metal in great shape. Follow these simple steps to enjoy your coat rack for years.
Wall Installation Tips
Choose a solid wall to mount the coat rack. Use a stud finder to locate wall studs. Mark the spots for screws carefully. Drill pilot holes to avoid splitting the wood. Use strong screws and anchors for extra support. Check the rack’s level before tightening screws. Mount it at a height easy to reach for all users.
Regular Cleaning
Dust your coat rack often with a soft cloth. Wipe wooden parts with a damp cloth, then dry. Use mild soap for tougher dirt, but avoid soaking. For metal racks, use a dry cloth to prevent rust. Clean hooks carefully to keep them shiny. Avoid harsh chemicals that can damage finishes.
Repair And Upkeep
Check screws and hooks regularly for tightness. Tighten any loose parts to keep the rack safe. Sand small scratches on wood and apply touch-up paint. Remove rust from metal hooks with fine sandpaper. Replace broken hooks or screws immediately. Keep the coat rack away from damp areas to prevent damage.
Frequently Asked Questions
What Materials Are Needed To Make An Old Fashioned Coat Rack?
You will need wood planks, screws, hooks, sandpaper, wood stain, and a drill. Choose sturdy wood for durability and classic charm.
How Do I Design A Vintage-style Coat Rack?
Use simple lines, natural wood finish, and metal hooks. Keep the design functional and rustic for an authentic old fashioned look.
Can I Customize The Size Of My Coat Rack?
Yes, adjust the length and height based on your available space. Ensure it’s tall enough for coats and stable on the floor.
How To Properly Finish The Wood For An Old Fashioned Rack?
Sand the wood smooth, then apply wood stain or paint. Finish with a protective sealant to enhance durability and appearance.
Conclusion
Creating an old fashioned coat rack is simple and rewarding. You need basic tools and some wood pieces. Follow the steps carefully to build a strong rack. This project saves money and adds charm to your home. Plus, you get a useful item that lasts for years.
Try making one yourself and enjoy the process. A handmade coat rack brings warmth and style to any room. It’s a small project with big benefits. Give it a go and see how nice it looks!

