Are you ready to build a wood bunk bed but unsure where to start? Putting a wood bunk bed together might seem tricky, but with the right steps, you can do it yourself and save time and money.
Imagine your kids climbing happily into a sturdy, safe bunk bed that you built with your own hands. This guide will walk you through each step clearly and simply, so you won’t miss a thing. Keep reading, and by the end, you’ll have the confidence and know-how to assemble your wood bunk bed quickly and securely.
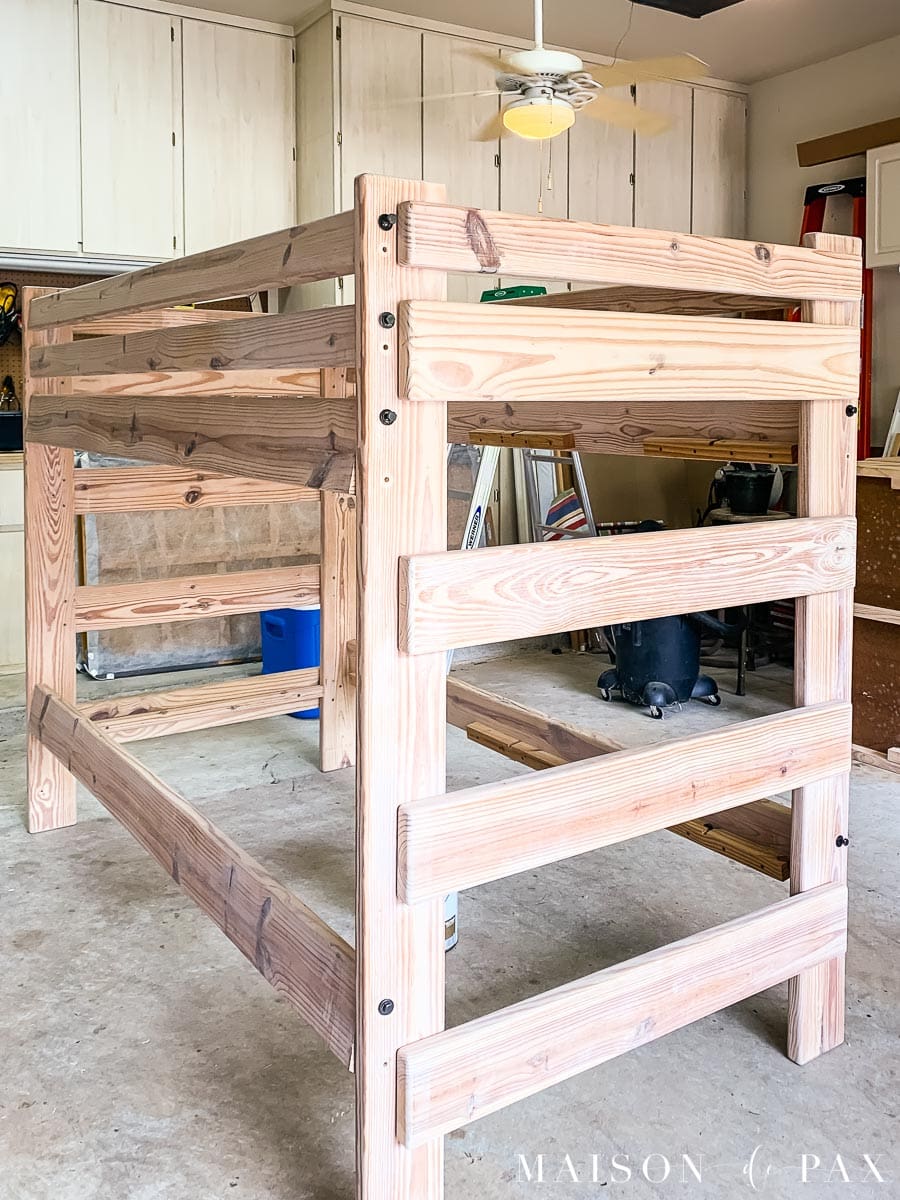
Credit: www.maisondepax.com
Tools And Materials Needed
Essential tools include a screwdriver, hammer, and Allen wrench. Wood screws, bolts, and the bunk bed parts are needed too. Having all materials ready makes assembly easier and faster.
Clearing The Area
Start by choosing a large, open space to build your wood bunk bed. Remove any furniture or obstacles that could block your work. A clean area helps avoid accidents and lost parts. Make sure the floor is flat and stable to keep the bed steady during assembly.
Gathering Tools And Materials
Collect all tools needed before starting. Common tools include a screwdriver, hammer, and Allen wrench. Keep the bed parts and hardware close by. Having everything within reach saves time and reduces frustration.
Protecting The Floor
Lay down a soft blanket or cardboard to protect your floor. This prevents scratches from wood pieces or tools. It also cushions parts to avoid dents and damage while assembling.
Organizing Bed Parts
Sort the wood pieces by size and type. Group screws, bolts, and small parts in containers or trays. Organized materials make it easier to follow instructions and speed up the process.
Preparing The Workspace
Organizing bed components is the first step in building a wood bunk bed. It saves time and makes assembly easier. Sorting all parts lets you find pieces quickly. This reduces mistakes and frustration during the build.
Start by unpacking all the parts carefully. Lay them out on a clean surface. Group similar items together. For example, place all screws in one container. Keep wooden panels and slats in separate stacks.
Identify Each Component
Check the instruction manual for a parts list. Match each item with the list. Look for labels or markings on the wood. This helps avoid confusion later. Knowing each part’s name makes following steps clear.
Sort Hardware Pieces
Place screws, bolts, nuts, and washers into small bowls or trays. Sort by size and type. This prevents mixing and saves time during assembly. Count pieces to ensure nothing is missing.
Arrange Tools Nearby
Keep all tools within reach. Common tools include a screwdriver, hammer, and Allen wrench. Having tools ready helps keep the process smooth. No need to stop and search for tools.
Create A Clear Workspace
Clear enough space to lay out parts and work comfortably. Avoid clutter to prevent losing small pieces. A tidy area improves focus and safety during assembly.
Organizing Bed Components
Securing the slats is a key step in building a sturdy wood bunk bed. Slats hold the mattress and support weight evenly. Properly fixed slats prevent movement and increase safety.
Each slat must fit tightly between the bed rails. Loose slats cause noise and can break under pressure. Take time to secure them well for long-lasting use.
Choosing The Right Slats
Select slats made of strong, durable wood. Avoid thin or cracked pieces. Measure the width between rails carefully. Slats should be slightly shorter to fit snugly.
Positioning The Slats Evenly
Place slats with equal space between each one. This helps distribute weight across the bed. Use a measuring tape or ruler to keep gaps uniform. Uneven slats can cause mattress sagging.
Securing Slats With Screws Or Nails
Use screws or nails to attach slats to the rails. Screws offer stronger hold than nails. Drill pilot holes to avoid splitting the wood. Drive fasteners straight and flush with the slat surface.
Checking For Stability
Press down on slats after securing them. They should not move or creak. Tighten any loose fasteners. Stability ensures safety and comfort during use.
Assembling The Bed Frame
Installing the ladder and guardrails is a key step in building a wood bunk bed. These parts make the bed safe and easy to use. Proper installation keeps children secure during sleep and play. Follow clear steps to attach these components firmly.
Preparing The Ladder For Assembly
Start by checking all ladder pieces for damage. Lay them out on a flat surface. Identify each part using the instructions. Use screws and tools recommended by the manufacturer. Tighten the screws but avoid over-tightening. This prevents wood from cracking.
Attaching The Ladder To The Bunk Bed Frame
Find the ladder slots or brackets on the bunk bed. Position the ladder so it fits snugly. Align holes in the ladder with the frame holes. Insert bolts or screws carefully. Use a level to keep the ladder straight. Secure all fasteners tightly for stability.
Installing The Guardrails For Safety
Guardrails stop falls from the top bunk. Place the guardrails along the bed edges. Match the pre-drilled holes on the rails and frame. Use screws or bolts to attach firmly. Check that rails do not wobble. Test by pressing gently to confirm strength.
Final Safety Checks
Inspect all ladder and guardrail connections. Make sure nothing is loose or missing. Test the ladder by climbing slowly. Confirm the guardrails stay in place. Adjust any weak points before use. Safety must be the top priority.
Securing The Slats
After assembling your wood bunk bed, final checks and adjustments make sure it is safe and sturdy. This step helps catch loose screws, uneven parts, or any instability. It improves the bed’s durability and your peace of mind.
Spend time here. It ensures the bed lasts long and stays secure for use every night.
Checking All Screws And Bolts
Go over every screw and bolt carefully. Tighten each one firmly with the right tool. Loose fasteners can cause the bed to wobble or feel unsafe. Avoid overtightening to prevent wood damage. A snug fit is the goal.
Ensuring Bed Frame Stability
Push gently on different parts of the bed frame. Look for any movement or shaking. The bed should feel solid and not rock. If it moves, check joints and connectors again. Adjust or tighten them to improve stability.
Aligning The Mattress Supports
Check the mattress supports or slats for even spacing. They should sit flat and not tilt. Uneven supports can cause mattress wear or discomfort. Fix any that are loose or misaligned. Proper support keeps the mattress in place and comfortable.

Credit: www.simplyhandmadestudios.com
Installing The Ladder And Guardrails
Maintaining and ensuring safety for your wood bunk bed is very important. Proper care keeps the bed strong and safe for years. Small checks and regular cleaning prevent damage and accidents.
Safety is a top priority with bunk beds. Following simple steps helps protect children from falls and injuries. A well-maintained bed offers peace of mind for parents and users.
Regularly Tighten Screws And Bolts
Check all screws and bolts every few months. Wood can expand or shrink, loosening fasteners. Use the right tools to tighten them firmly. This stops the bed from wobbling or making noise.
Inspect Wood For Cracks And Splinters
Look closely at all wooden parts. Cracks weaken the structure and cause breaks. Remove splinters to avoid cuts. Sand rough edges gently to keep the surface smooth.
Keep The Bed Clean And Dry
Dust the bed often to prevent buildup. Use a soft cloth and mild cleaner for stains. Avoid excess water to stop wood damage. Dry the bed quickly if it gets wet.
Use Safety Rails On The Top Bunk
Install strong safety rails on all sides of the top bunk. Rails prevent accidental falls during sleep. Check rails for stability regularly. Replace any broken or loose parts immediately.
Choose A Proper Mattress Size
Select a mattress that fits the bed frame well. Too small or too large mattresses cause gaps or slipping. Secure the mattress to avoid sliding. This improves comfort and safety for users.

Credit: www.jennasuedesign.com
Frequently Asked Questions
How Do I Start Assembling A Wood Bunk Bed?
Begin by unpacking all parts and checking the instruction manual. Organize the components and tools before assembly to ensure a smooth process.
What Tools Are Needed For Putting A Wood Bunk Bed Together?
You typically need a screwdriver, Allen wrench, hammer, and possibly a drill. Check the manual for specific tool requirements before starting.
How Can I Ensure Safety While Assembling The Bunk Bed?
Follow instructions carefully and tighten all bolts securely. Keep the workspace clear and test the bed’s stability before use.
How Long Does It Take To Assemble A Wood Bunk Bed?
Assembly usually takes 1 to 3 hours depending on experience and bed complexity. Having a second person can speed up the process.
Conclusion
Building a wood bunk bed can seem tough at first. Step-by-step instructions make it clear and easy. Take your time and follow each step carefully. Use the right tools to keep the bed strong and safe. Double-check all screws and bolts for tightness.
A well-built bunk bed lasts for years. It saves space and adds fun to any room. Enjoy the satisfaction of creating something useful. Now, you are ready to build with confidence. Simple work, great results.