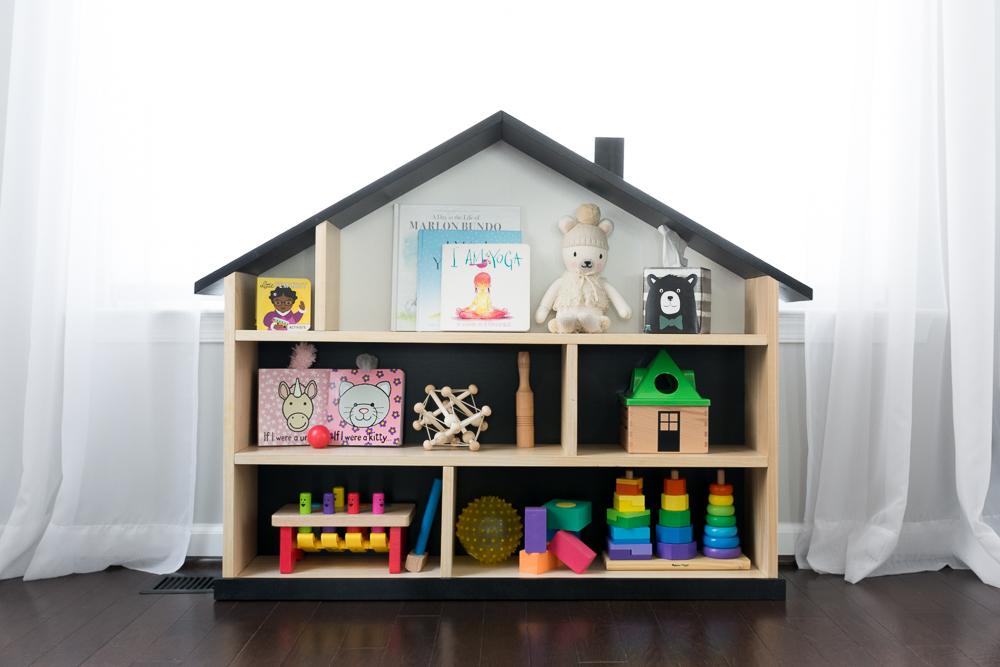
Imagine turning a simple bookshelf into a magical dollhouse that sparks creativity and joy. You might think it’s a big project, but building a bookshelf dollhouse is easier than you expect.
With just a few tools and some basic steps, you can create a unique play space that your kids will love—or even a charming display for your own collection. If you want to learn how to make this fun and practical piece, keep reading.
This guide will walk you through every step, making the process clear and exciting for you. Ready to bring your bookshelf dollhouse to life? Let’s dive in!
Materials And Tools Needed
Building a bookshelf dollhouse is a fun and rewarding project. Having the right materials and tools makes the process easier. This section lists everything needed to start building your dollhouse.
Wood And Boards
Choose sturdy wood like plywood or MDF for the main structure. These materials are easy to cut and strong enough to hold shelves. Use smooth boards for a clean finish.
Measuring Tools
A tape measure and a ruler are essential. They help ensure precise cuts and proper alignment. Accurate measurements prevent mistakes and save time.
Cutting Tools
A handsaw or jigsaw works well for cutting wood pieces. These tools allow straight and curved cuts. Sandpaper or a sanding block smooth rough edges after cutting.
Fasteners And Adhesives
Wood glue is perfect for joining pieces securely. Use small nails or screws for extra strength. A hammer or screwdriver will help you fasten parts together.
Painting And Decorating Supplies
Choose non-toxic paint and brushes for decorating your dollhouse. Painter’s tape helps create clean lines. Clear varnish protects the finish and adds shine.
Safety Gear
Wear safety glasses to protect your eyes while cutting and sanding. Use a dust mask to avoid inhaling wood dust. Gloves keep your hands safe during work.
Choosing The Right Bookshelf
Choosing the right bookshelf is the first step in building a beautiful dollhouse. The bookshelf forms the base and structure for your project. Picking one that fits your space and design ideas helps the dollhouse look great and last long.
Consider the size, shape, and material of the bookshelf. These factors affect how easy the build will be and how sturdy the final dollhouse becomes. A good bookshelf also allows room for decoration and play.
Choosing The Right Size
Measure the area where the bookshelf will stand. The size affects the number of rooms in your dollhouse. Taller shelves create more floors, while wider shelves offer more room on each level. Choose a size that fits your space and plan.
Material Matters
Wood bookshelves work best for dollhouses. Wood is strong and easy to paint or decorate. Particleboard or plastic shelves may not hold up well. Pick a sturdy material to keep your dollhouse safe and lasting.
Open Or Closed Back
Open-back bookshelves let light in and add depth to the dollhouse. Closed-back shelves give a solid wall to attach wallpaper or decorations. Decide what look fits your style and the rooms you want to create.
Adjustable Shelves Add Flexibility
Bookshelves with adjustable shelves offer more options. You can change shelf height to fit different room sizes. This flexibility helps you design unique spaces inside the dollhouse. Fixed shelves limit customization.
Designing The Dollhouse Layout
Designing the dollhouse layout is the first step in building your bookshelf dollhouse. It sets the foundation for the entire project. A clear design helps you organize space and materials well.
Careful planning ensures each room fits perfectly. It also makes the building process smoother and faster.
Measuring And Planning
Start by measuring the bookshelf where you will place the dollhouse. Note the height, width, and depth carefully. These numbers guide your design size.
Think about how many rooms you want. Consider the scale of furniture and dolls too. Planning these details saves time later.
Sketching The Floor Plan
Draw a simple floor plan on paper. Mark walls, doors, and windows clearly. Keep the layout easy to understand.
Use grid paper to keep lines straight and sizes accurate. Make sure rooms are proportionate to the bookshelf space.
Sketching helps visualize the final look. It also helps catch mistakes before cutting wood.
Preparing The Bookshelf
Preparing the bookshelf is the first step in creating your dollhouse. A clean and smooth surface helps the paint and decorations stick better. You may need to change the shelves to make room for rooms or furniture inside. This stage sets the base for a neat and sturdy dollhouse.
Cleaning And Sanding
Start by wiping the bookshelf with a damp cloth. Remove dust, dirt, and grime from all surfaces. Let the bookshelf dry completely before moving on. Use fine sandpaper to smooth rough edges and surfaces. Sanding helps paint and glue stick well. Pay extra attention to corners and joints. After sanding, wipe the dust away with a clean cloth.
Removing Or Adding Shelves
Decide how many rooms your dollhouse will have. Remove shelves that block the space for rooms. Use a screwdriver to take out screws or nails. Save the shelves if you want to add them later. You can also add new shelves for extra floors. Measure and cut wood pieces to fit your design. Secure new shelves with brackets or nails. Make sure the shelves are level and strong.
Building Walls And Rooms
Building walls and rooms is an important step in creating a bookshelf dollhouse. It shapes the space inside and gives the dollhouse its character. Strong, well-cut walls make the structure sturdy and ready for decoration.
Organizing the rooms correctly helps separate areas for different activities. This makes the dollhouse more fun to play with and more realistic. Let’s explore how to cut dividers and attach partitions properly.
Cutting Dividers
Measure the inside of the bookshelf carefully. Use a ruler and pencil to mark the dimensions on your wood or board. Cut the dividers straight and even to fit perfectly.
Use a fine saw or a craft knife for clean edges. Take your time to avoid mistakes. Smooth the edges with sandpaper for a neat finish.
Attaching Partitions
Place each divider inside the bookshelf where it belongs. Use wood glue or small nails to secure the partitions. Press firmly and hold until the glue sets.
Check that each partition stands straight and matches the design. Let the glue dry fully before adding more pieces or decorating. Strong attachments keep the dollhouse durable and safe for play.
Credit: learn.kregtool.com
Painting And Decorating
Painting and decorating bring your bookshelf dollhouse to life. These steps add charm and personality. They help you create a cozy and beautiful space inside the dollhouse. This part is fun and lets your creativity flow.
Choosing Colors And Finishes
Pick colors that match your style and the dollhouse theme. Soft pastels create a calm, cozy look. Bright colors add energy and fun. Use paint finishes like matte, satin, or glossy to change the feel. Matte gives a smooth, flat look. Satin adds a little shine and is easy to clean. Glossy finishes reflect light and look vibrant. Test colors on small wood pieces before painting the whole dollhouse.
Adding Wallpaper And Flooring
Wallpaper adds texture and design to walls quickly. Choose simple patterns for small rooms. Use thin paper or fabric for easy cutting and fitting. Apply glue evenly and smooth out air bubbles. Flooring options include craft paper, thin wood sheets, or fabric. Pick floors that match the room’s style. Glue floors carefully to avoid wrinkles. Mix patterns and colors to make each room unique.
Furnishing The Dollhouse
Furnishing the bookshelf dollhouse brings it to life. Tiny furniture makes the space feel cozy and real.
Choosing the right pieces helps create a charming home for dolls. Small details add character and fun.
Diy Furniture Ideas
Use craft sticks to build chairs and tables. Paint them with bright colors for a playful look.
Old buttons make perfect tiny cushions or wall decorations. Cardboard scraps can become beds or shelves.
Glue fabric pieces on small boxes to create sofas. Popsicle sticks can form ladders or fences.
Arranging Furniture
Place bigger pieces first to set the room’s layout. Leave enough space for dolls to move around.
Group furniture in natural spots, like a bed in a bedroom corner. Keep the kitchen area neat and simple.
Use shelves for books or decorations to save floor space. Change arrangements to see what feels best.
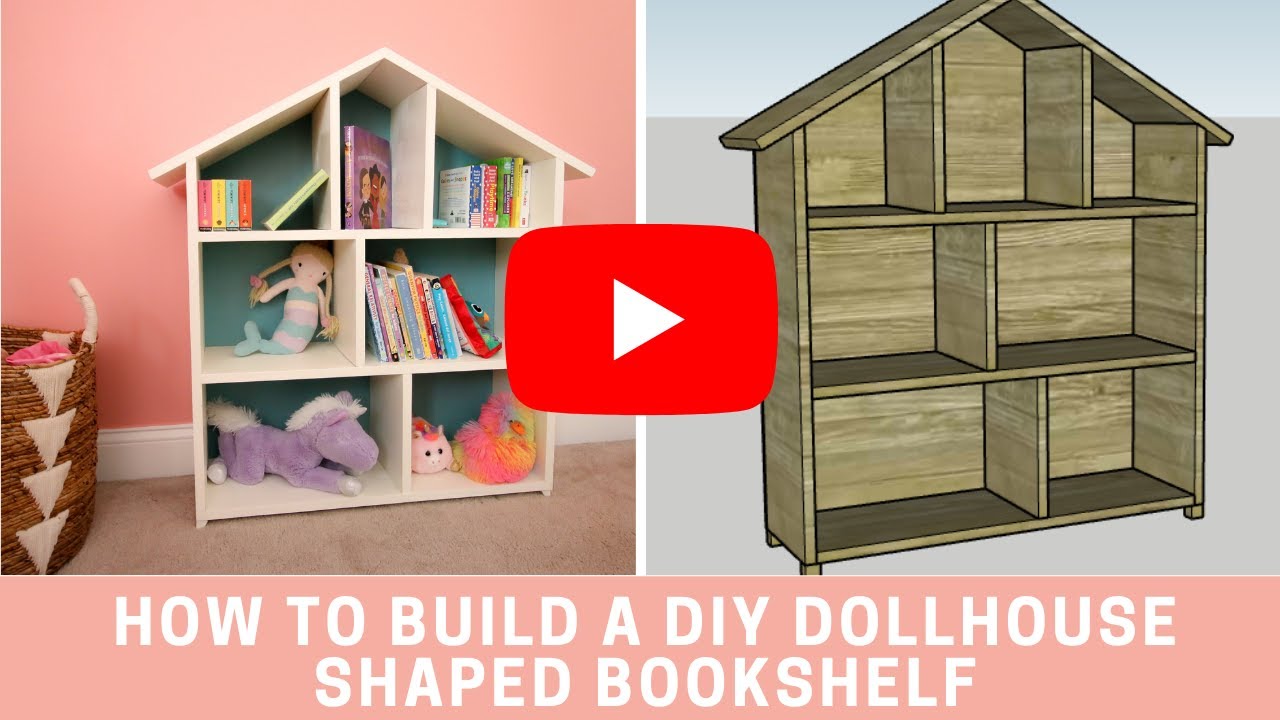
Credit: www.youtube.com
Adding Lighting And Accessories
Adding lighting and accessories brings life to your bookshelf dollhouse. It creates a cozy and inviting look. Small lights add warmth and charm to each room. Accessories give personality and style. These details make your dollhouse unique and fun to explore.
Installing Mini Lights
Choose battery-powered LED lights for safety and ease. Place lights behind furniture or under shelves. Tiny string lights work well for ceilings or walls. Use double-sided tape to fix the lights firmly. Hide wires carefully to keep the look neat. Test the lights before final installation. Soft, warm lights create a cozy atmosphere inside.
Decorative Details
Select small furniture pieces that fit the scale of your dollhouse. Add rugs, curtains, and tiny pictures for a real home feel. Use dollhouse plants or flowers to brighten rooms. Place books, cups, and plates on tables for realism. Mix colors and textures for visual interest. Small touches make each room feel lived in and special.
Safety Tips And Maintenance
Building a bookshelf dollhouse is fun and creative. Safety and maintenance are important. They keep the dollhouse strong and safe for use. This section shares simple tips to protect your project.
Use Safe Materials
Choose non-toxic paints and glues. Avoid sharp edges or rough wood. Sand all surfaces smooth to prevent splinters. Check that all parts fit tightly together.
Secure Shelves Firmly
Make sure shelves hold weight well. Use strong screws and brackets. Test stability before placing dolls or toys. A sturdy shelf stops falls and damage.
Keep Dollhouse Clean
Dust regularly with a soft cloth. Avoid water on painted surfaces to stop damage. Clean small parts carefully to keep them intact. A clean dollhouse lasts longer.
Inspect For Wear And Tear
Look for cracks or loose pieces often. Tighten screws if needed. Replace broken parts quickly to avoid accidents. Regular checks keep the dollhouse safe.
Store Dollhouse Properly
Place in a dry, cool spot away from sunlight. Avoid high humidity which can warp wood. Cover with cloth to keep dust off. Proper storage protects your work.

Credit: www.charlestoncrafted.com
Frequently Asked Questions
What Materials Are Needed To Build A Bookshelf Dollhouse?
You will need wood panels, nails, screws, wood glue, paint, sandpaper, and hinges. These materials ensure durability and easy assembly.
How Long Does It Take To Build A Bookshelf Dollhouse?
Building a bookshelf dollhouse usually takes about 6 to 10 hours. Time depends on complexity and your woodworking skills.
Can I Customize The Design Of My Bookshelf Dollhouse?
Yes, you can customize shelves, colors, and room layouts. Personalizing adds uniqueness and matches your style perfectly.
What Tools Are Essential For Building A Bookshelf Dollhouse?
Essential tools include a saw, drill, screwdriver, measuring tape, and paintbrush. These tools help you build efficiently and accurately.
Conclusion
Building a bookshelf dollhouse takes time and patience. Each step adds to its charm and function. You create a special space for books and toys. It fits well in any room and looks great. Enjoy the process and the final result.
This project brings joy to both kids and adults. Start small, follow the steps, and watch it grow. Your handmade dollhouse will be a unique treasure. Keep it simple, fun, and full of creativity.
